A few weeks ago I shared the mini ornaments I made here, along with the tiny box to store them. I said I’d be sharing a free, printable template so you could make your own ornament box. Here it is. Sorry it’s after Christmas, but better late than never, right? This box can be scaled up or down a little to accommodate different size ornaments. You could also use it as an starting point to create tiny doughnut boxes, dress boxes, game boxes, etc.
To form the base into a box, cut it out along it’s exterior border, and fold accordingly. Snip the sides just to the second line. These four little tabs you create by doing this will hold the other sides in place, once they’re folding around it. It sounds confusing, but once you cut it out and play with it you will see what I mean. You won’t need to use glue for the base of the box since it will hold itself together fairly well once it’s folded, but you can use a dab of glue if you want, just to be safe.
For the lid, use an Exacto knife to cut out a small viewing window. Ideally you should fill that window with a piece of clear acetate for a finished look. Glue it together using a glue stick.

Mini ornaments by Holly Tierney-Bedord for Flip This Mini House blog. All rights reserved.
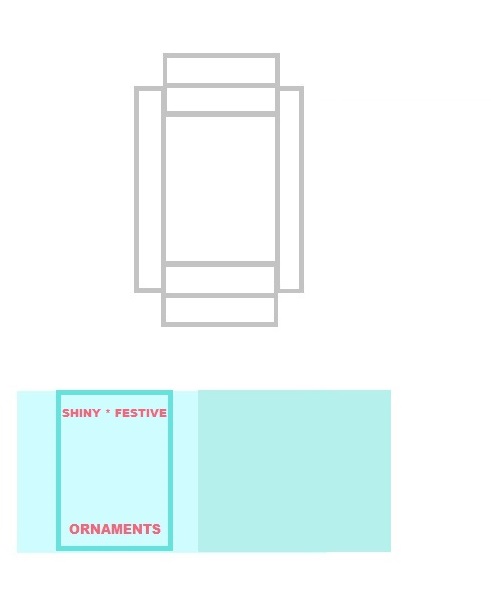
Shiny ornaments box designed and created by Holly Tierney-Bedord. Free to be printed and used for personal use and not for financial gain. Not to be sold or distributed without my written permission. All rights reserved.
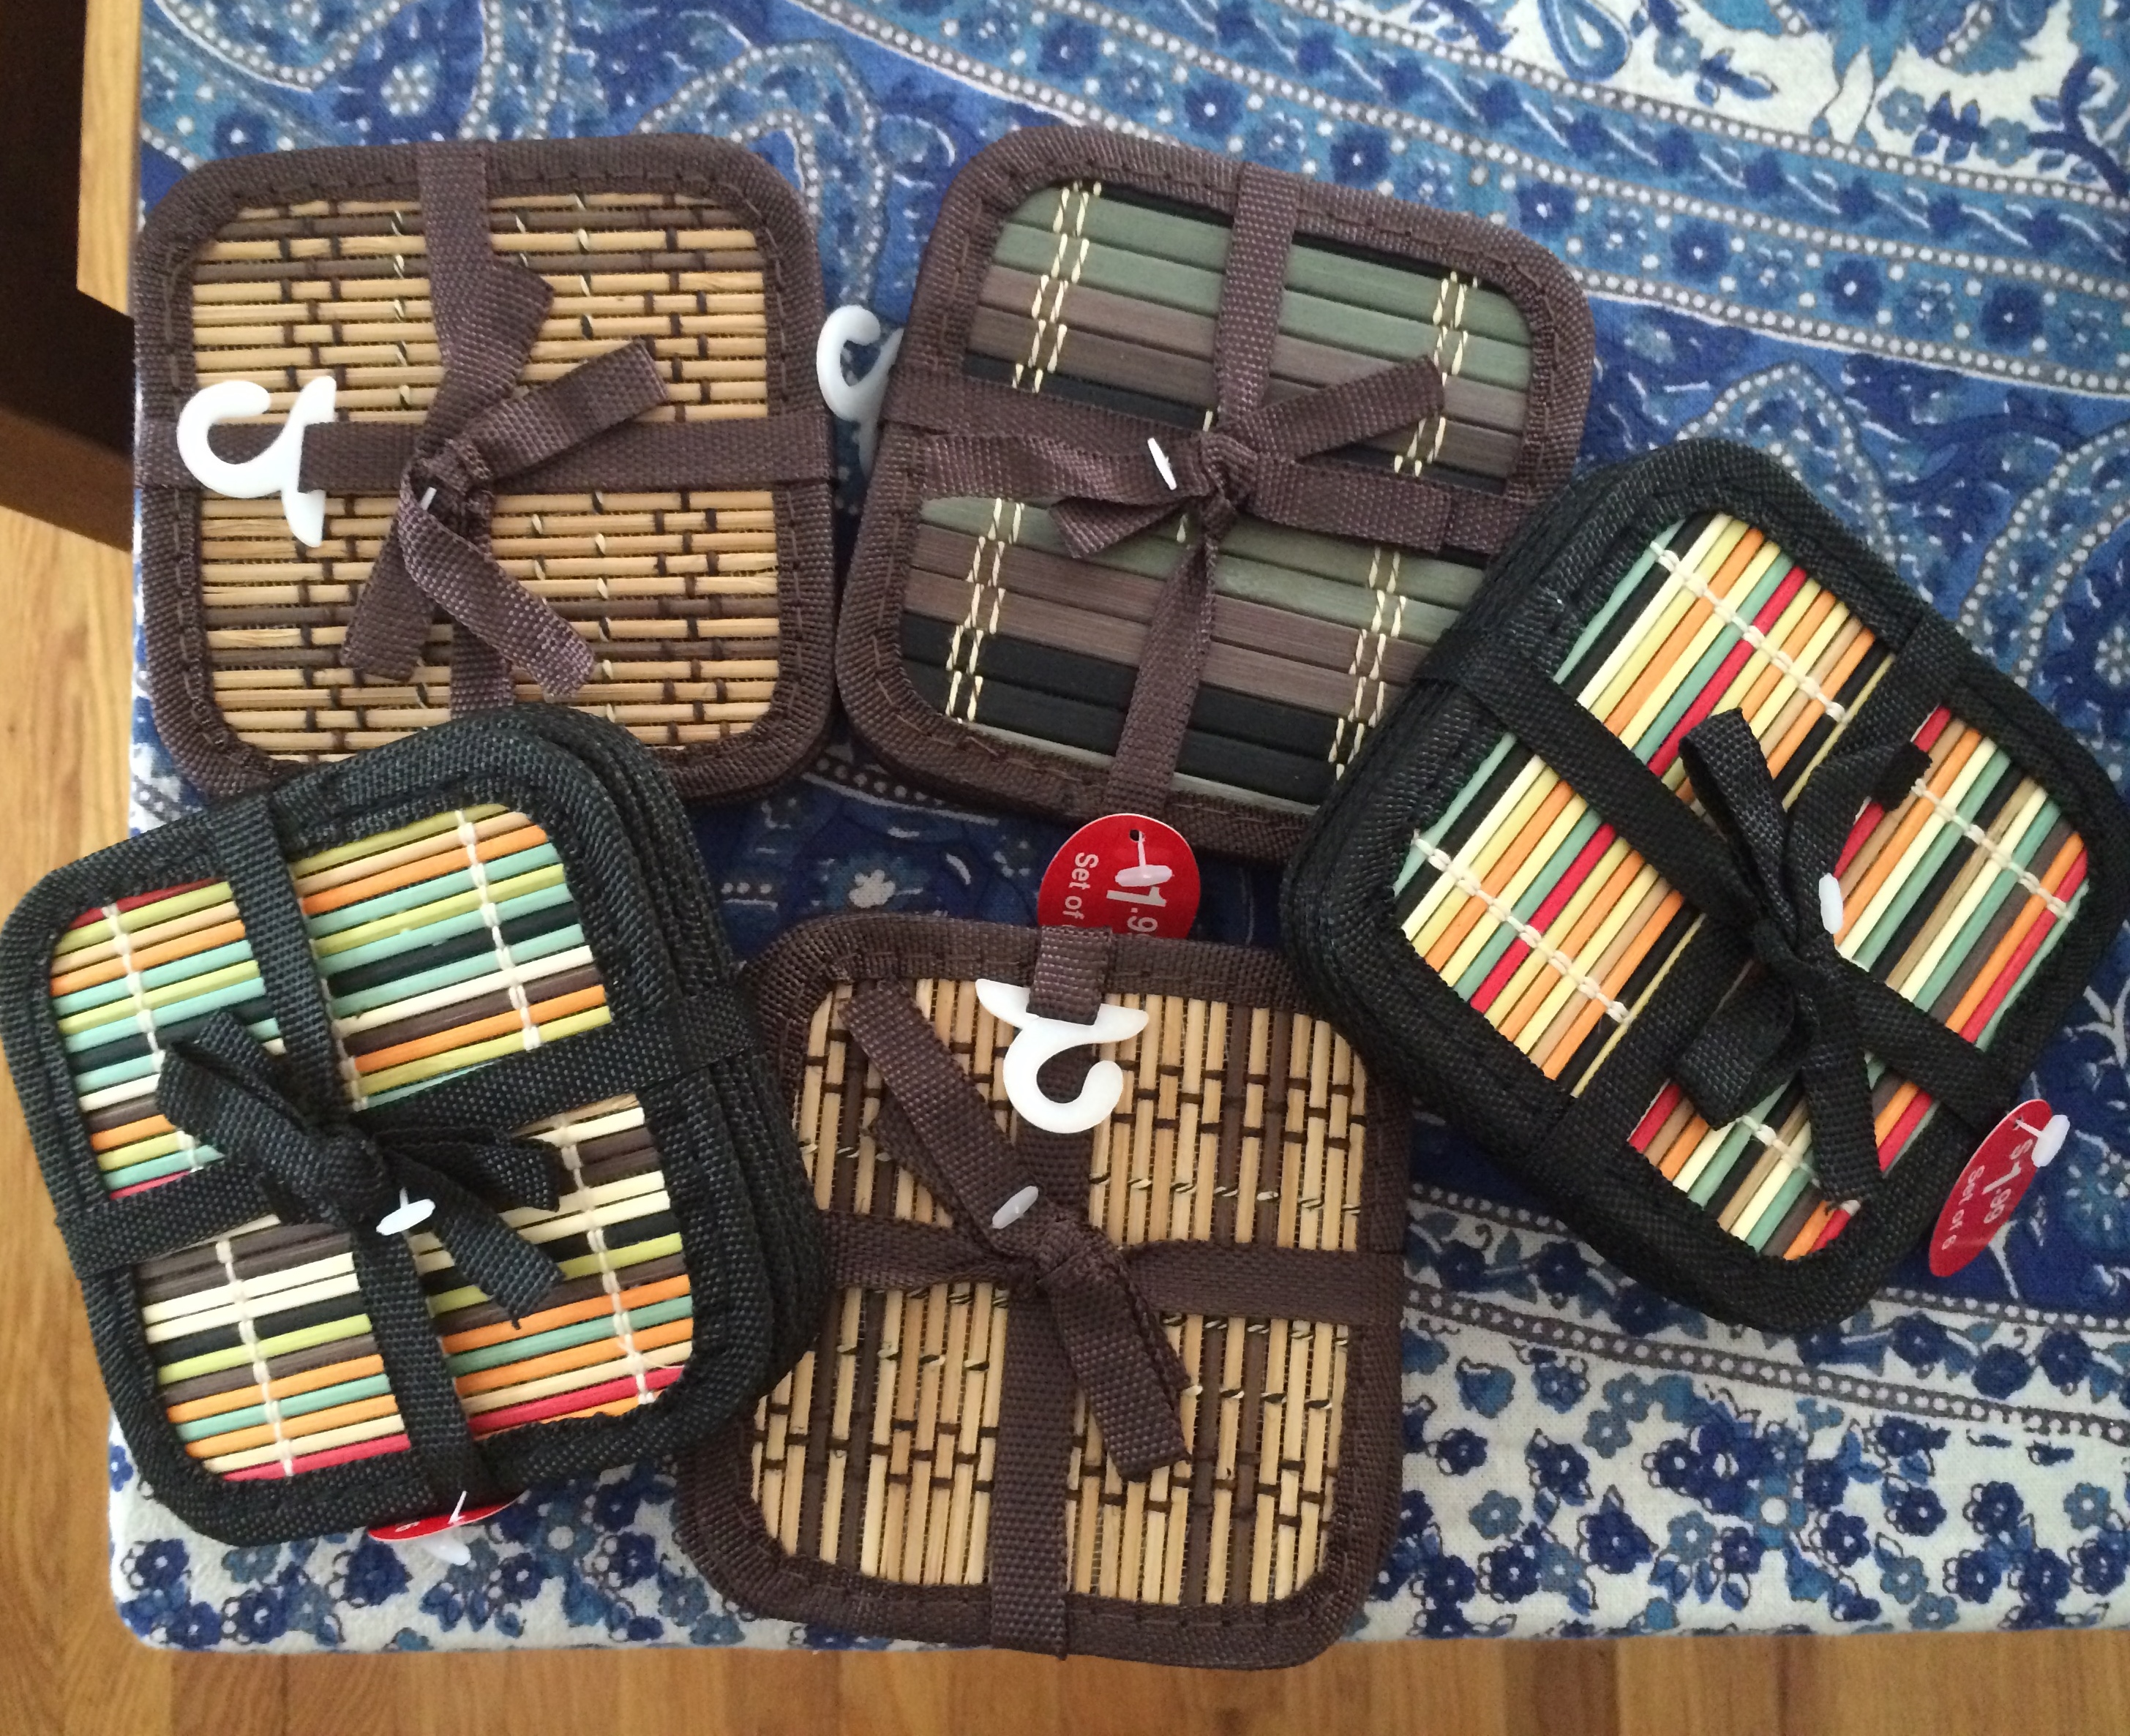
Making the ornaments is easy and inexpensive, but tedious. You’ll need just beads, wire, wire cutters, a pliers, and some kind of scrolly metal detailing like you see dressing up the top of my ornaments. The wire and metal doodads should be the same color. Just stick the wire into the doodad and bead, and use the pliers to make a little loop at the top and little bend at the bottom, then clip off excess with the wire cutters. Be careful that a piece of wire doesn’t fly in your face or land someplace where you’ll stop on it. That’s about all there is to it. It’s an easy project that just requires a little patience.