Along with a simple white set of canisters and the world’s cutest arrangement of cheeses, I’ve got a new mid-century kitchen table and chairs in my original Flip This (Mini) House! Take a look!


Along with a simple white set of canisters and the world’s cutest arrangement of cheeses, I’ve got a new mid-century kitchen table and chairs in my original Flip This (Mini) House! Take a look!
I found some wooden puzzles on clearance at Michael’s recently. They make great flooring for a dollhouse or room box. Take a look at this little modern lounge:


A look at my mini kitchen and dining area. Photo by Holly Tierney-Bedord. All rights reserved.
I finally got my breakfast bar removed. It turns out it was screwed into place. Once I figured that out I was able to remove it without breaking it, which I was really excited about since I thought it was such a cute feature. I’ll drill new holes for it and it will get moved a little closer to the bench in the dining area, so my kitchen will be a little bigger than it used to be.
The little bit of flooring that remains is coming out one little chip at a time. I almost cut my thumb off the other day when I was trying to watch an old episode of Survivor and work on my house at the same time. All I can say is, I’m glad this is dollhouse flooring and not something I’m dealing with on a larger scale.
I’m not sure what, if anything, I can do about the fact that the floor swoops down a little towards the carport. I didn’t notice it so much at first, but when you’re sitting on the floor, staring at it for an hour, it starts to become really obvious.
Speaking of the carport, I was able to get the wall propped back up to be straight. So that’s great news.
Here’s a reminder of how my house looked when I first got it:

Day 1 of my mini house. Photo by Holly Tierney-Bedord. All rights reserved.
The exterior is now dark teal. Also, I’ve decided the exterior trim will be a yellowish color to match my West Elm measuring cup planters. Photos of that coming soon!

Since the only furniture I can find is Victorian, I’ve been busy making my own interpretations of mid-century modern furniture. I made this little love seat from two wooden handles, part of an old napkin, and some wooden balls. Let me take you through the process.
It started with some wooden handles I found at the Habitat for Humanity Restore. I’ve determined, at least in Madison, there is no place better to shop for dollhouse decor than hardware stores. The Restore is great because there are tons of tiny trinkets, washers, nuts, bolts, handles, and hinges. All kinds of things to capture a person’s imagination, all for very little money.

Two wooden handles held with tape while the glue dries. Another in case you are confused. Photo by Holly Tierney-Bedord. All rights reserved.
I glued two handles together. Here they are, drying. The other handle is shown in the photo in case you need a little help picturing what these handles looked like before I taped them together.
Once they dried I glued some wooden balls to them. The wooden balls are inexpensive. I got this entire bag at a garage sale or thrift shop for very little money:

Here is an in-progress look with the the glue drying:

I turned part of a set of napkins into the fabric for my love seat. Here is the in-progress of this step:

Once the glue dried, I painted the love seat and then wrapped the fabric around the love seat and sewed it into place. I topped it off with a little pillow.
The thing the newspaper sits in is some little metal contraption, also from the Restore. Some kind of bracket or something, I guess. To me it just says Magazine Rack. I bought several bags of these. I have no idea what they are actually used for. I have them in other colors too. For a buck a bag, I couldn’t pass them up.
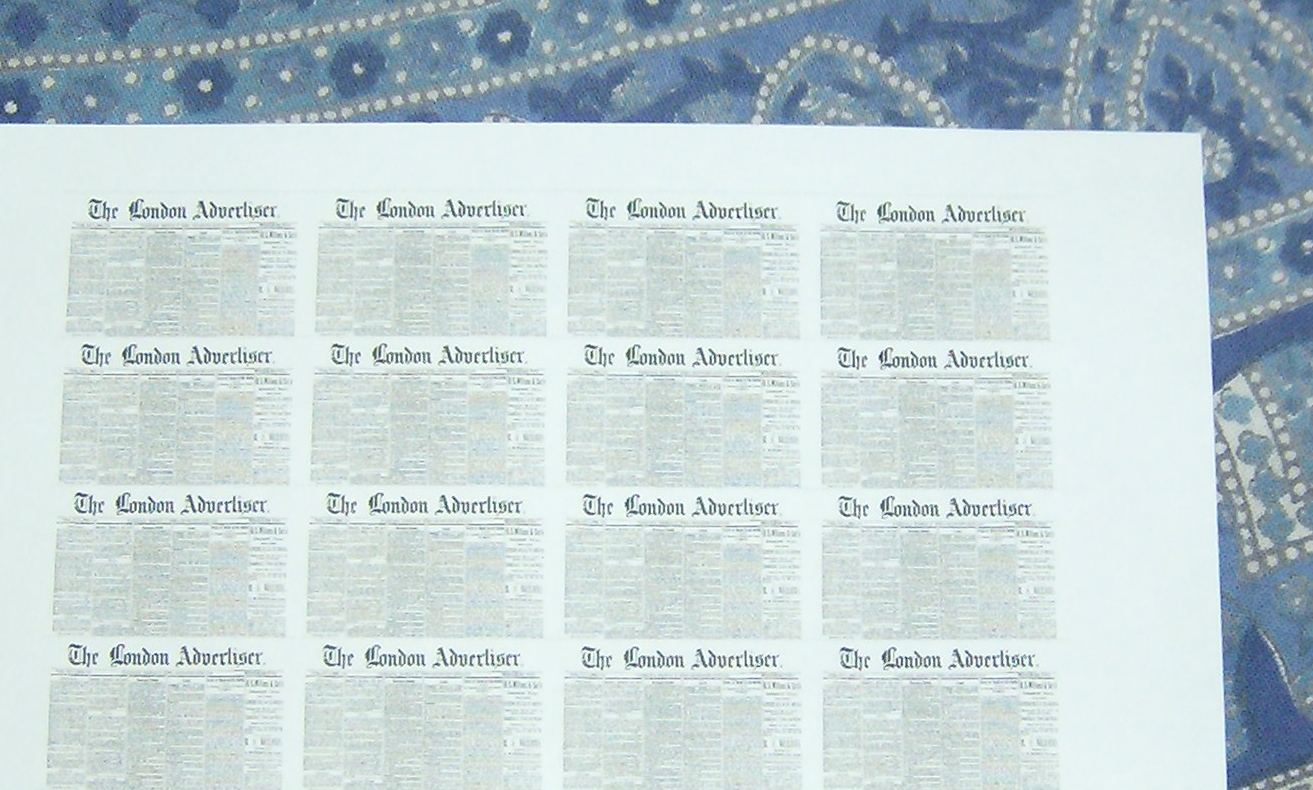
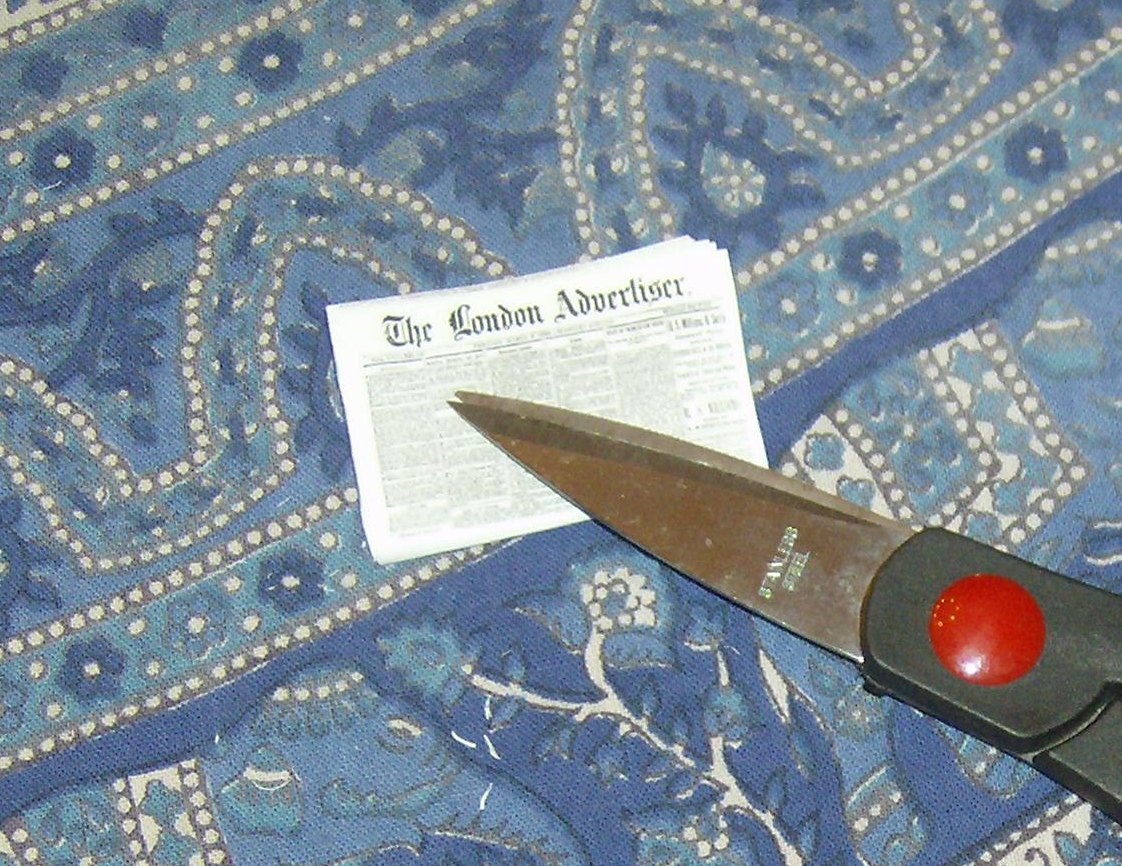
It took me two tries to get the newspaper the right scale. I didn’t worry about the details of printing on both sides of the paper, or having different text inside. I simple pasted in the same image over and over, printed it, cut it out, and put it in the magazine rack. To me, it works fine.
The end result is a cozy place to sit and read the paper:
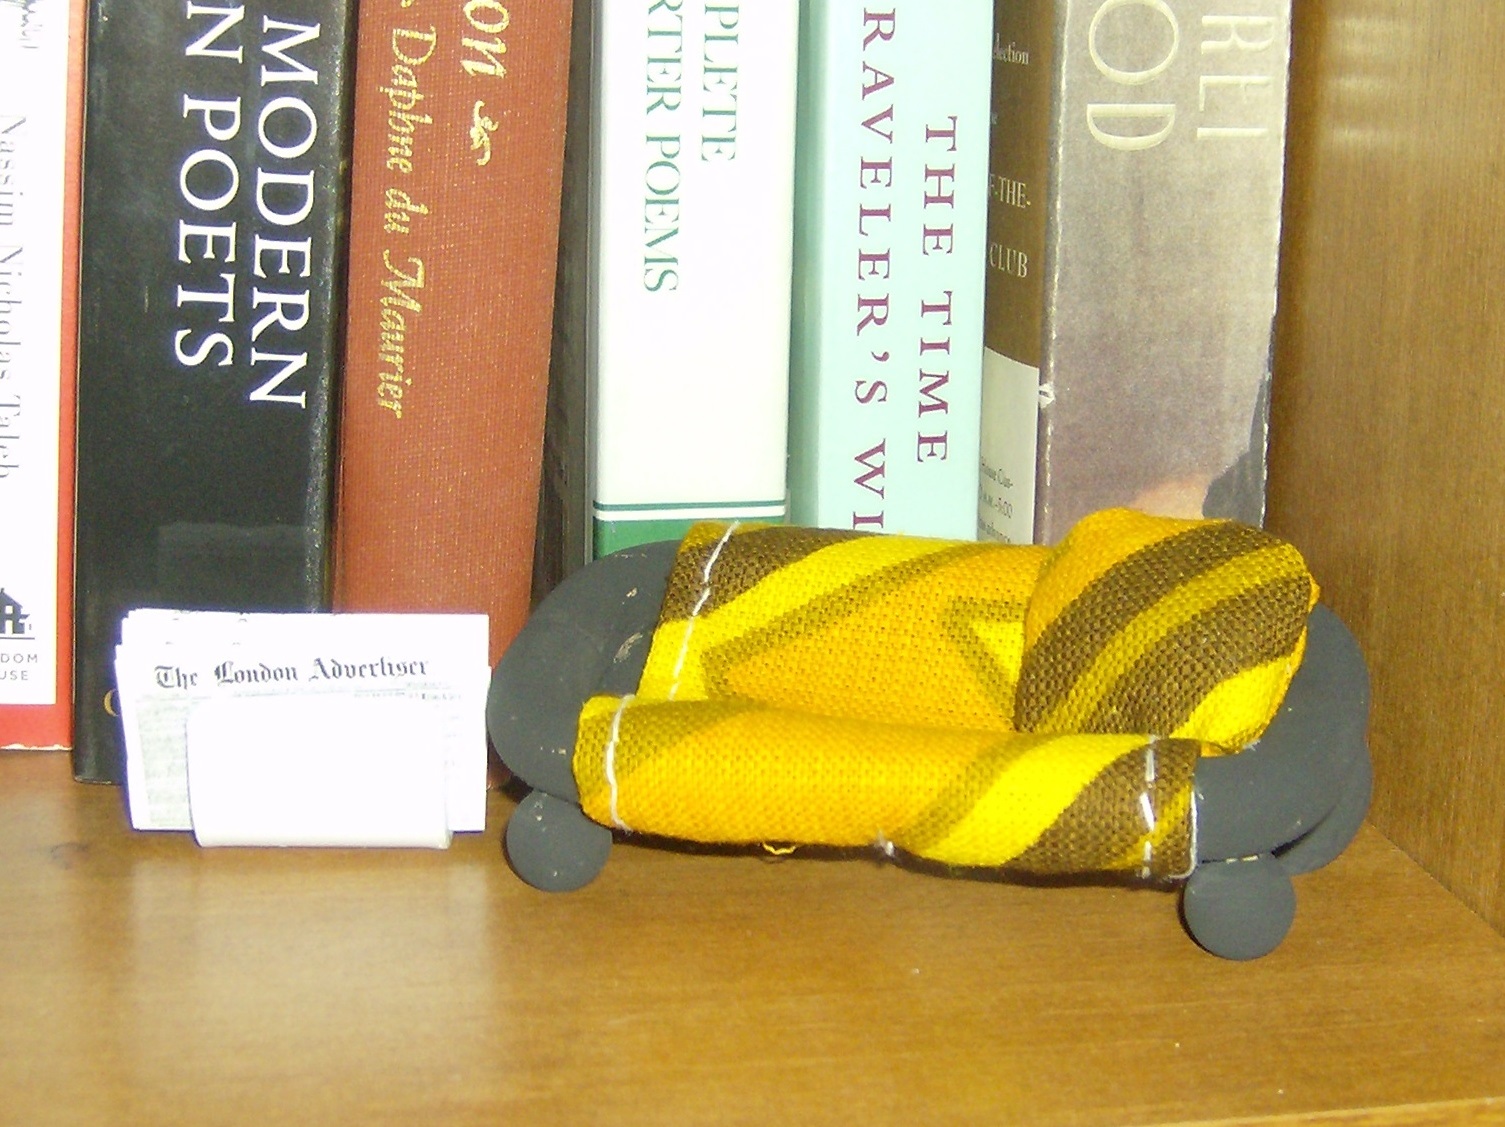
Tiny love seat and a newspaper to read. Photo by Holly Tierney-Bedord. All rights reserved.

My friend and her husband were at a flea market when they spotted two dollhouses. My friend was pretty sure I would find them enchanting so she sent me some texts with photos attached. She was right.
“Buy the Brady Bunch one and I’ll pay you back!” I told her. It was just $35!
The next weekend she and her husband delivered it. (How’s that for service?) He didn’t look happy; it is VERY heavy and was covered in spiderwebs, mouse poop, and who knows what else. I, however, was delighted. It was even better than the picture! It might have been dirty, but as they say in real estate talk, It had good bones. Here are some photos from our first day together:
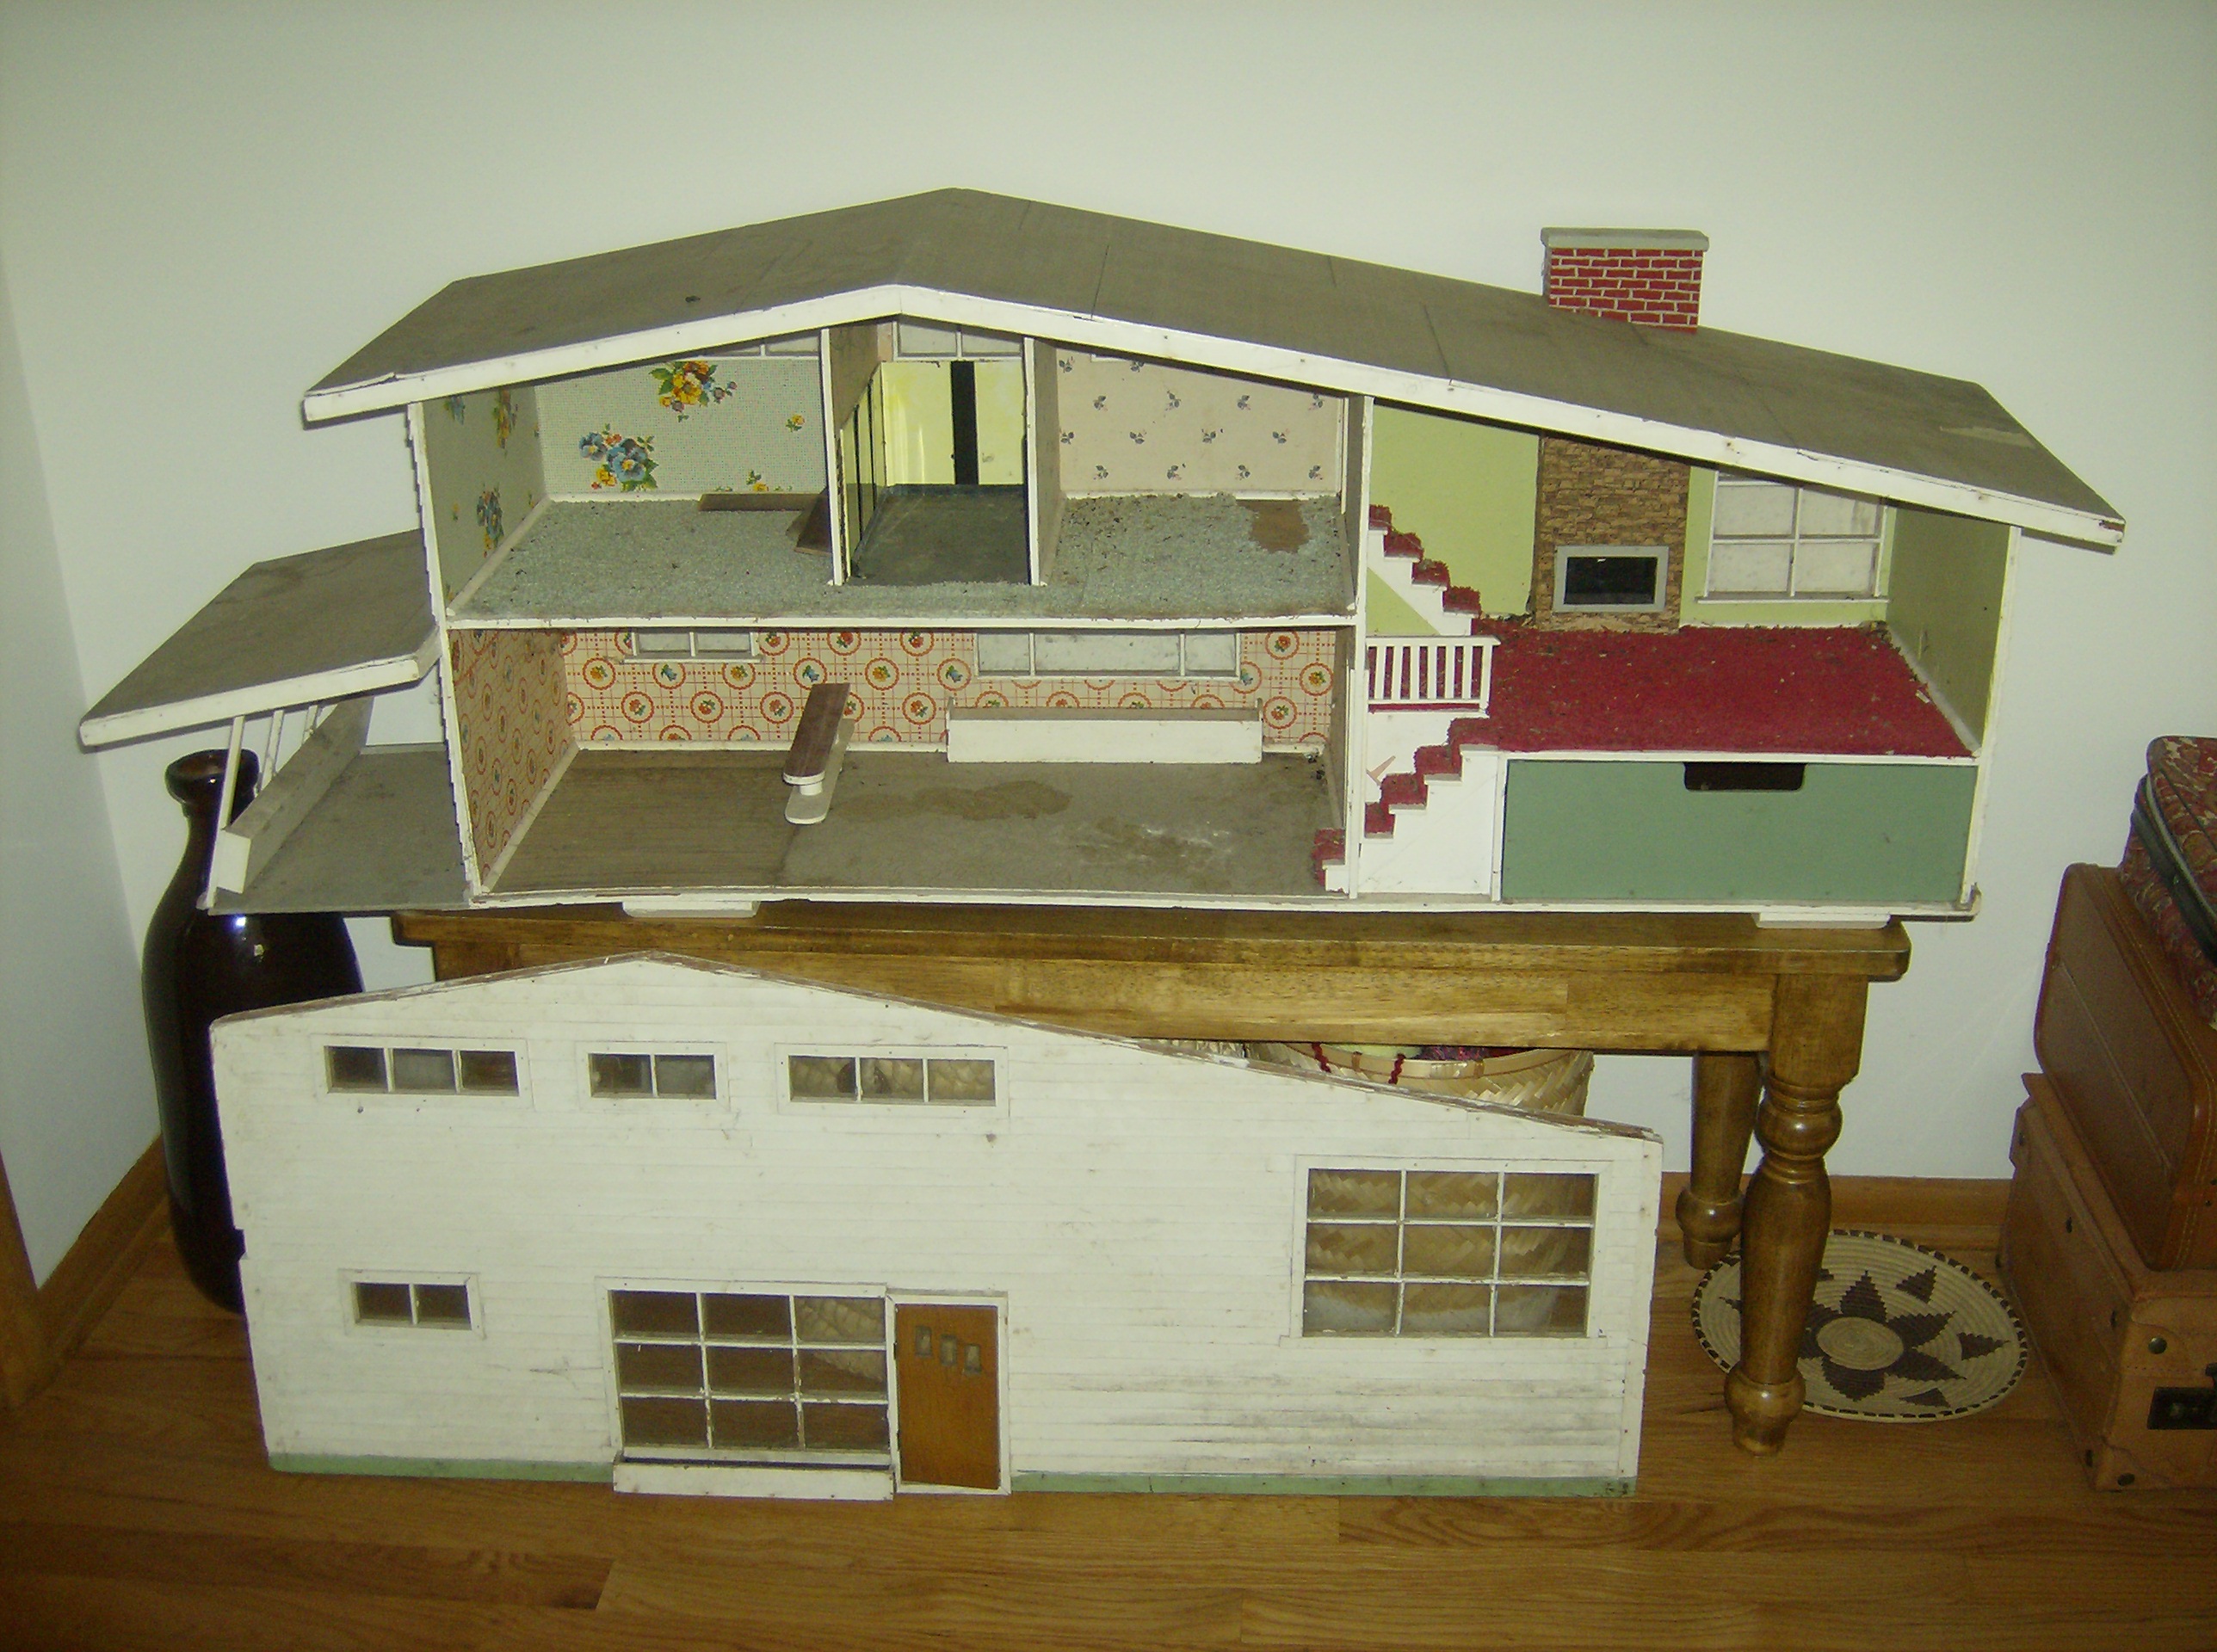
How my house looked when I first got it. Photos by Holly Tierney-Bedord.
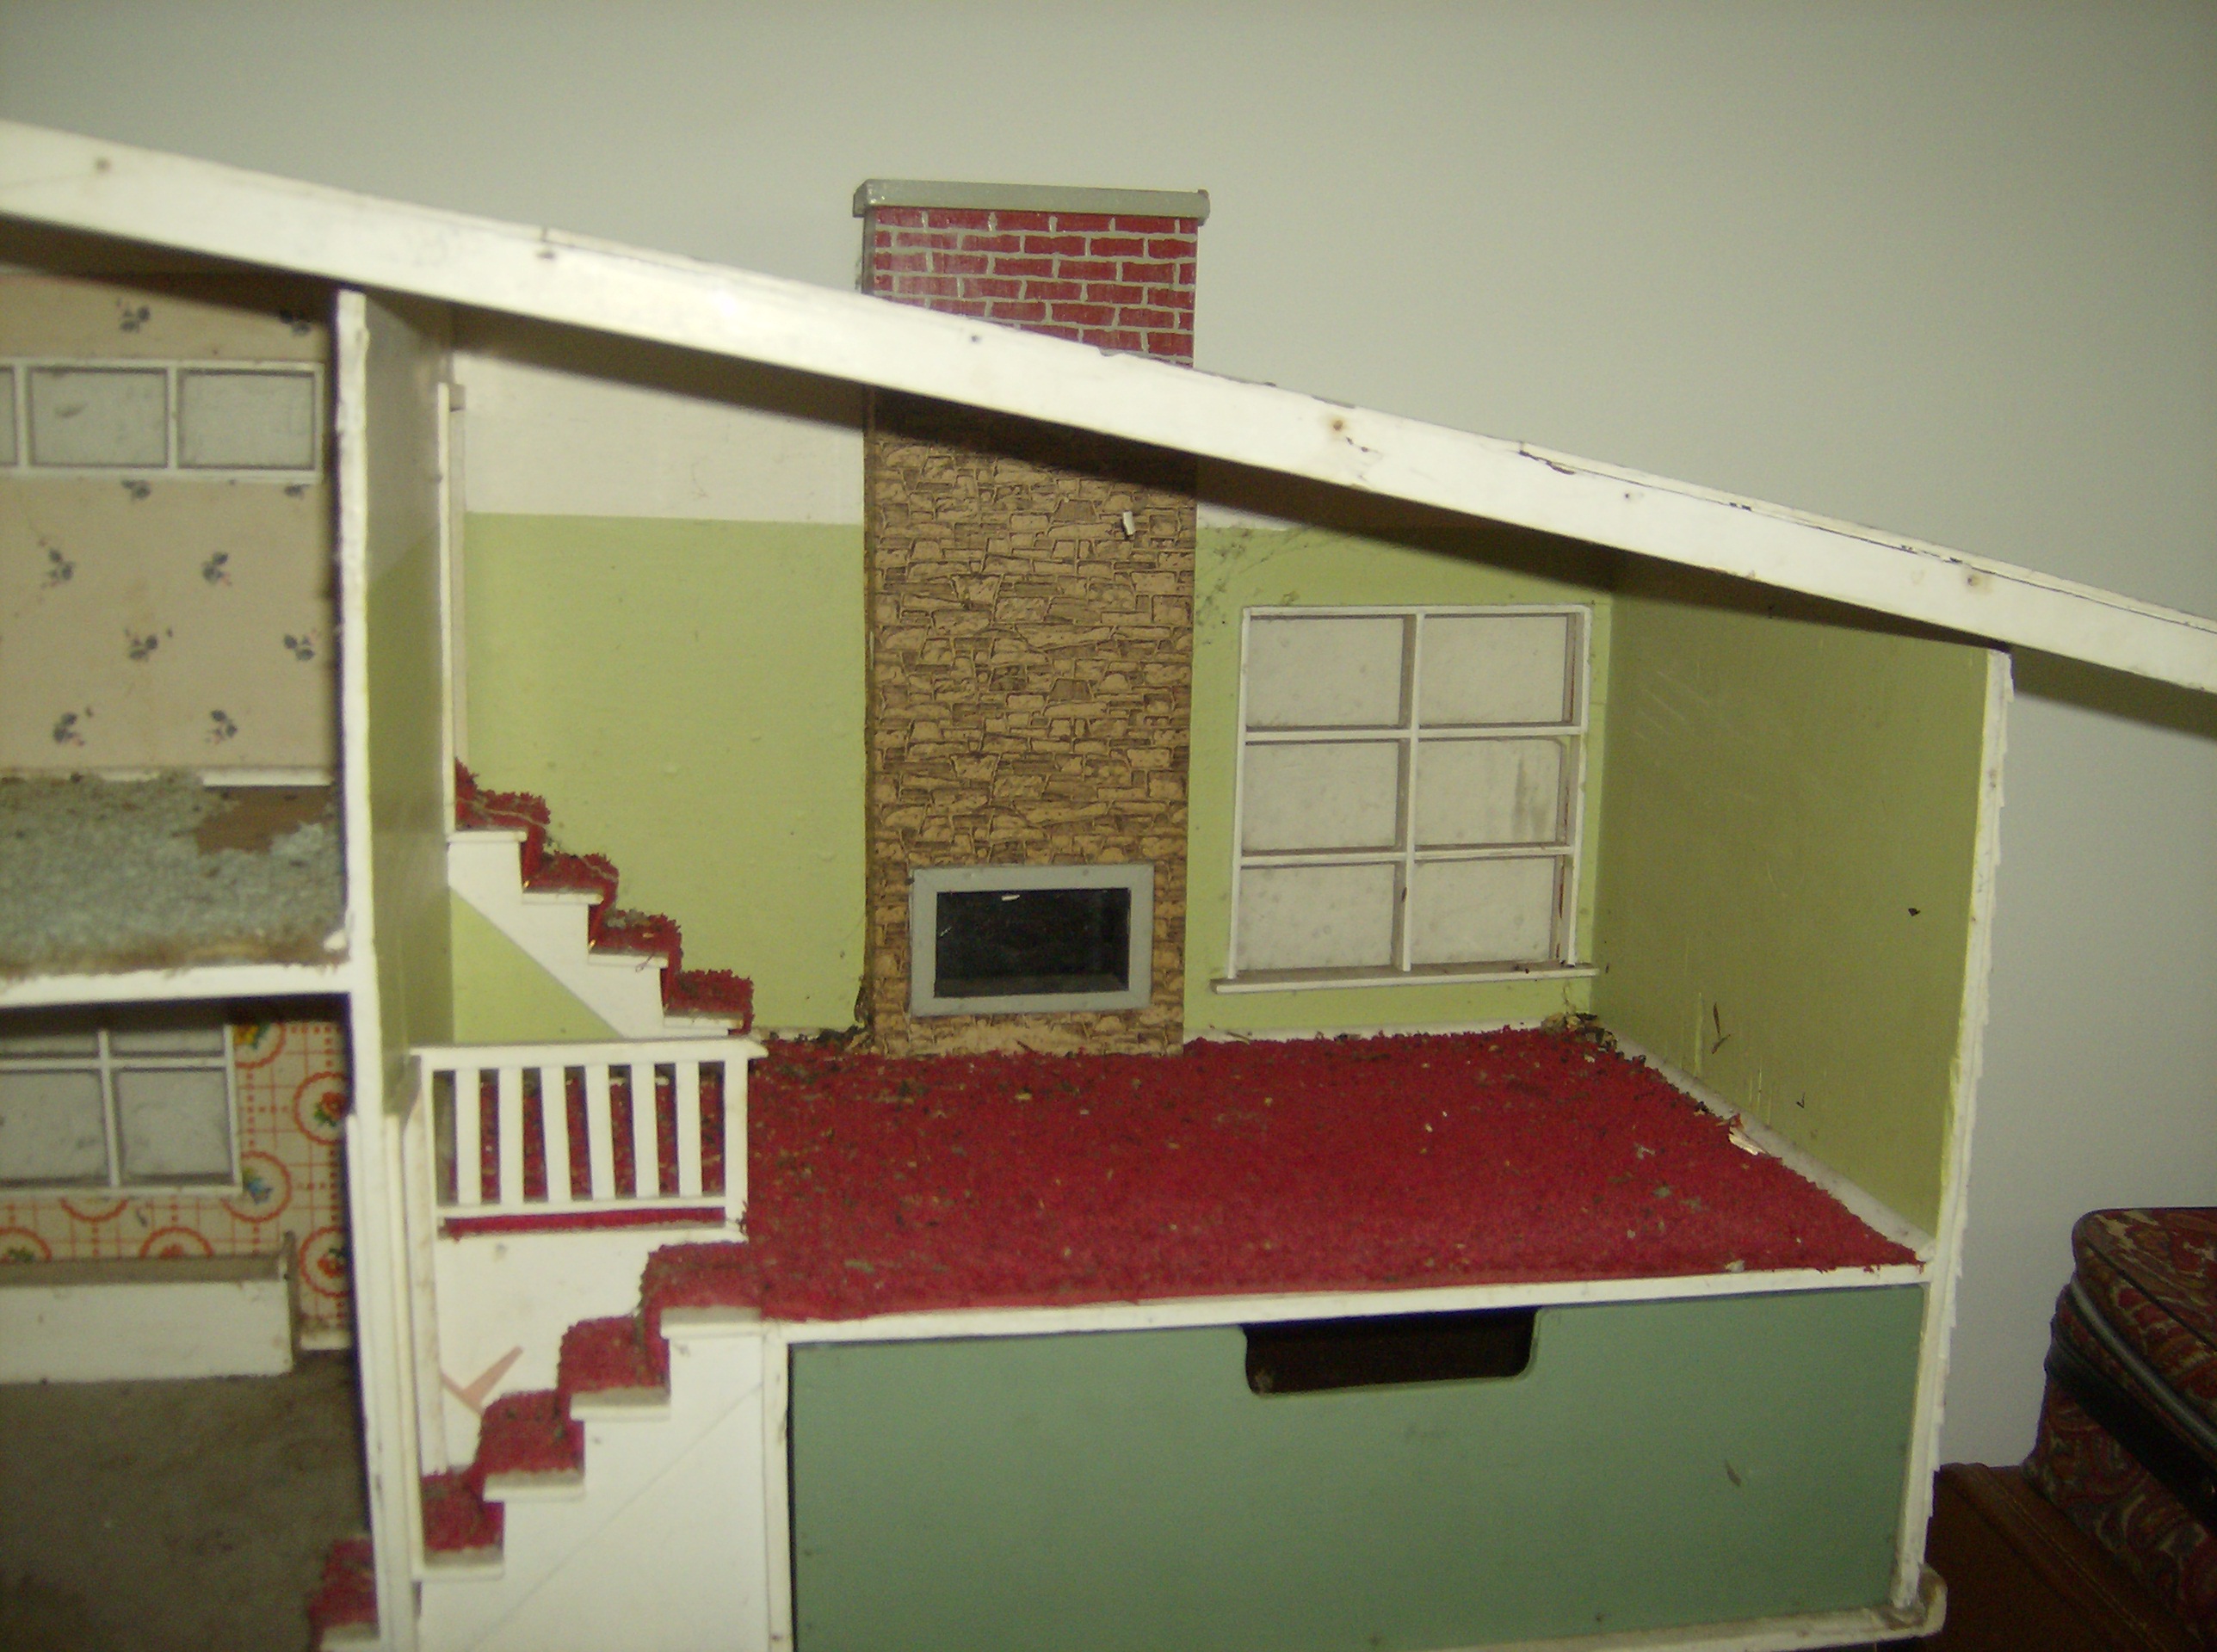

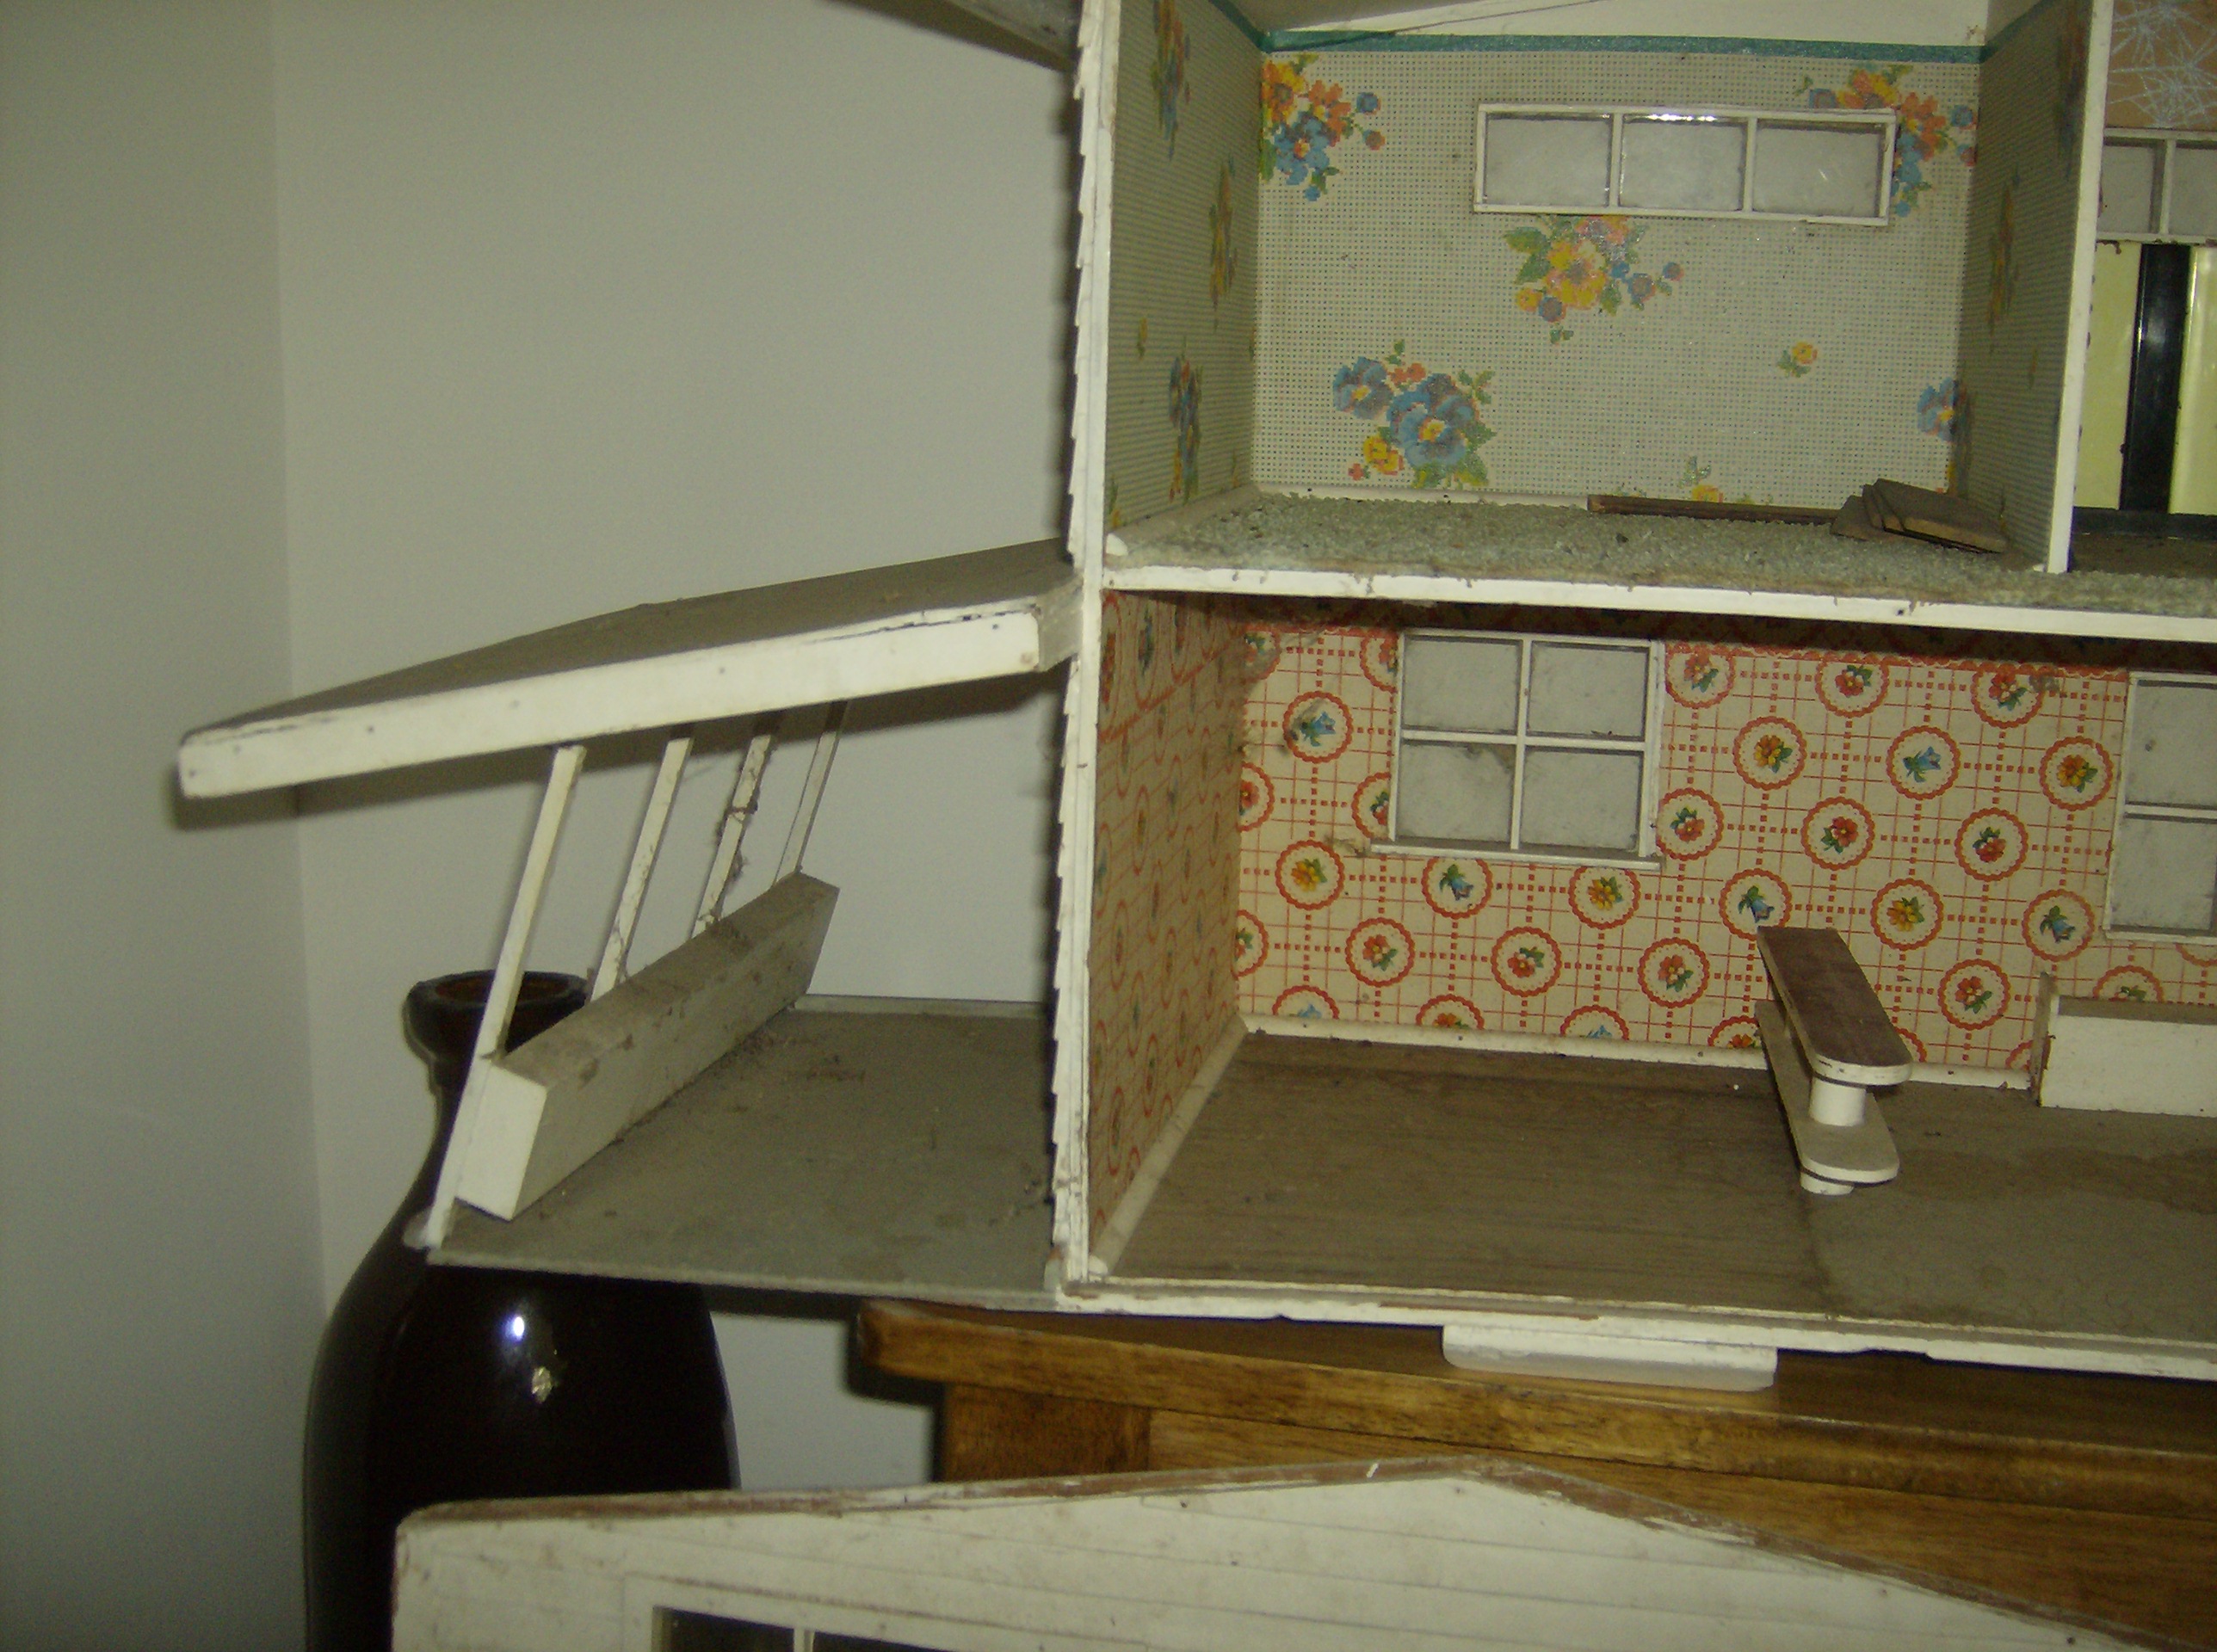
Copyright 2014 by Holly Tierney-Bedord. All rights reserved.
