Armed with these jumbo pompom balls and scrap of burlap, I made some crafts with swanky style for my mid-century house today.


Armed with these jumbo pompom balls and scrap of burlap, I made some crafts with swanky style for my mid-century house today.
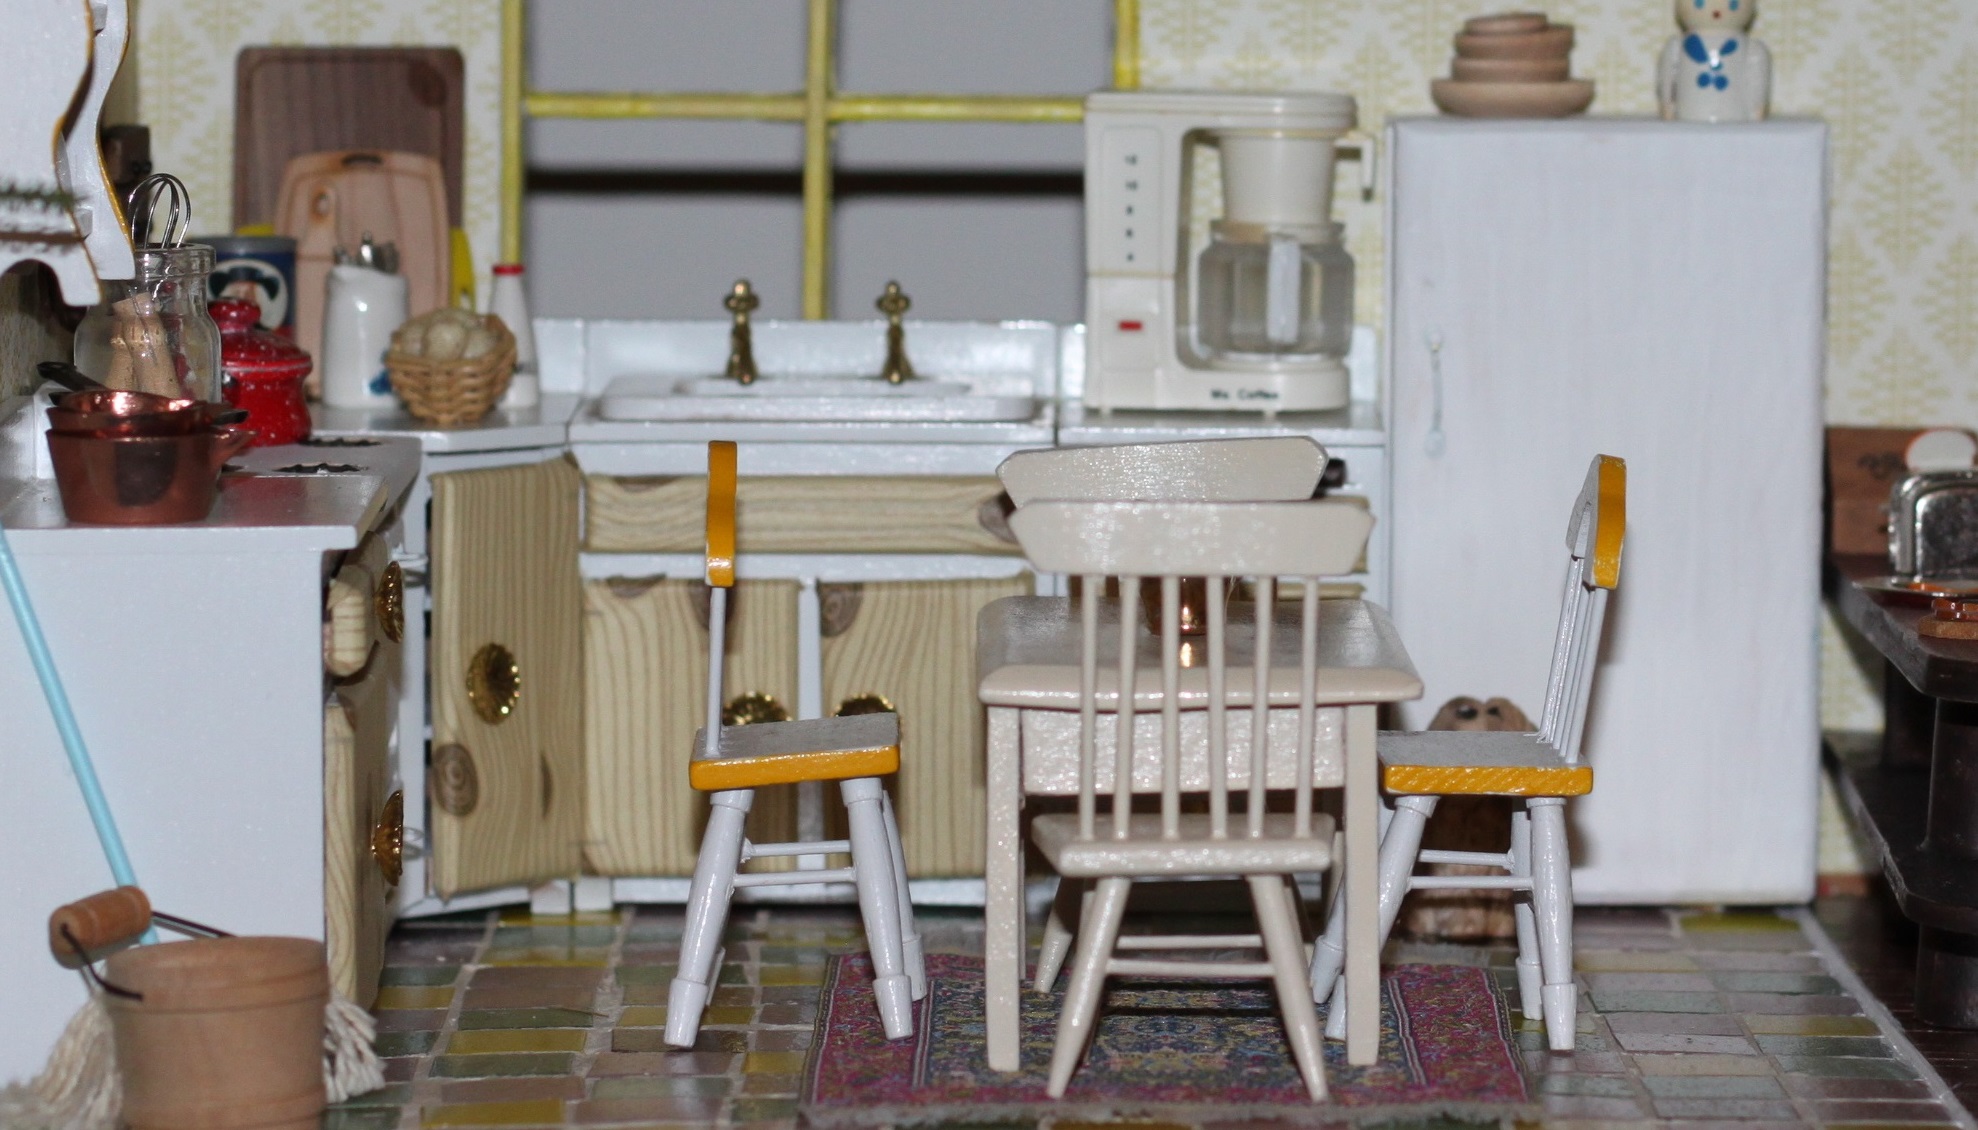
Along with a simple white set of canisters and the world’s cutest arrangement of cheeses, I’ve got a new mid-century kitchen table and chairs in my original Flip This (Mini) House! Take a look!


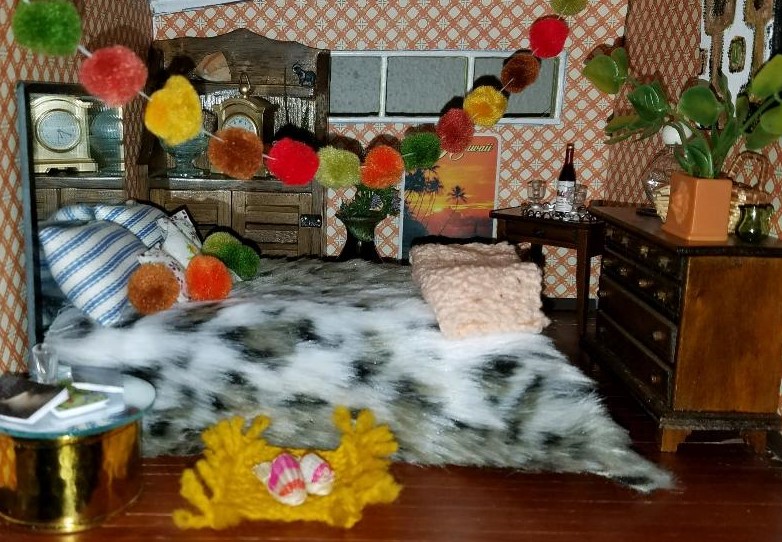
I found some wooden puzzles on clearance at Michael’s recently. They make great flooring for a dollhouse or room box. Take a look at this little modern lounge:


For the past few months, I’ve been holding off on revealing the Flip This (Mini) House project. Today’s the day I’m going to give you a closer look at some of the finished details, starting with the kitchen! Let me know what you think!

Mini kitchen reveal. Photo by Holly Tierney-Bedord. All rights reserved.
Tiny kitchen, flipped. Photo by Holly Tierney-Bedord. Flip This (Mini) House. All rights reserved.

Tiny kitchen, flipped. Photo by Holly Tierney-Bedord. Flip This (Mini) House. All rights reserved.
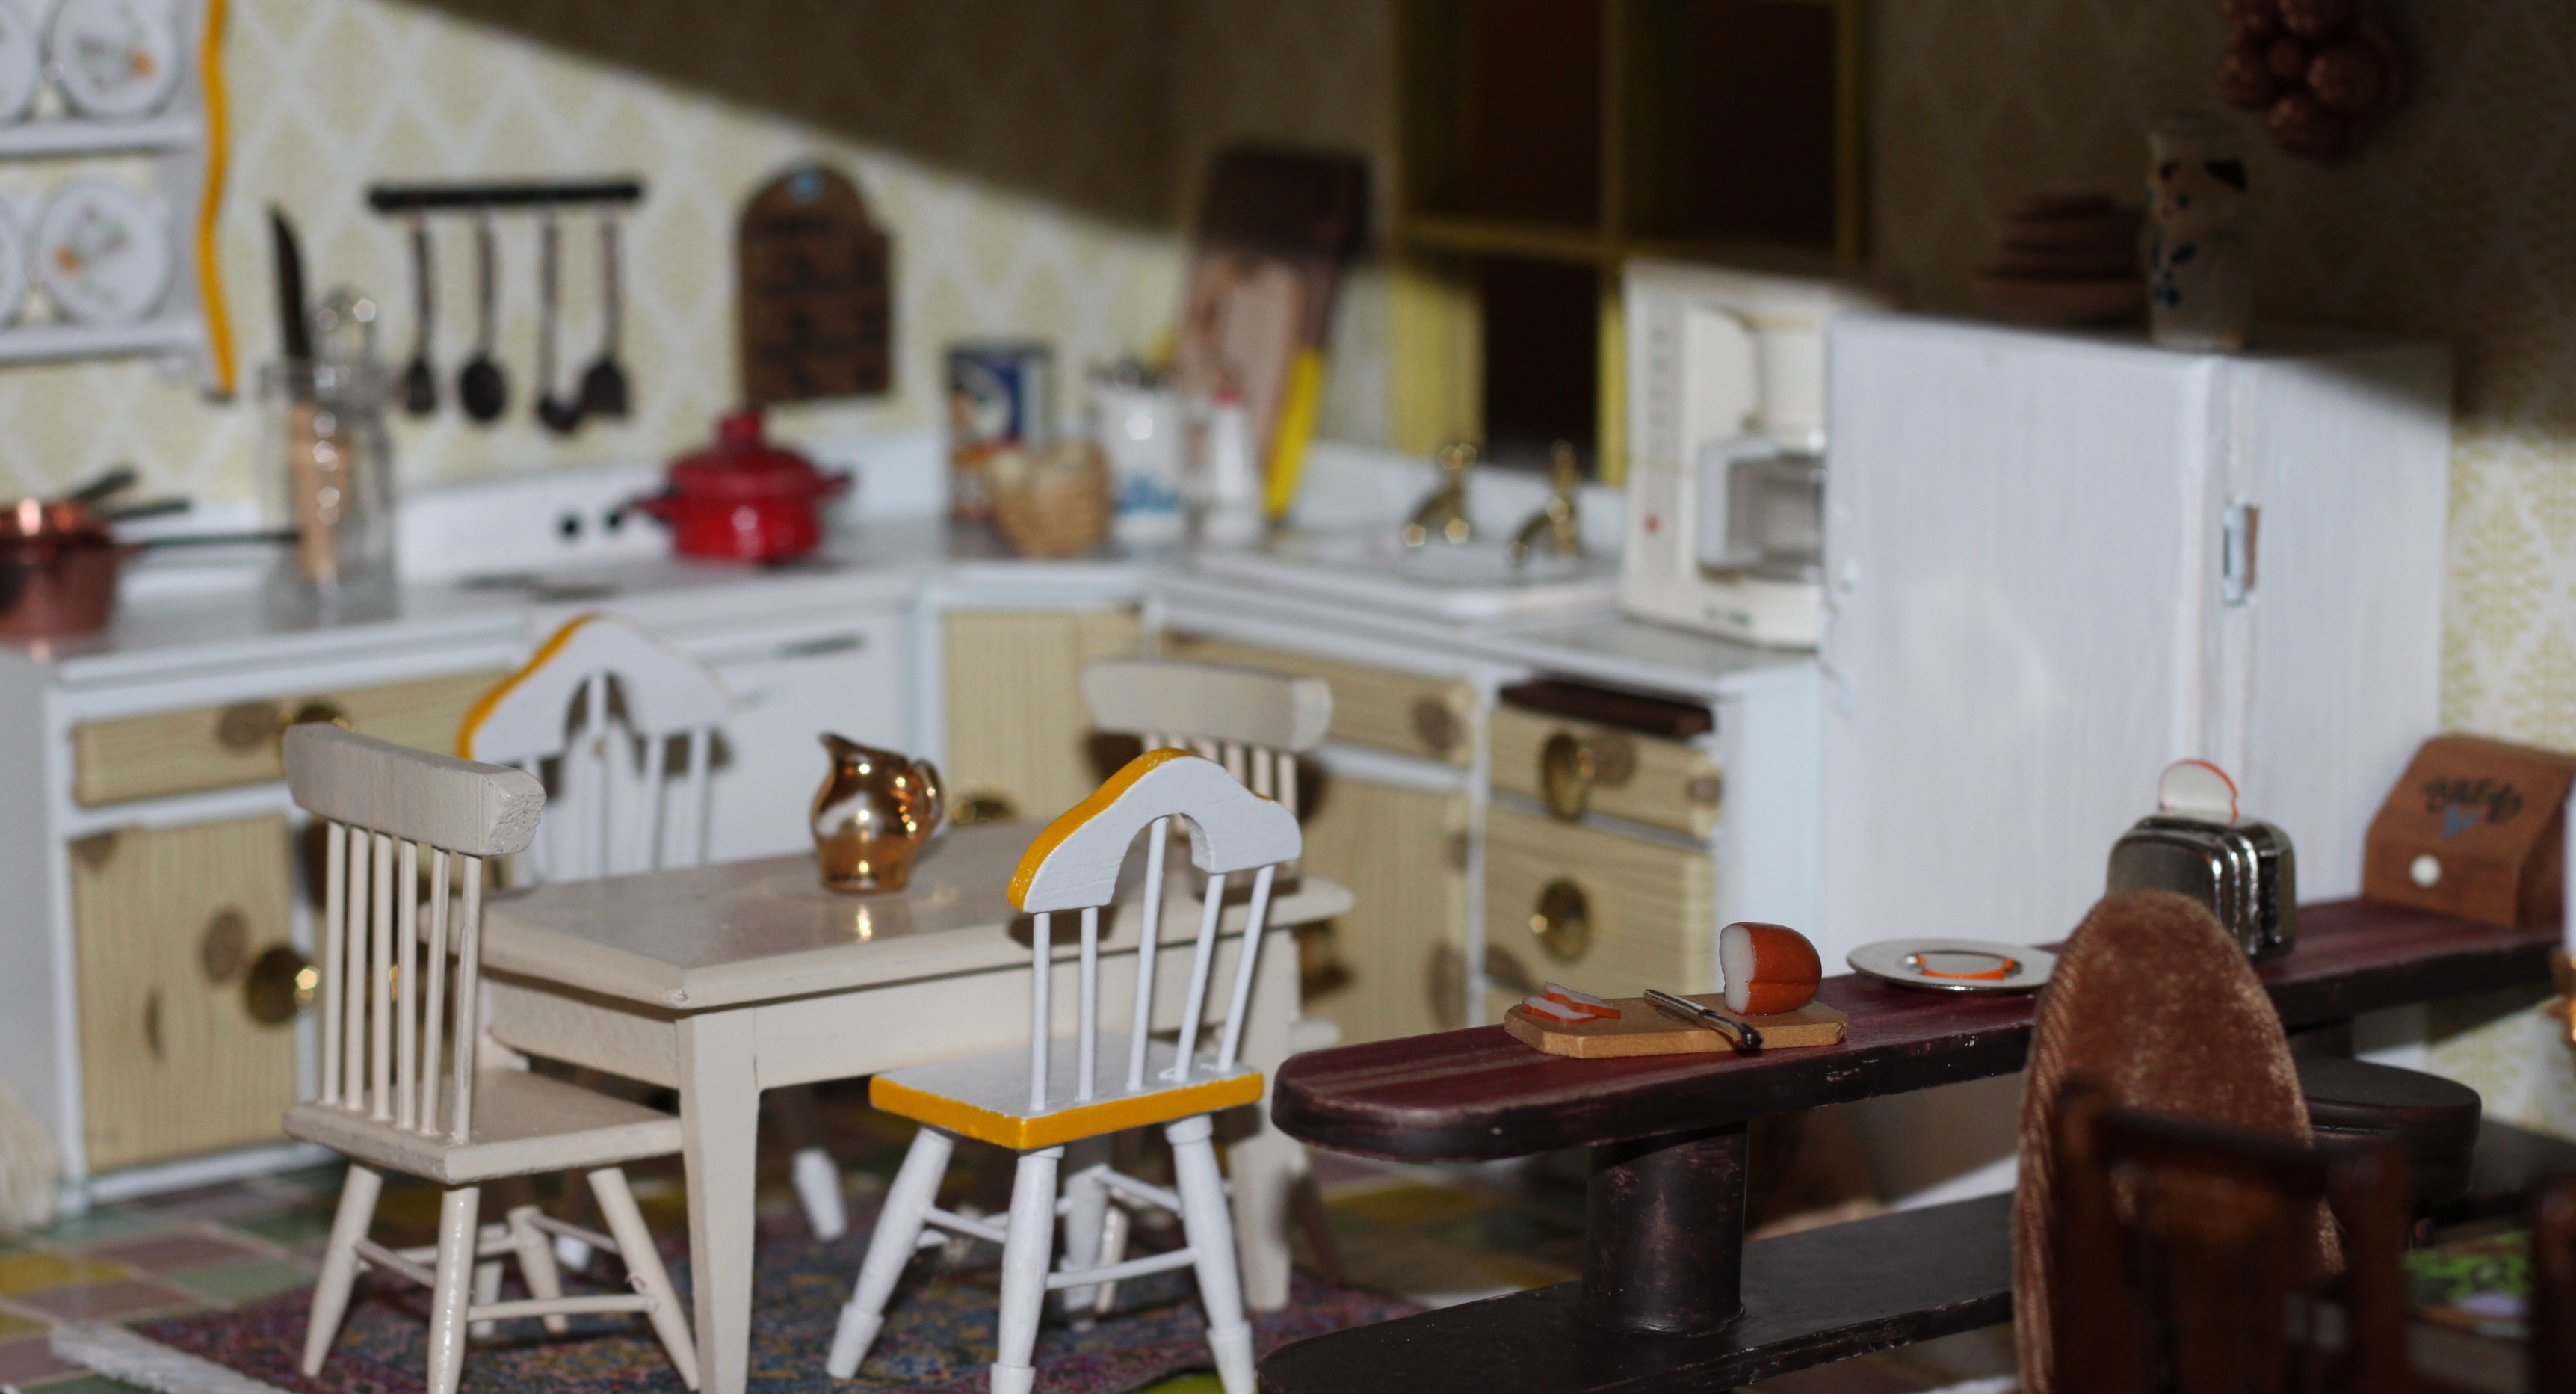
Tiny kitchen, flipped. Photo by Holly Tierney-Bedord. Flip This (Mini) House. All rights reserved.

Something’s cooking in the kitchen… Photo by Holly Tierney-Bedord. Flip This (Mini) House. All rights reserved.
It’s almost ready for the grand unveiling! Here’s a look at the exterior:
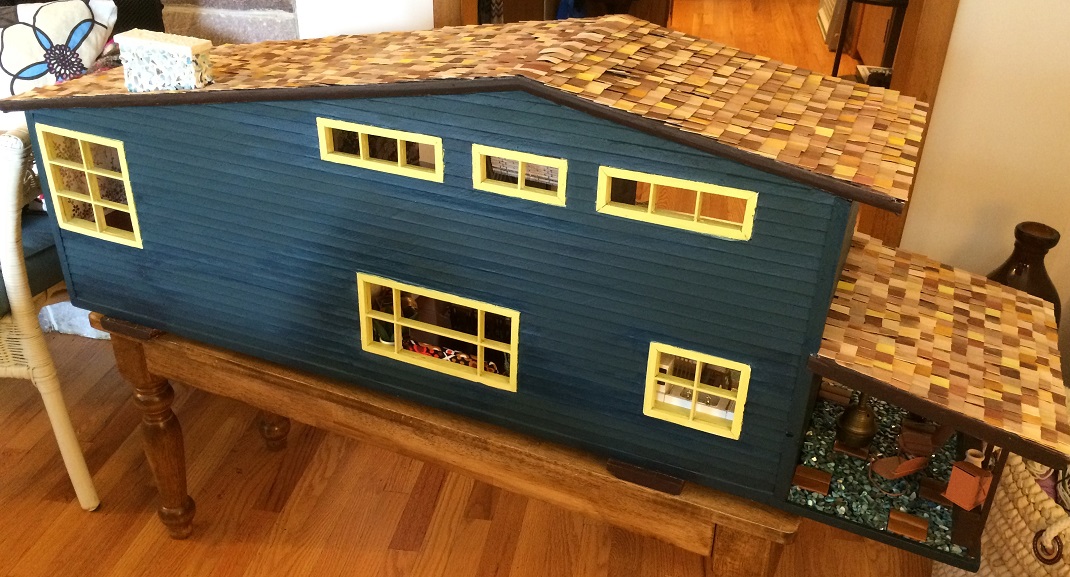
Flip This (Mini) House — almost completed! Photo by Holly Tierney-Bedord. All rights reserved.
Soon you’ll get to see the other side! See which of my handmade items, eBay finds, splurges, and repurposed household objects made the final cut. But first, there are a few more pieces of trim to install, a couple of places where the paint needs to be touched up, and a some final decorating decisions to be made.
I’ve always loved dollhouses. Last summer (July, I think) my friend and her husband spotted a mid century dollhouse at a flea market and sent me a text, asking if they should buy it for me. It was just $35, appeared to be pretty solid looking, and had an awesome, unique split level layout.
“Sure!” I said.
A few hours later they were delivering it to me. Here’s how it looked on the day I got it:
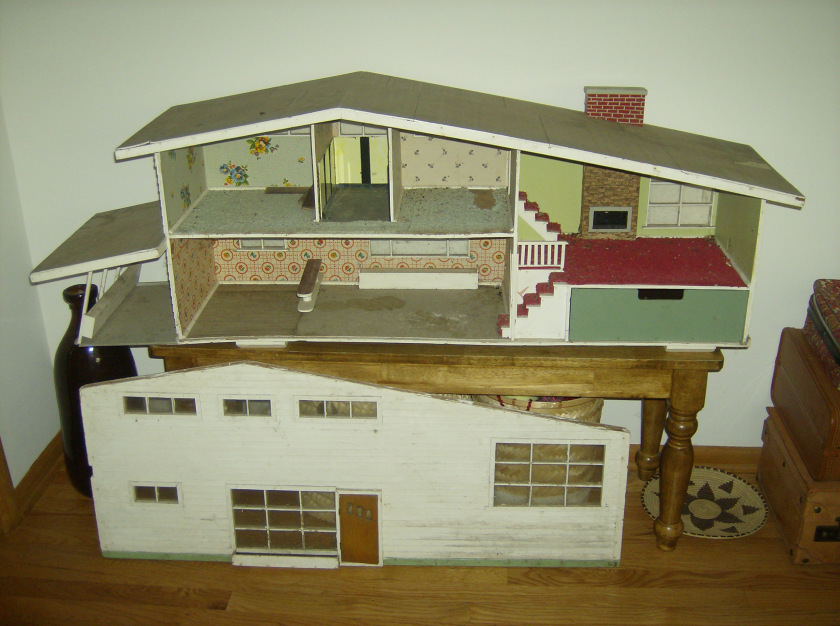
Day 1 of my mini house. Photo by Holly Tierney-Bedord. All rights reserved.
Since then I’ve been hard at work creating furniture and accessories from scratch, tweaking store-bought furniture and accessories, and making over everything inside. Here are a few of the accessories and pieces of furniture I created from things like coasters, handles, and yarn that I wove on a potholder loom:

Mini blinds made from a coaster.
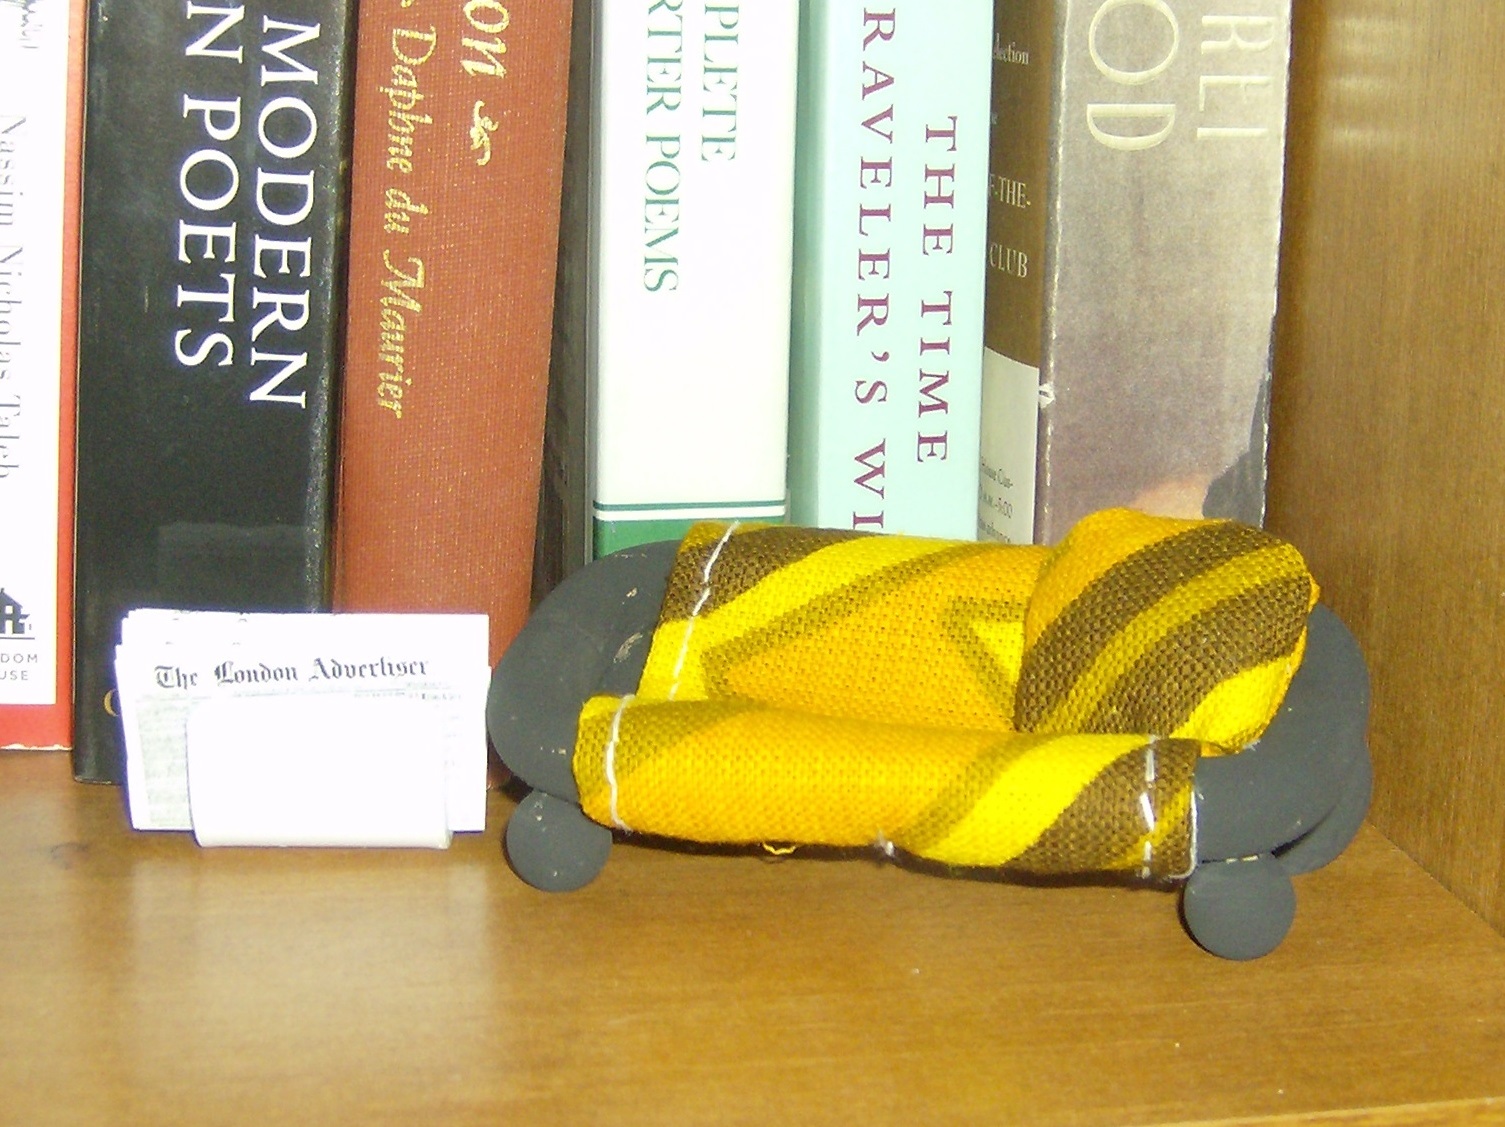
Tiny love seat made from two wooden handles, a mid century cloth napkin, and some small wooden balls. The tiny newspaper rests in a metal doodad from Habitat for Humanity Re-Store.

A small rug/blanket woven on a potholder loom. Photos by Holly Tierney-Bedord. All rights reserved.
It took me months just to get all the wallpaper and flooring removed!
Here’s a look at some of the rooms in progress:

A look at my mini kitchen and dining area, in progress.

Living room in progress.
And now here’s a look at some of the rooms today:
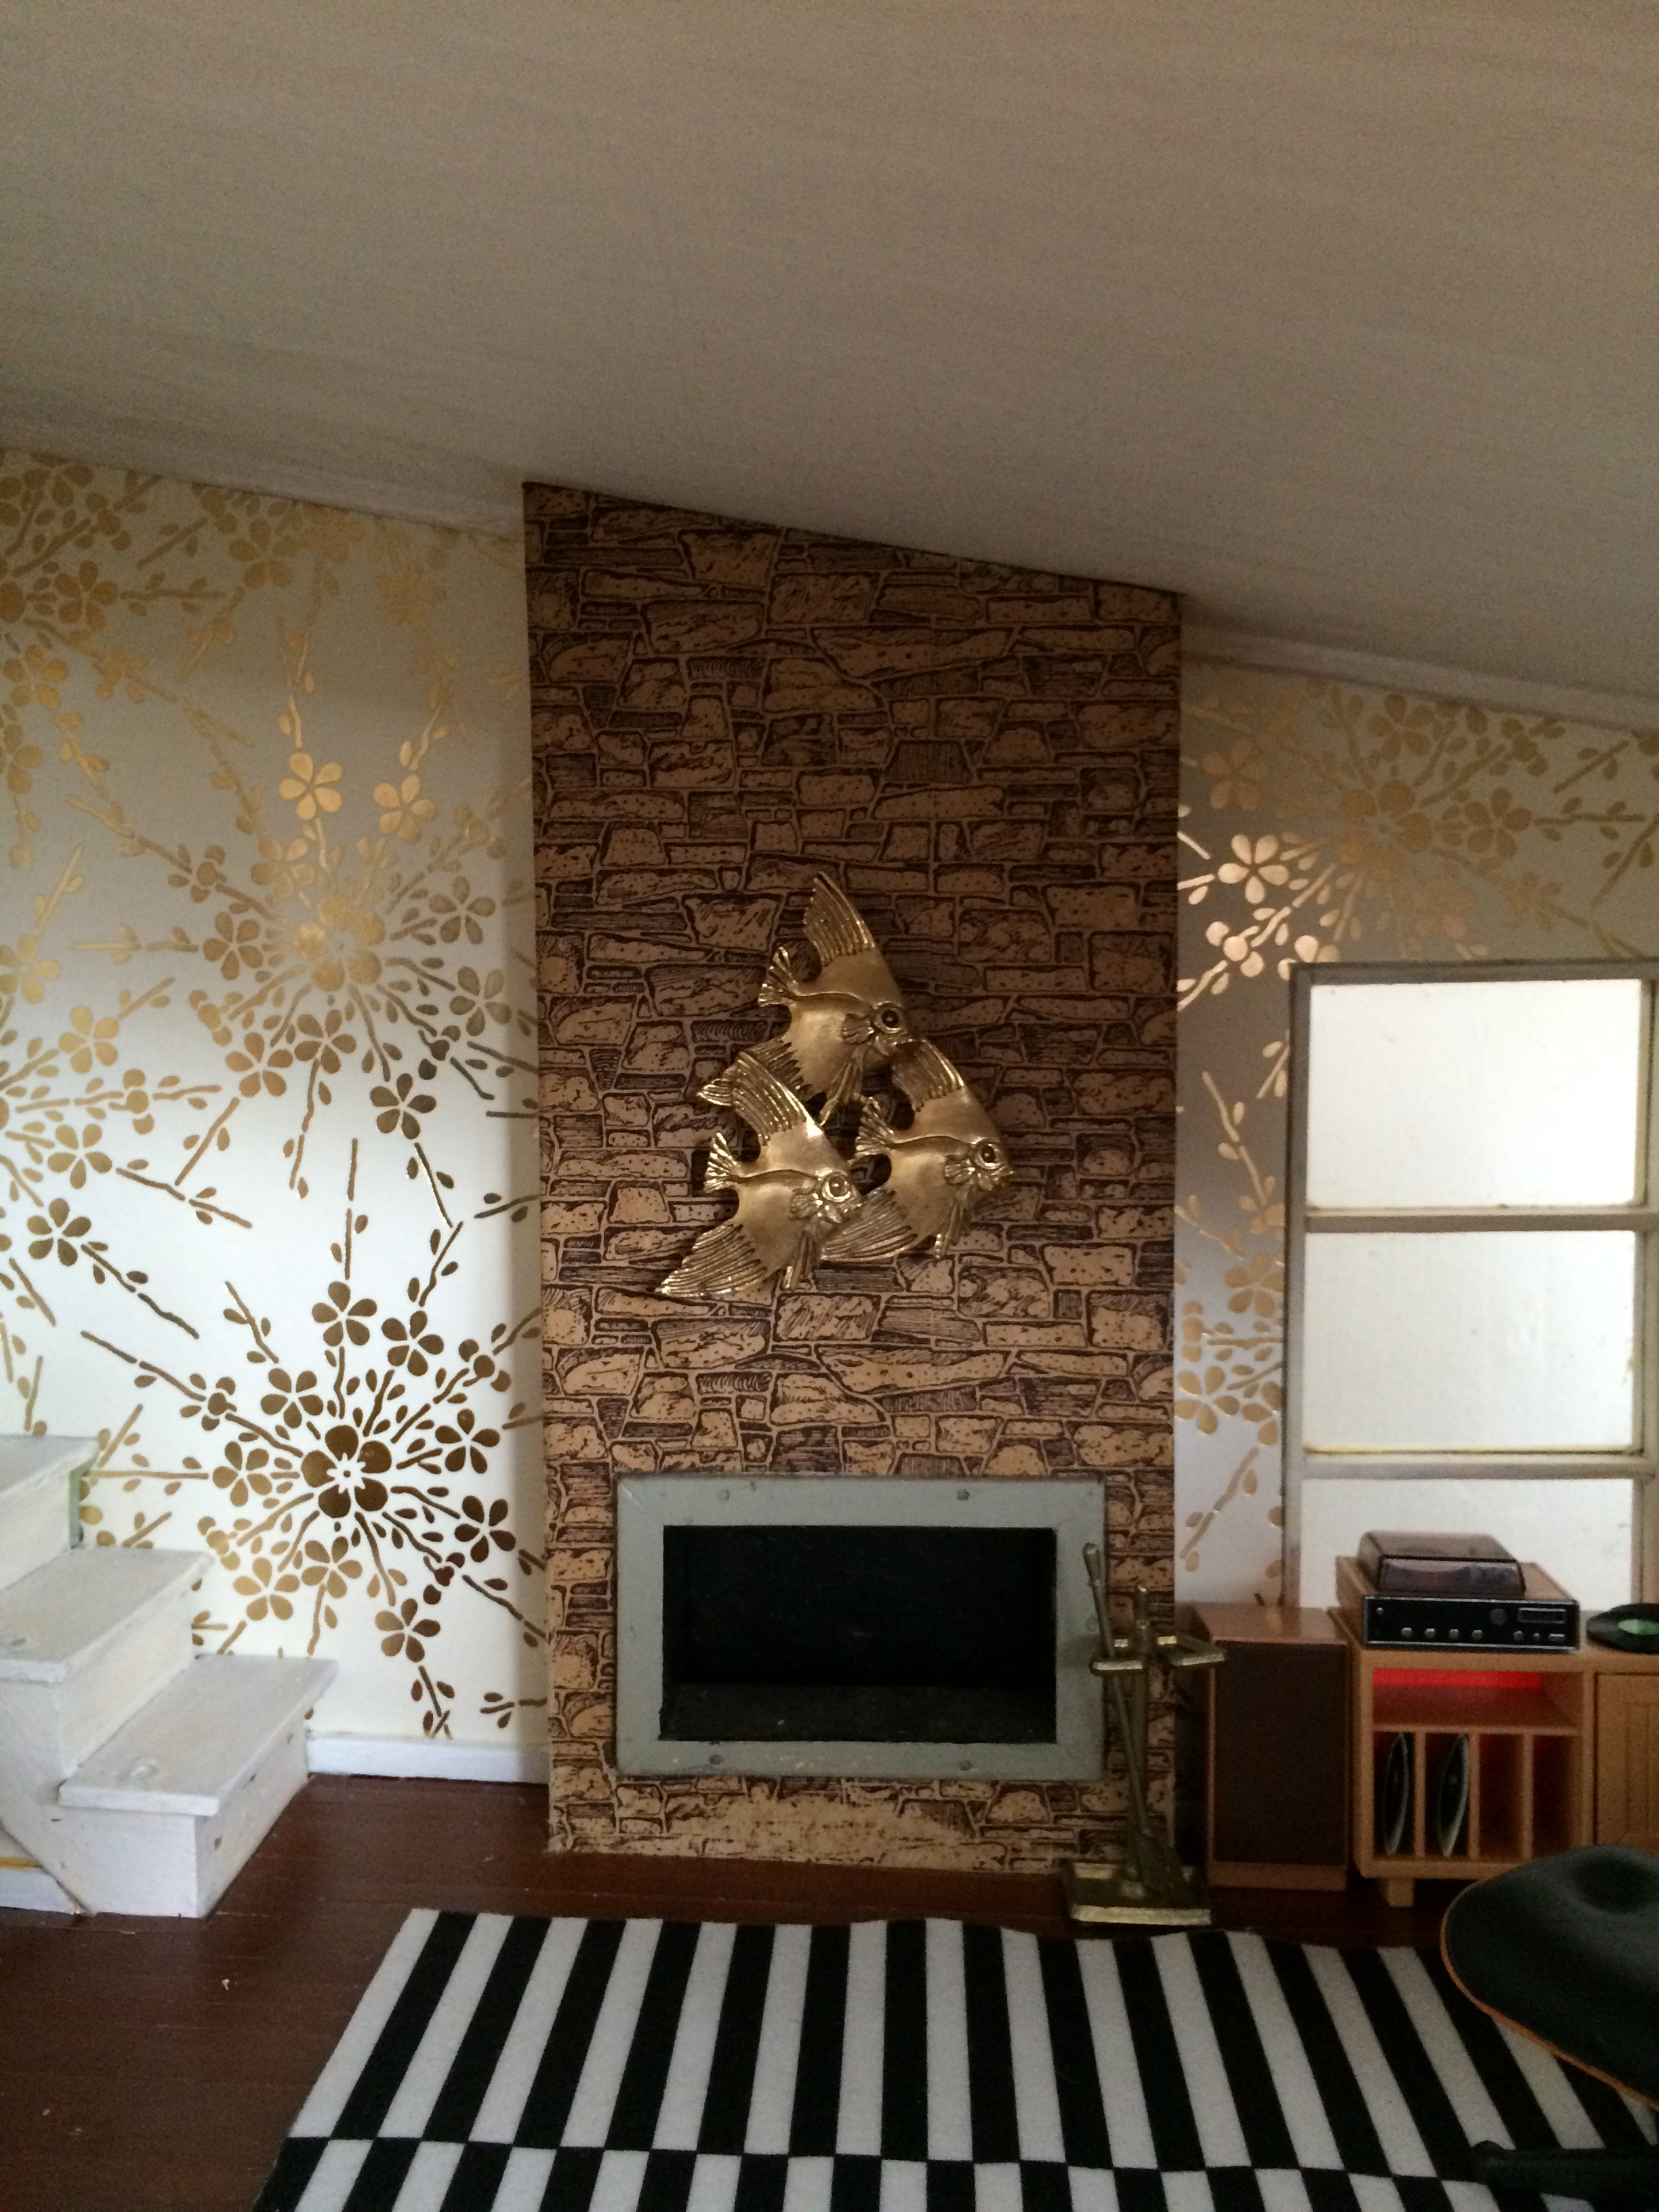
Trying out furniture and decor in the living room.

This kitchen is coming along! All photos by Holly Tierney-Bedord. All rights reserved.
For all the details, and to see the final unveiling which will hopefully happen in the later spring/summer, follow me here on WordPress or on the Flip This Mini House Facebook page.
Despite the horrendous demoing process (No pictures necessary. Let me just say, I’ll be lucky if my house stays intact as I tear out these superglued-in floors), I am maintaining a positive attitude.
I recently acquired this vintage miniature dresser that features hand-painted rosemaling. It is solid wood and has great details, like mid-century legs and real drawers. It was just $6.00. What a find! It’s going to be a wonderful addition to the master bedroom. Rosemaling might be classic Norwegian, but to me it screams 1972.


Also, for the office, I got a miniature Mr. Arty! It’s meant to be a key chain, but the key chain portion was easily removed. Once that happened, Arty took off running like a gingerbread man escaping from a cookie sheet. He tried to get out the window, but the glass blocked him in.
Any art majors out there recall seeing this little wooden guy (and his counterpart, Handy) reclining in classrooms across America, supposedly helping us to capture the nuances of the human form. Now my mini dollhouse will have its own little Arty to recline on the office desk or bookshelf. I think once he gets used to it, he’ll realize it’s a pretty nice place.


The bathroom in my mid century dollhouse has no door, so I knew I needed to find a way to give any miniature visitors to the space some privacy without blocking the view too much. My solution is this modern, beaded curtain, made of a rustic twig and four strands of pre-strung beading from the jewelry section of a local craft store (Sharpie shown for scale). The divider will be hung at ceiling height to fill the entire space going into the bathroom:

Boho chic room divider for my mid-century dollhouse. Photo by Holly Tierney-Bedord. All rights reserved.
Here is another quick, practically-free mid-century miniature project:
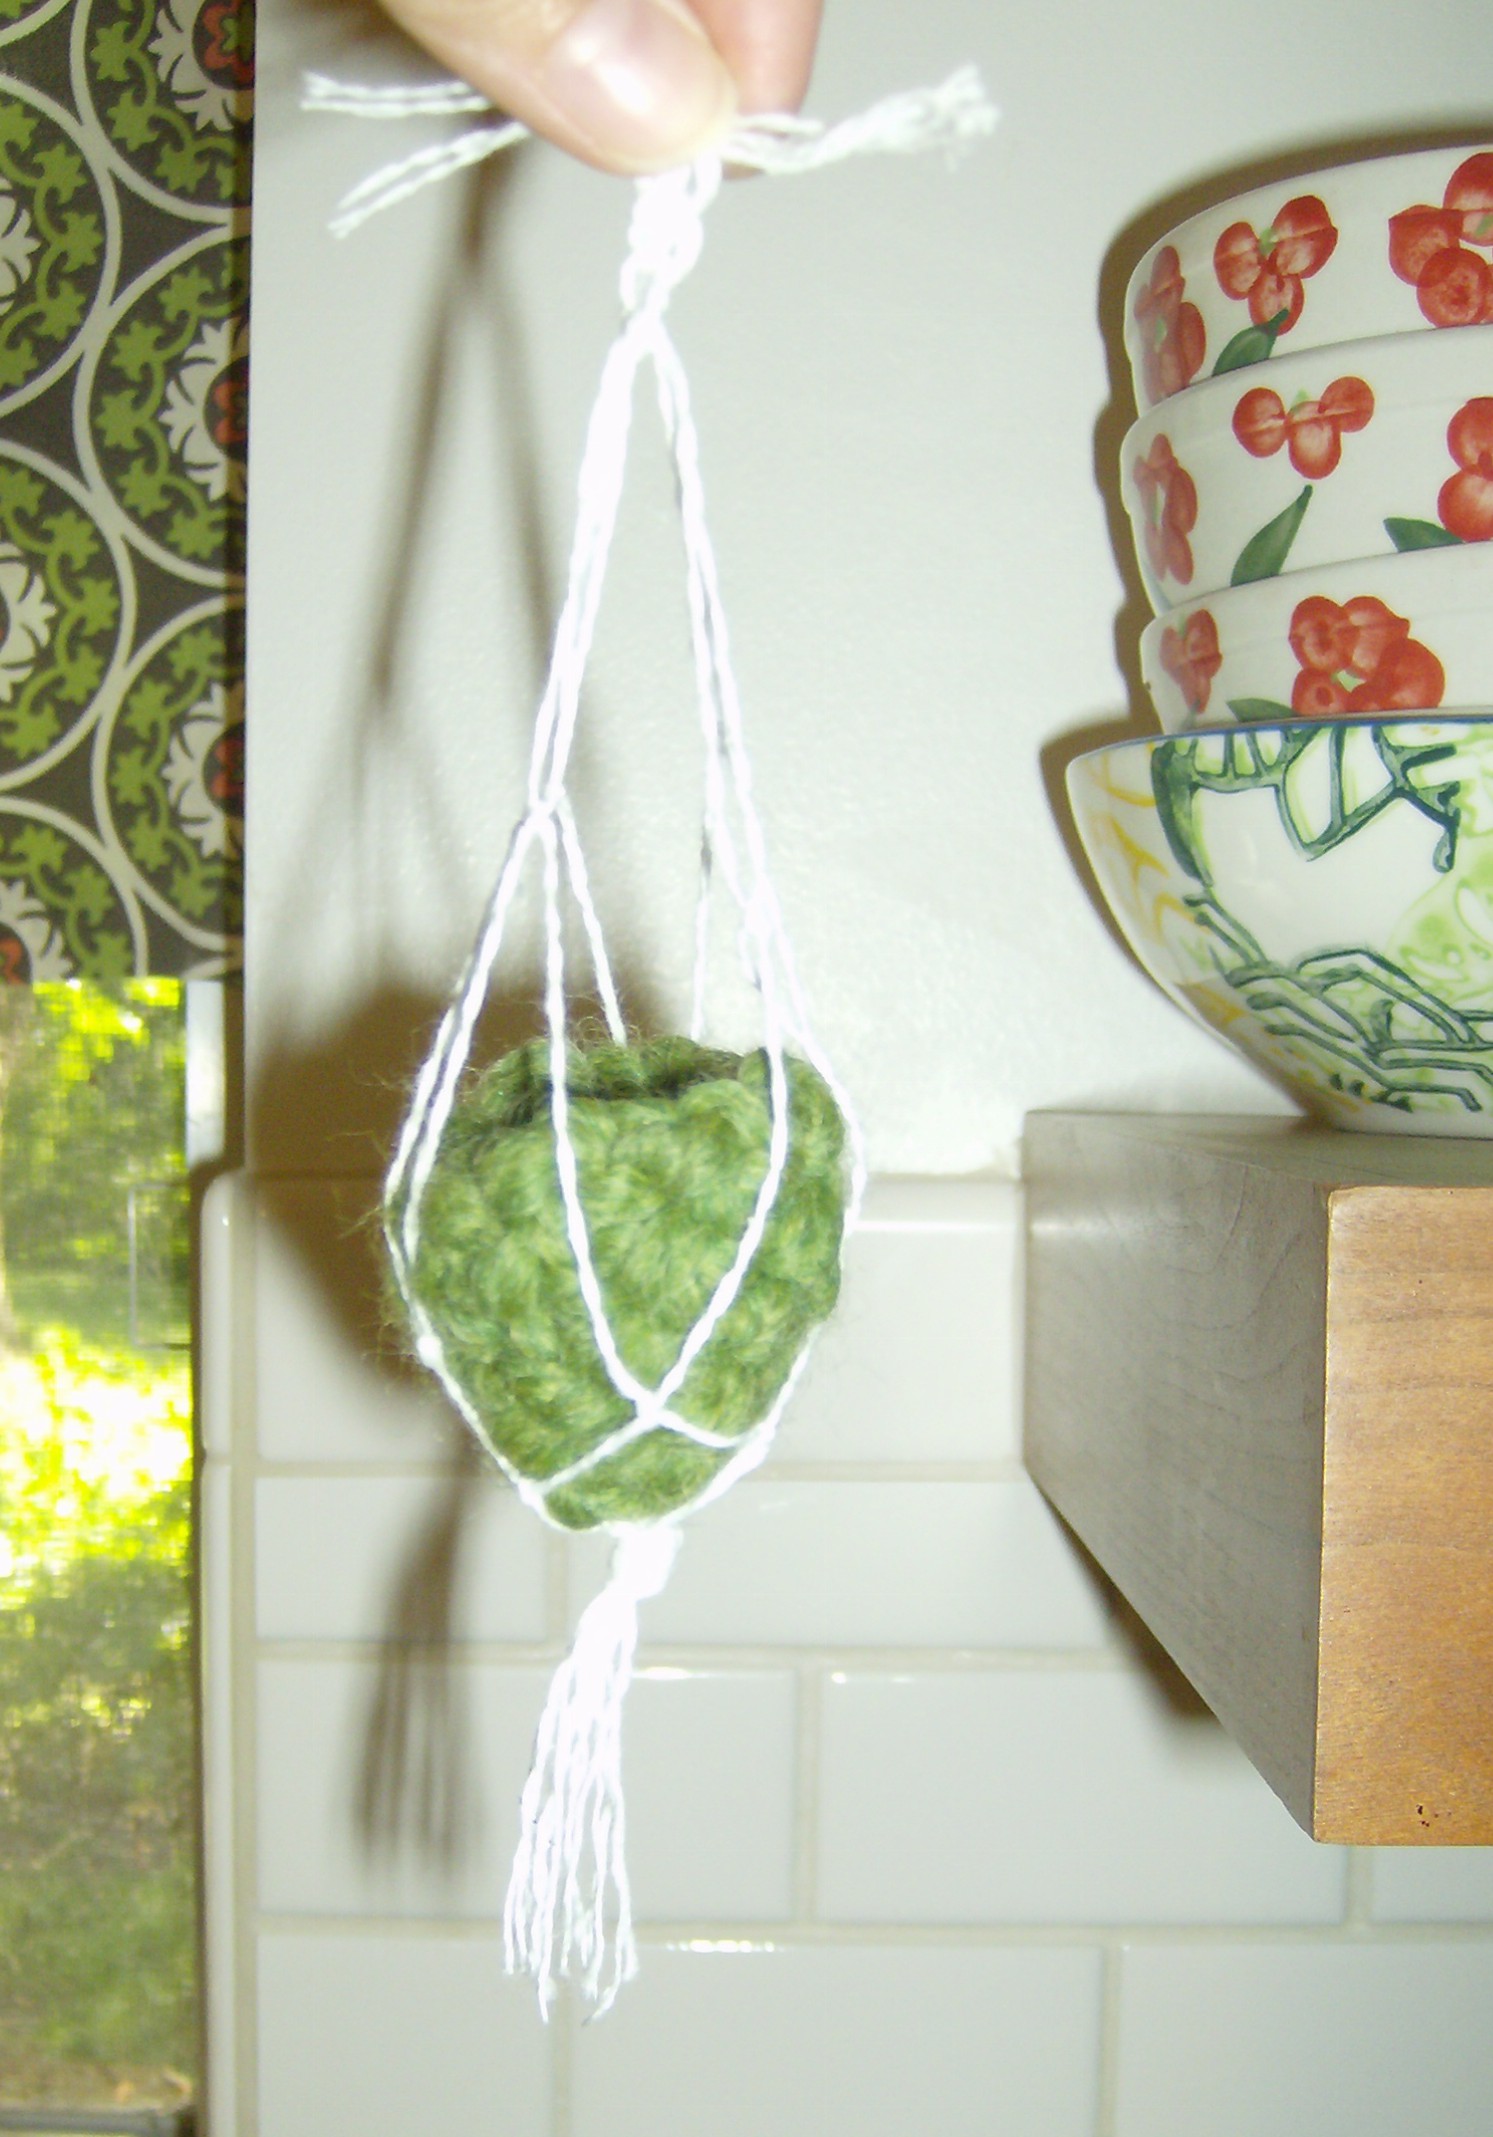
Tiny crocheted pot and thread macrame plant holder by Holly Tierney-Bedord. All rights reserved.
I am on the hunt for a leafy little plant to put inside. I think this will likely end up in the bedroom, since it matches the little comforter I made for the bed.
I created a template of my house and have been trying out paint color combinations. What do you think of these choices?

Color scheme ideas for my house. Illustration created by Holly Tierney-Bedord. All rights reserved.


