Along with a simple white set of canisters and the world’s cutest arrangement of cheeses, I’ve got a new mid-century kitchen table and chairs in my original Flip This (Mini) House! Take a look!


Along with a simple white set of canisters and the world’s cutest arrangement of cheeses, I’ve got a new mid-century kitchen table and chairs in my original Flip This (Mini) House! Take a look!
Here is a sneak peek at my front door!
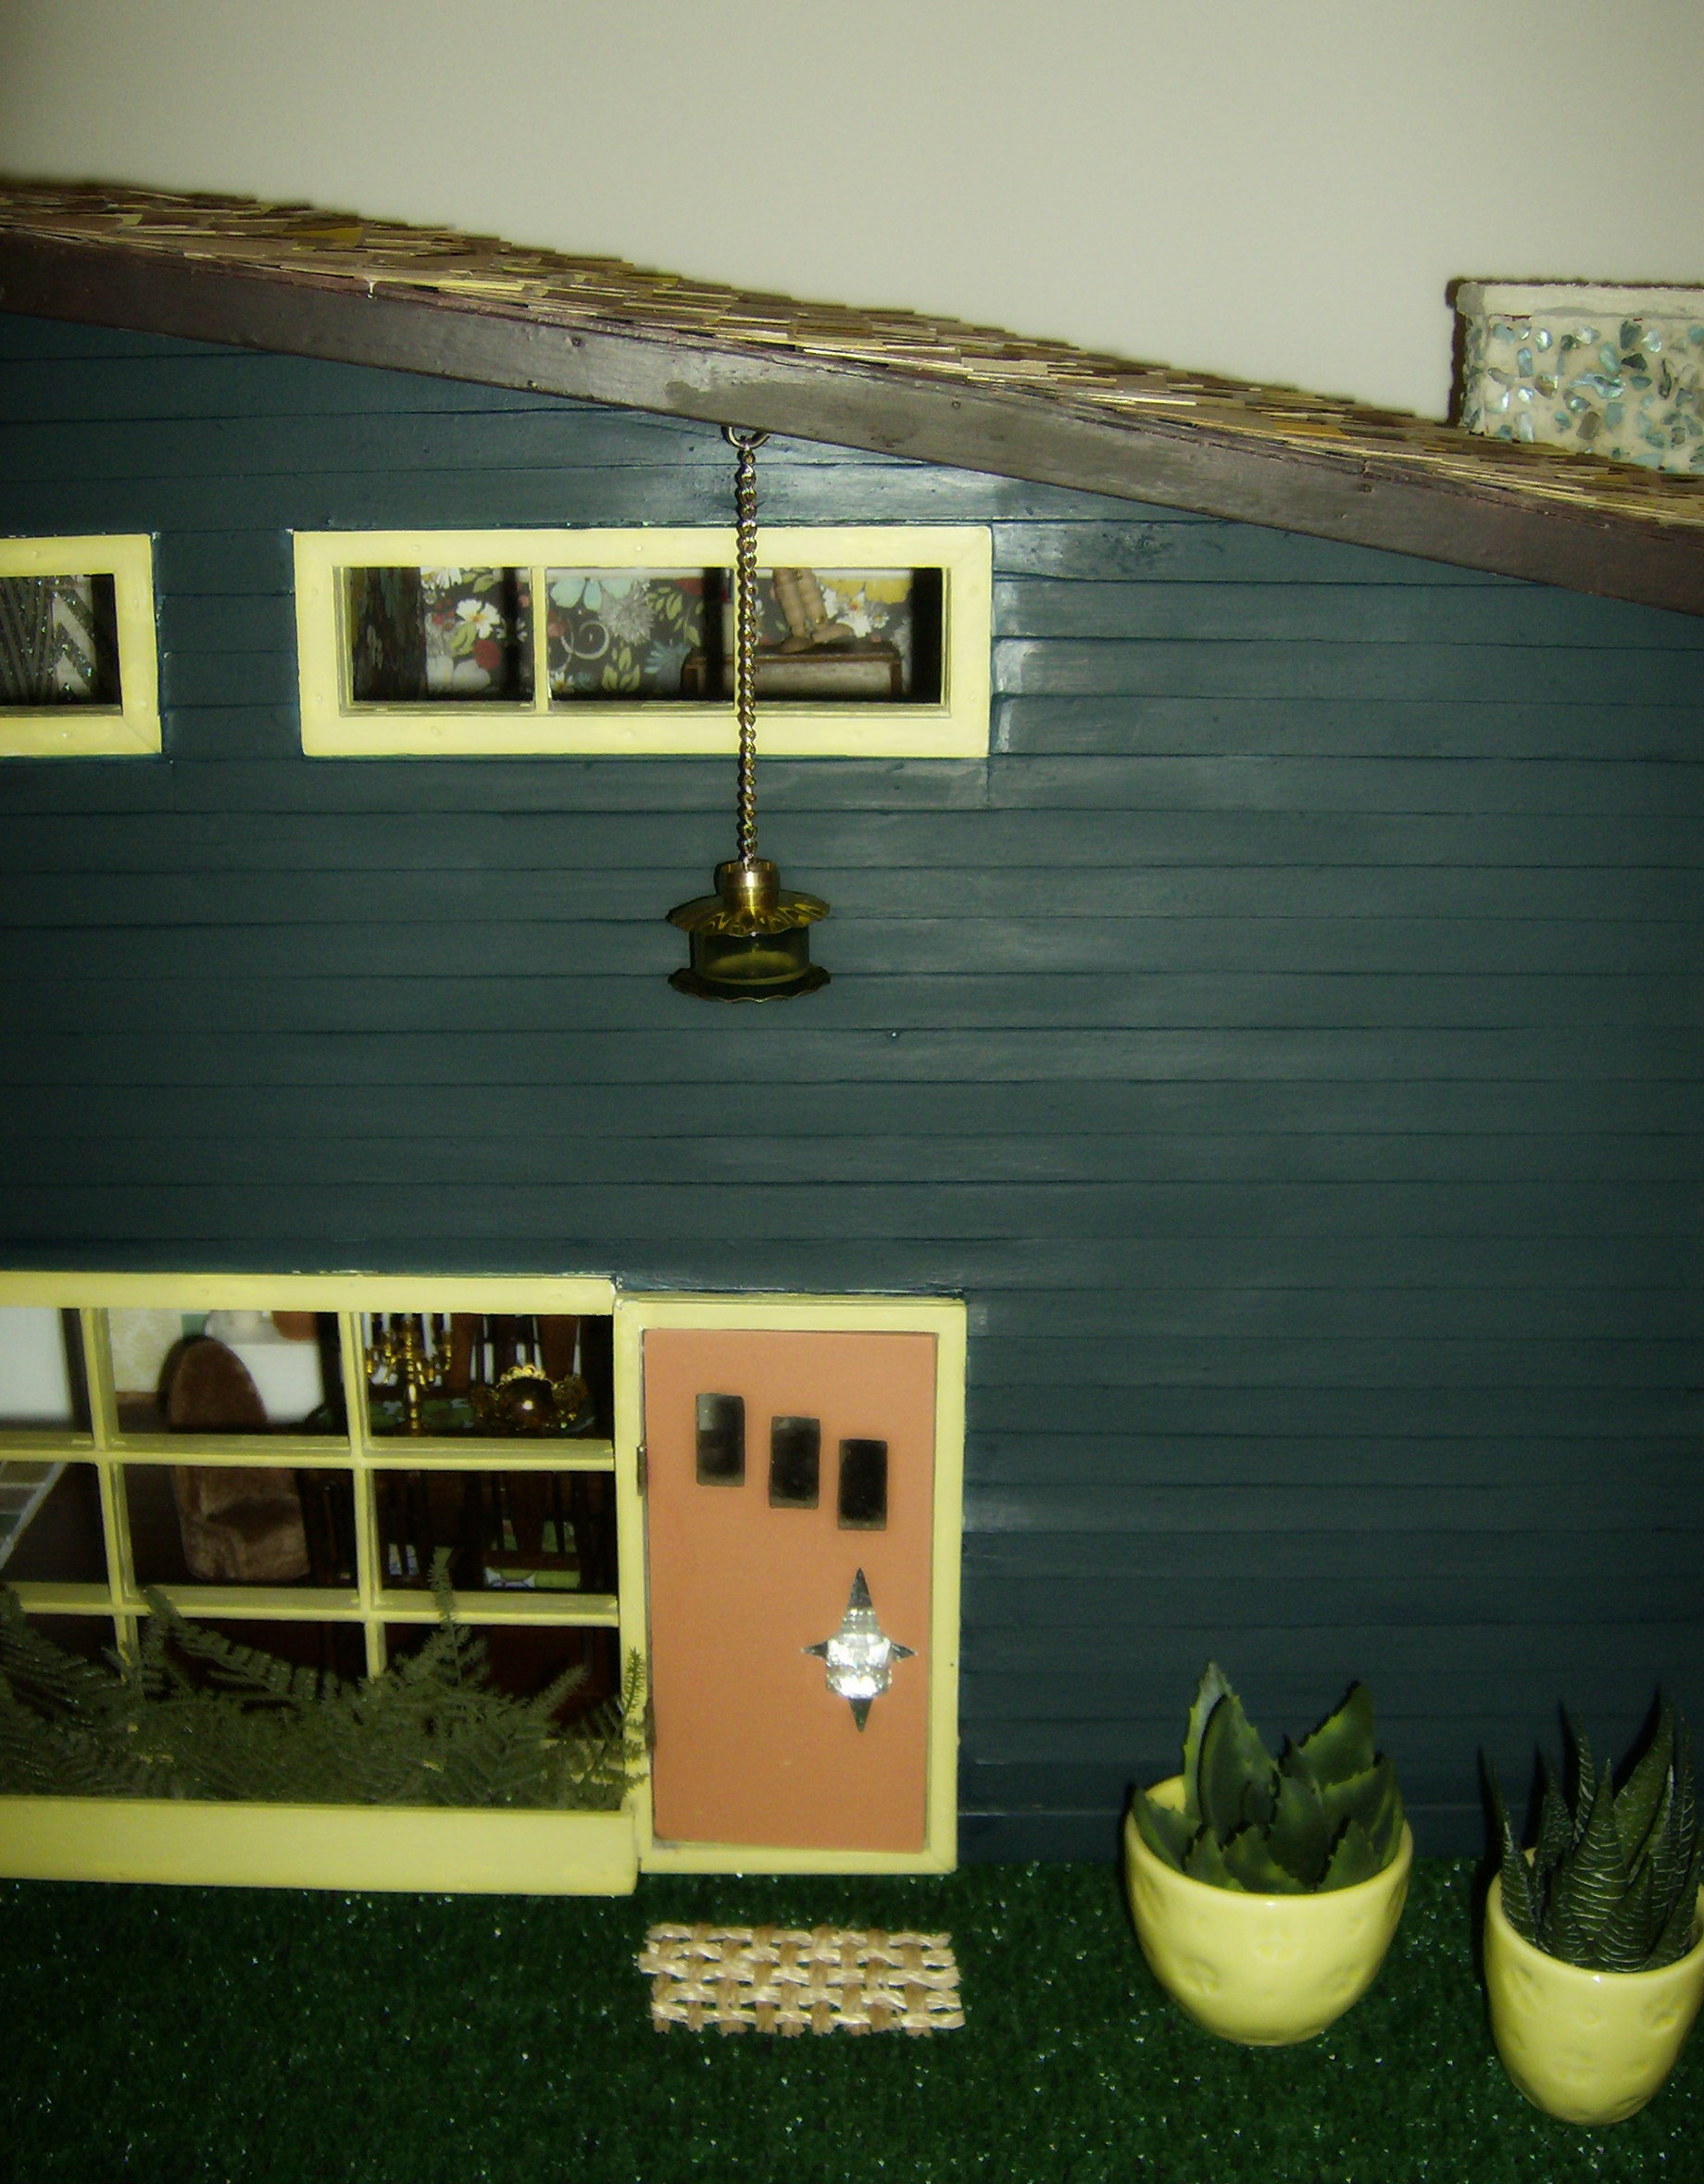
Sneak peek of my mini house. Photo by Holly Tierney-Bedord. All rights reserved.
The light above the door is made from a tiny bottle of Curve cologne, two candlestick wax catchers, a small brass ring, and a chain. The planters are West Elm measuring cups. The mid century doorknob and backplate are made from a button and star I cut from aluminum foil. The welcome mat is cut from a place mat.
Not long ago I got this dining room set on eBay:

eBay find
To me, it looks like furniture actually looked in the 70’s. There’s none of the teak, Danish modern 1960’s thing going on with it, which is what I’d ideally like for the dining room.
I decided to give it a makeover to see if I could convince myself to love it. After all, I’ve been looking high and low for the “perfect” set for months, and I don’t think I’m going to find it.
Here is some vintage fabric I just picked up at a St. Vinny’s in Canada (My goal: to visit every St. Vinny’s in the world).

Authentic Canadian fabric. Photos by Holly Tierney-Bedord. All rights reserved.
I especially love the bottom pattern. I might have to turn that one into something for my real house.
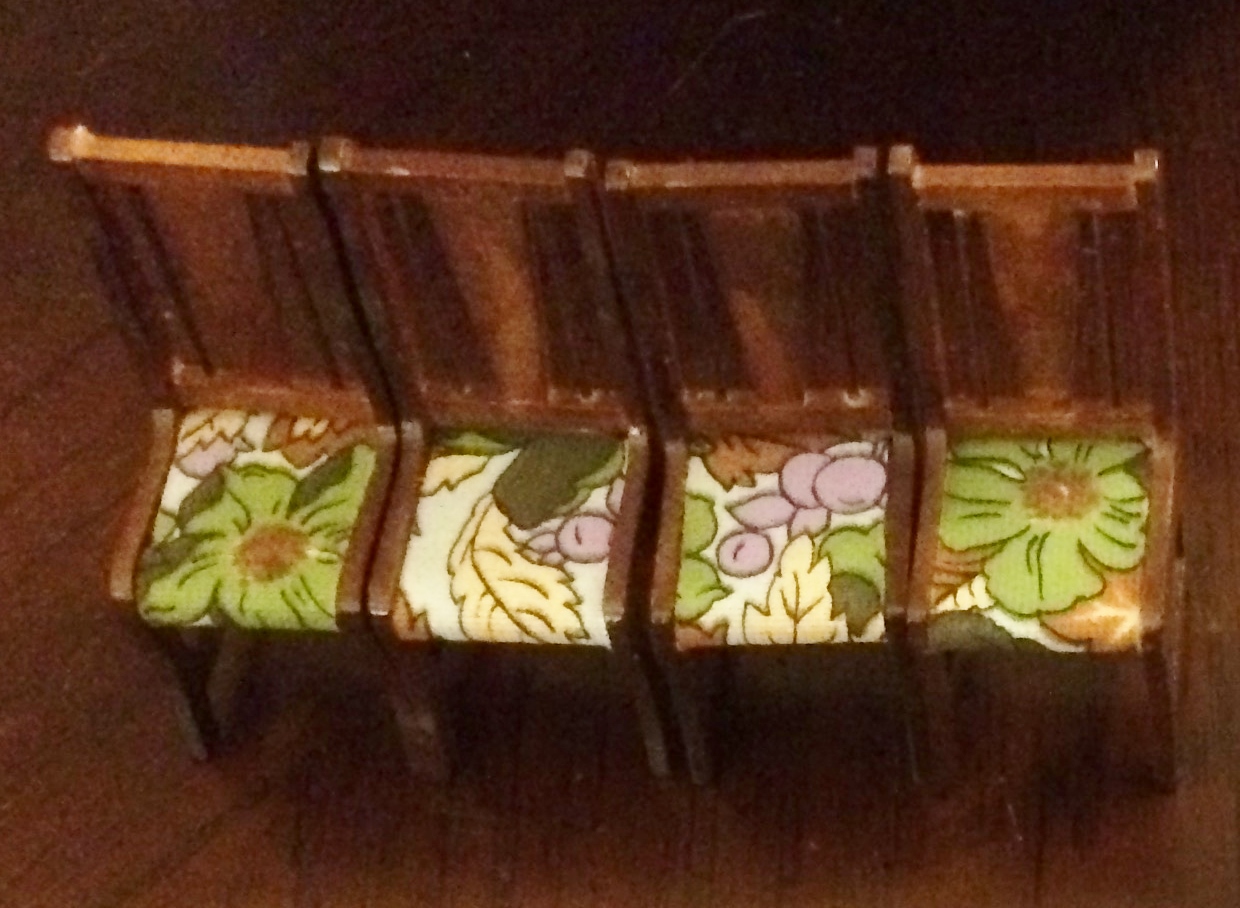
Here’s the fabric again, beside one of the dining room chairs. I’m determining which pattern works best with the scale. I also set each in the kitchen/dining area to see which colors blended best with the wallpaper and adjacent kitchen tiles.
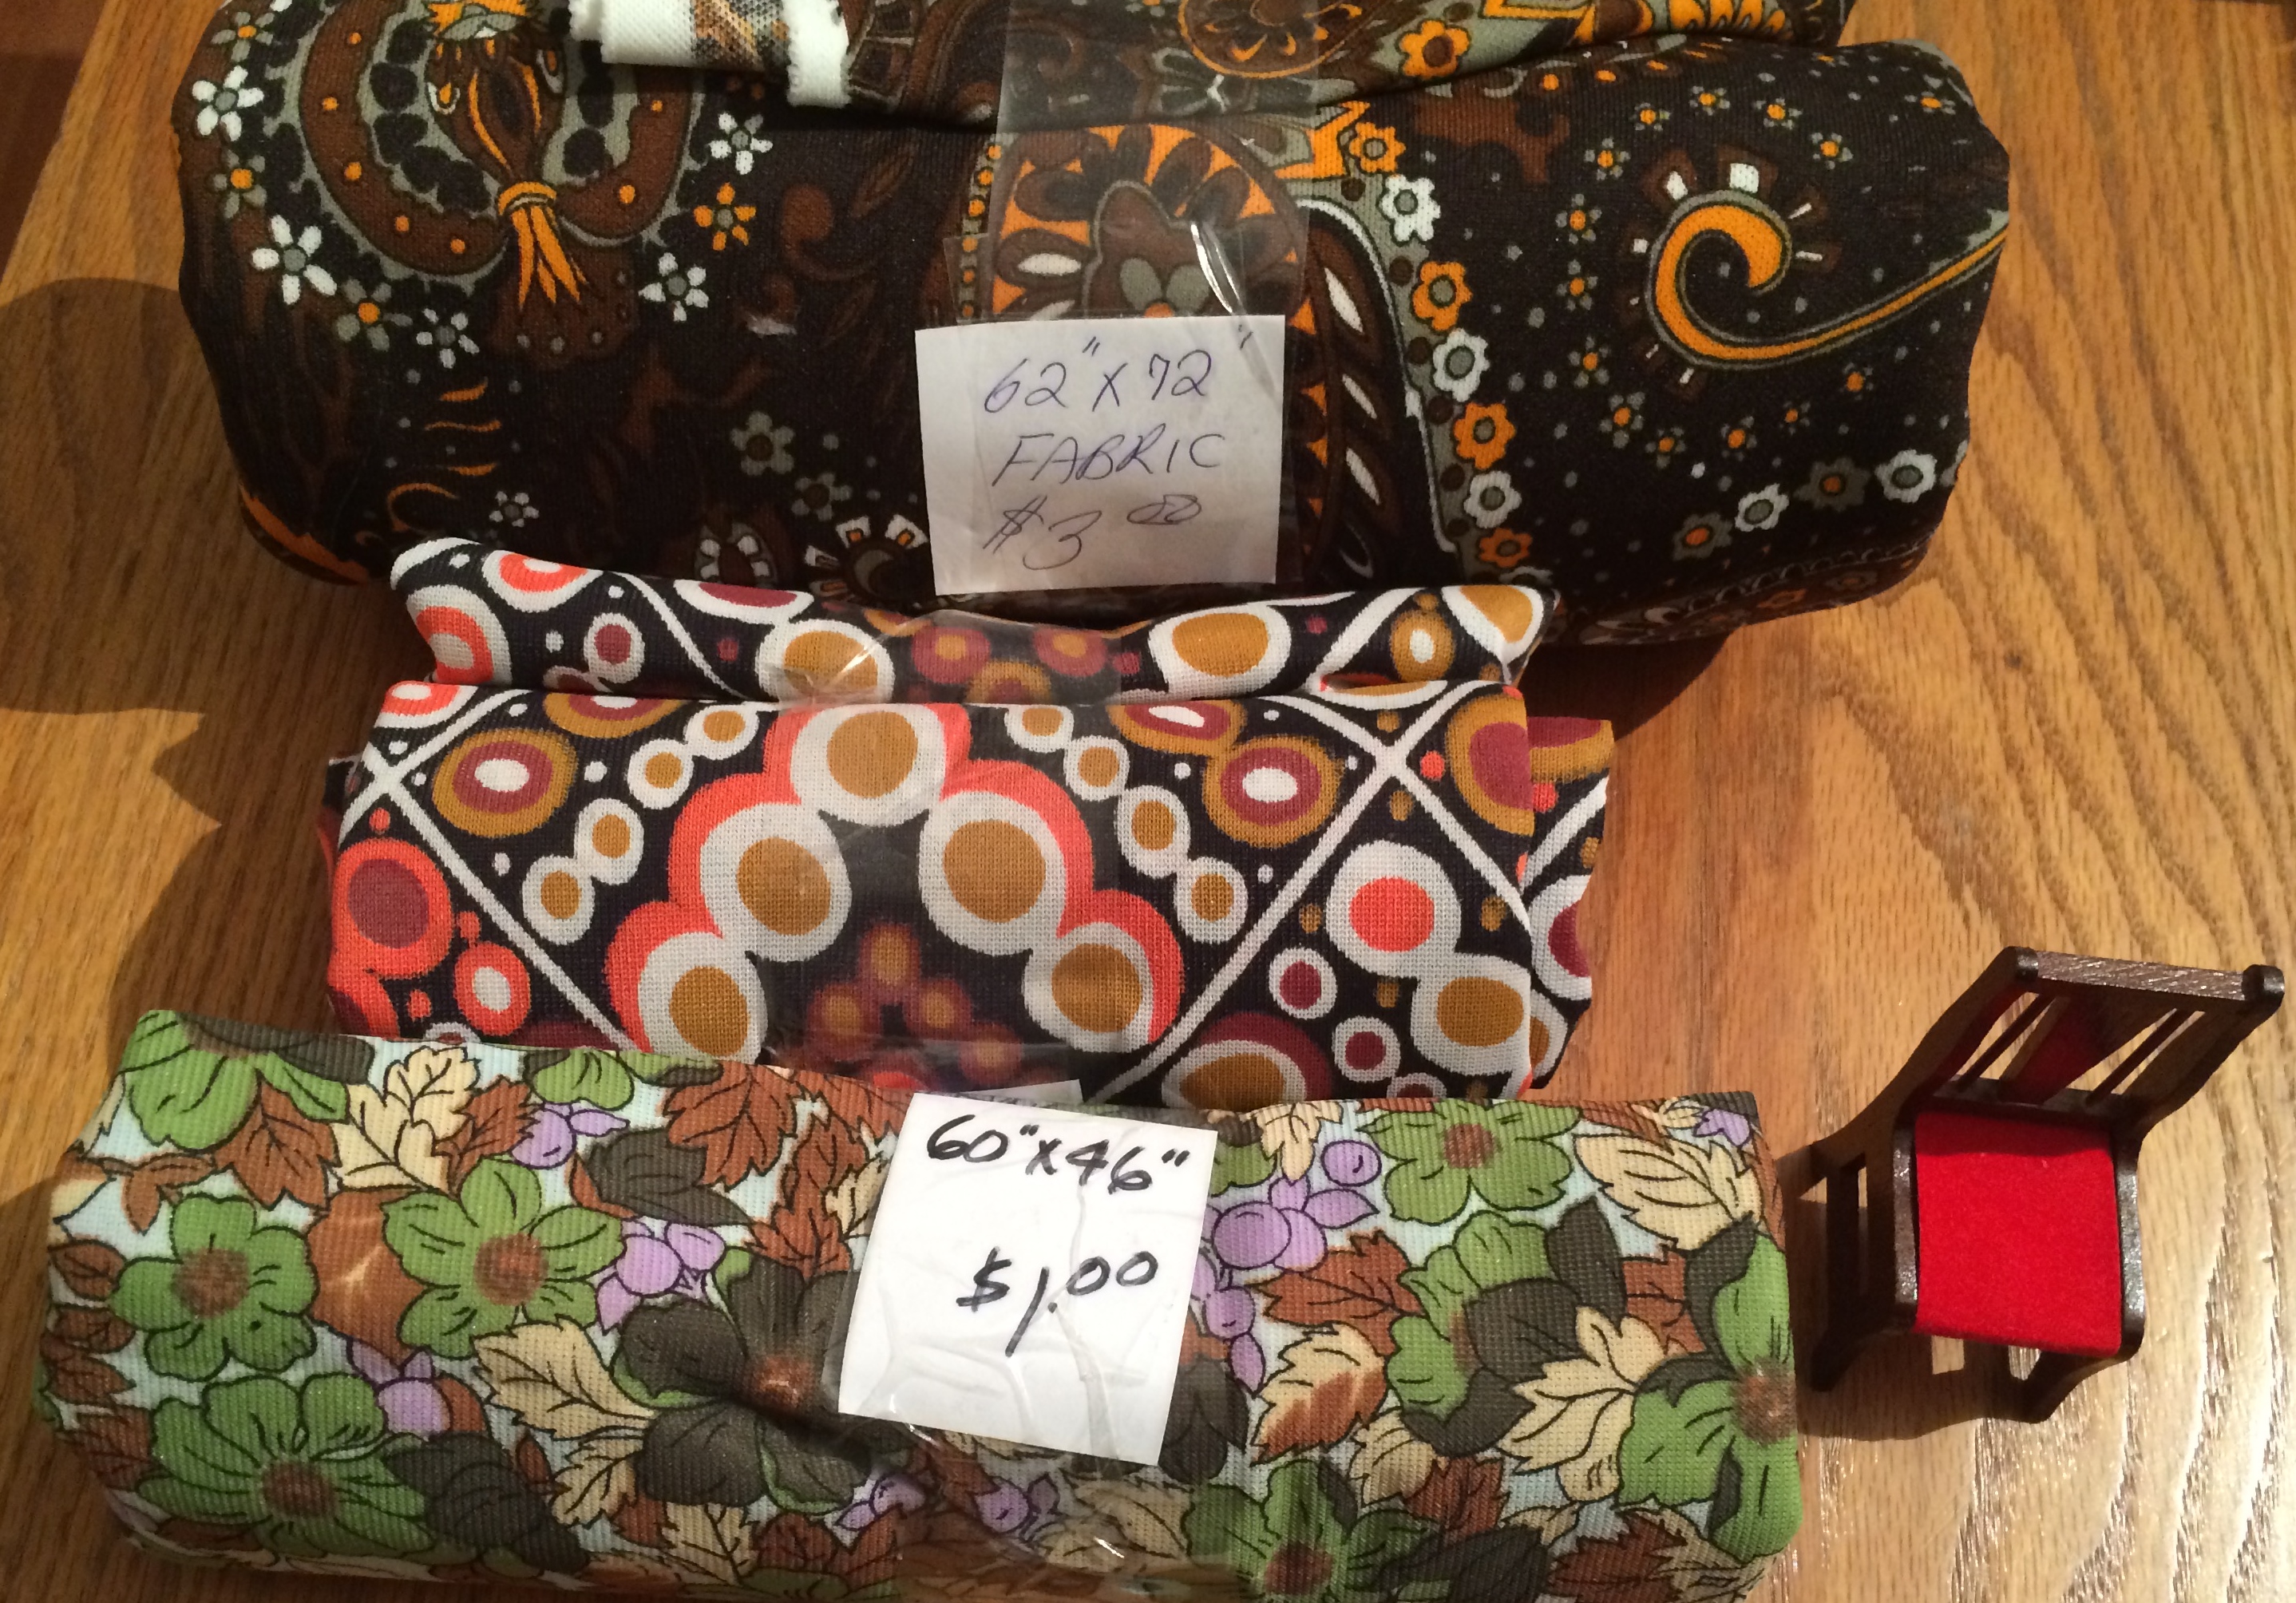
Choosing fabric for the chair.

The winner is… This one!
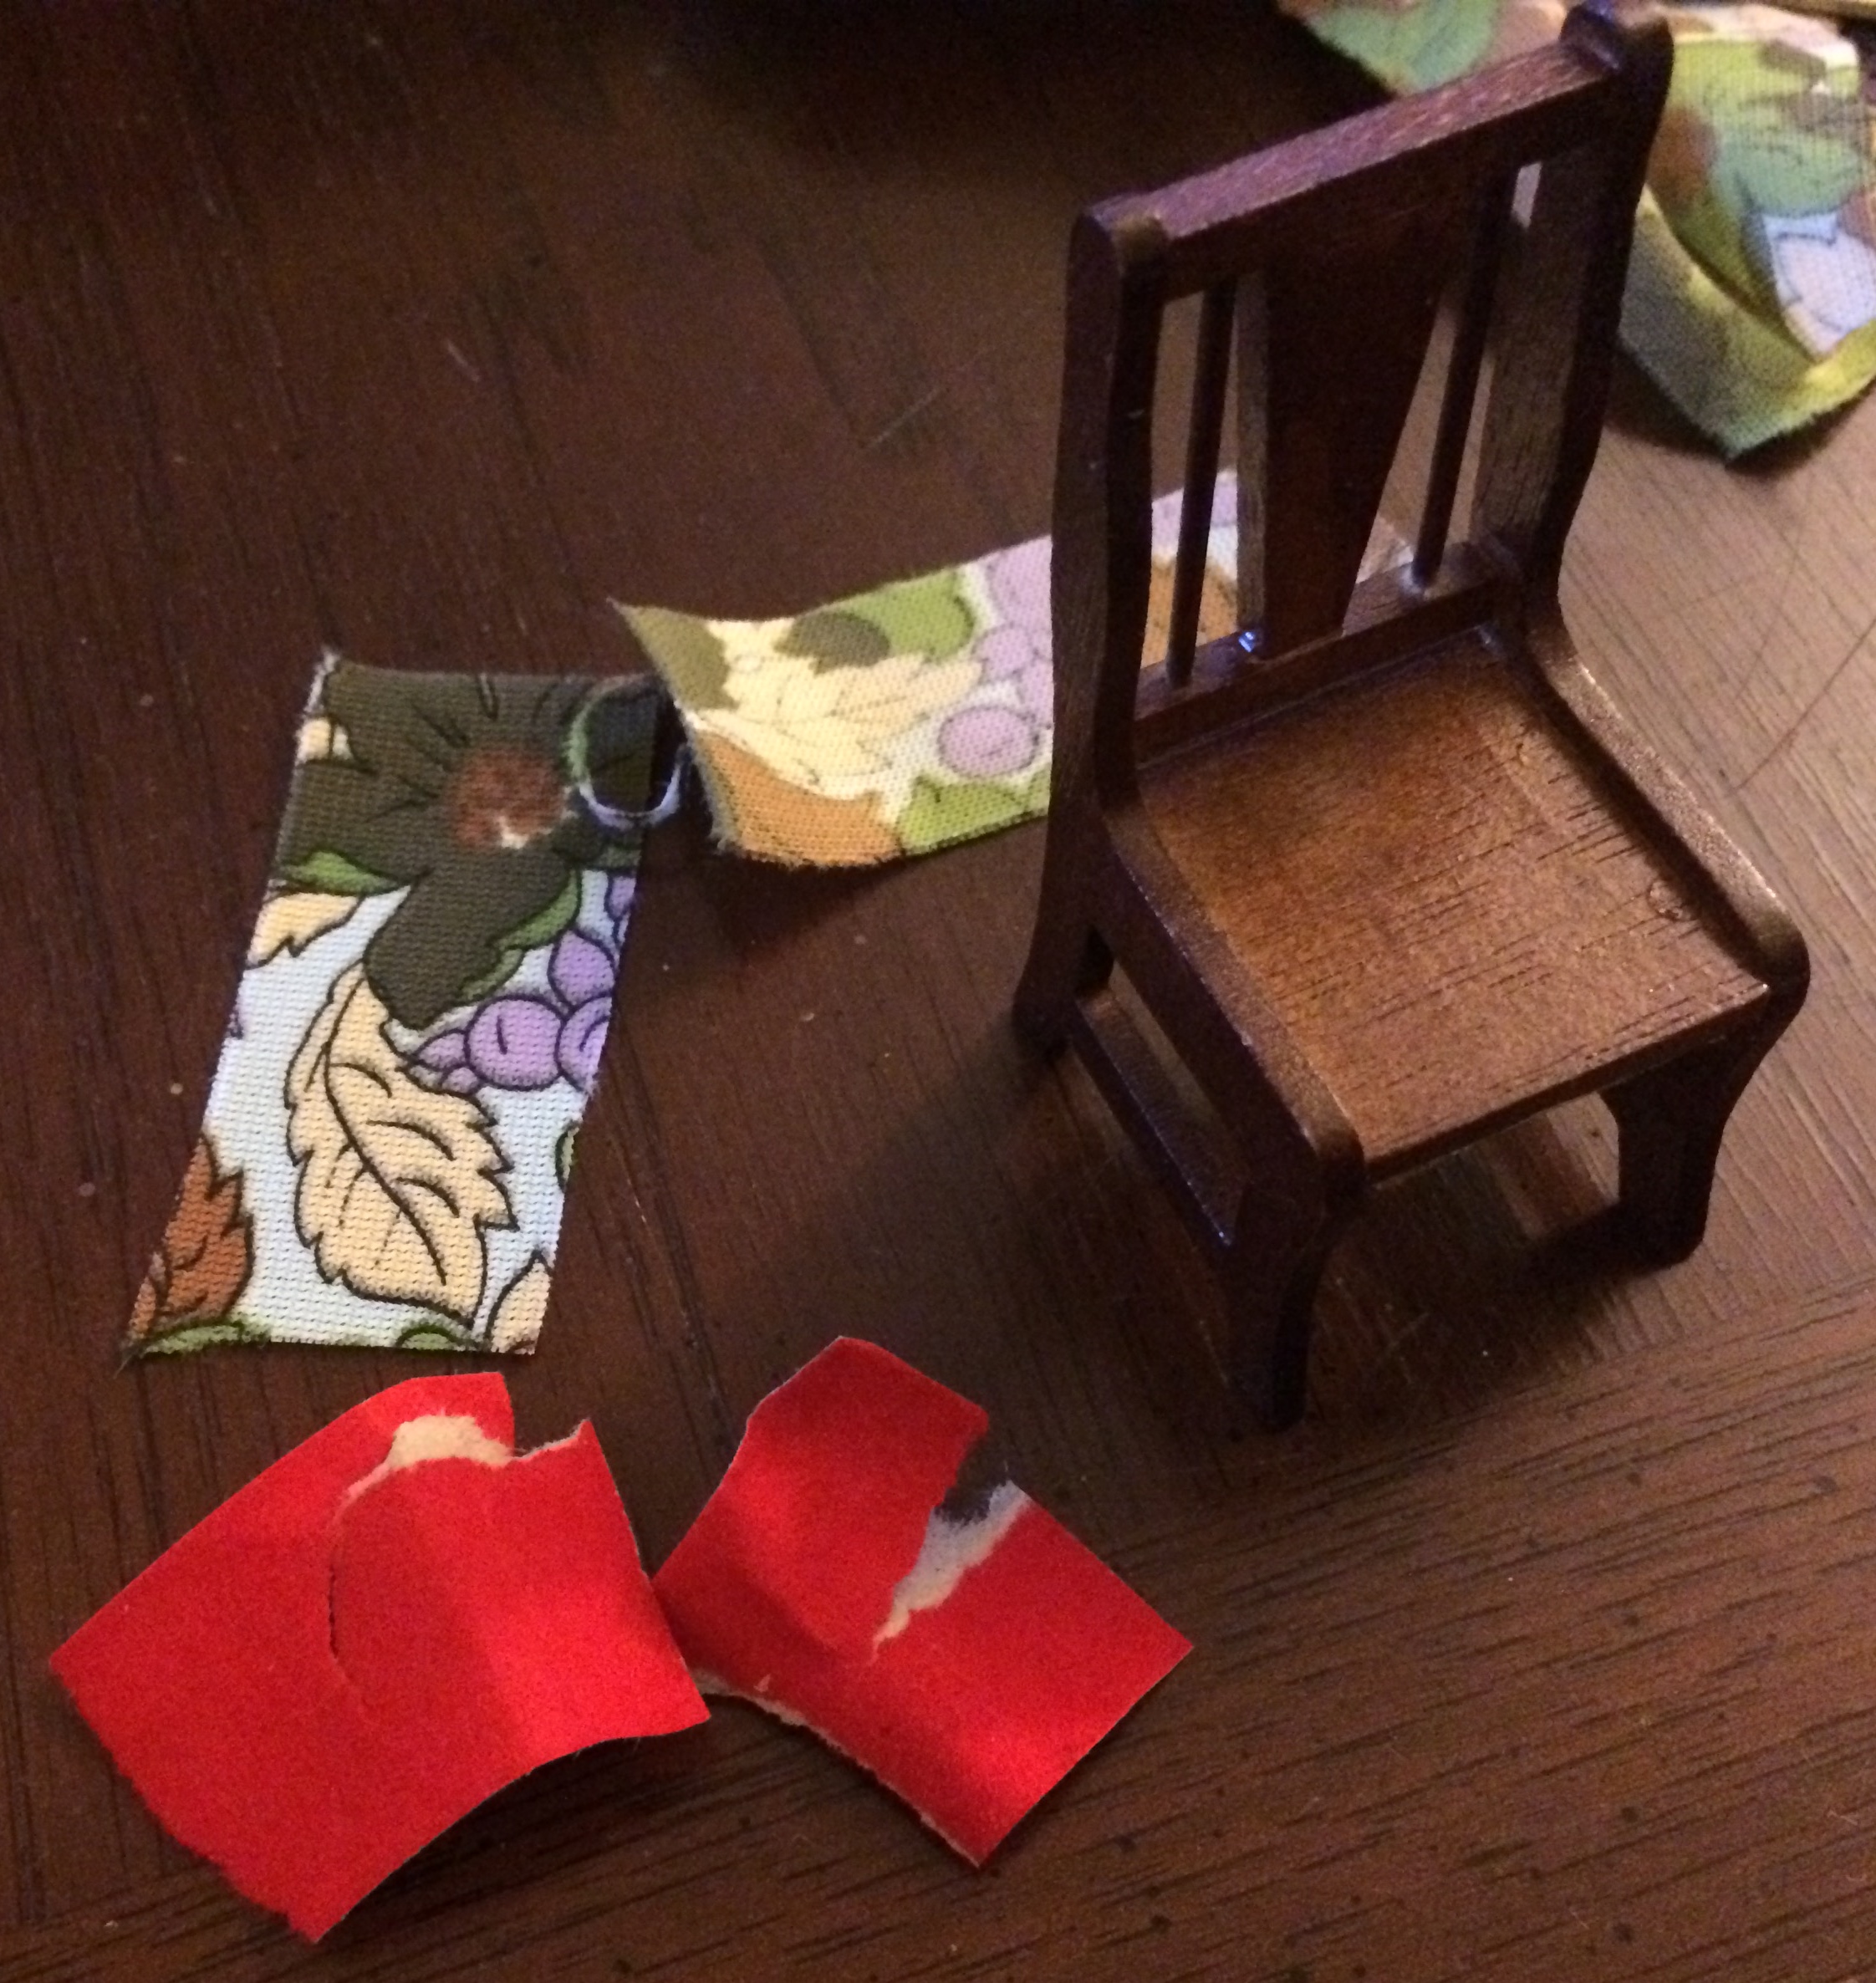
What the heck! You mean the original fabric was actually paper???
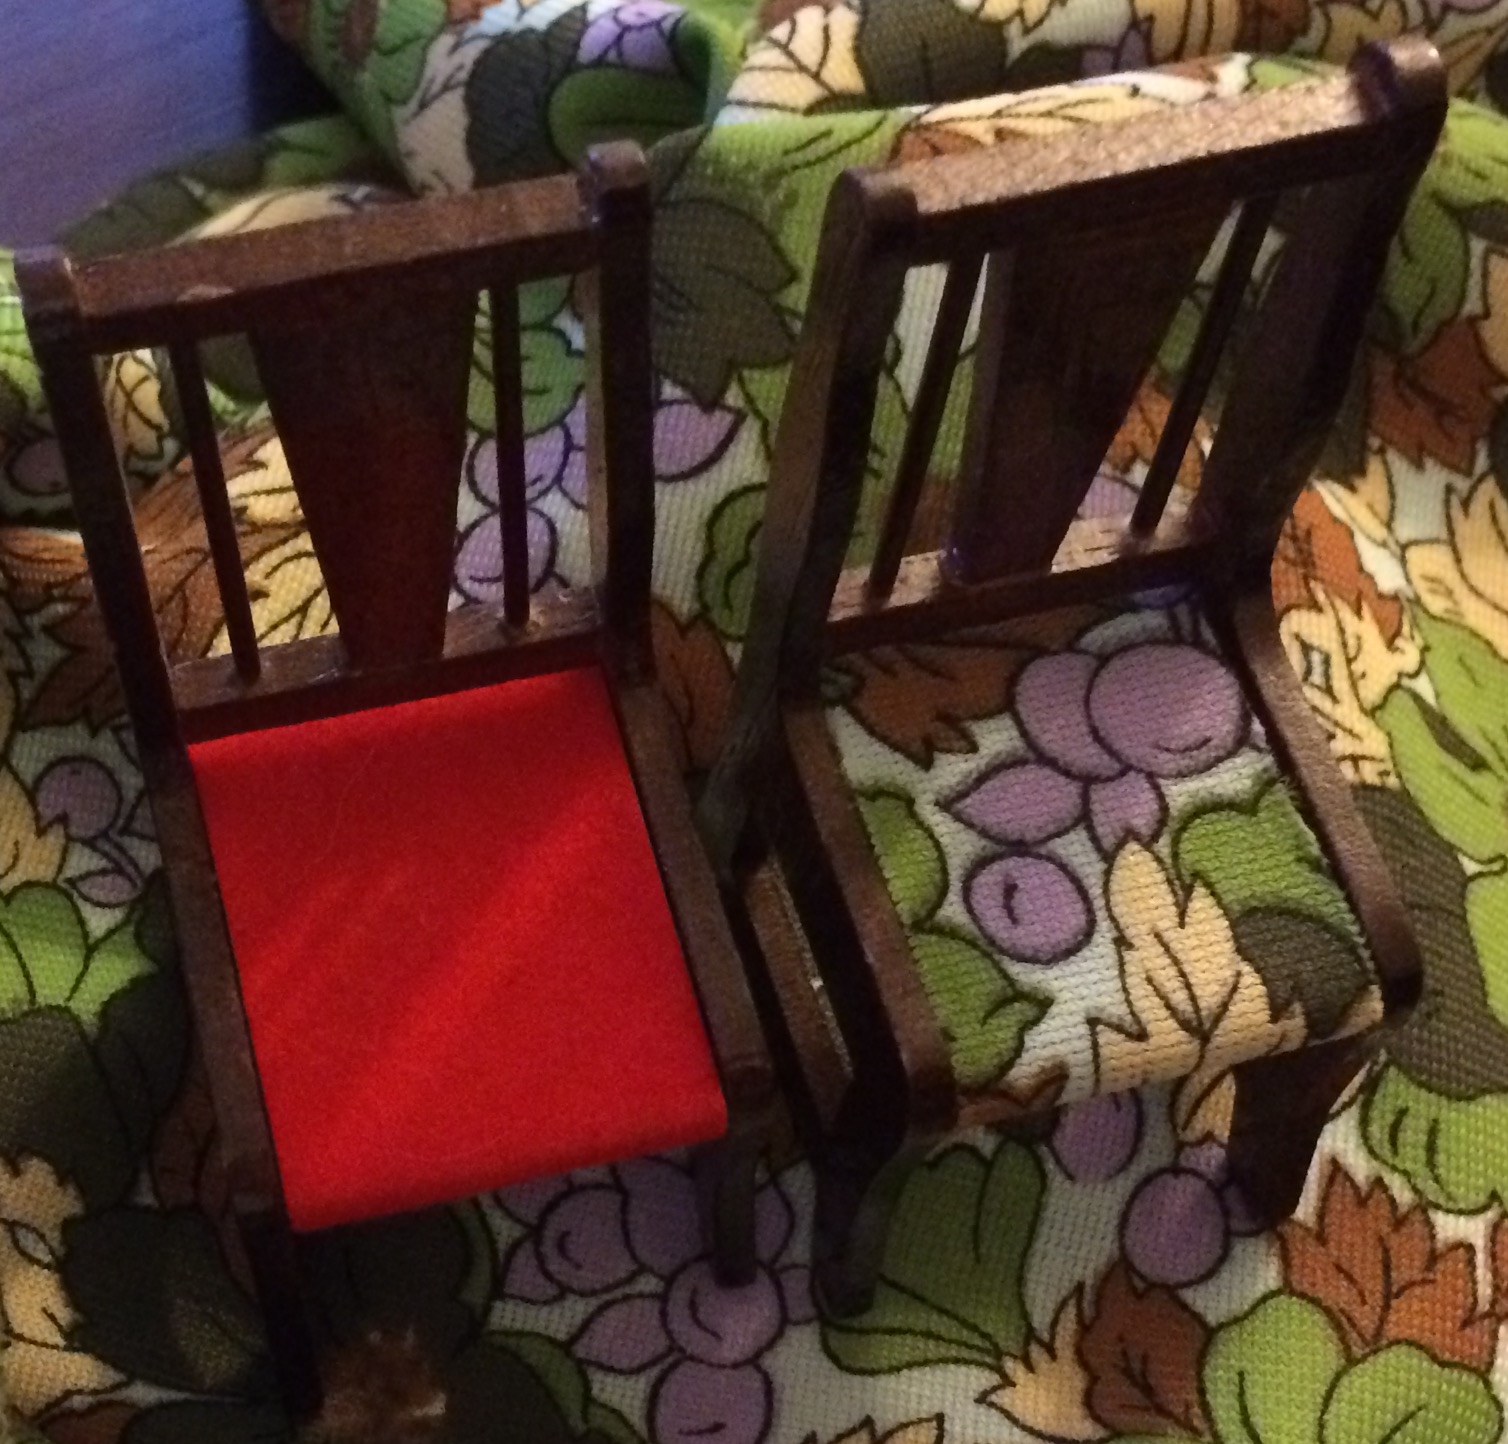
Before and after.
A whole set of chairs!
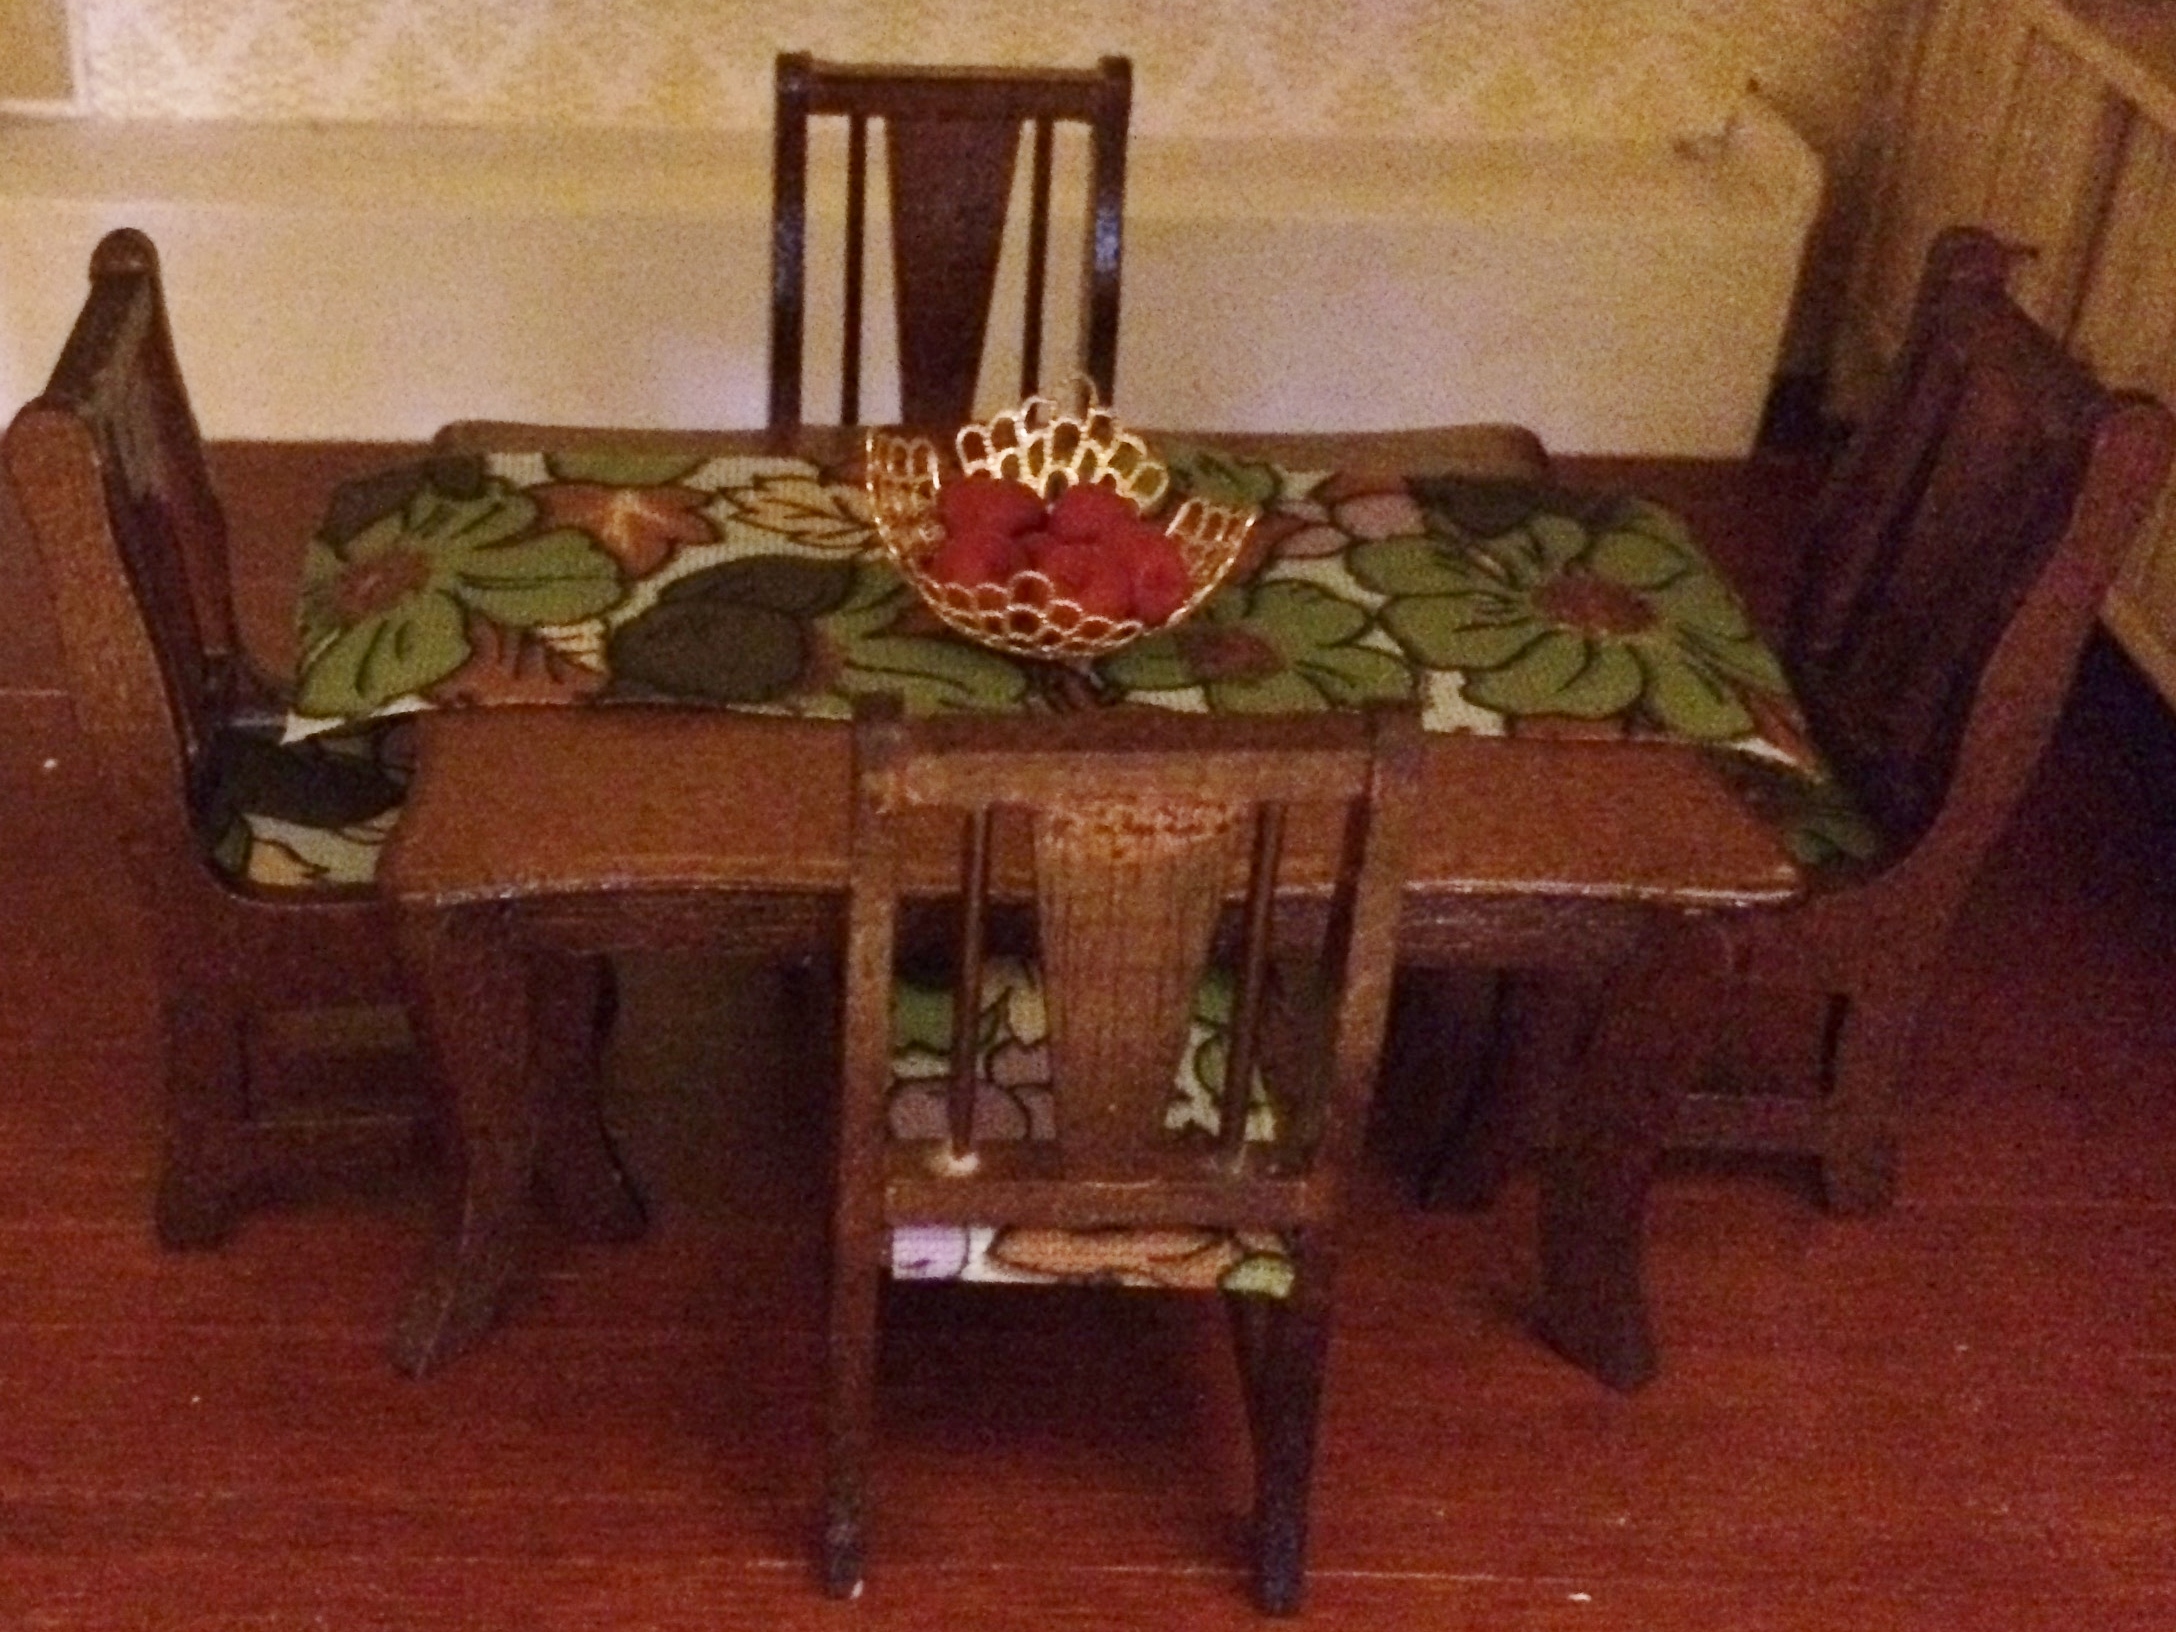
And a matching table runner, to top it all off.
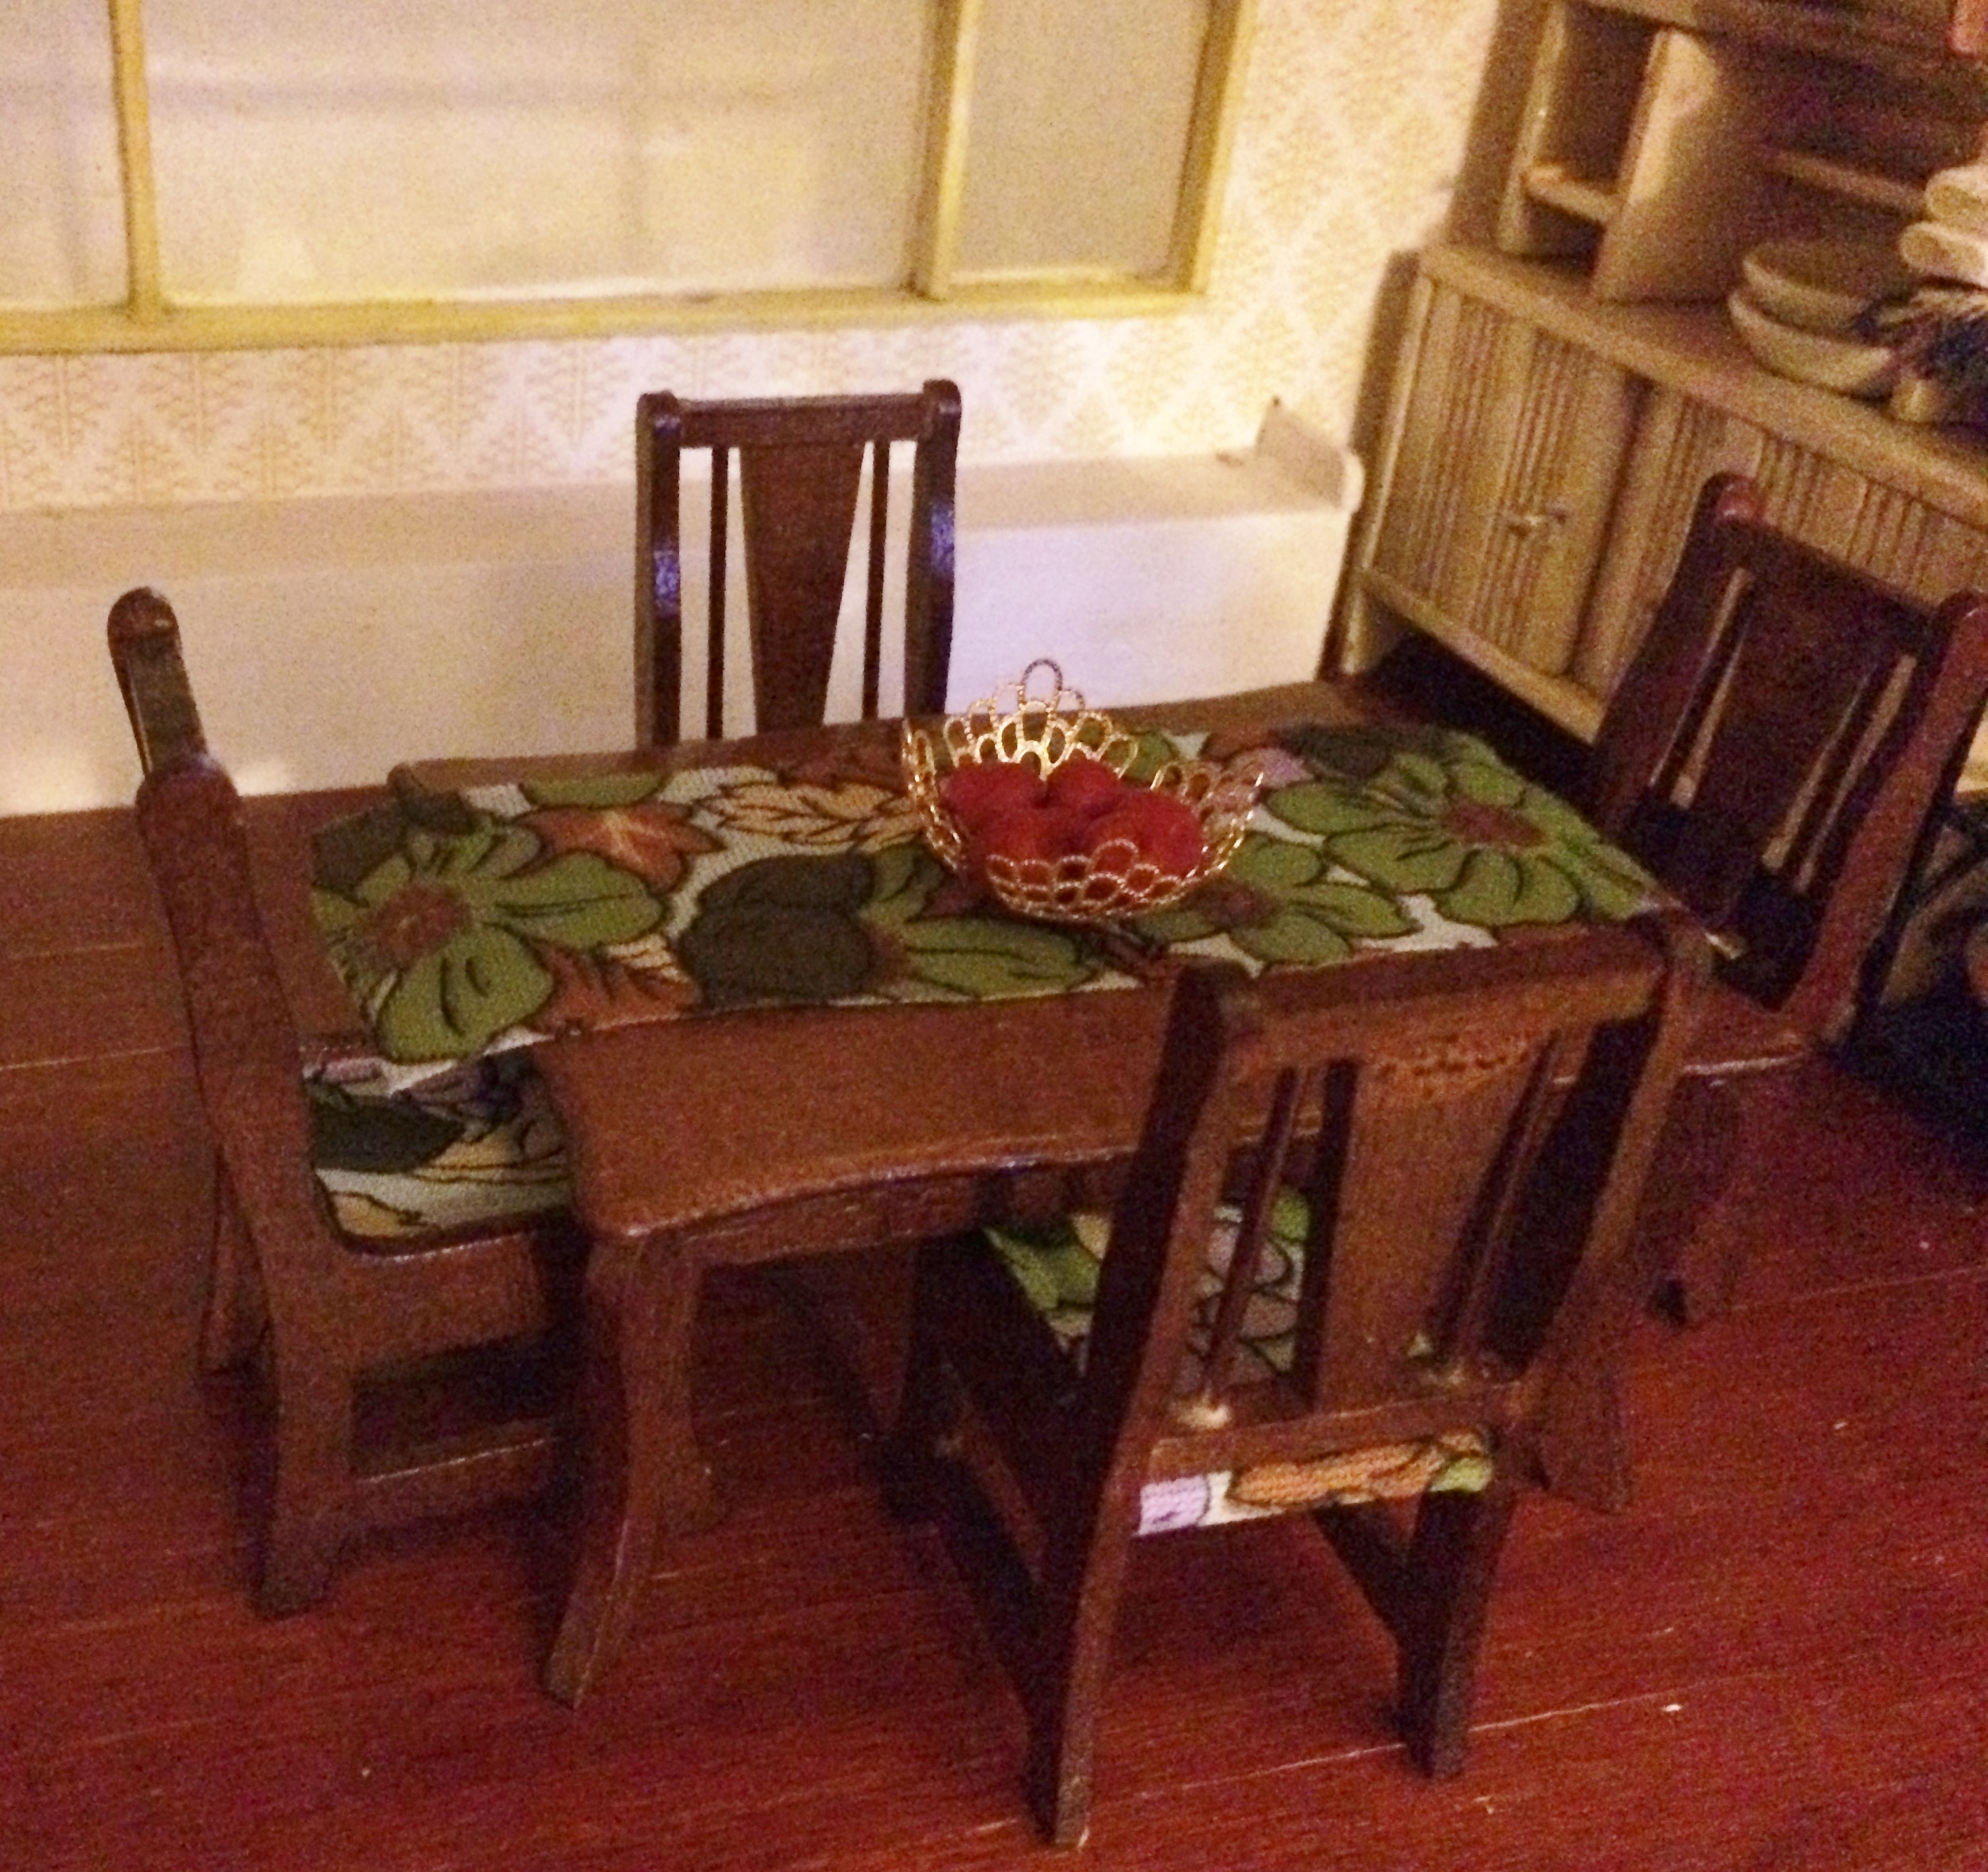
Trying it out in my in-progress dining room.
I’ve got to admit… I really like it! The next step is to make a matching cushion for the window seat bench behind it.
My kitchen floor is almost done!
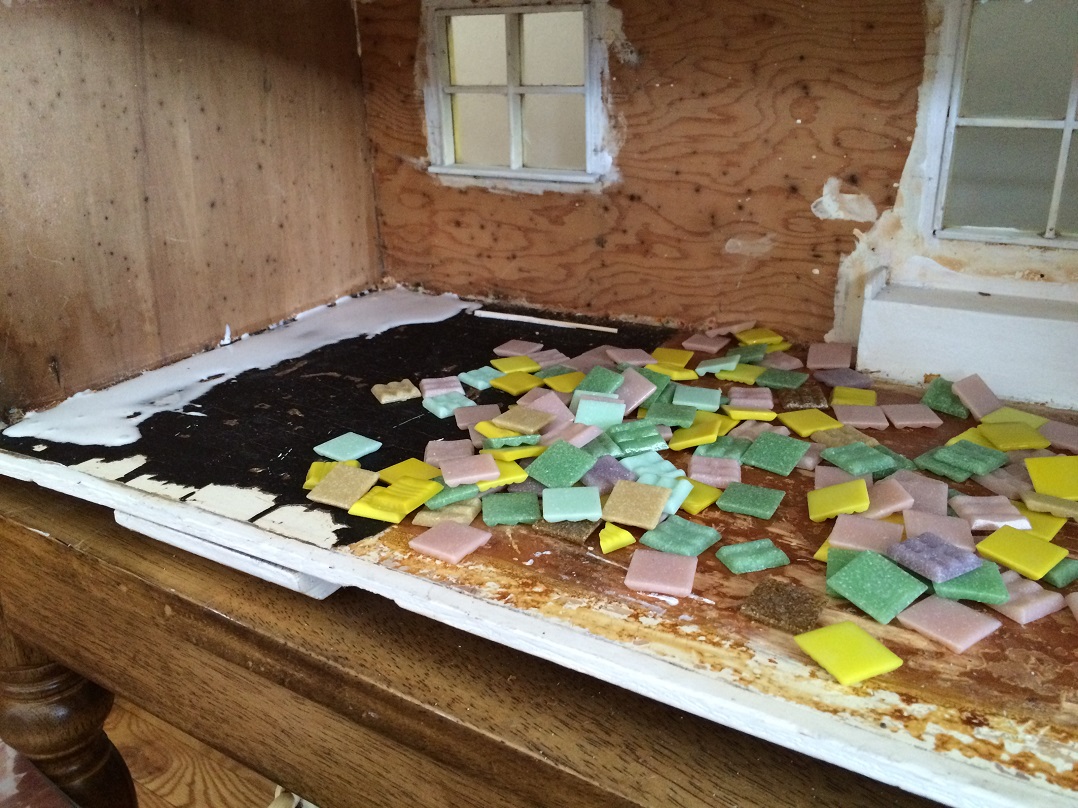
First, here’s a look at my house’s kitchen/dining area when I first got it:

I removed the wallpaper, minibar (which I’ve saved, in case I’d like to reinstall it), and the flooring (if you’ve followed previous posts, you know that part wasn’t easy). I’ve now installed ceramic tiles into the kitchen, borrowing some space from the dining area so my kitchen will be a little bigger than it was before. Here are the steps:


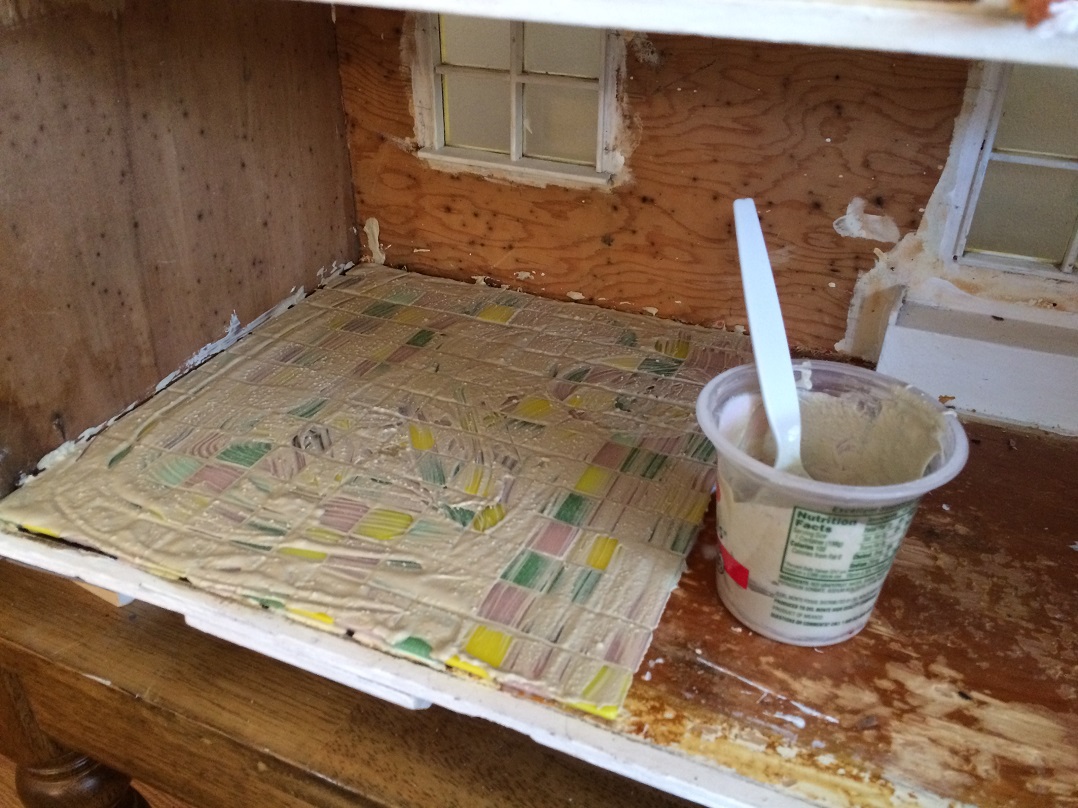

Almost done! Touching up the grout on the tile floors in my dollhouse. Photos by Holly Tierney-Bedord. All rights reserved.
I think I’ve finally chosen a look for the kitchen.
It hasn’t been easy! Kitchens are so important. I really wanted a mainly white kitchen with orange or yellow Orly Kiely-esque wallpaper. Finally I decided it wasn’t realistically going to happen, no matter how many times I sifted through the scrapbook paper at my local craft store. So this is what I came up with:

Tiles and wallpaper for my mini kitchen. Photo by Holly Tierney-Bedord. All rights reserved.
I’m not sure about the multicolored tiles. I’ll have to put some in place and see what I think. Stay tuned!
As you may recall, I made this mural for my mini house’s office…
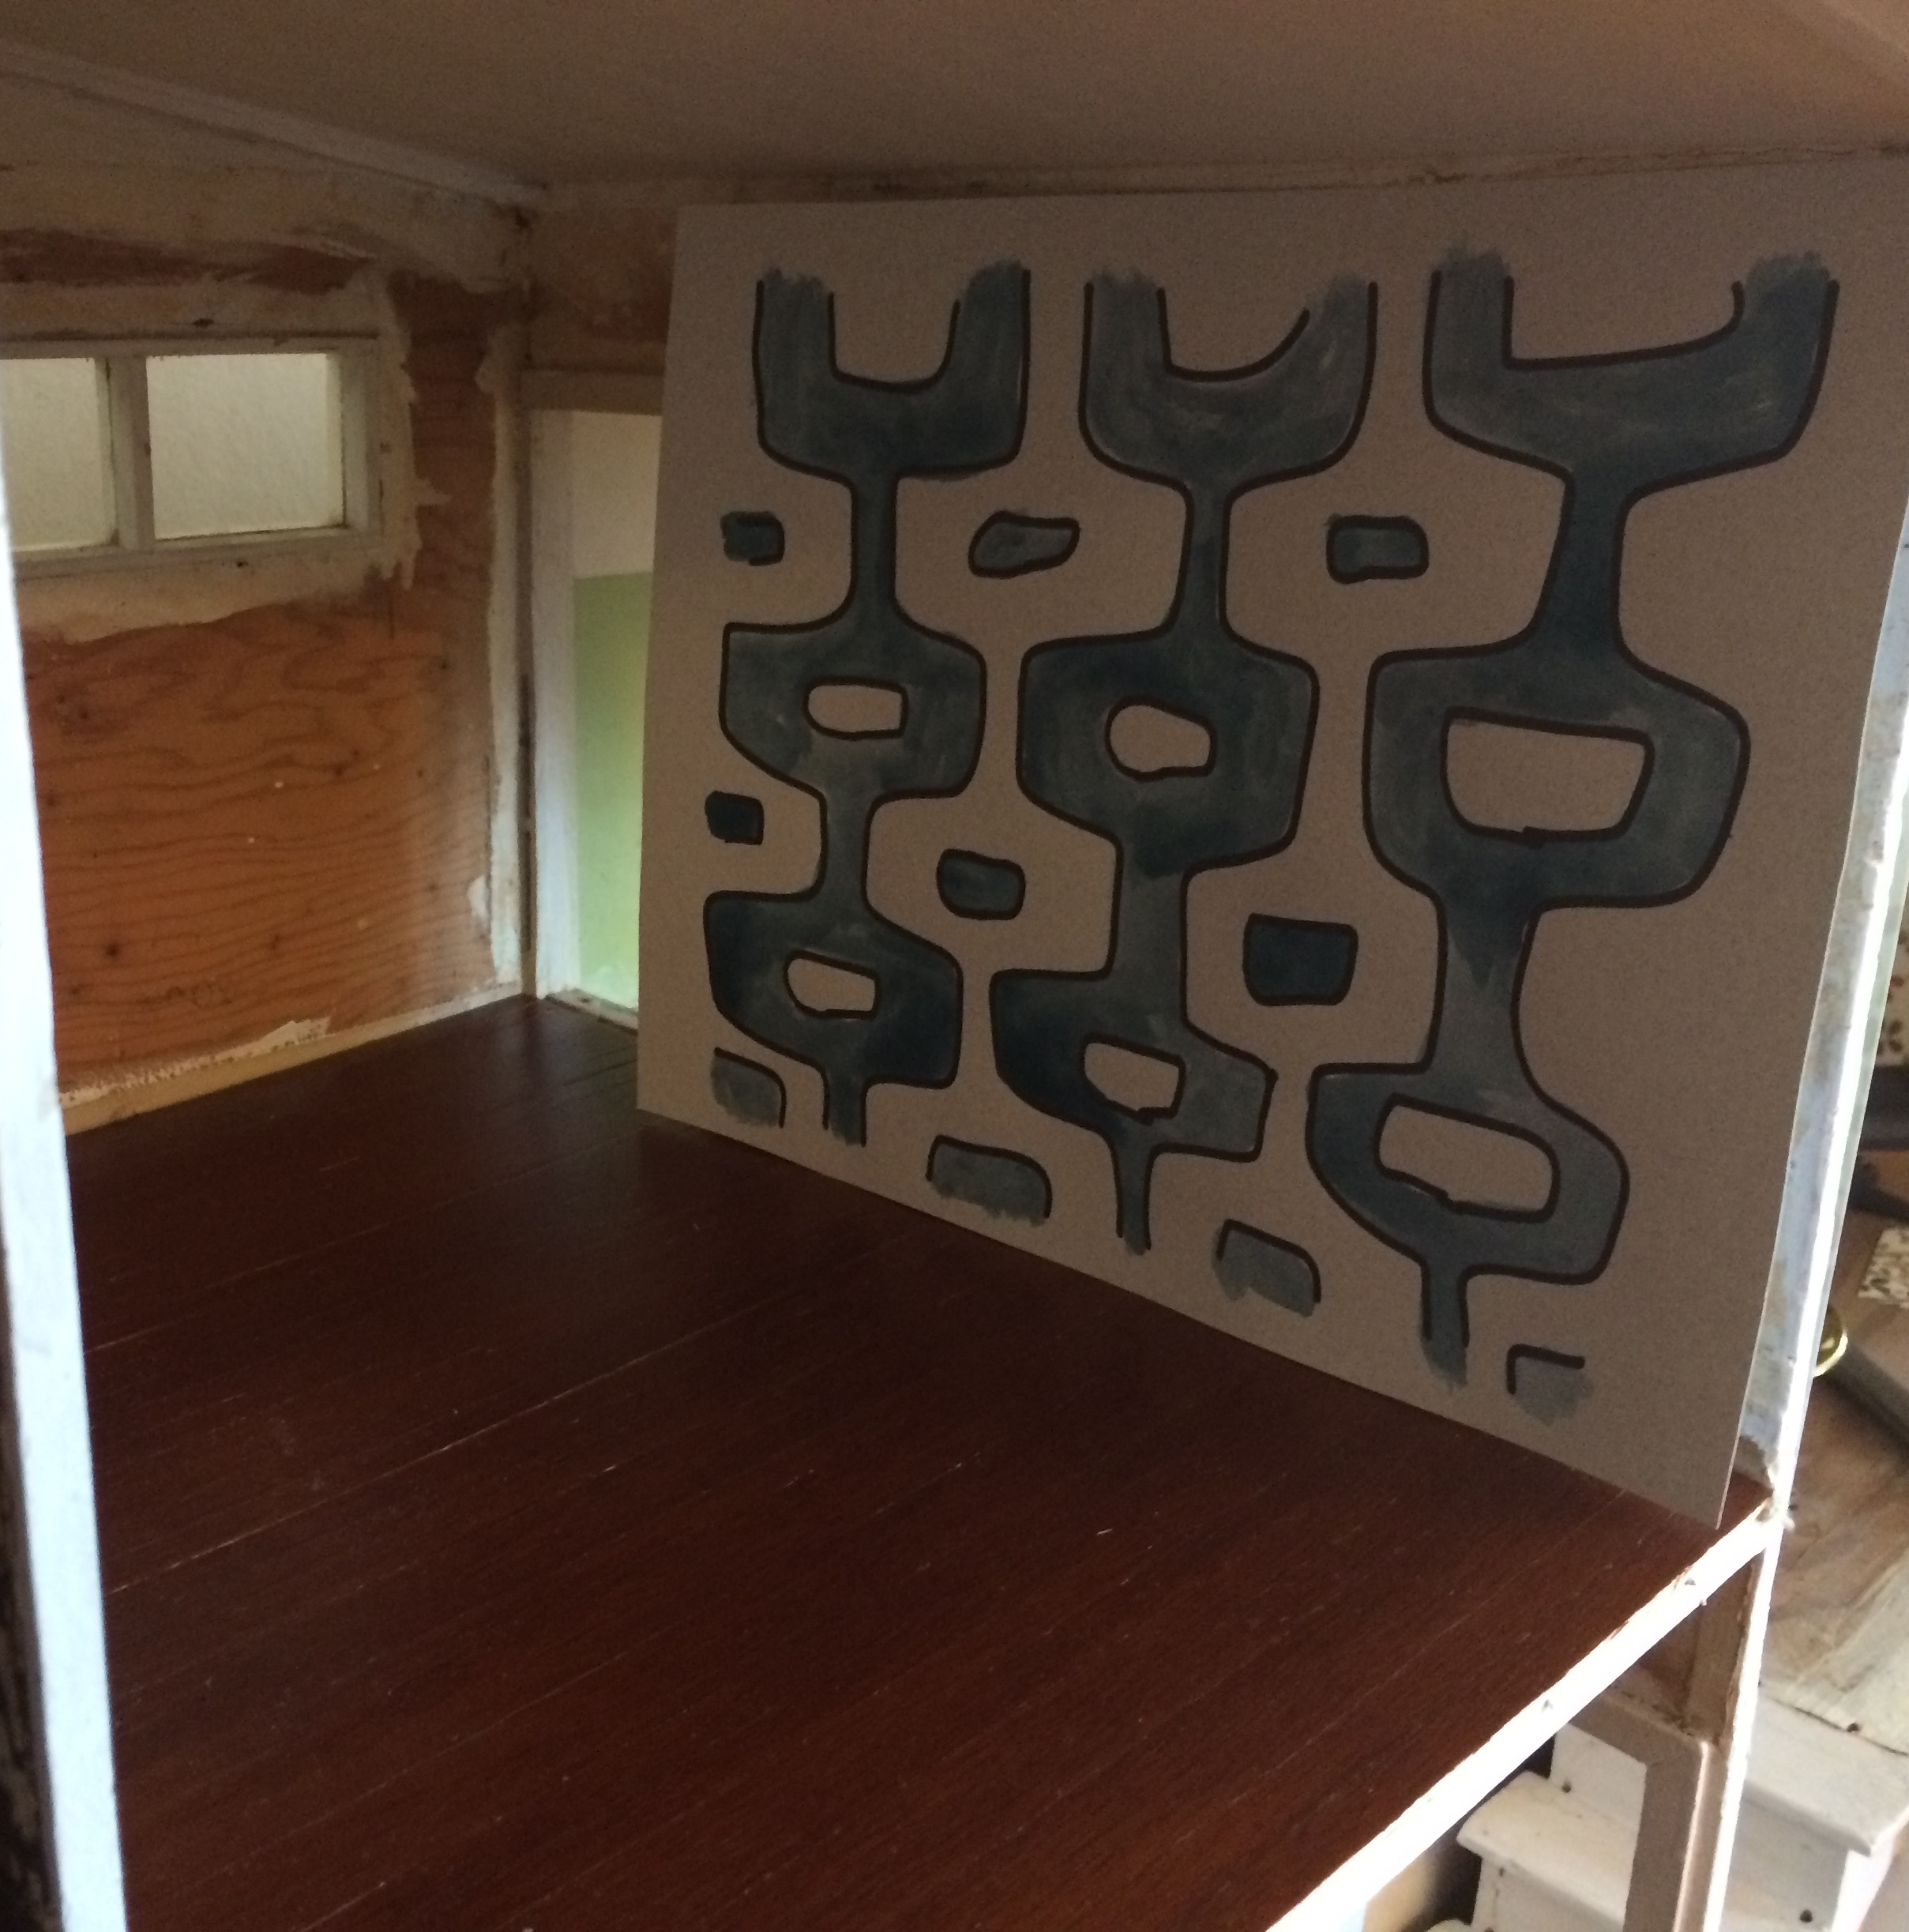
Mid-century mural for the office. Photo by Holly Tierney-Bedord. All rights reserved.
but have since eliminated teal/blue from my house’s color palette.
Also, I realized after creating it that it would have clashed with whatever wallpaper I ended up choosing for that room.
I liked the design of it so much, however, that I decided to create a small painted canvas with a similar design.
I started with a tiny canvas from the local craft store. These sell for about $1.99 each. I drew the pattern on with pen.

Tiny canvas. Photo by Holly Tierney-Bedord. All rights reserved.
Then I filled in the borders using a fine tip brush and the colors I plan to have throughout the house. I painted the edges of the canvas black.
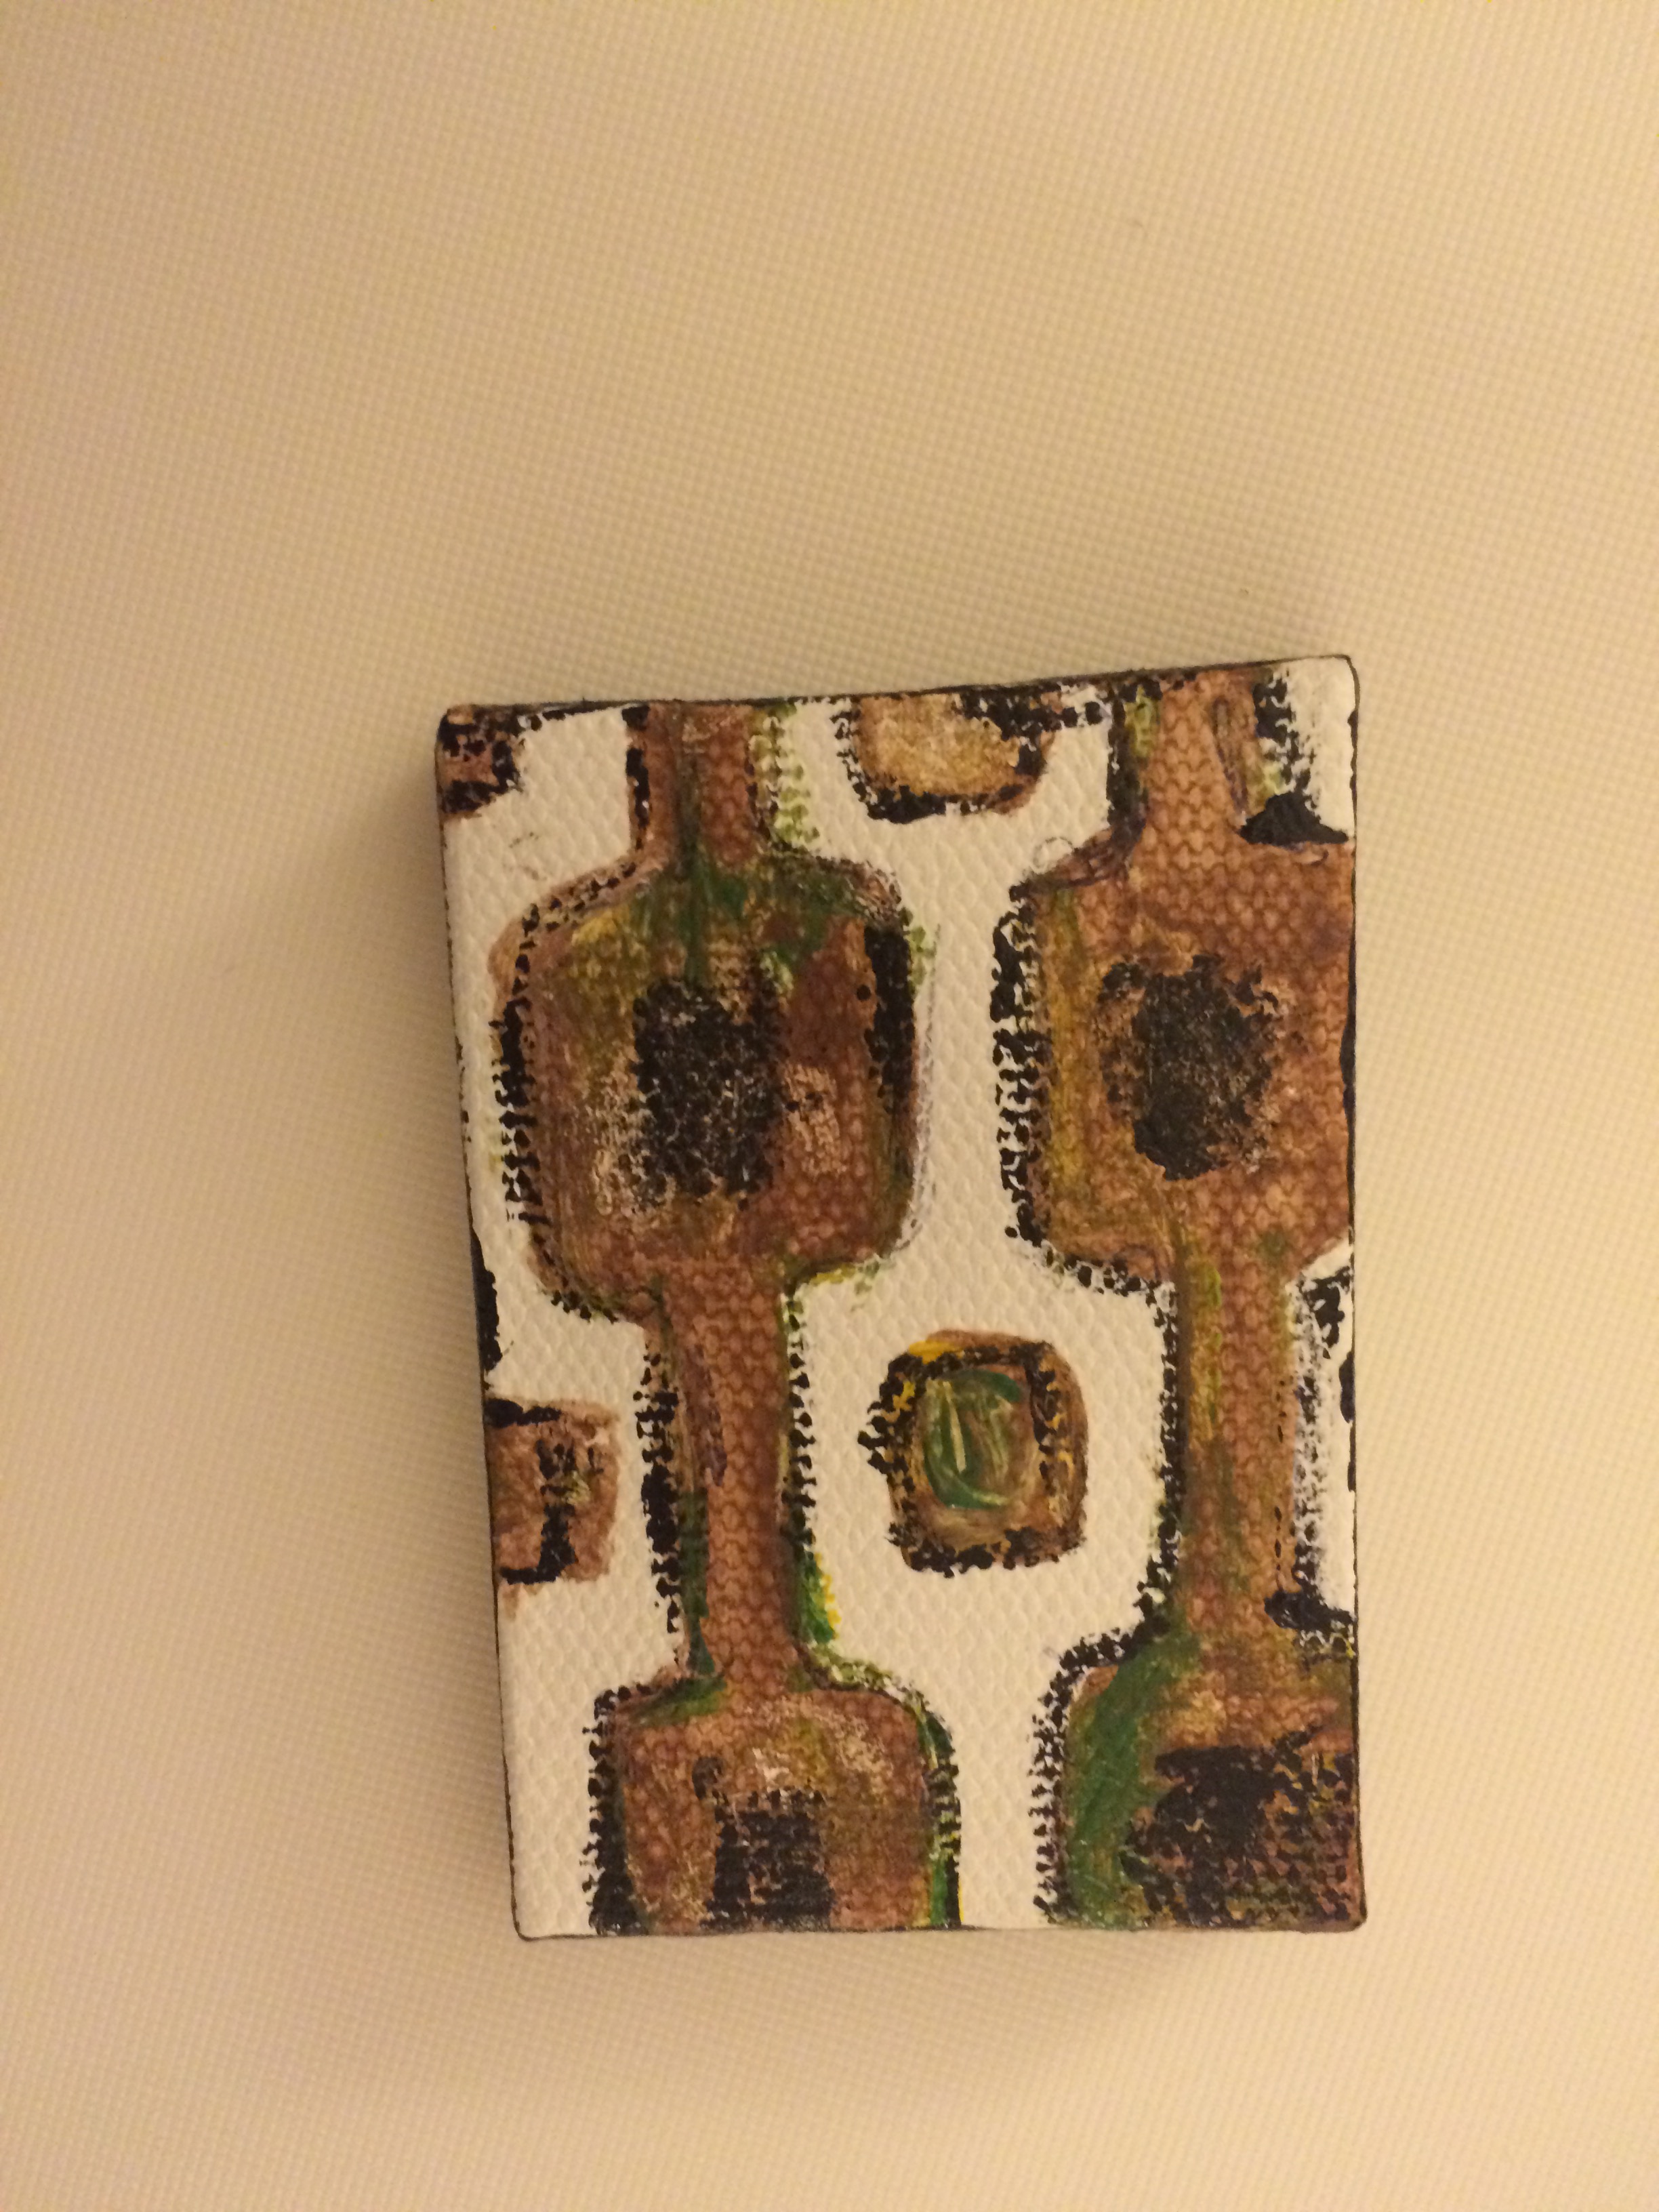
Tiny painting. Photo by Holly Tierney-Bedord. All rights reserved.
This is a quick, simple, inexpensive project anyone can do. The secret is to use a very fine tipped brush so you have control over applying paint to such a tiny space. I can’t wait to hang it in the office!
After recently debating between a bunch of different wallpaper choices (using scrapbook paper, not actual wallpaper) here, the master bedroom has been wallpapered! I ended up choosing something completely different from the samples I showed you a couple of weeks ago. As I’ve mentioned, one of the designers inspiring me on my house flip is Jonathan Adler. I thought what I ended up choosing had that fun, “Happy Chic” feeling I was seeking, but it actually looks a little more on the childish and maniacal side of things than I’d intended. The good thing is, if I choose to take it down, at least I can use it for templates for the next sheets I install in that room.
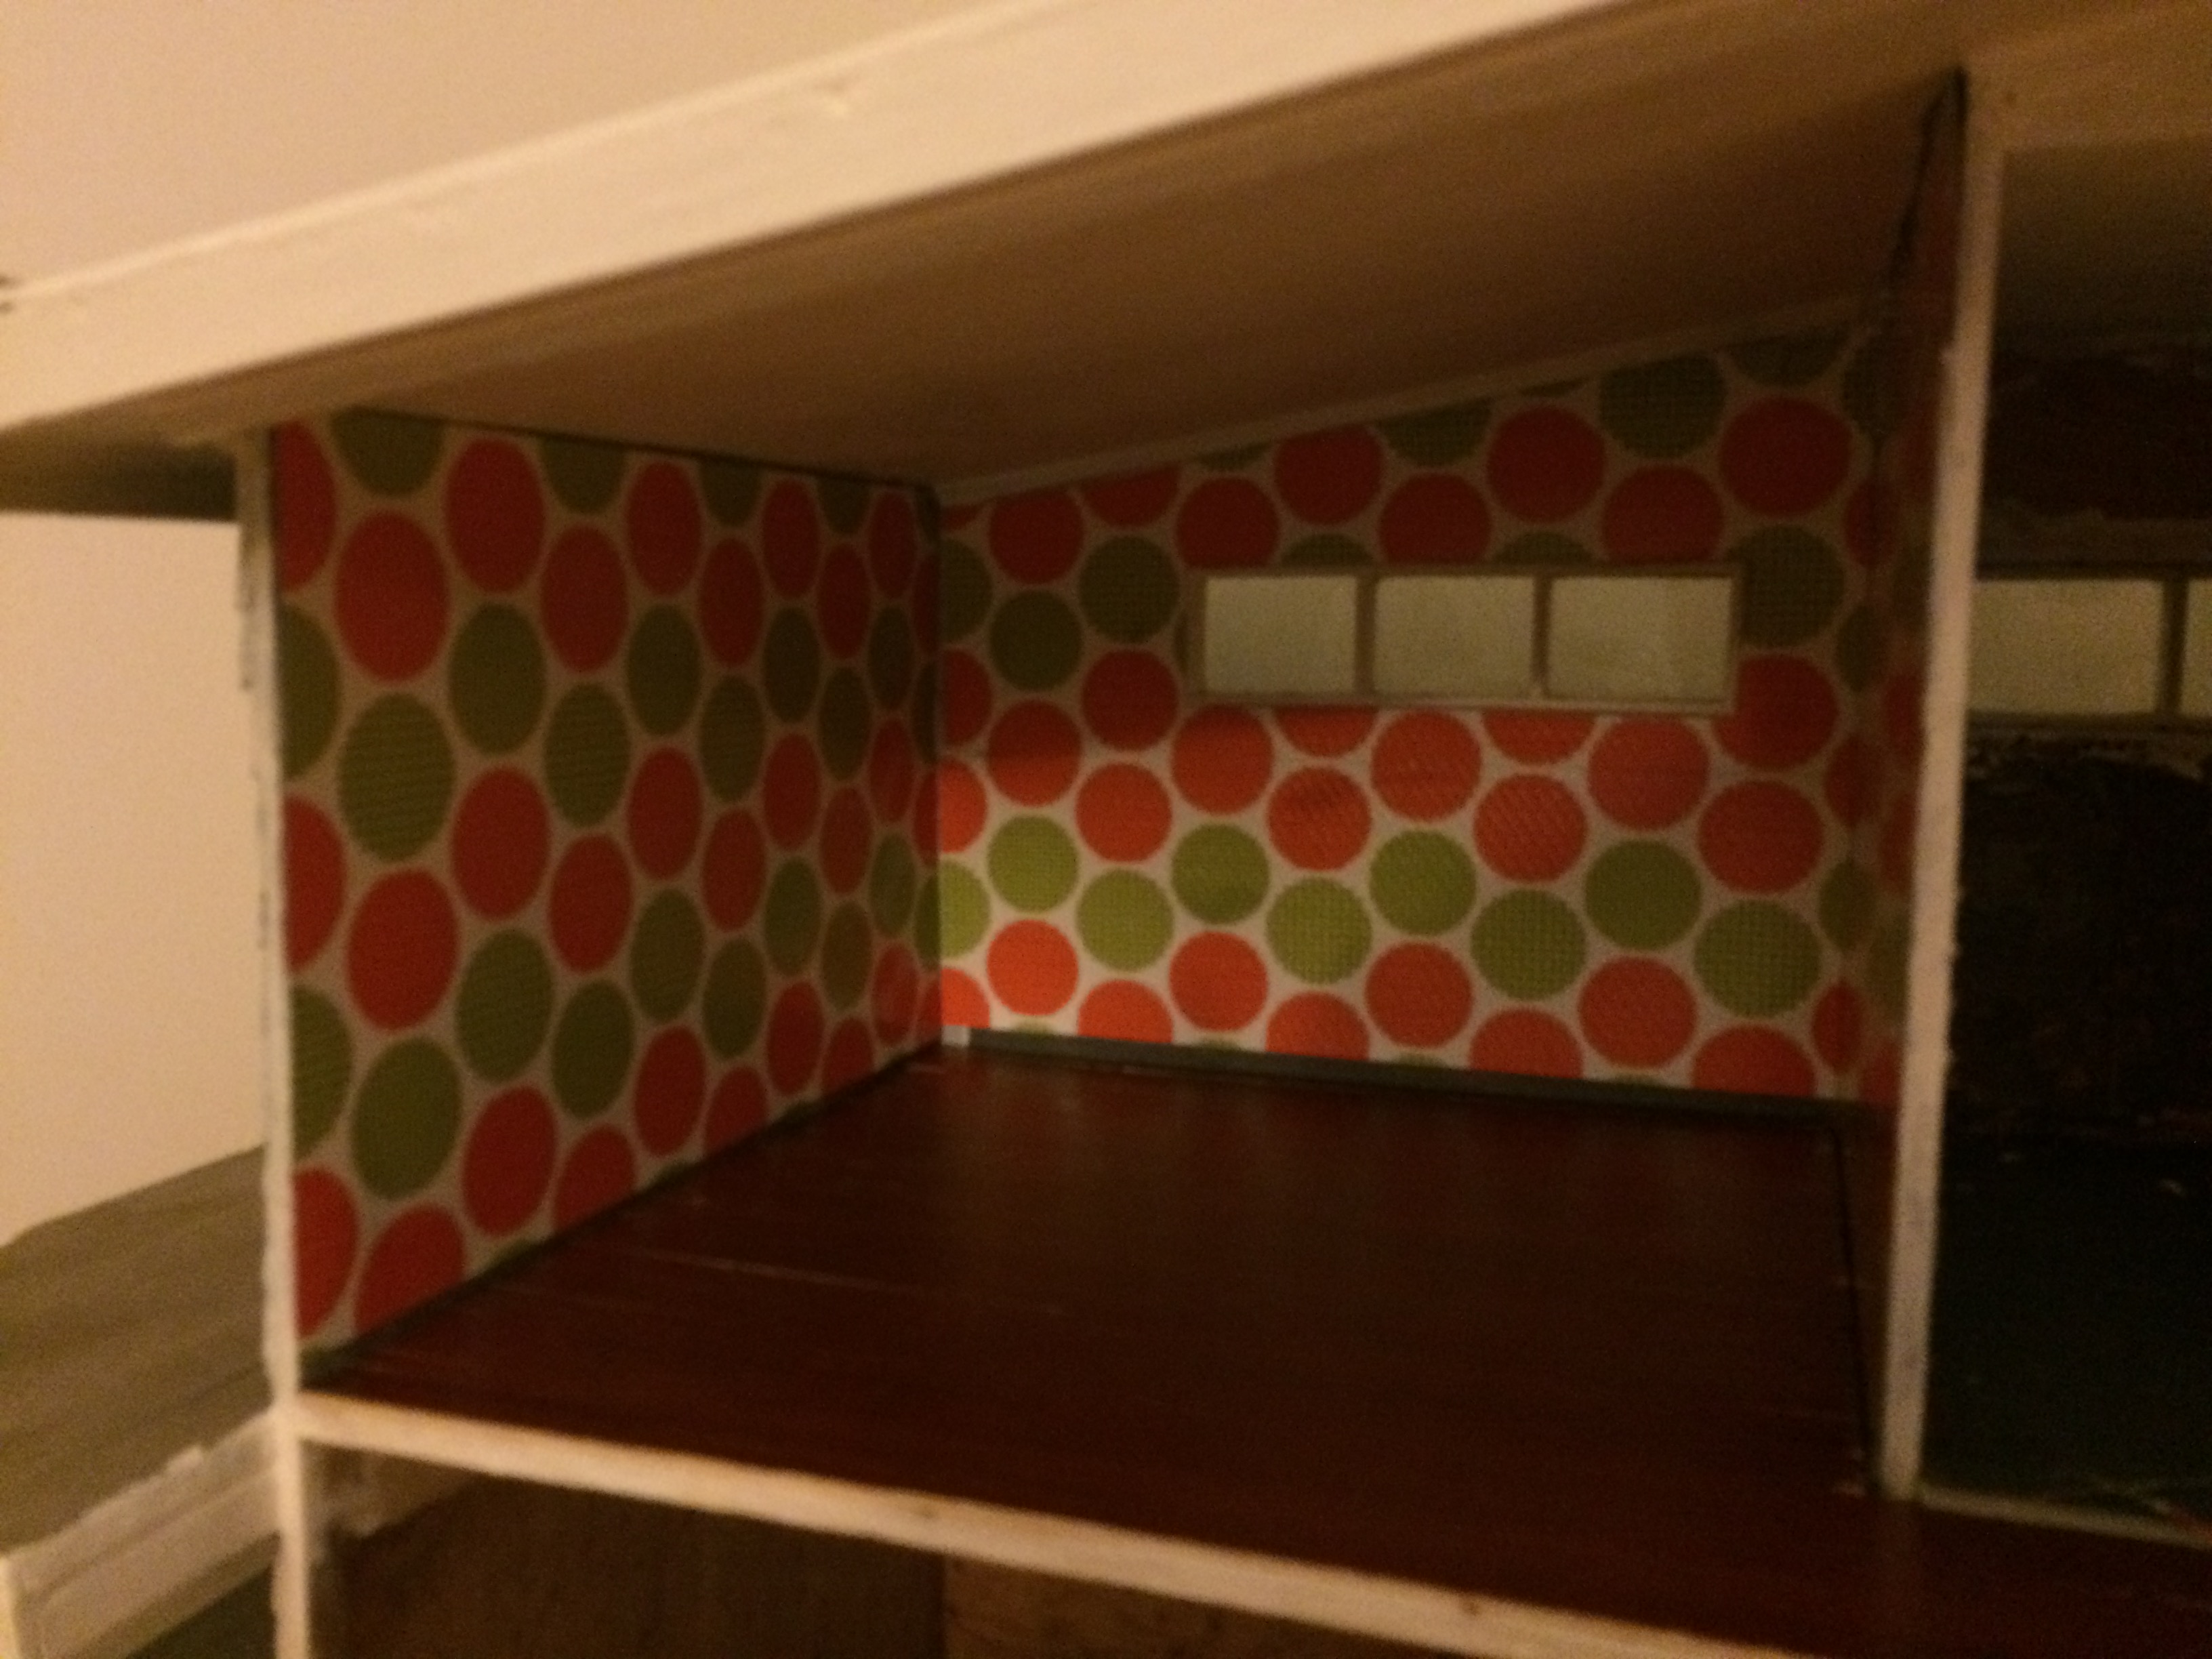
Wallpaper. Photo by Holly Tierney-Bedord. All rights reserved.
I think I will give it a couple of days and try it with furniture, just to see if it grows on me in a good or bad way. What do you think?

A decision has been made. After much hemming and hawing, I’ve chosen this shade of deep teal and given my house its first coat of paint. To get the perfect shade, I mixed it myself using a variety of tubes and bottles of art and craft paint. Here is a little peek at the secret formula:

The magic ingredients. Photo by Holly Tierney-Bedord. All rights reserved.
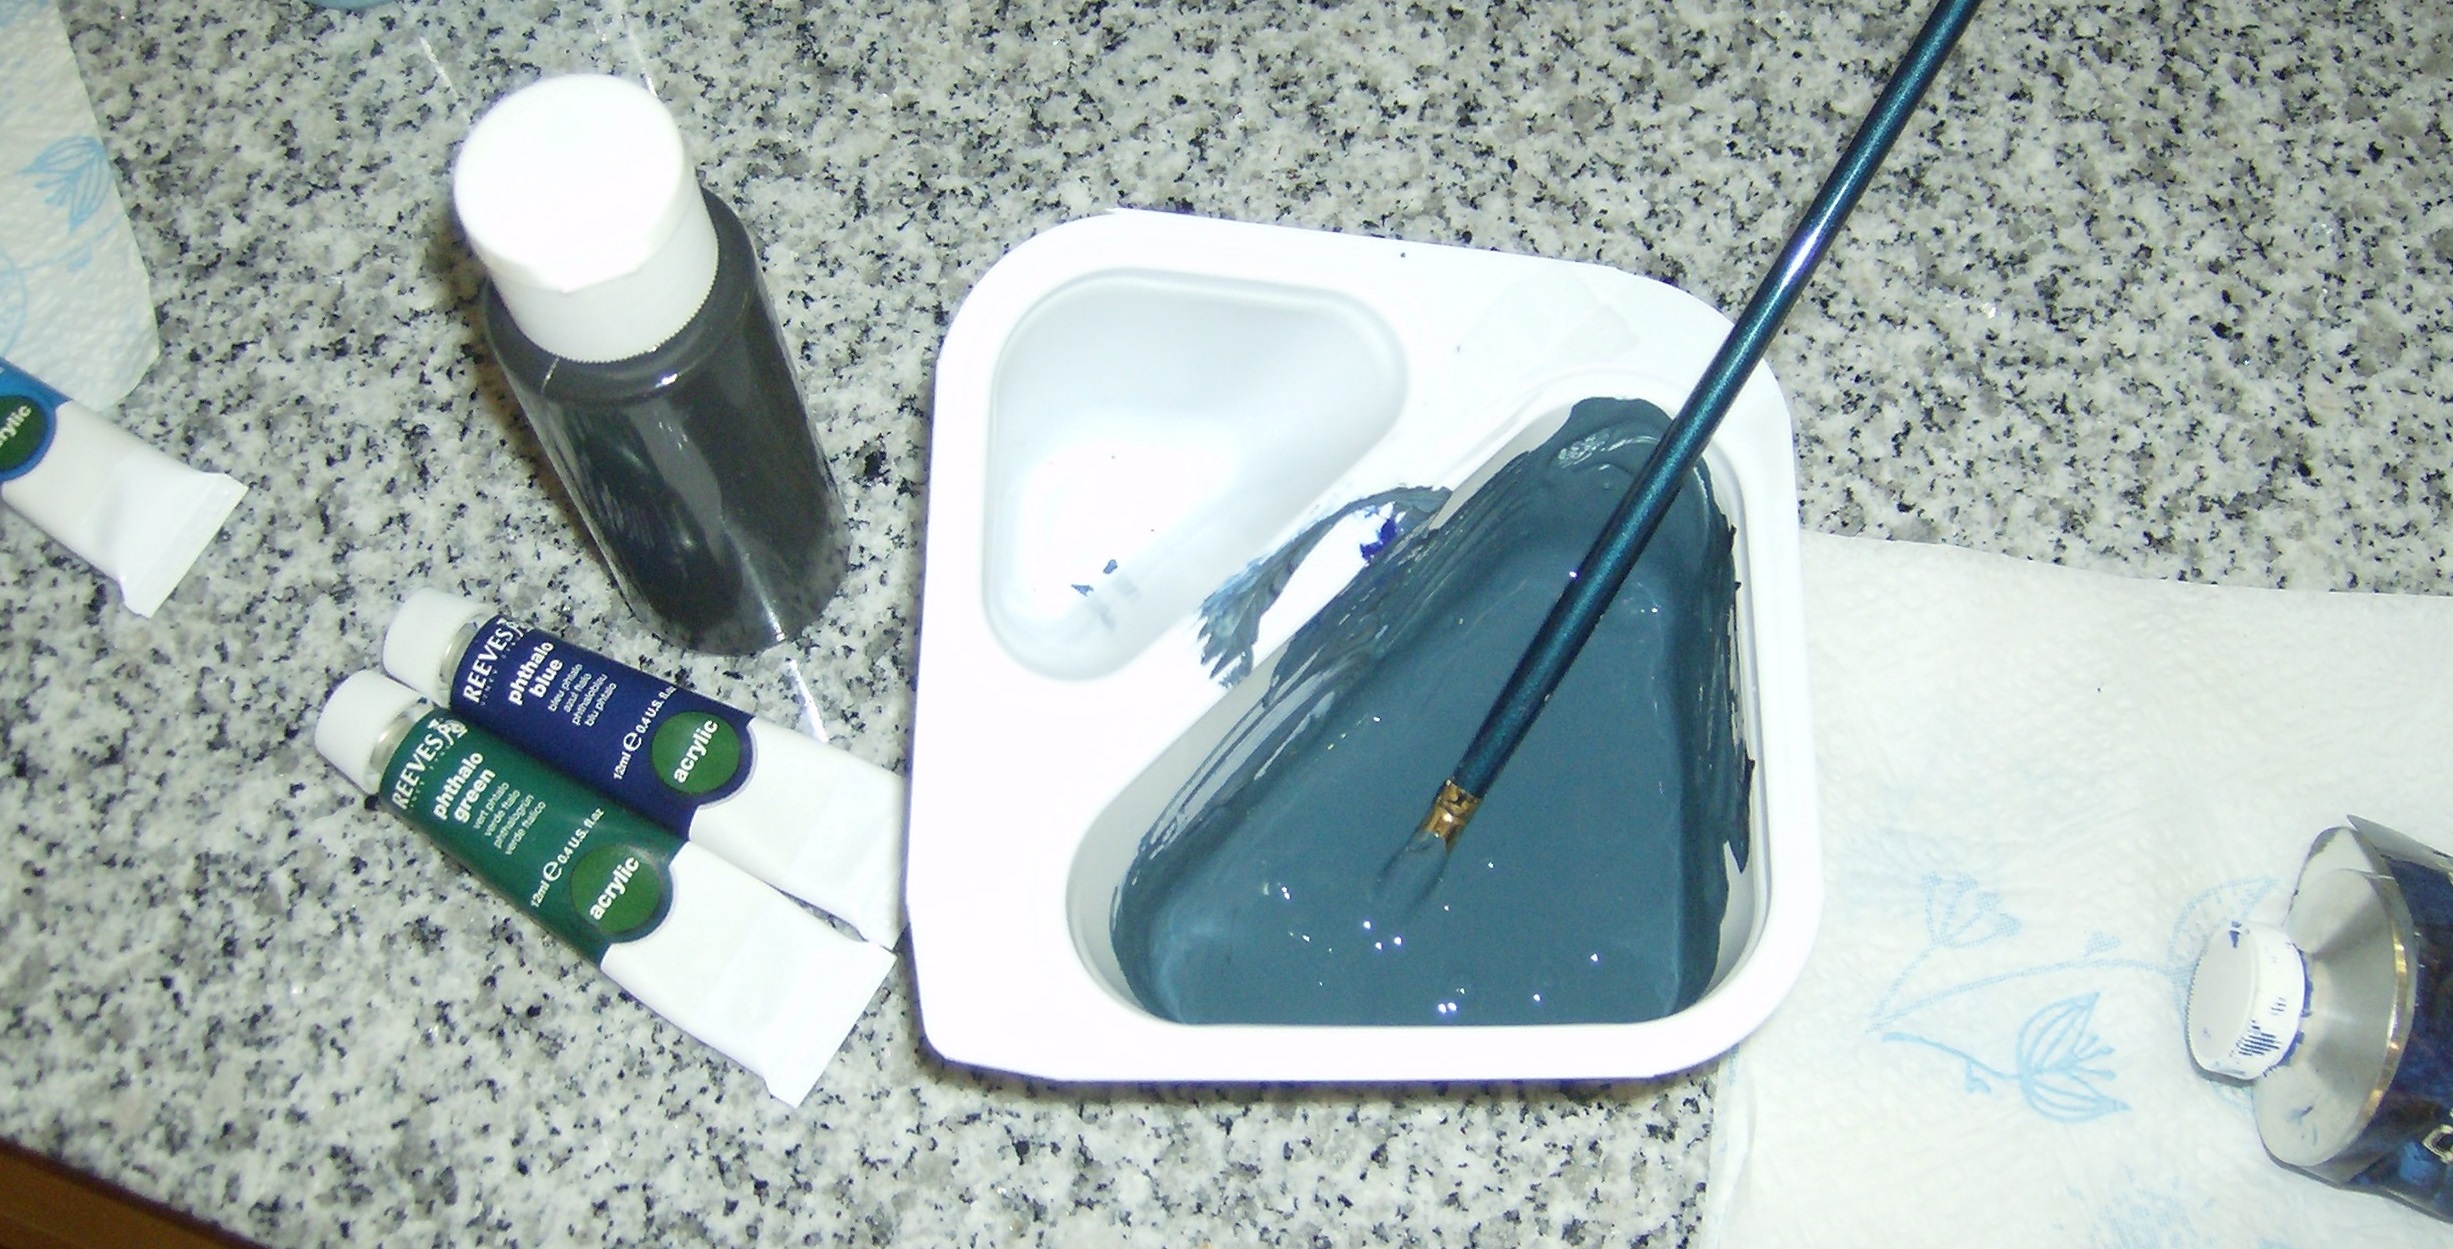
Final product. Photo by Holly Tierney-Bedord. All rights reserved.
I tried to make a lot since matching that color is going to be really tricky. Still, I didn’t end up with nearly enough. I’ll mix another batch soon on a bright, sunny day so I can have the best chance of getting a close enough match.
Here is a look at my house now. It’s splotchy and definitely needs another good coat, but you can see how cute it’s going to be. I’m still debating on trim colors. I’m considering leaving the front door alone and just adding a cute doorknob, and maybe some mid century miniature doodad like this backplate.

New exterior color. Photo by Holly Tierney-Bedord. All rights reserved.
To remind you, here is the ‘before’ version of my house:
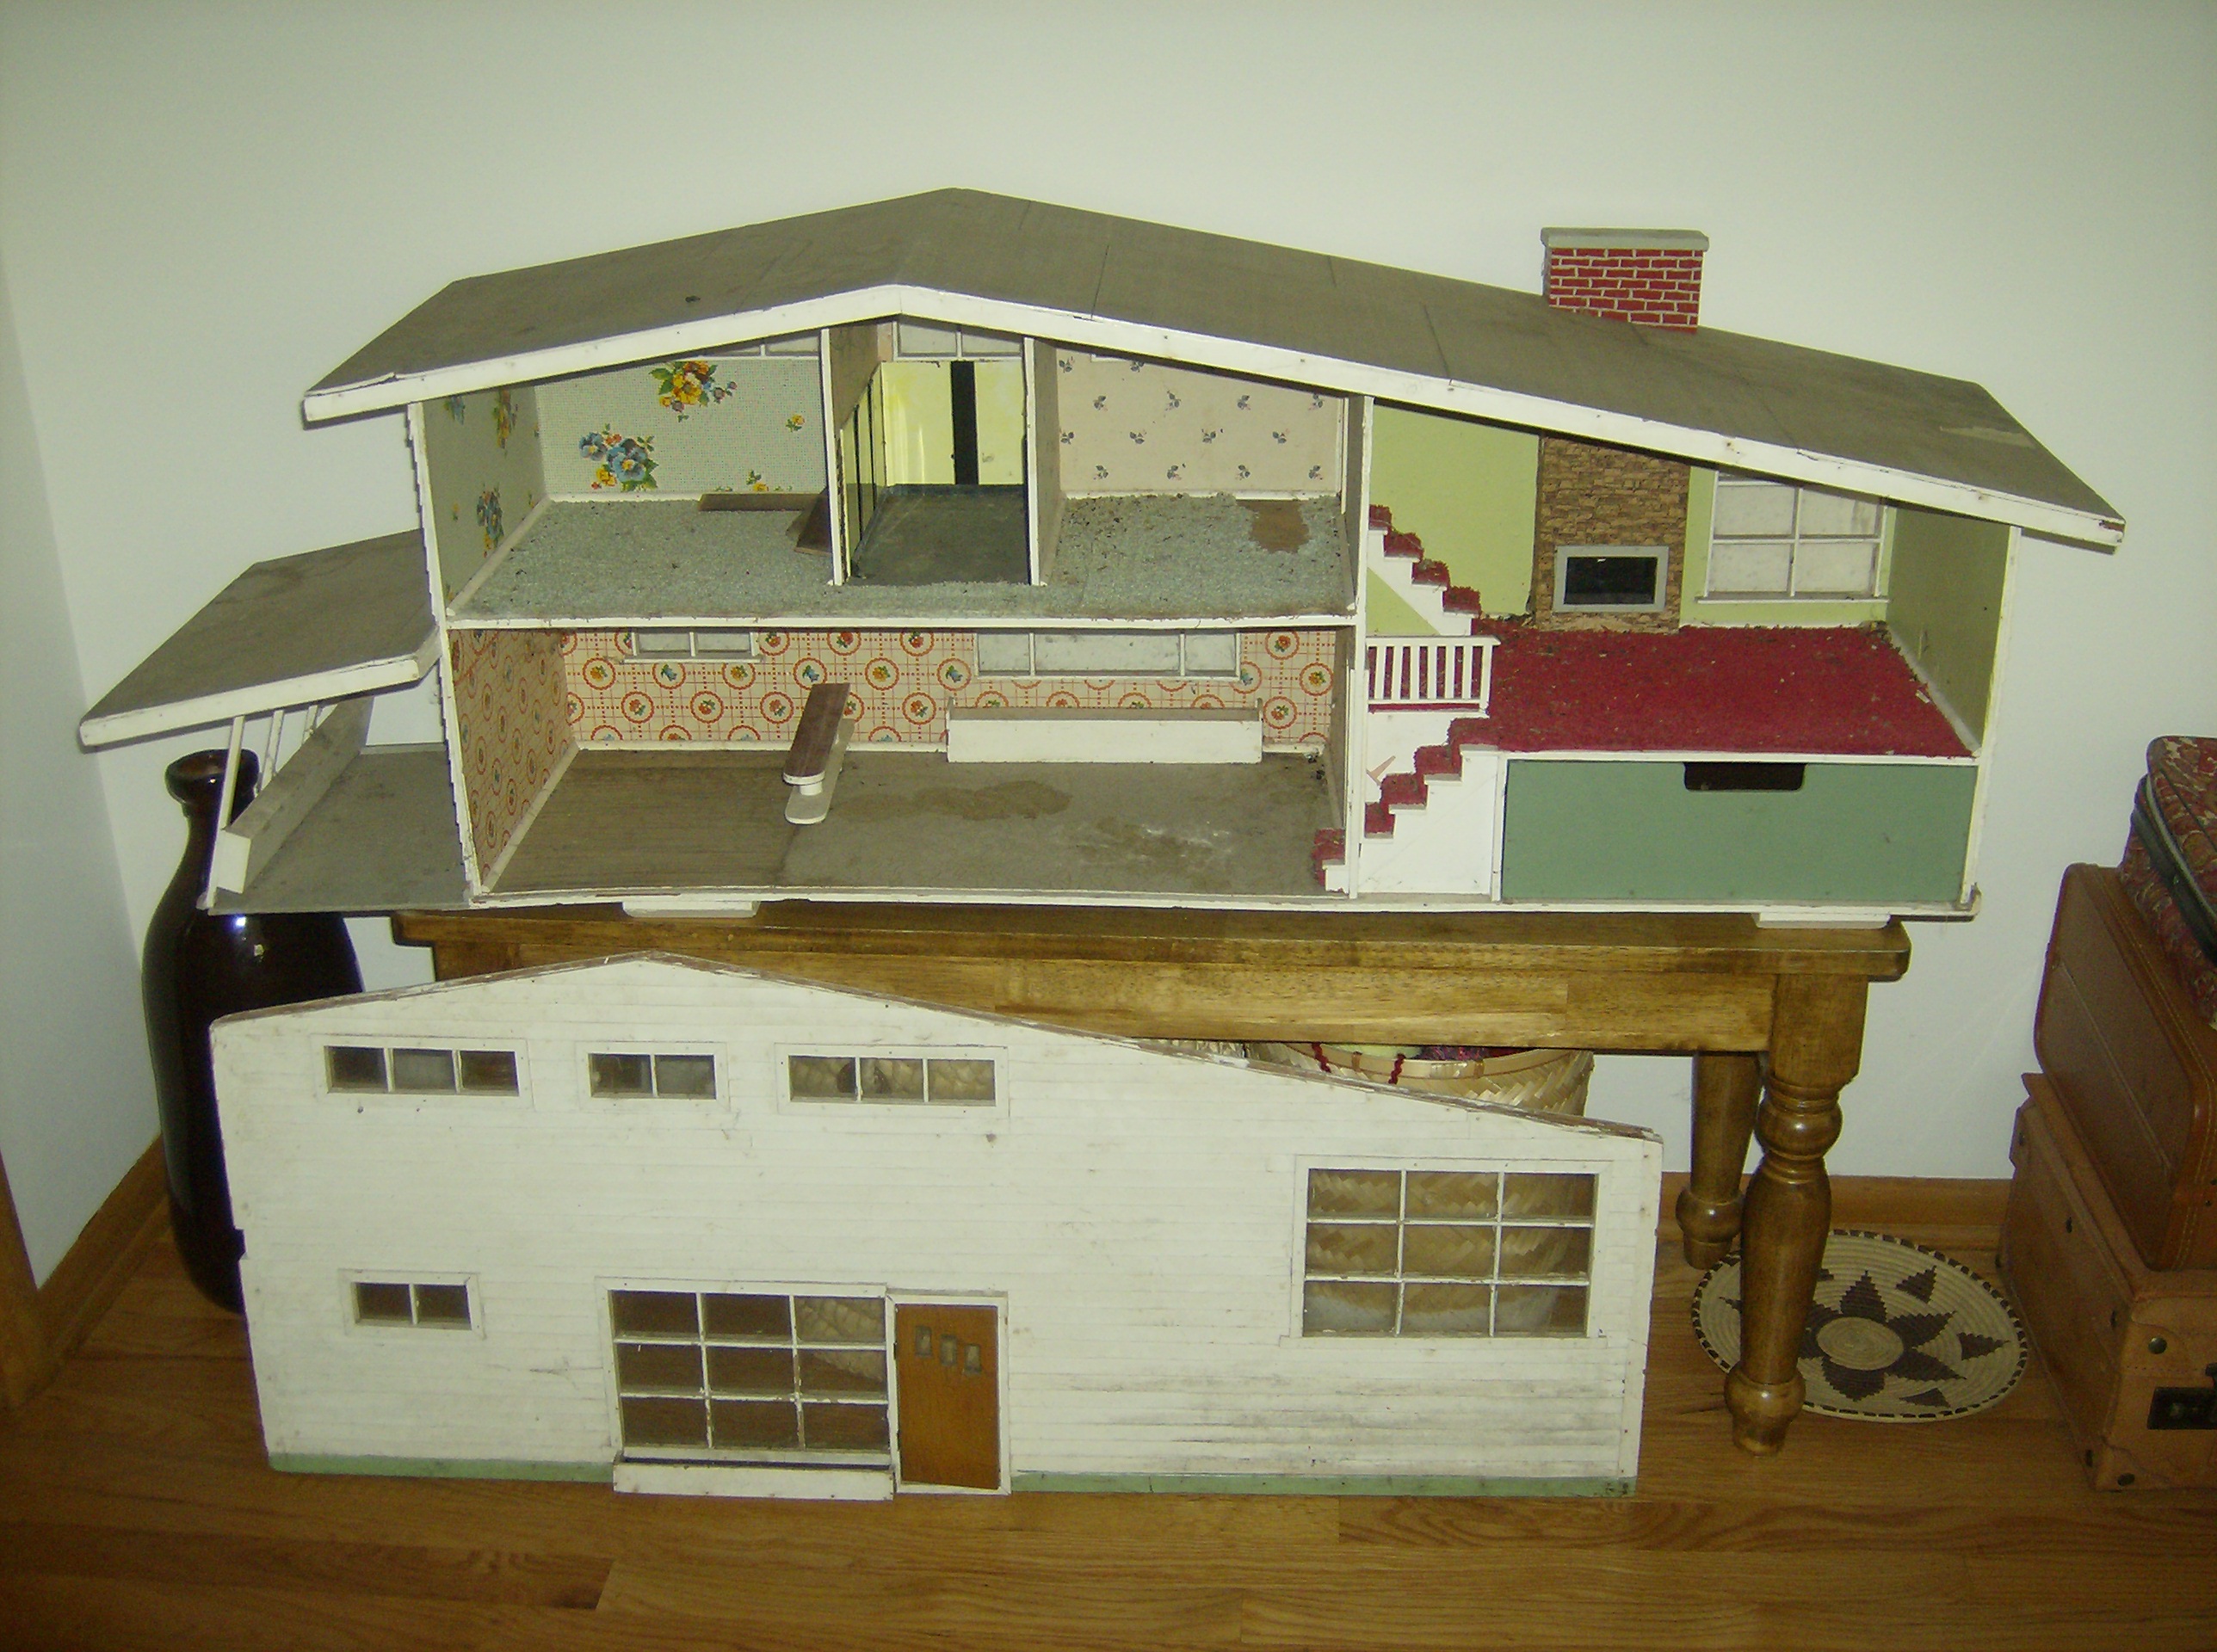
Photo by Holly Tierney-Bedord. All rights reserved.
Here is a view of just the front panel of the house now:

Photo by Holly Tierney-Bedord. All rights reserved.
When I’d gotten to the point where I barely had enough paint left to continue, and I was losing my enthusiasm (especially on the side with the carport), I got reinspired by this artwork on HGTV:

Frozen HGTV art inspiration. Photo by Holly Tierney-Bedord. All rights reserved.
I realized that the wall inside what will be the office needs a little art, so I made this mural using a Sharpie marker and some of my leftover paint:

Mini mural, step one. Photo by Holly Tierney-Bedord. All rights reserved.
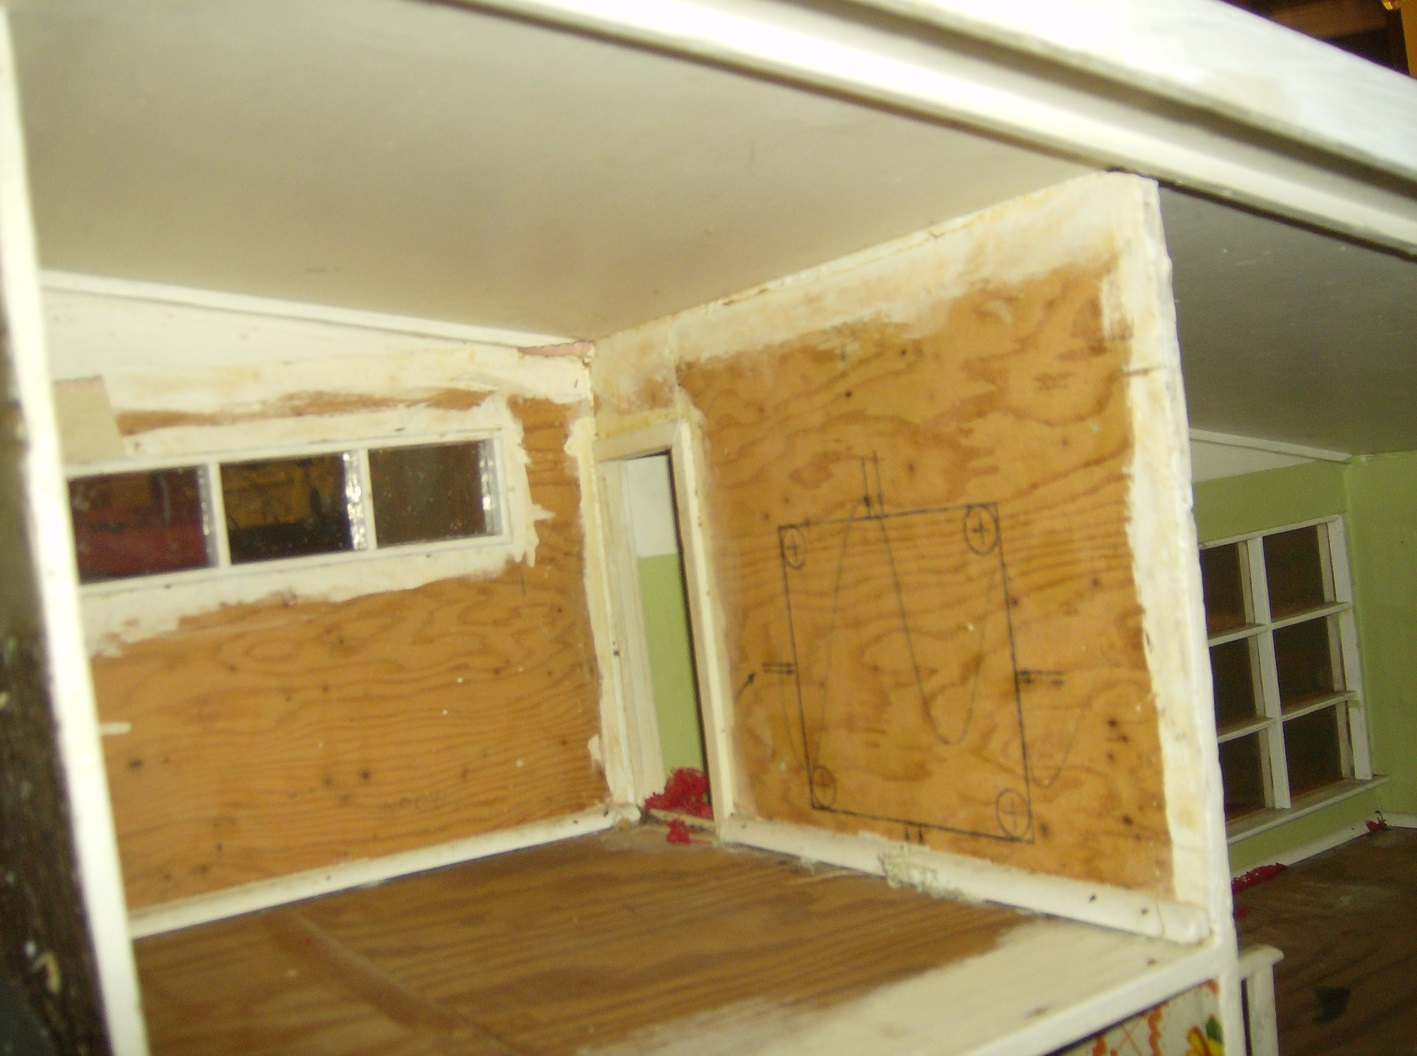
Future office. Needs some art. Photo by Holly Tierney-Bedord. All rights reserved.

Mini mural, painted. Photo by Holly Tierney-Bedord. All rights reserved.
Having accent colors inside the house that match the exterior will make the finished project look much more cohesive.
While I still had my paint and paint brush out, I painted the seats of these clearance chairs to match. I’m not even sure if I’m going to use them in the house since they aren’t much of a style match, but they might work someplace.
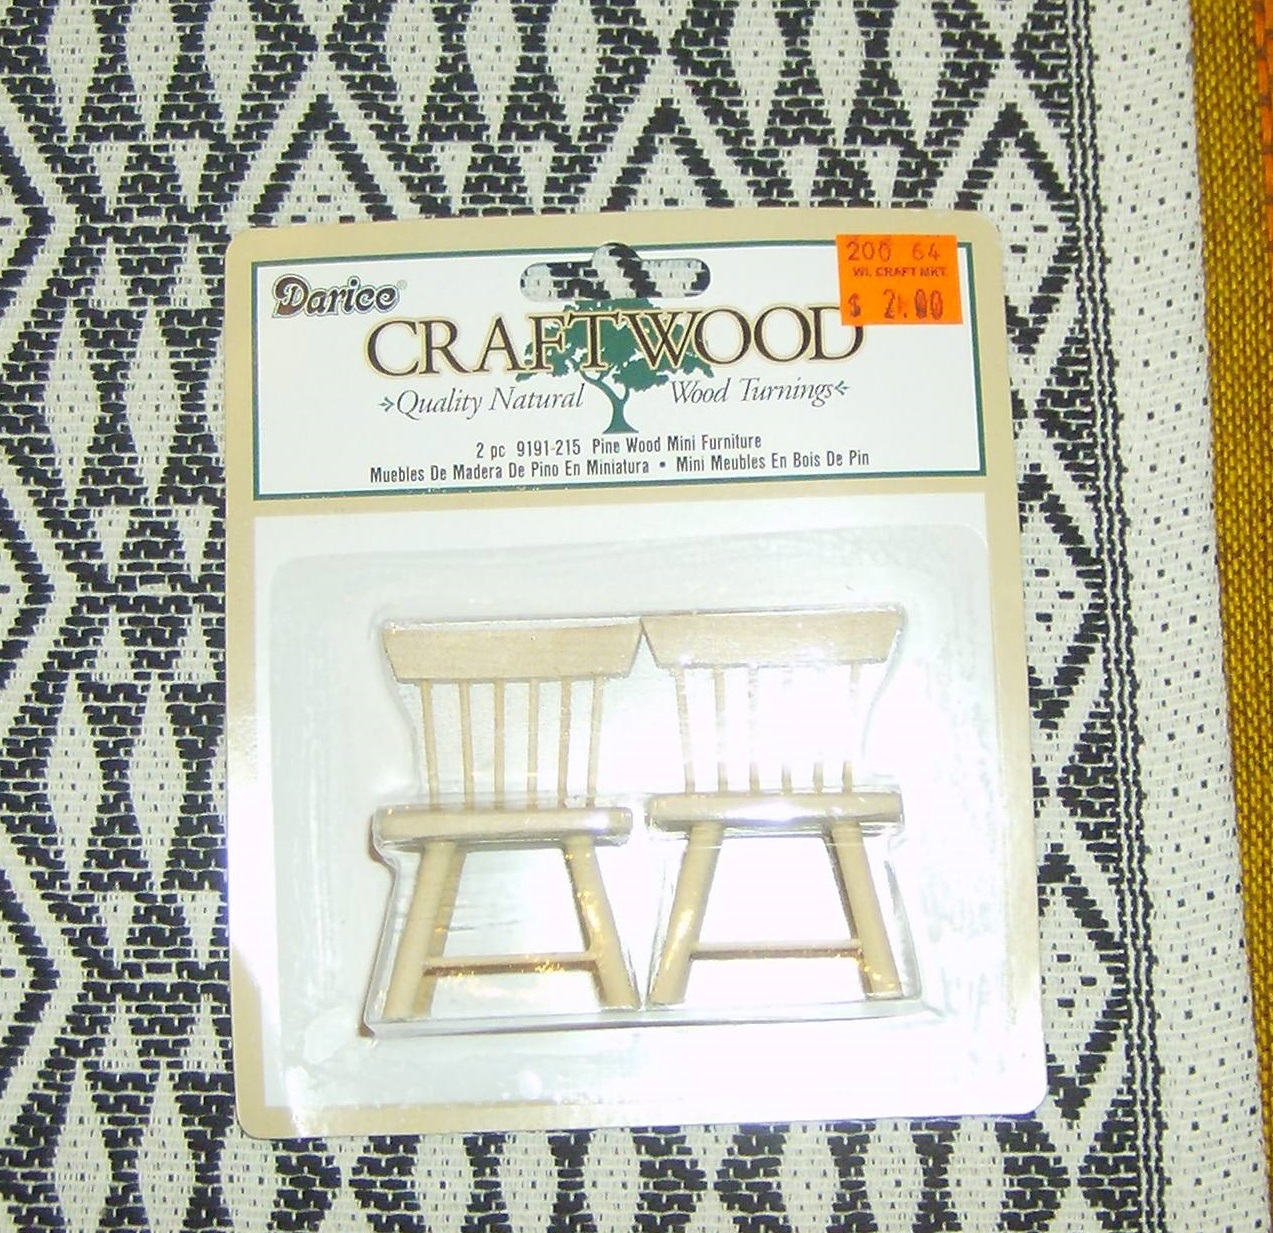
Mini chairs before. Photo by Holly Tierney-Bedord. All rights reserved.

Mini chairs and mini mural. Photo by Holly Tierney-Bedord. All rights reserved.
The mural will get cut down to fit on the wall of the office. The chairs will get sanded a little and… who knows.
Coming up soon: Another coat of paint, trim to be painted, shingles to be applied, and chimney to possibly get a facelift. It’s exciting times in Flip This Mini House land!
This simple project required just a mossy twig and some scraps of yarn. I used the arms of a chair as a loom. The entire project only took about a half hour and cost approximately nothing. I think it will end up in the master bedroom of my mid century marvel, since that room is probably going to be green.

Simple woven wallhanging. Photo by Holly Tierney-Bedord. All rights reserved.
It’s nowhere near being move-in ready yet, but my mid-century marvel has been accumulating stacks of decor. Some of it I’ve purchased new, some at antique and thrift stores, but most of it I’ve made myself. This miniature macrame owl was inspired by Jonathan Adler’s design book 100 Ways to Happy Chic Your Life. In the book he shows several macrame owls and gives simple, step-by-step instructions to create your own owl. I used his instructions as helpful guidelines, but altered them to work for me. I used thin yarn so it would be the appropriate scale. I added the eyes with slightly darker thread, and I will reattach them once I pick up some thread that’s a match. Up close and with the camera flash the thread is quite noticeable, but until I can replace it, it’s actually not that easy to see in person. I’ve shown the owl with a regular pen so you can get an idea of the scale. Once it’s hanging in the house it will look like a pretty large wallhanging. I think it will end up in the living room, but I am not sure yet. The best part about miniature crafts? They don’t take very long to make!

Photo by Holly Tierney-Bedord. All rights reserved.
