Armed with these jumbo pompom balls and scrap of burlap, I made some crafts with swanky style for my mid-century house today.


Armed with these jumbo pompom balls and scrap of burlap, I made some crafts with swanky style for my mid-century house today.
Inspired by some more clearance jewelry finds, I made this cute pink tasseled wall hanging for a comfy room box living room!


This yarn, above, looks a little too thick for this project, so I’ll try it with some finer-weight pink thread instead.

Carefully remove the tassels… (Watch out for flying bits of metal!)

A bit of a kabob skewer works great for this project!


Done!
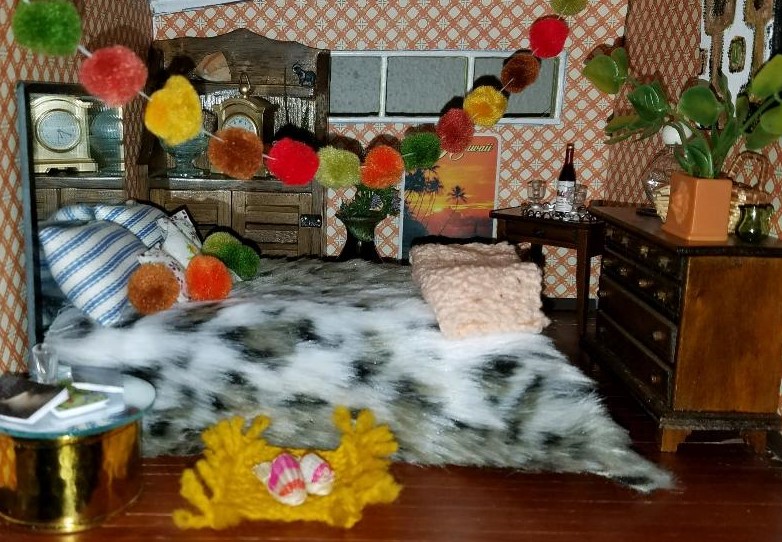
Just like with a real house, decorating the Flip This (Mini) House project never ends. The living room, which I just highlighted earlier today, has gotten a make-under. The bubble chair has been swapped with the Eames lounge chair and ottoman from the house’s upstairs office. The fluffy white rug has been swapped out with a carpet from the house’s storage drawer. Ahhh! That’s better!

A make-under for the living room

A make-under for the living room

A make-under for the living room
Not long ago I got this dining room set on eBay:

eBay find
To me, it looks like furniture actually looked in the 70’s. There’s none of the teak, Danish modern 1960’s thing going on with it, which is what I’d ideally like for the dining room.
I decided to give it a makeover to see if I could convince myself to love it. After all, I’ve been looking high and low for the “perfect” set for months, and I don’t think I’m going to find it.
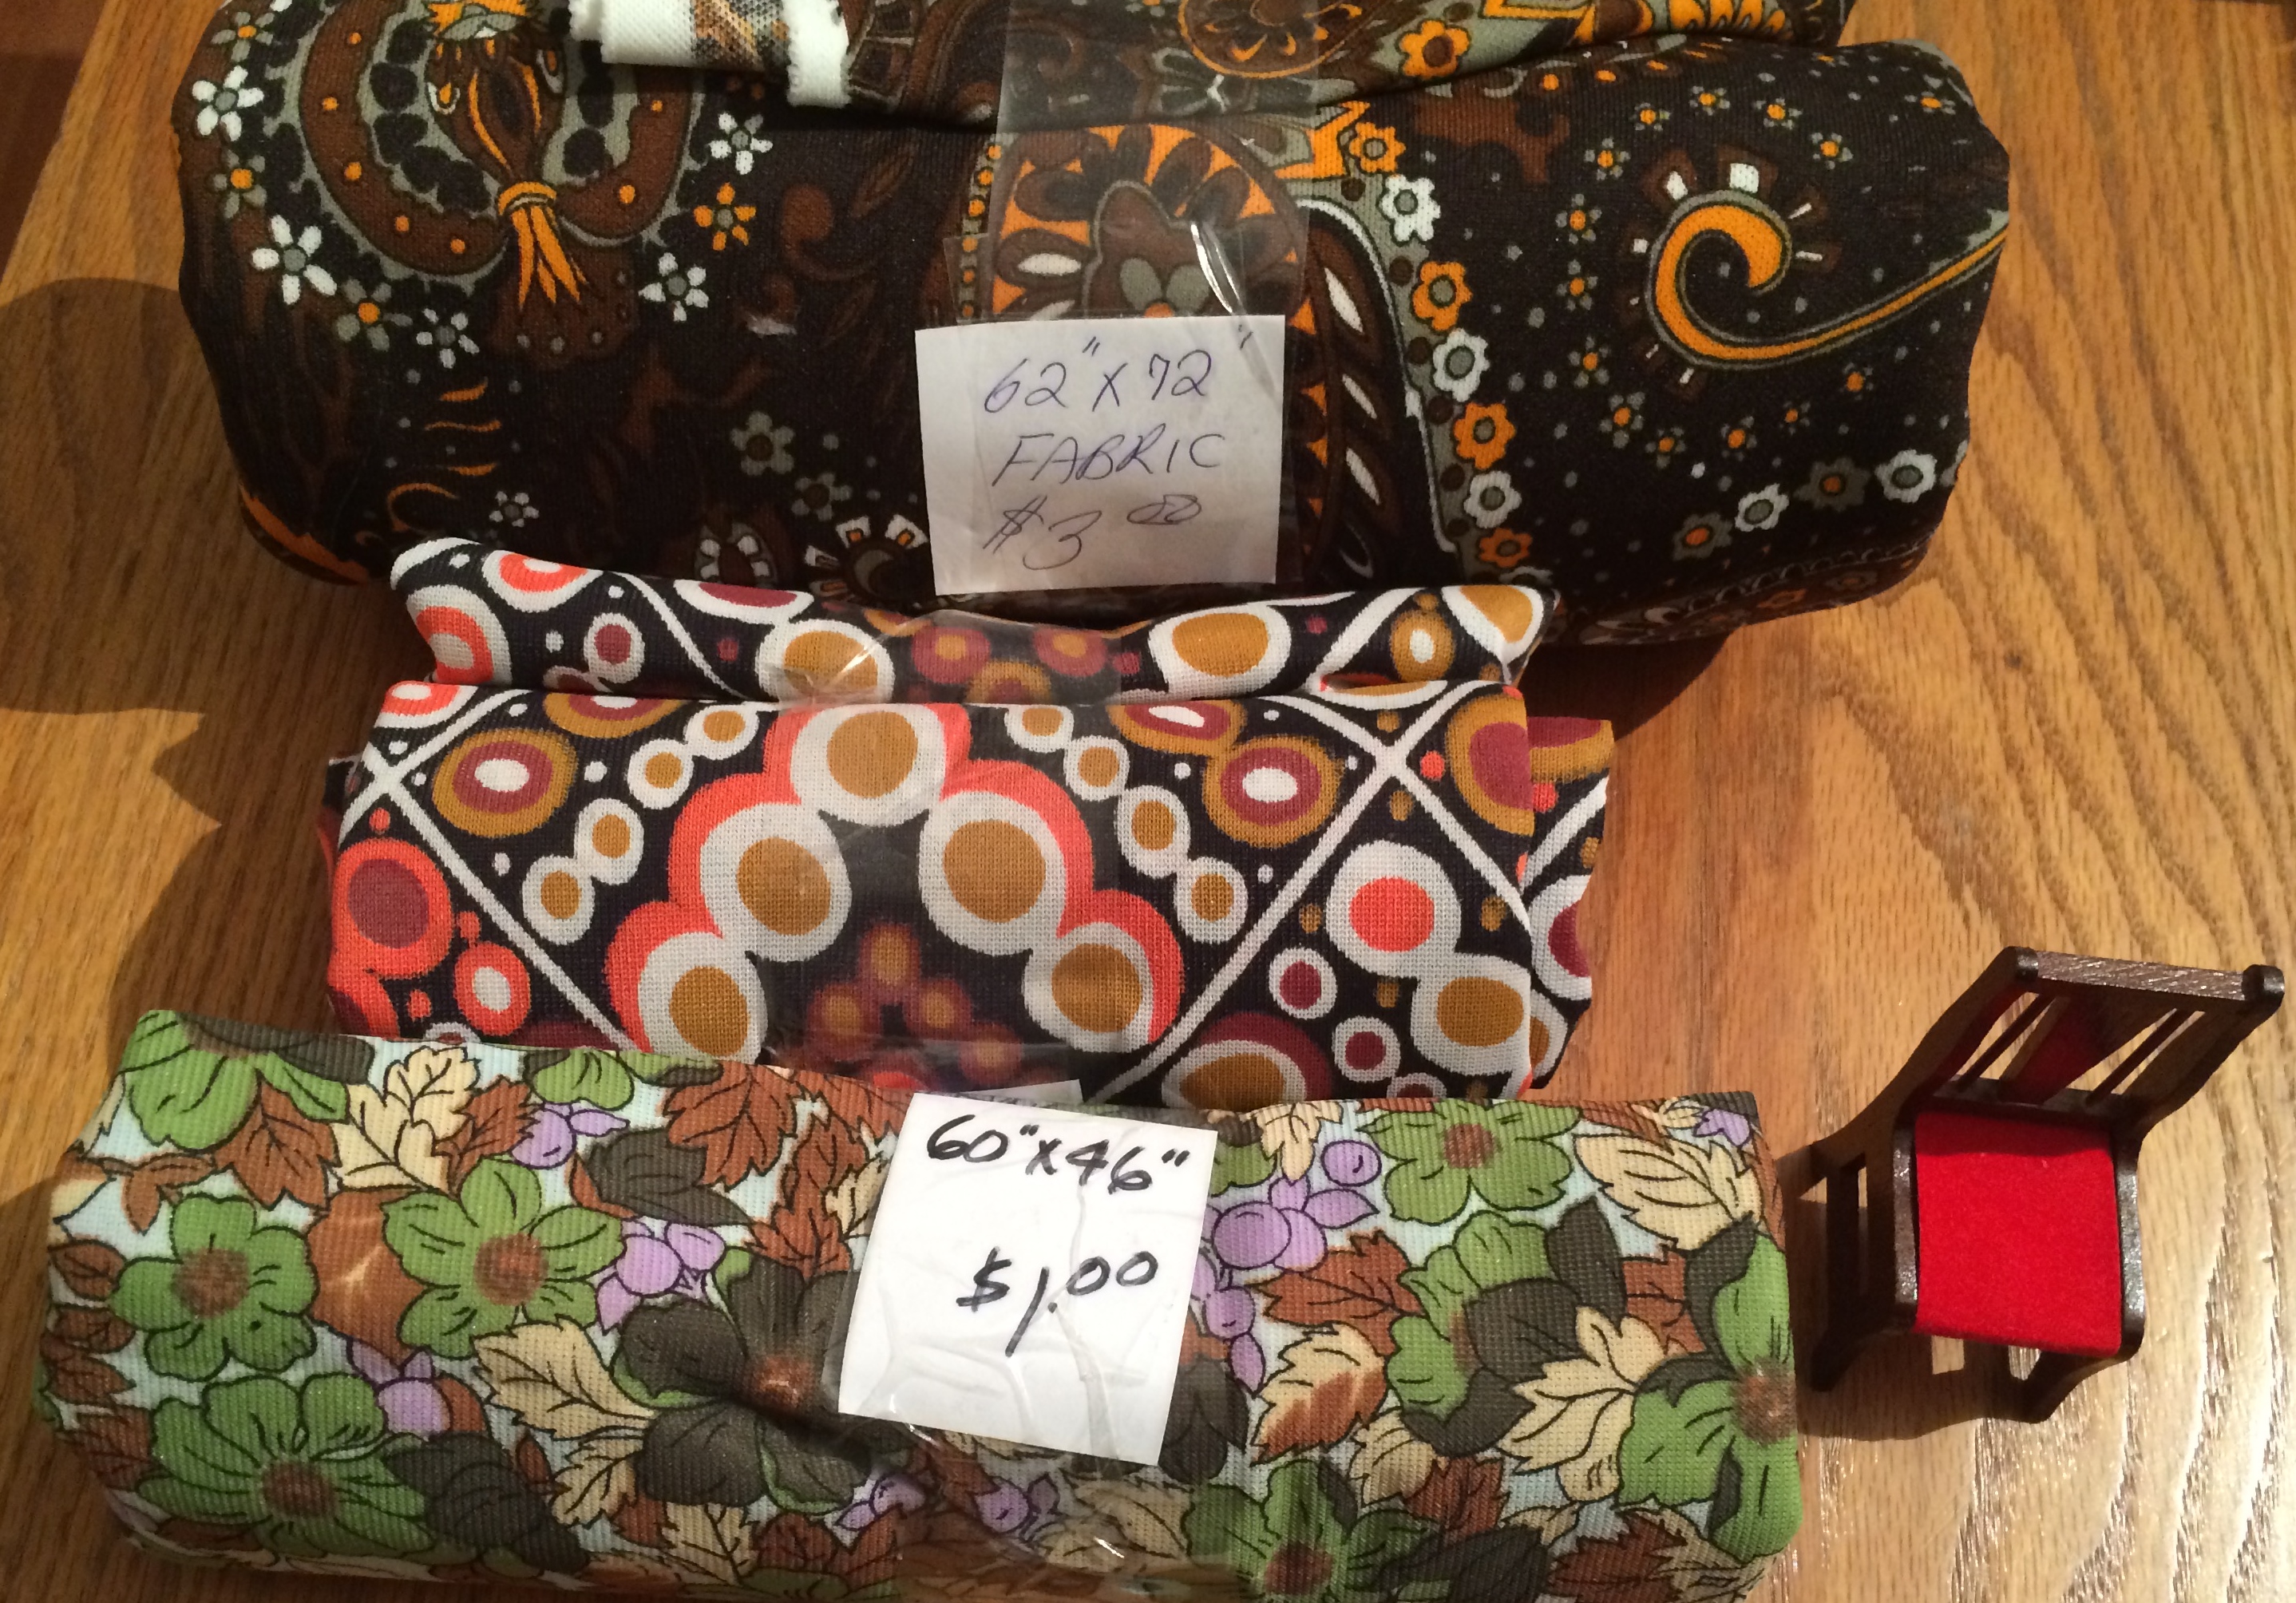
Here is some vintage fabric I just picked up at a St. Vinny’s in Canada (My goal: to visit every St. Vinny’s in the world).

Authentic Canadian fabric. Photos by Holly Tierney-Bedord. All rights reserved.
I especially love the bottom pattern. I might have to turn that one into something for my real house.
Here’s the fabric again, beside one of the dining room chairs. I’m determining which pattern works best with the scale. I also set each in the kitchen/dining area to see which colors blended best with the wallpaper and adjacent kitchen tiles.
Choosing fabric for the chair.

The winner is… This one!
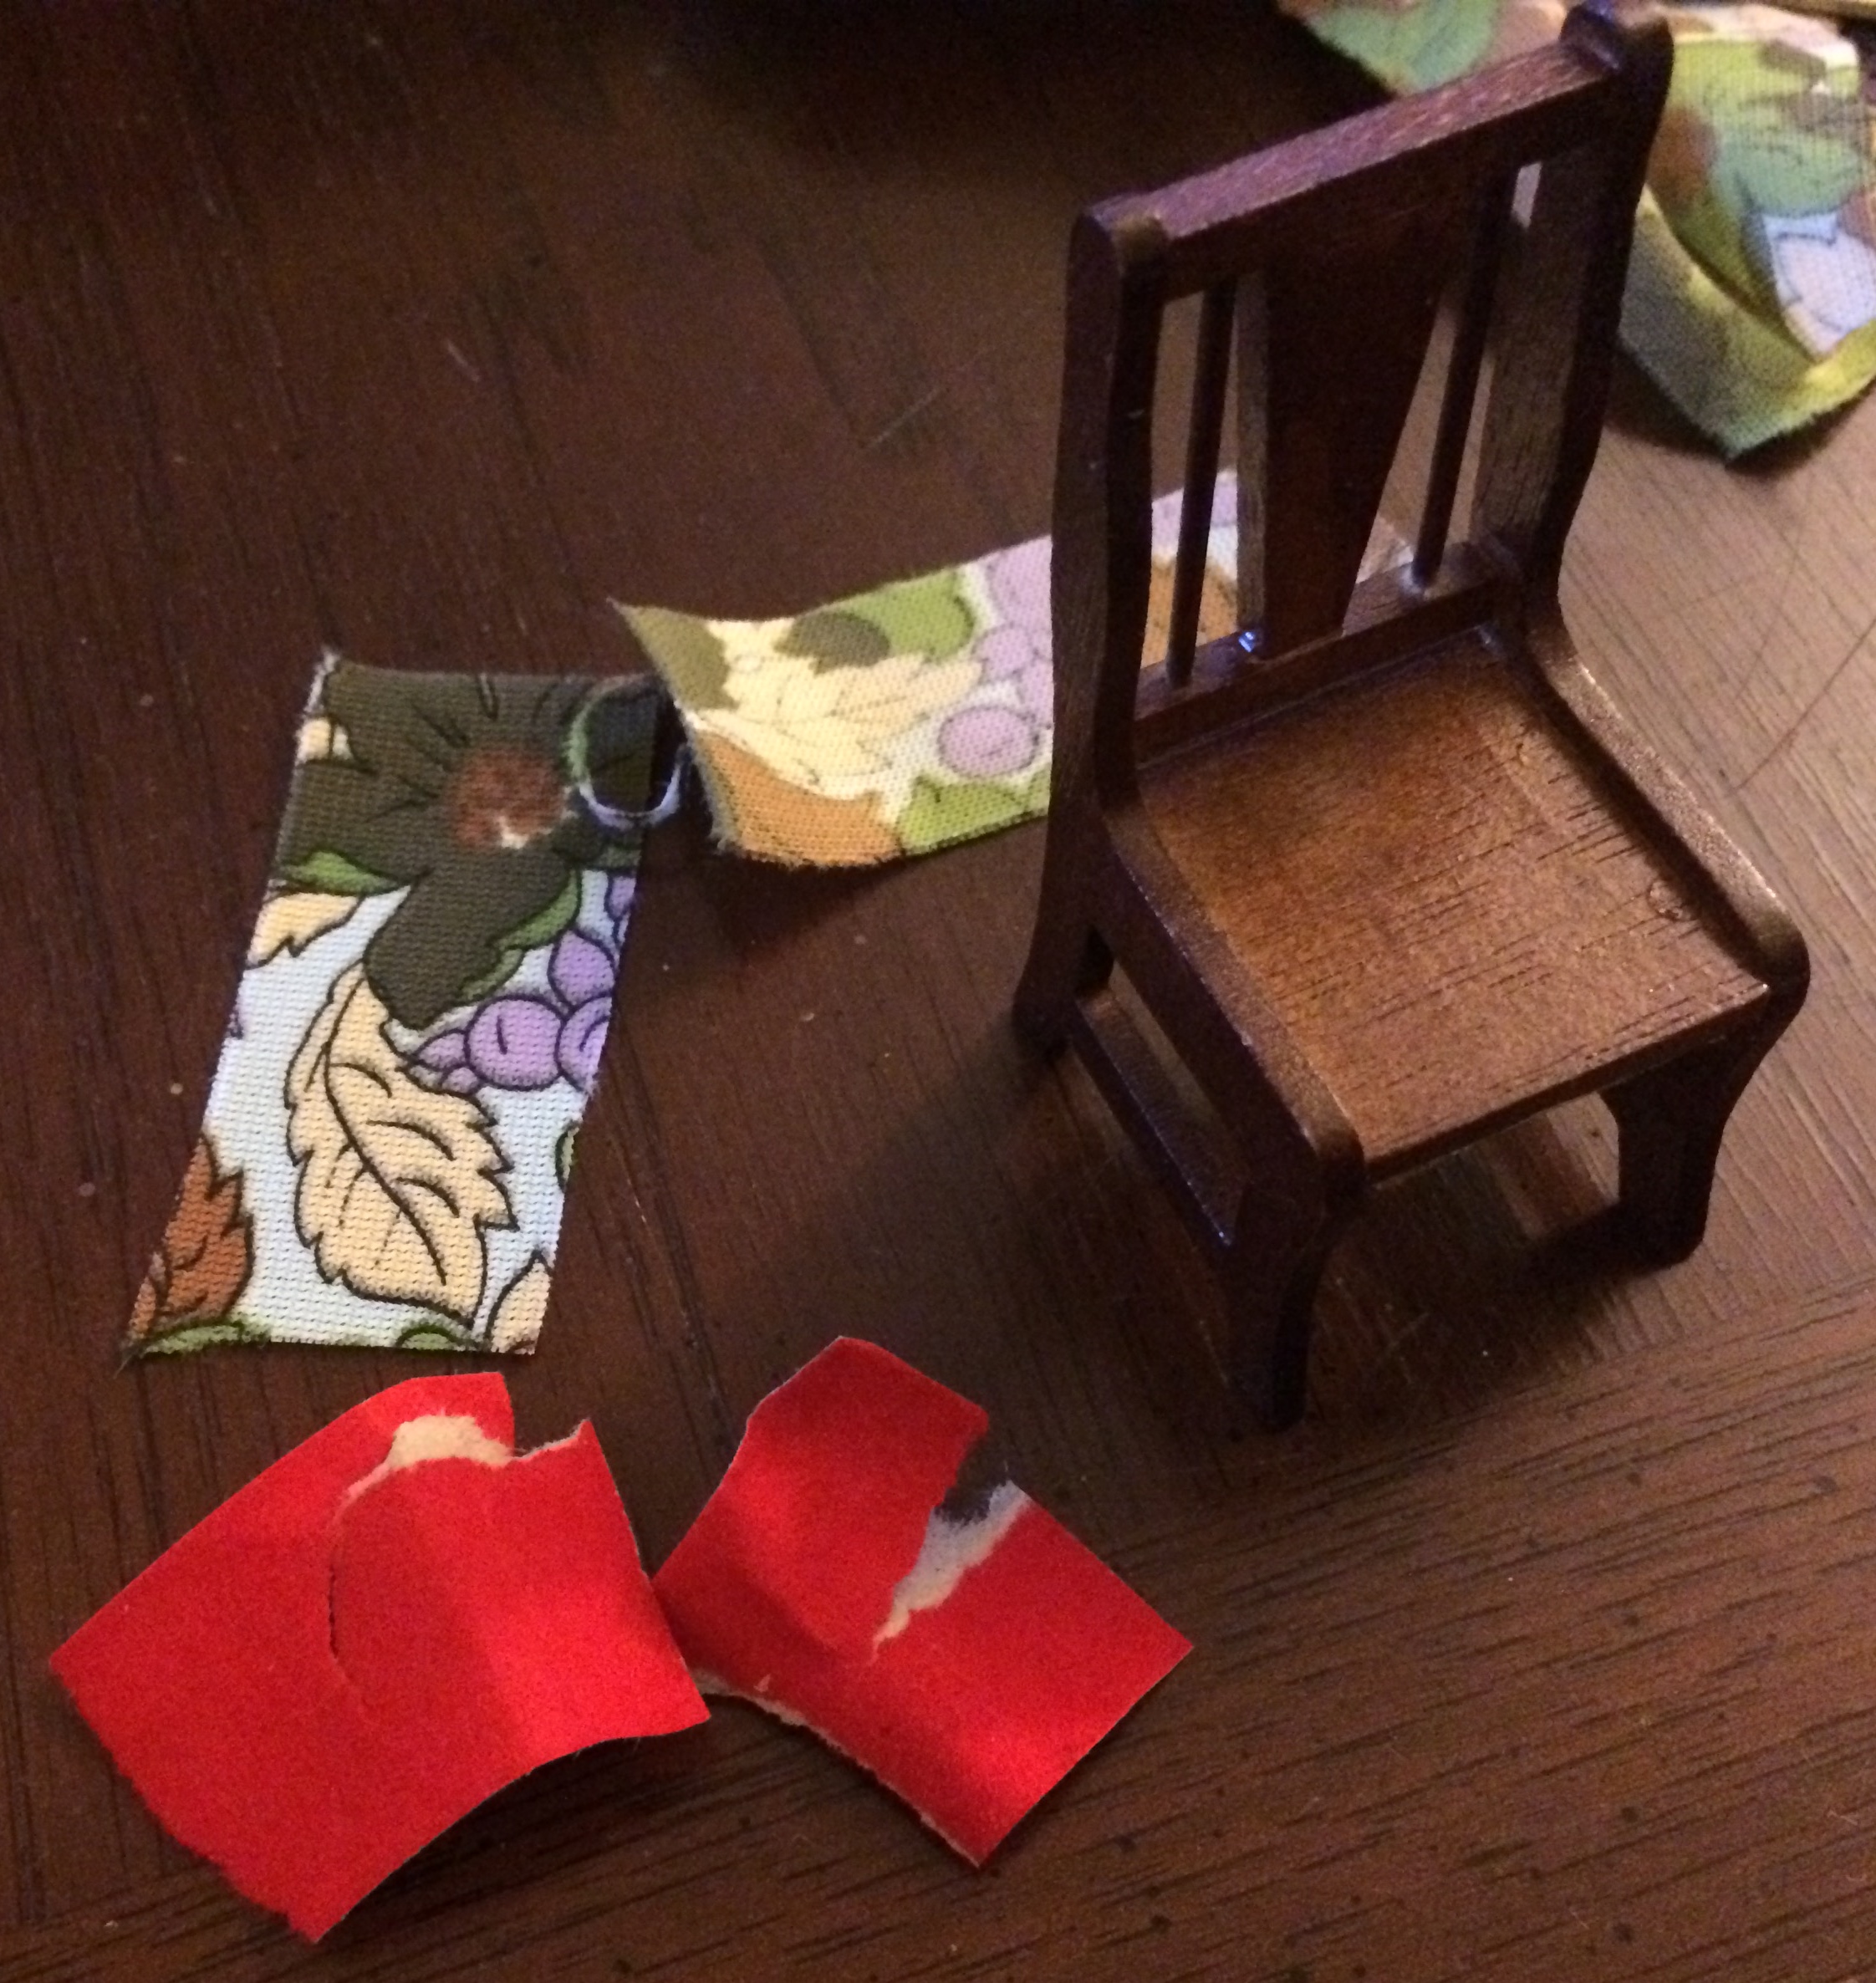
What the heck! You mean the original fabric was actually paper???
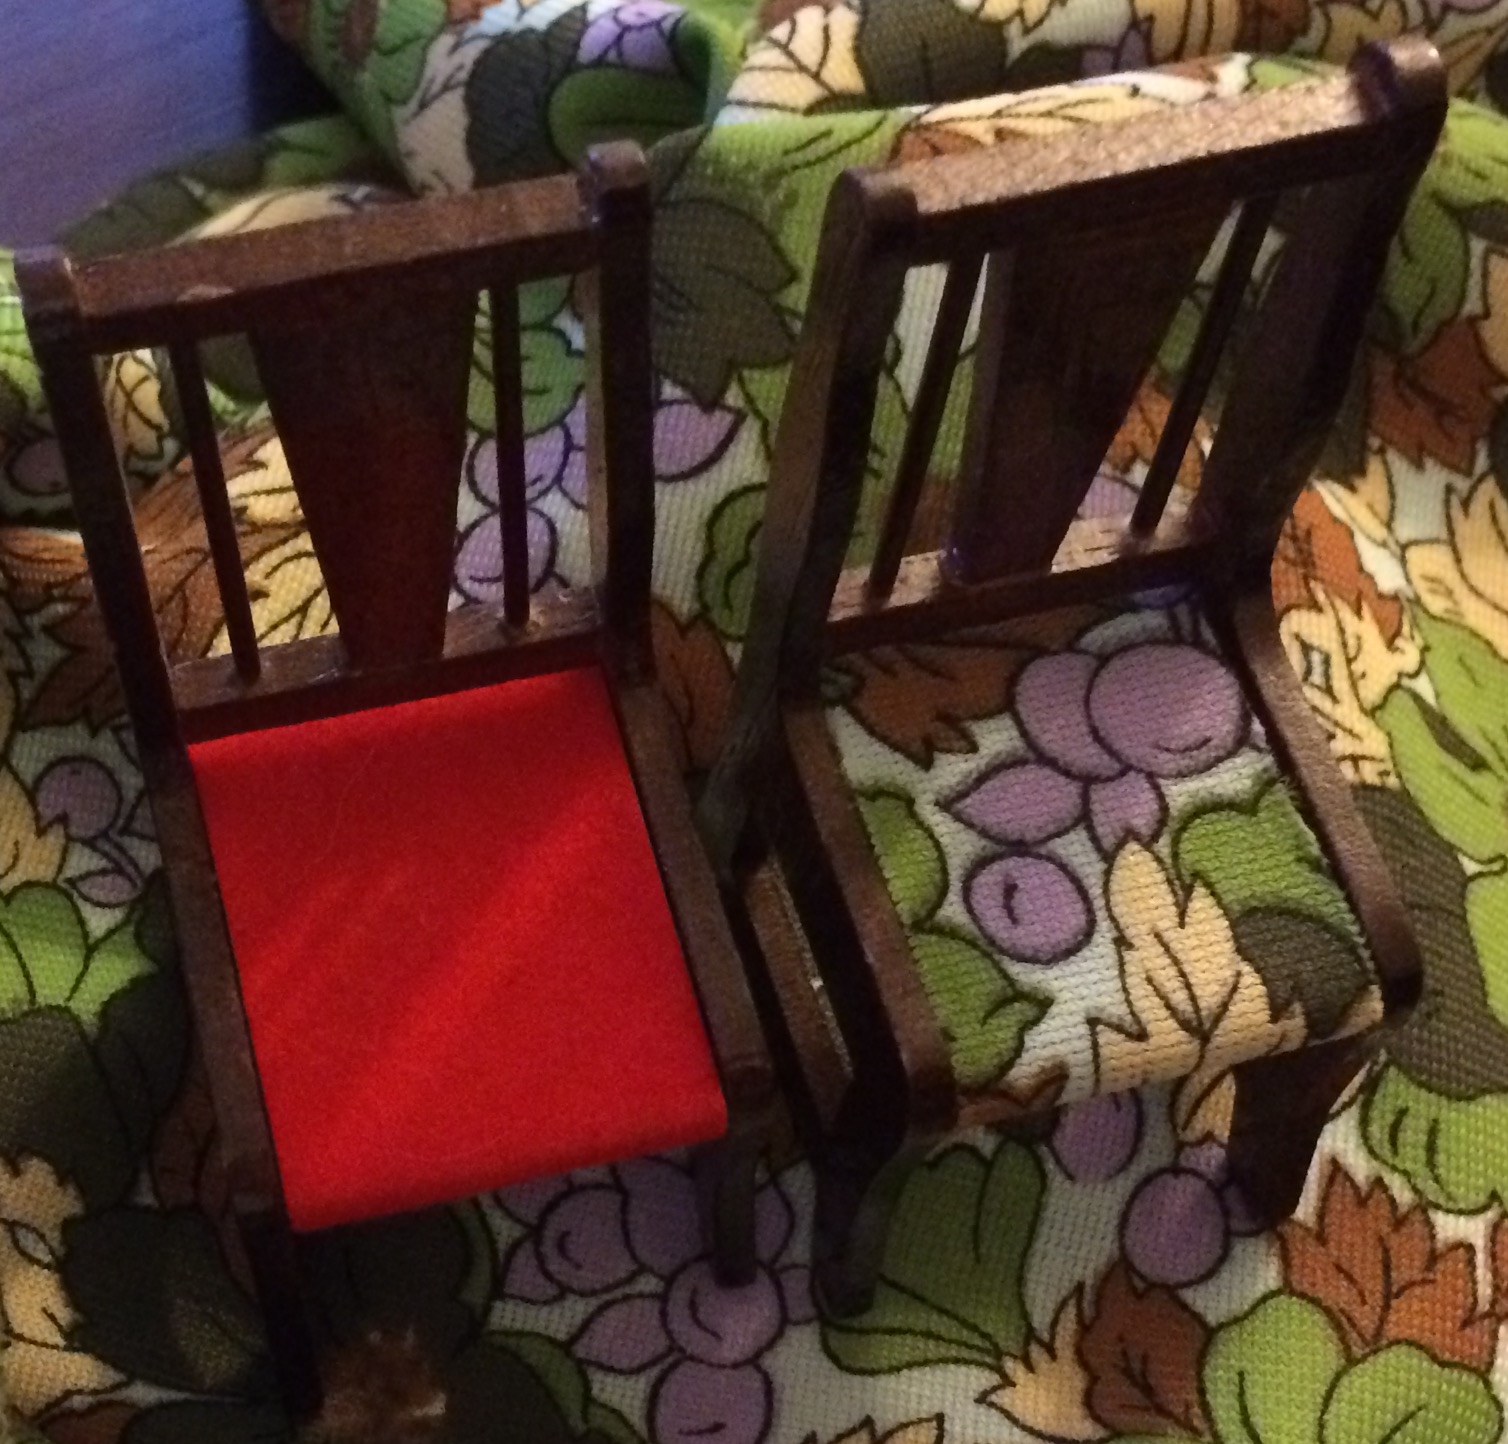
Before and after.
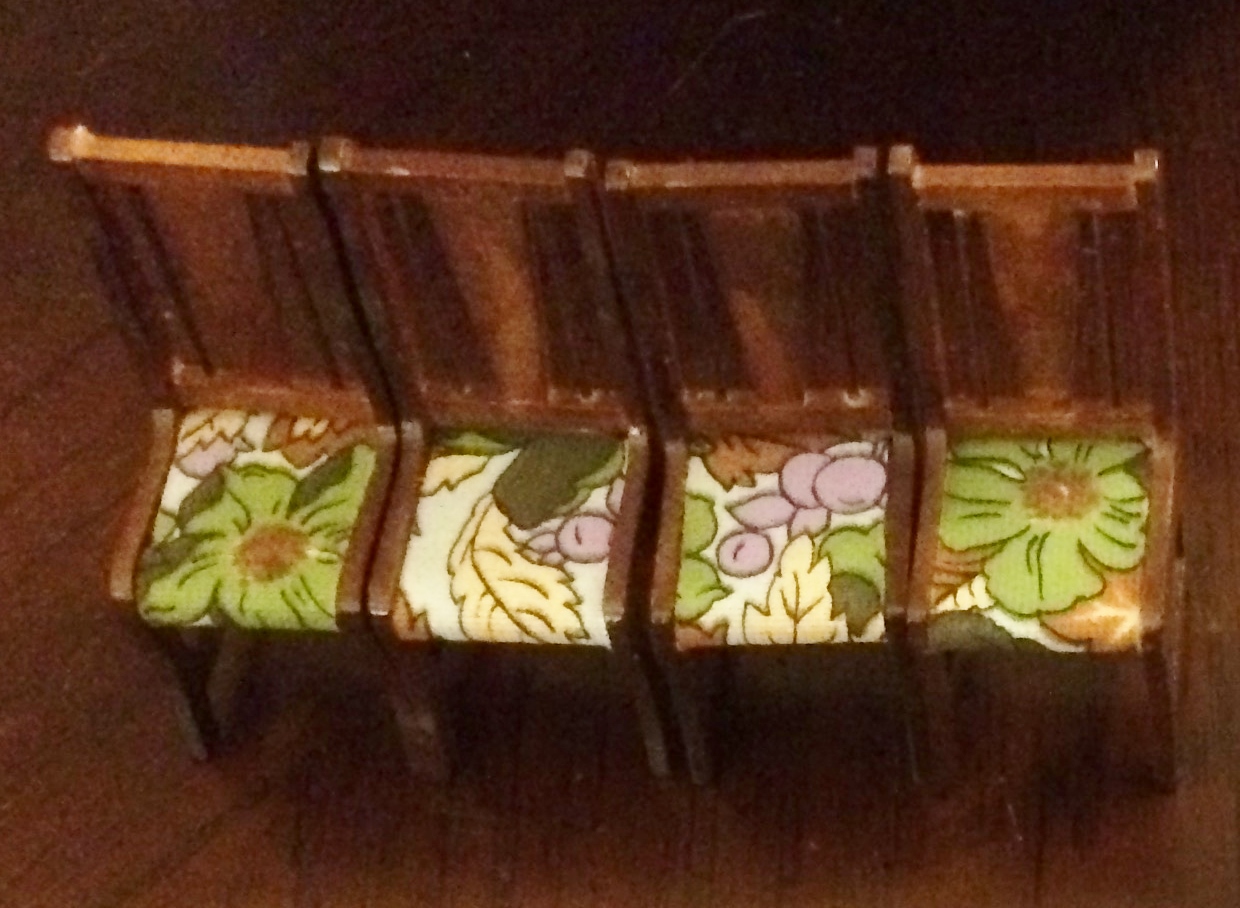
A whole set of chairs!
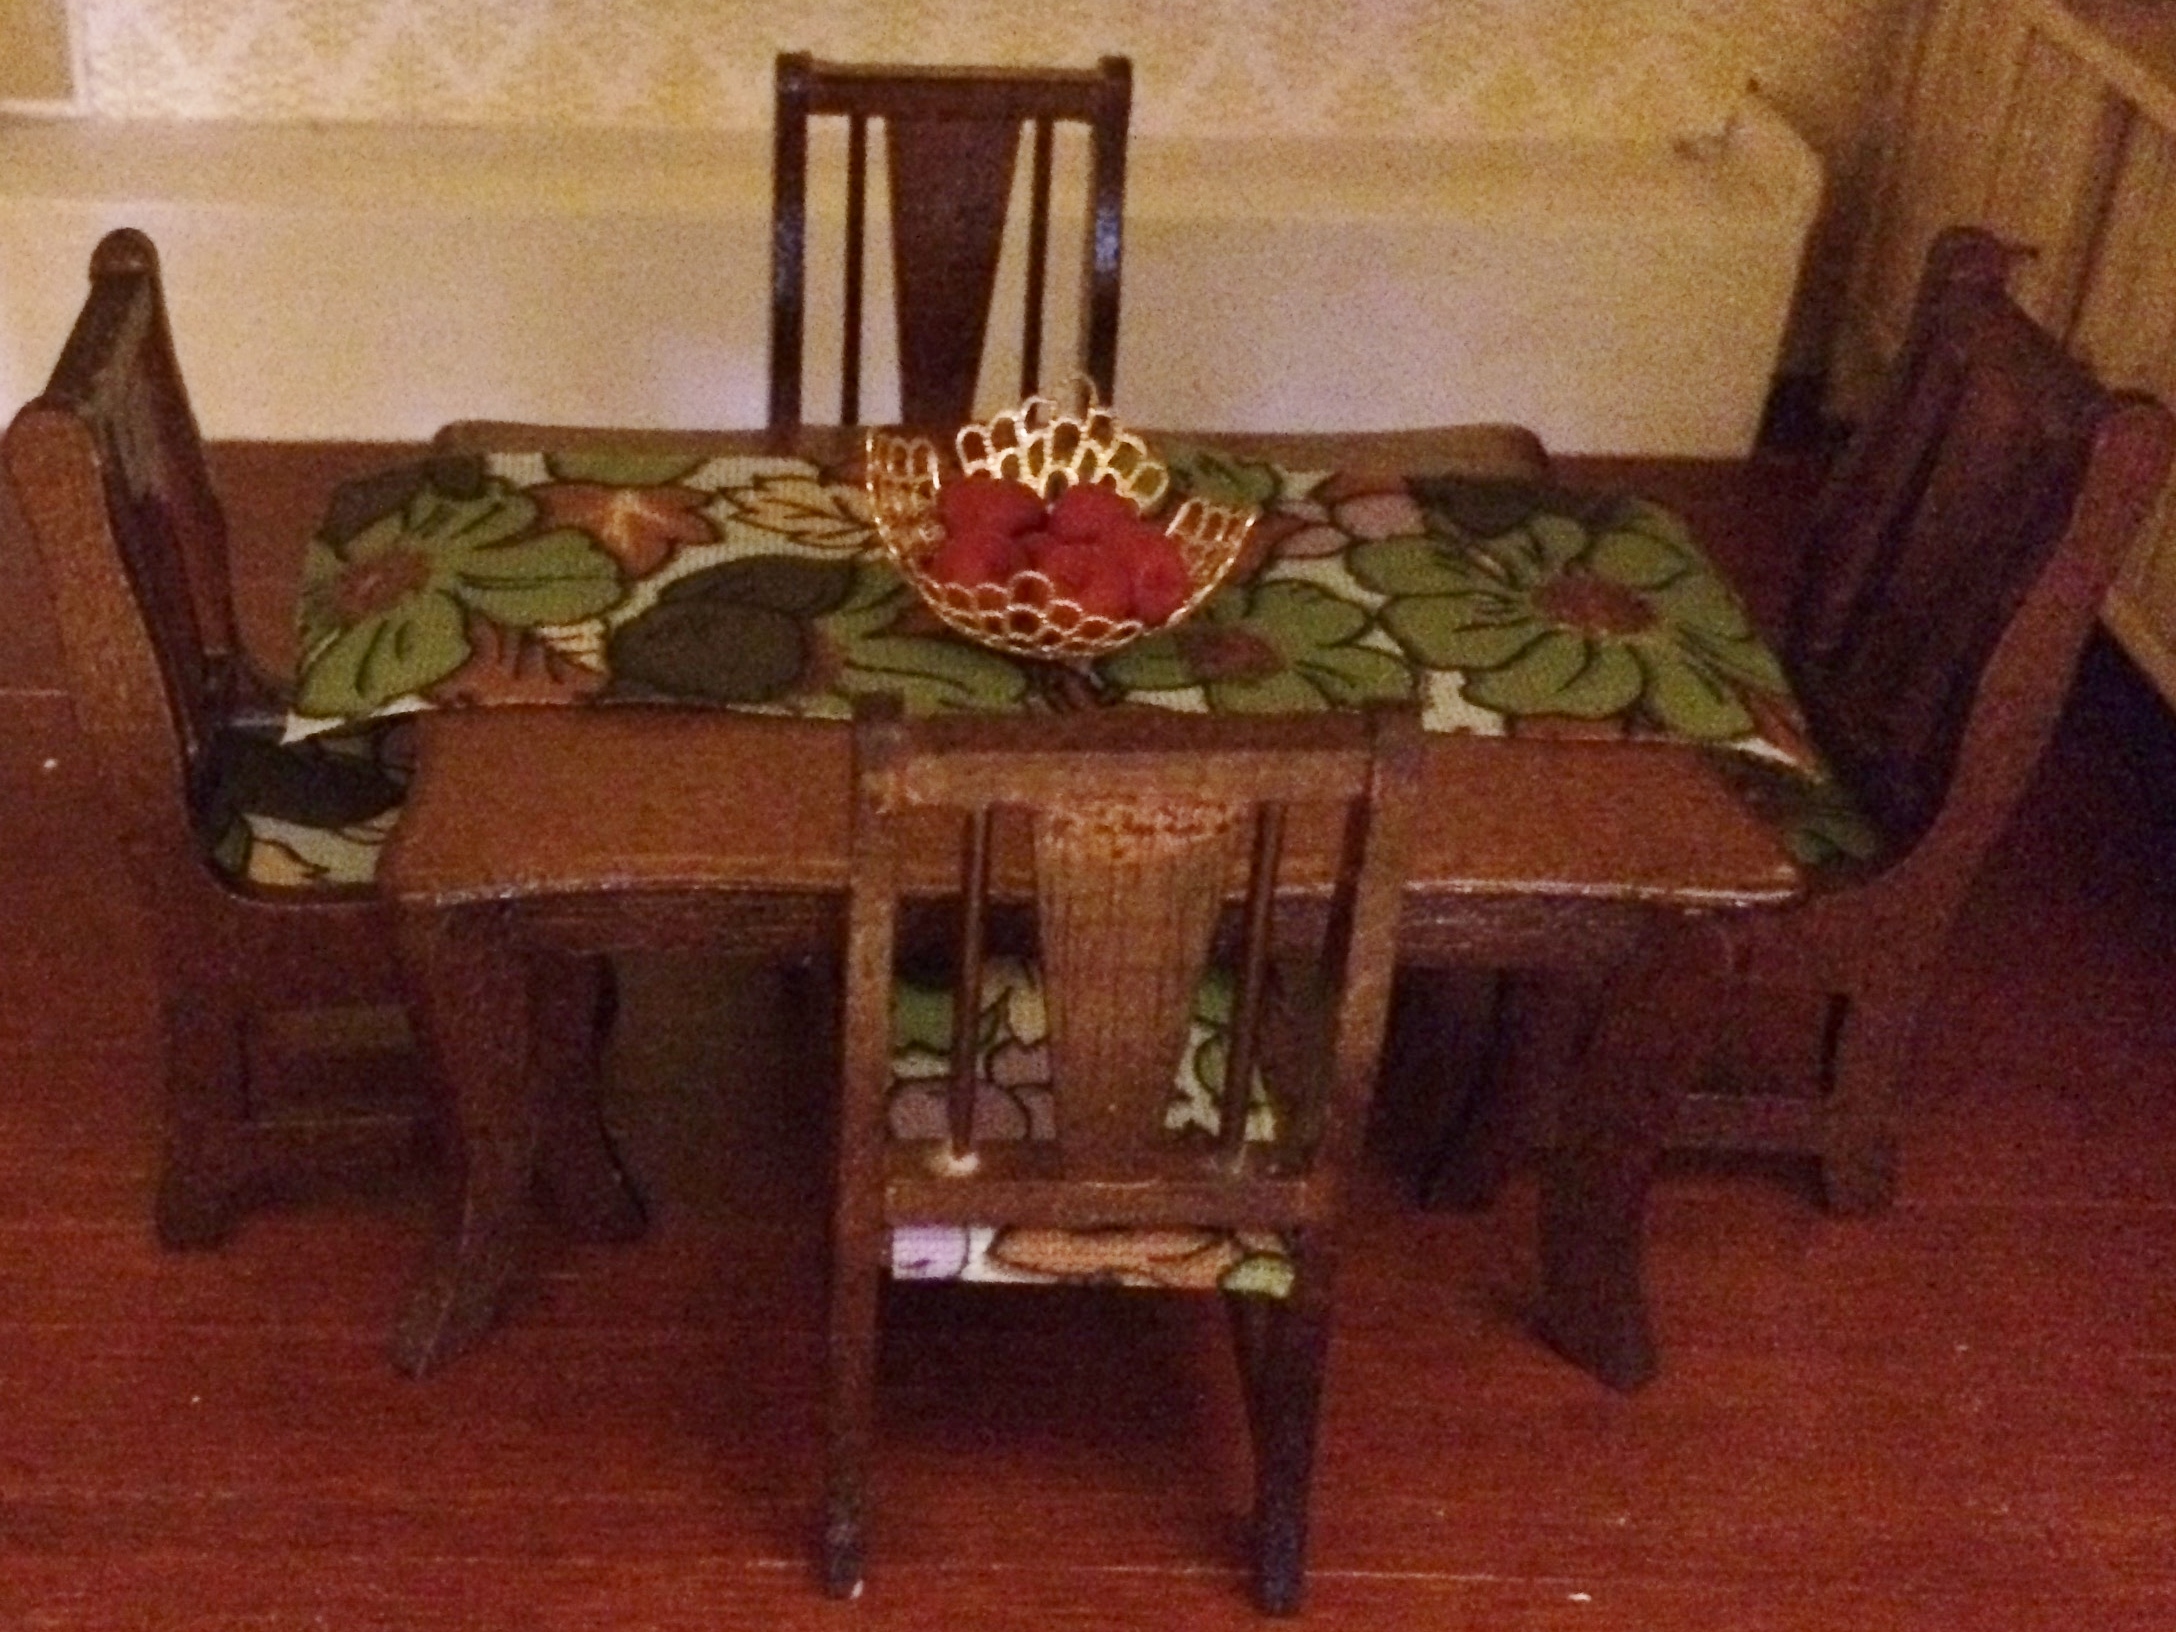
And a matching table runner, to top it all off.
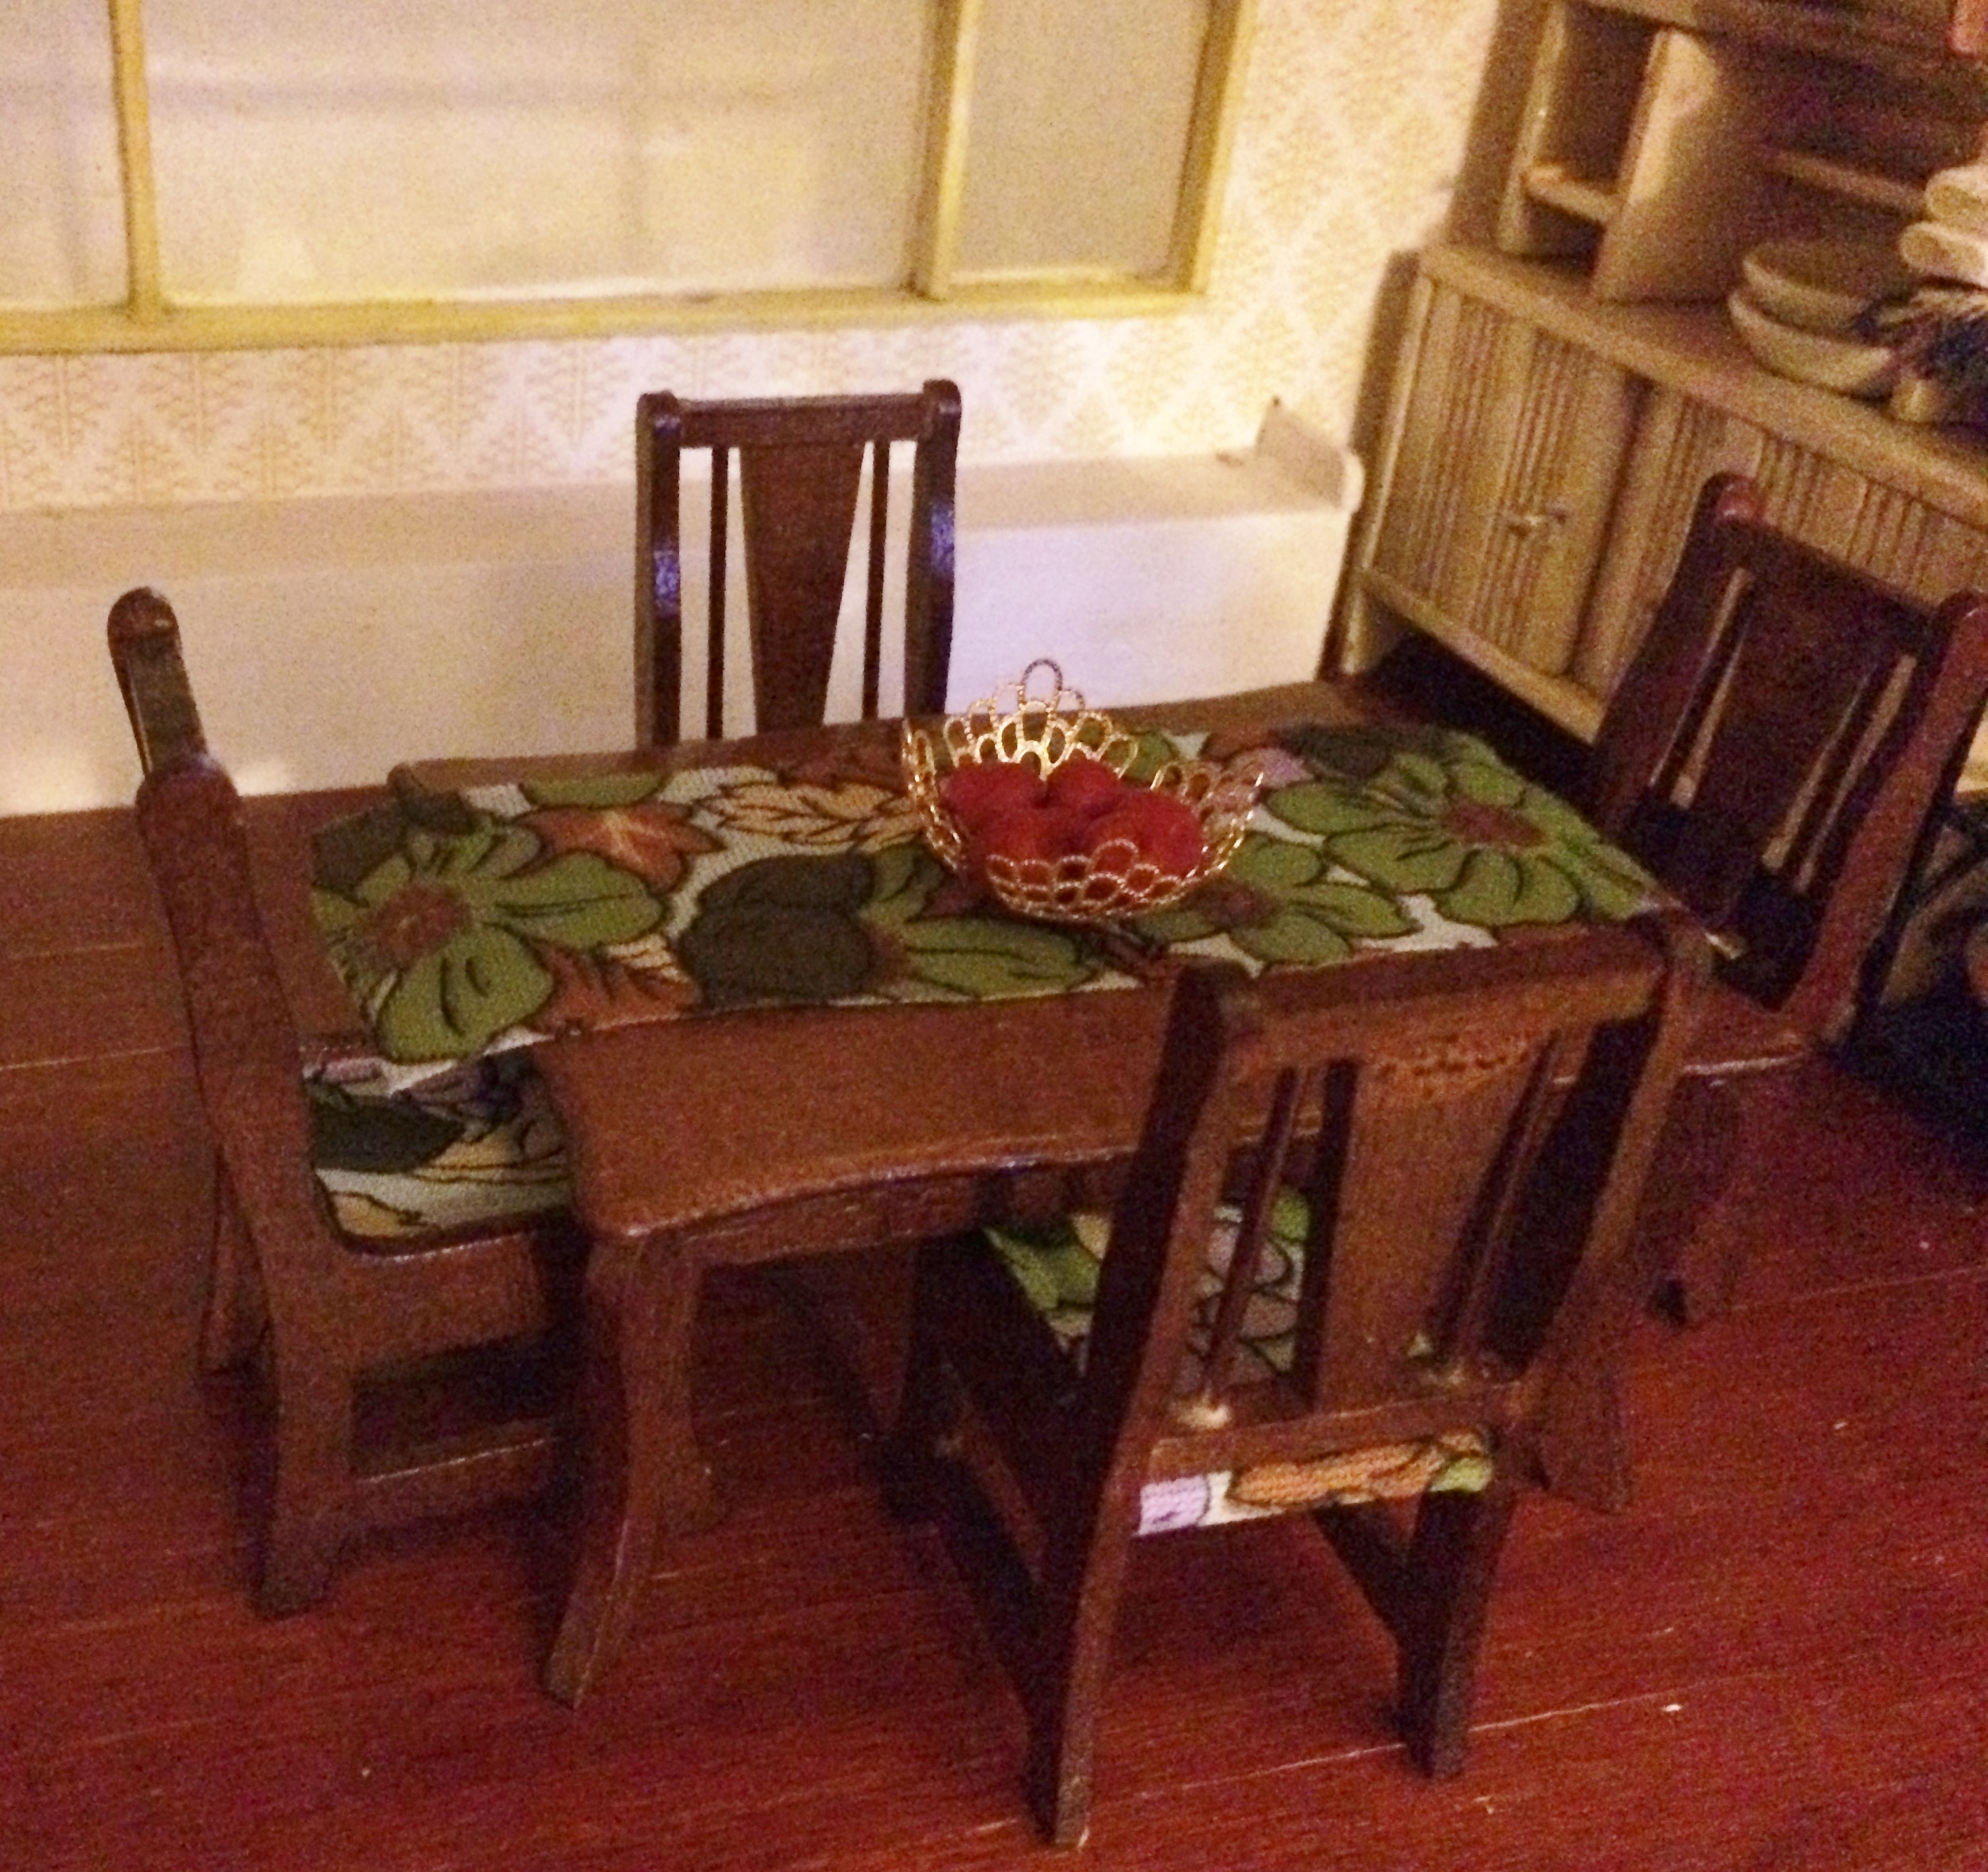
Trying it out in my in-progress dining room.
I’ve got to admit… I really like it! The next step is to make a matching cushion for the window seat bench behind it.
You may not be a big fan of the woven yarn and wood slat blinds like the ones featured here in this kitchen that used to adorn homes in the 1970’s. I happen to like them, and feel that they’re perfect for the early 1960’s – late 1970’s vibe that my house embodies.
To make some for your own mini house, all you need are some skewers or similar narrow sticks, some yarn, and a small loom (As I’ve mentioned on here before, a potholder loom works great for dollhouse weavings. You can pick one up at your local craft store for usually under $5.00).
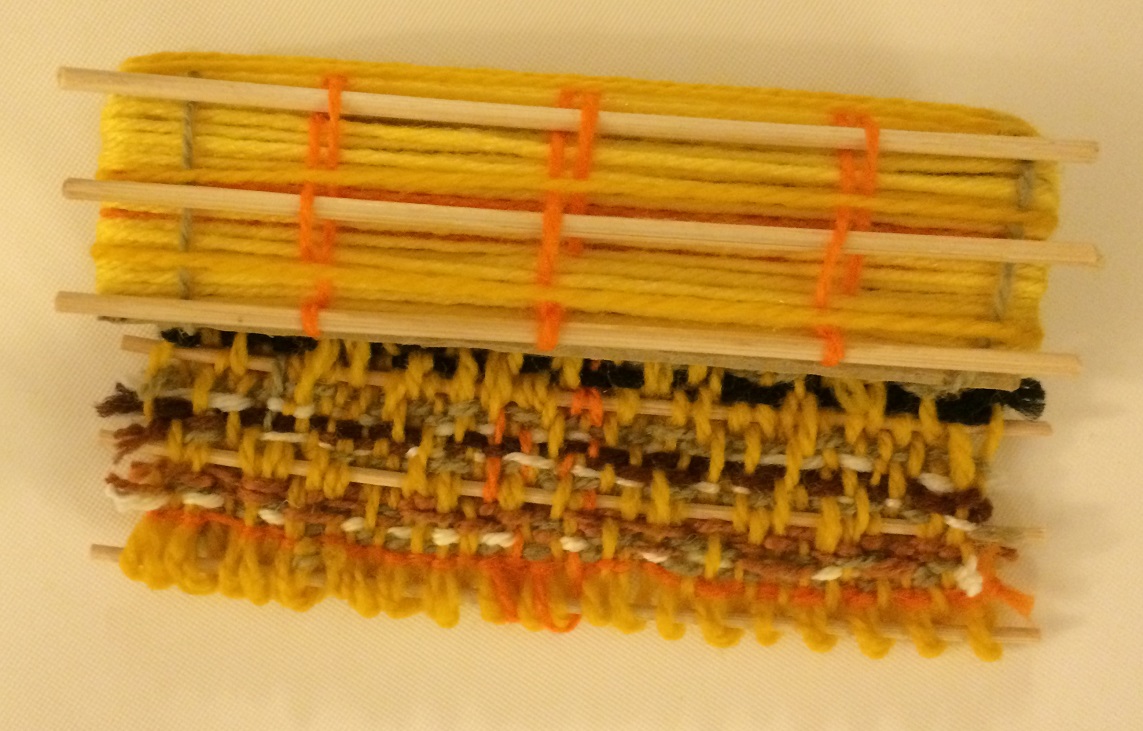
Easy to make woven dollhouse shades. Photos by Holly Tierney-Bedord. All rights reserved.
Once you have a the window covering part taken care of, you can make another piece from cardboard to top it off with. This also gives you a way to hide the knots you’ll tie on one side of the weaving, and gives you a place to install a small pull cord (not installed yet on mine).
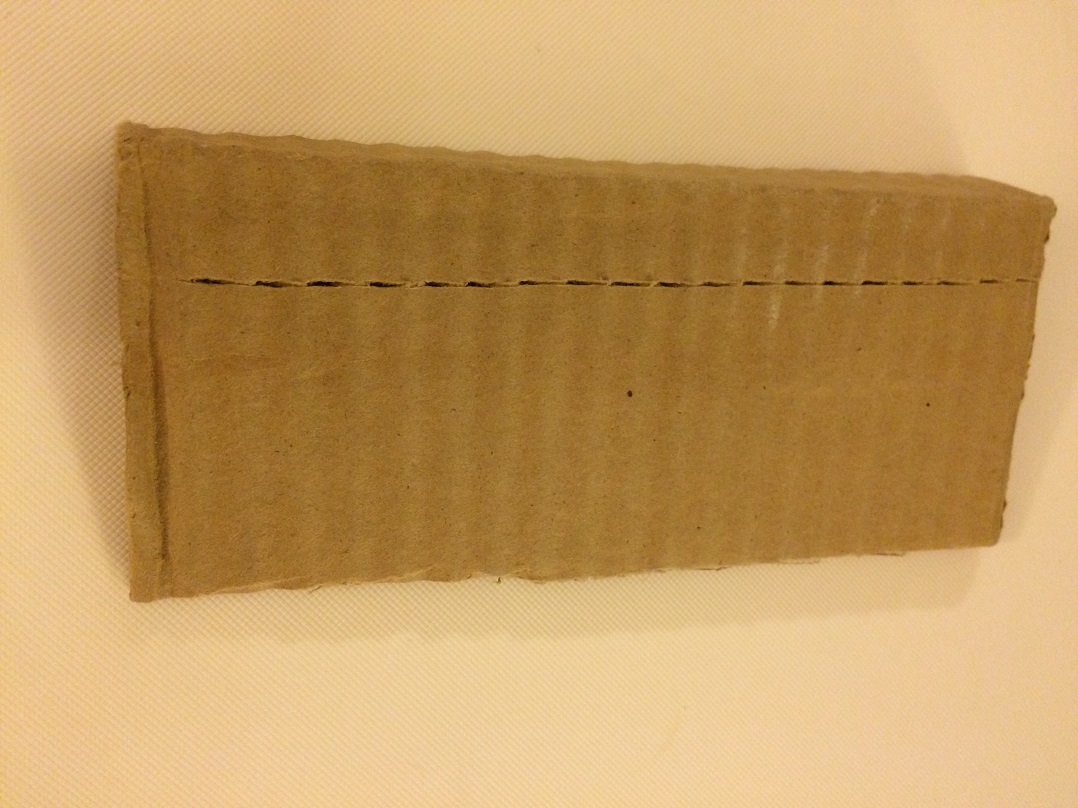
Score your cardboard with an exacto knife or scissor edge and it will easily fold like you need it to. The score should be on the outside, not the inside.
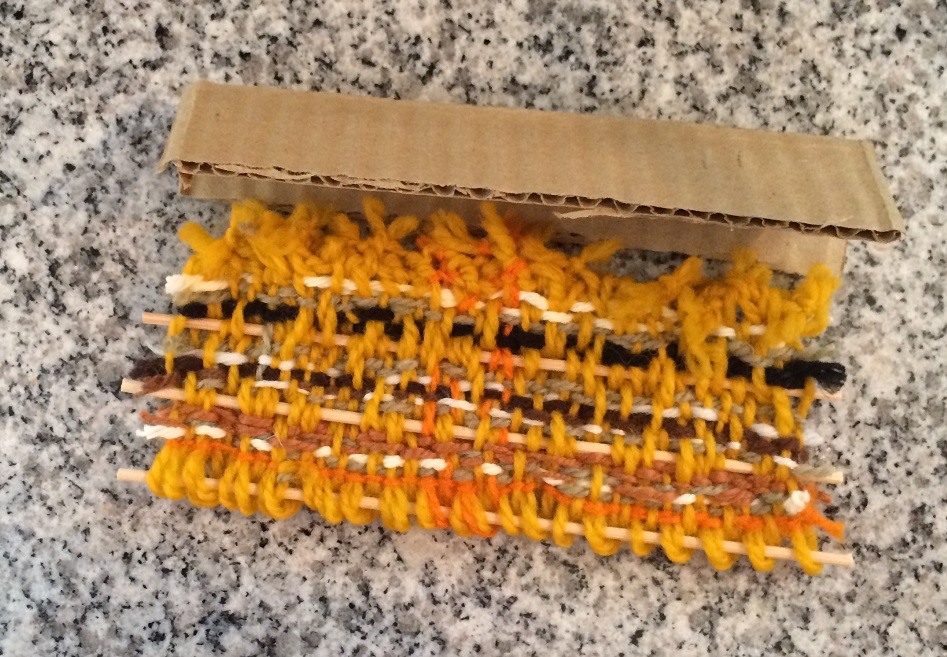
Simply wrap your cardboard in yarn, adding in some skewers (break or cut them if needed) to complete the look. You can use tape or a dab of a hot glue gun to hold down your yard, since the back of the cardboard won’t be seen. Finally, finish it off with a small pull cord that has a tiny knot or bead at the end (still to come on mine). I think I may add some black yarn to mine to make the top and bottom a better match.
