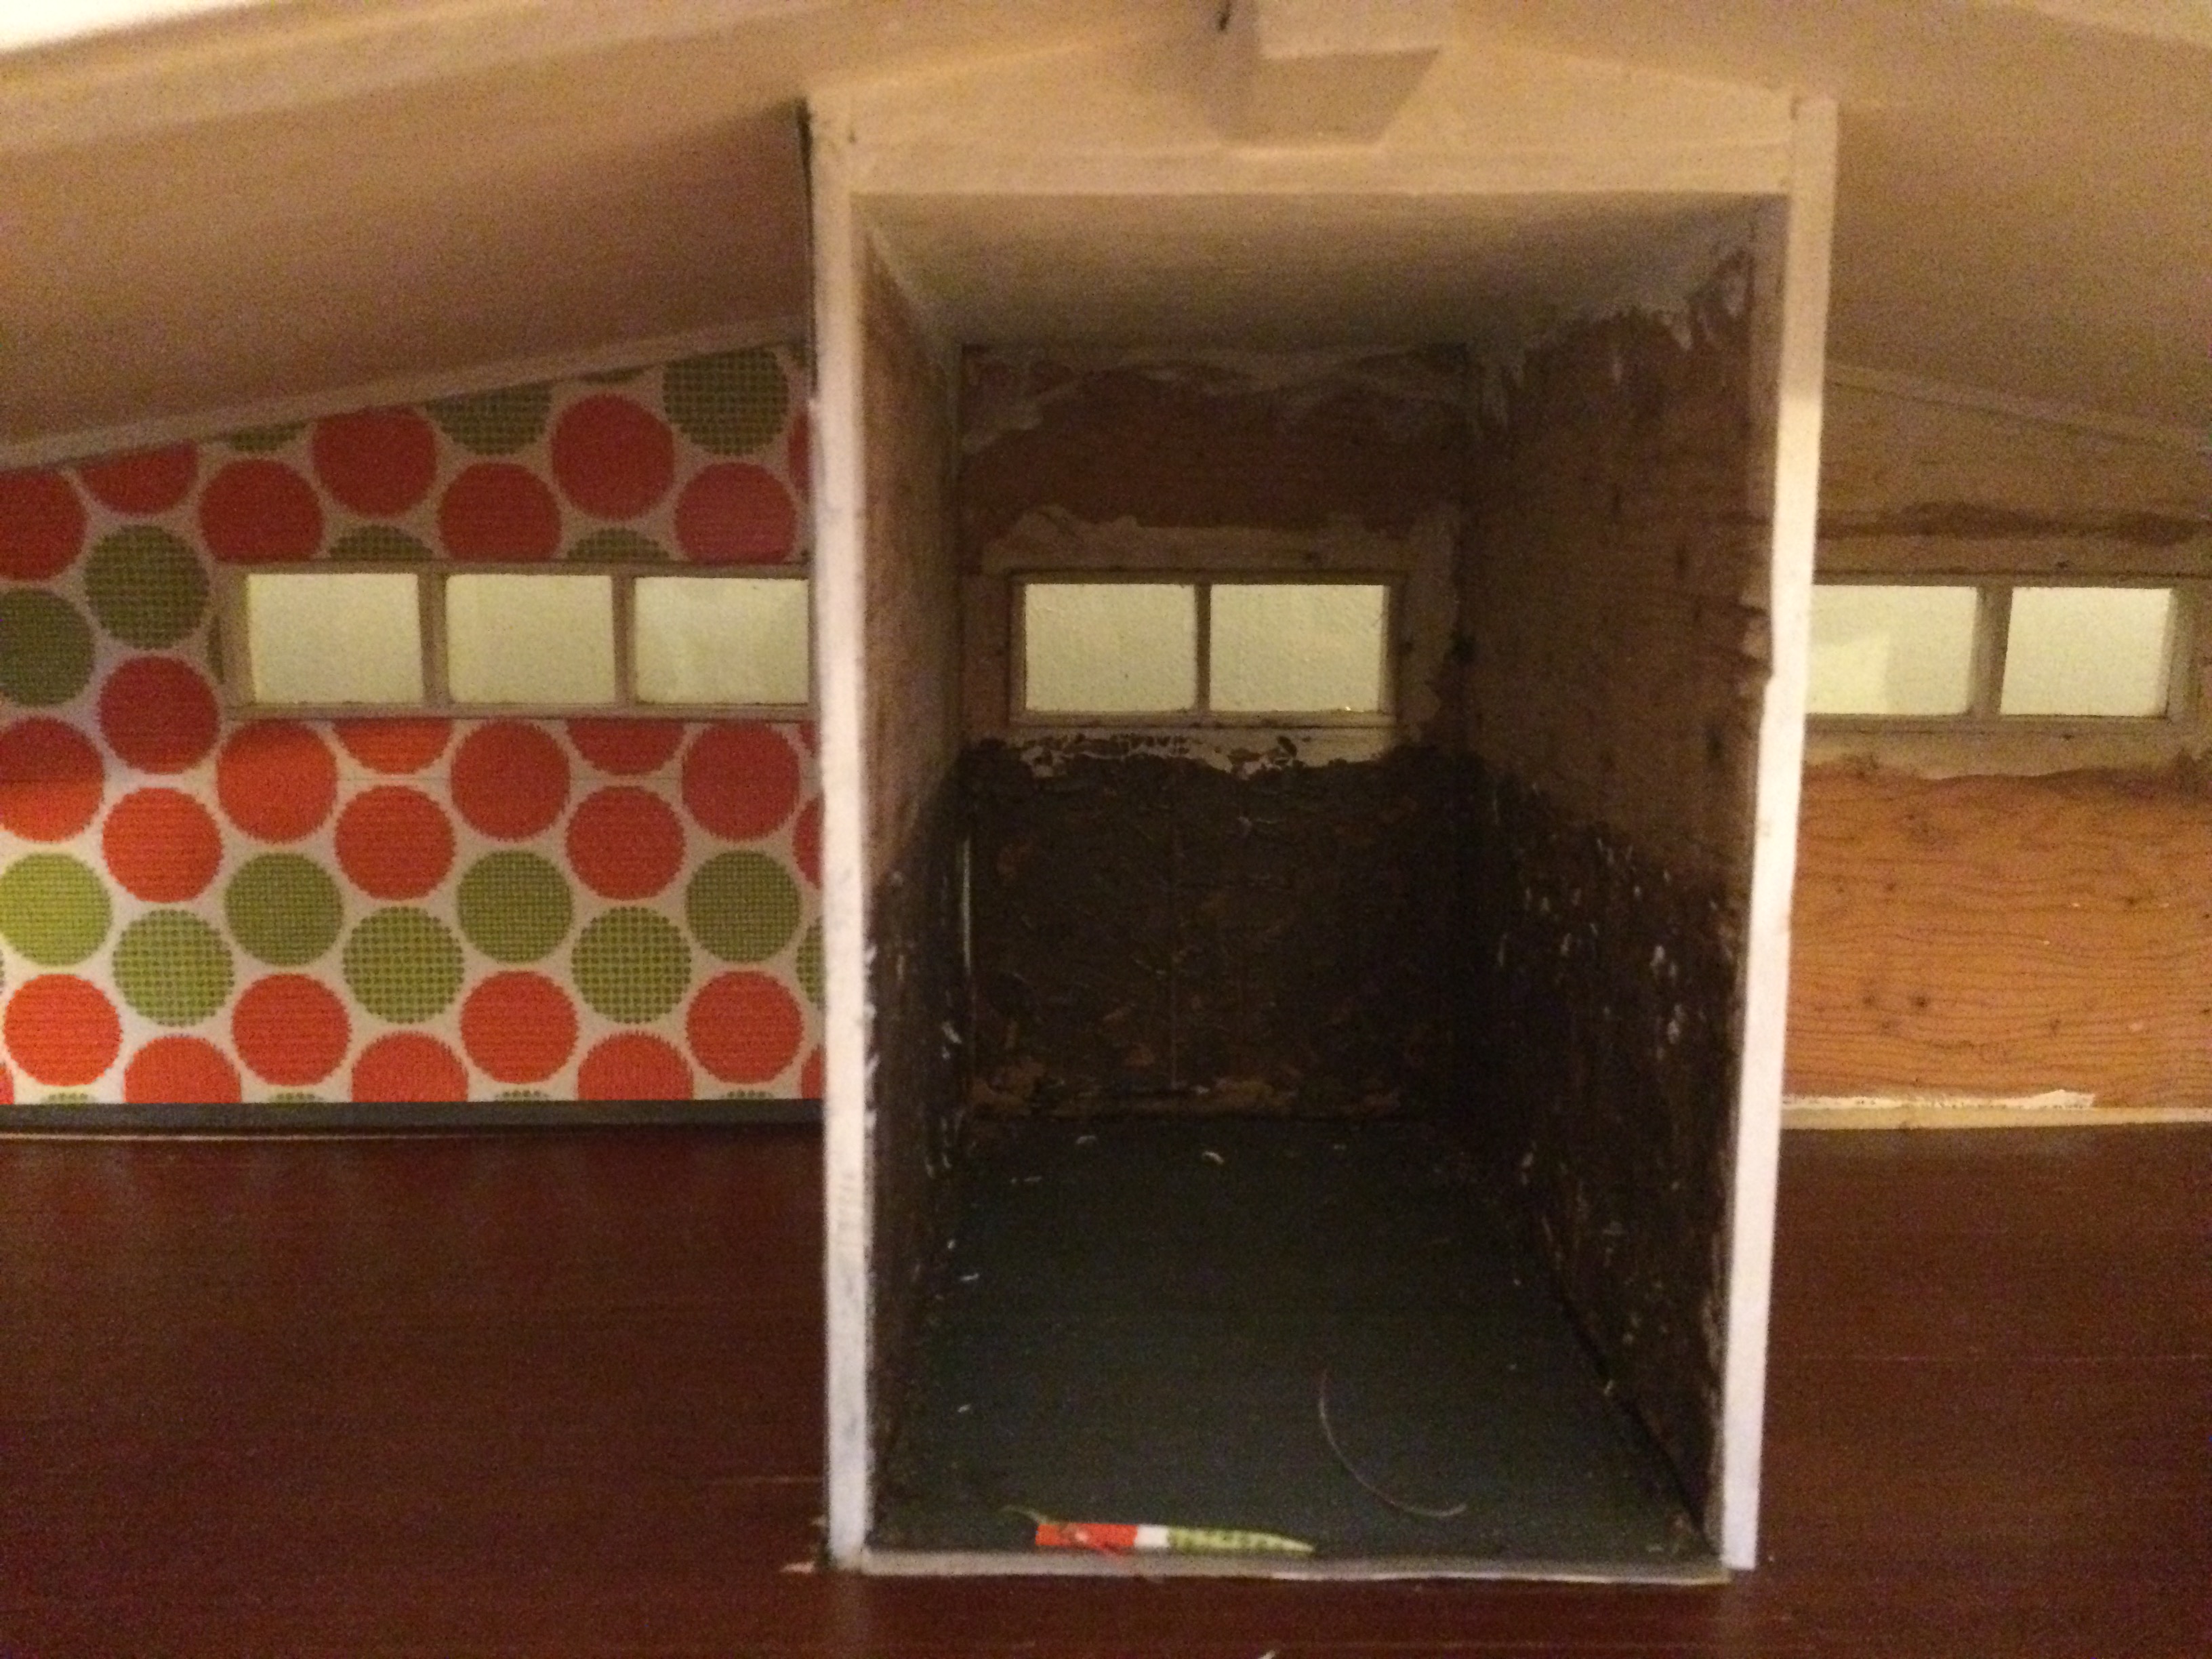
With some help from a blow dryer, I was able to loosen up the glue holding the carpet and divider wall in place. Here’s a look at my progress:


With some help from a blow dryer, I was able to loosen up the glue holding the carpet and divider wall in place. Here’s a look at my progress:
It’s almost ready for the grand unveiling! Here’s a look at the exterior:
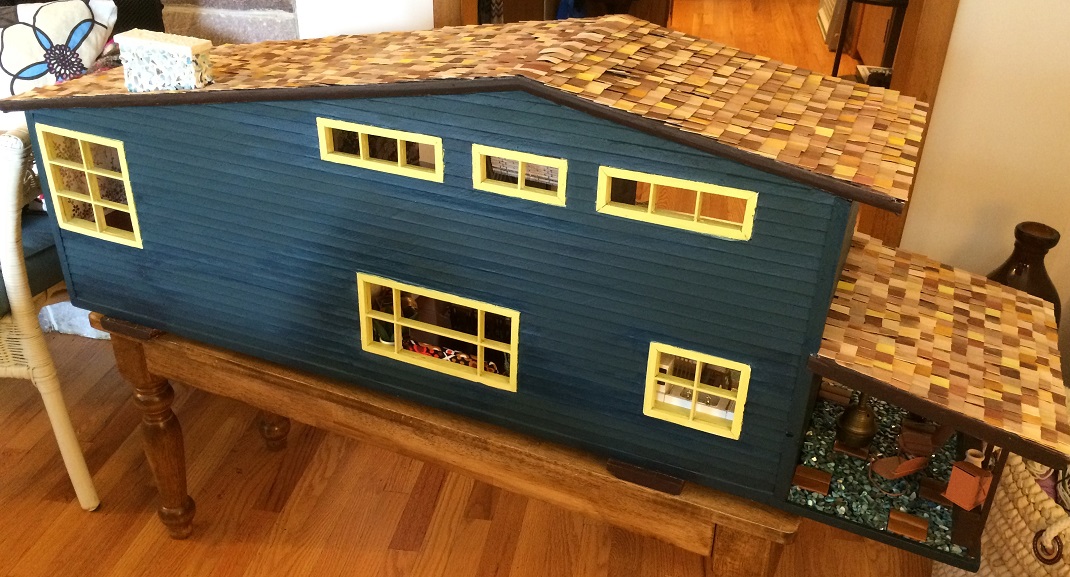
Flip This (Mini) House — almost completed! Photo by Holly Tierney-Bedord. All rights reserved.
Soon you’ll get to see the other side! See which of my handmade items, eBay finds, splurges, and repurposed household objects made the final cut. But first, there are a few more pieces of trim to install, a couple of places where the paint needs to be touched up, and a some final decorating decisions to be made.
Not long ago I got this dining room set on eBay:

eBay find
To me, it looks like furniture actually looked in the 70’s. There’s none of the teak, Danish modern 1960’s thing going on with it, which is what I’d ideally like for the dining room.
I decided to give it a makeover to see if I could convince myself to love it. After all, I’ve been looking high and low for the “perfect” set for months, and I don’t think I’m going to find it.
Here is some vintage fabric I just picked up at a St. Vinny’s in Canada (My goal: to visit every St. Vinny’s in the world).

Authentic Canadian fabric. Photos by Holly Tierney-Bedord. All rights reserved.
I especially love the bottom pattern. I might have to turn that one into something for my real house.
Here’s the fabric again, beside one of the dining room chairs. I’m determining which pattern works best with the scale. I also set each in the kitchen/dining area to see which colors blended best with the wallpaper and adjacent kitchen tiles.
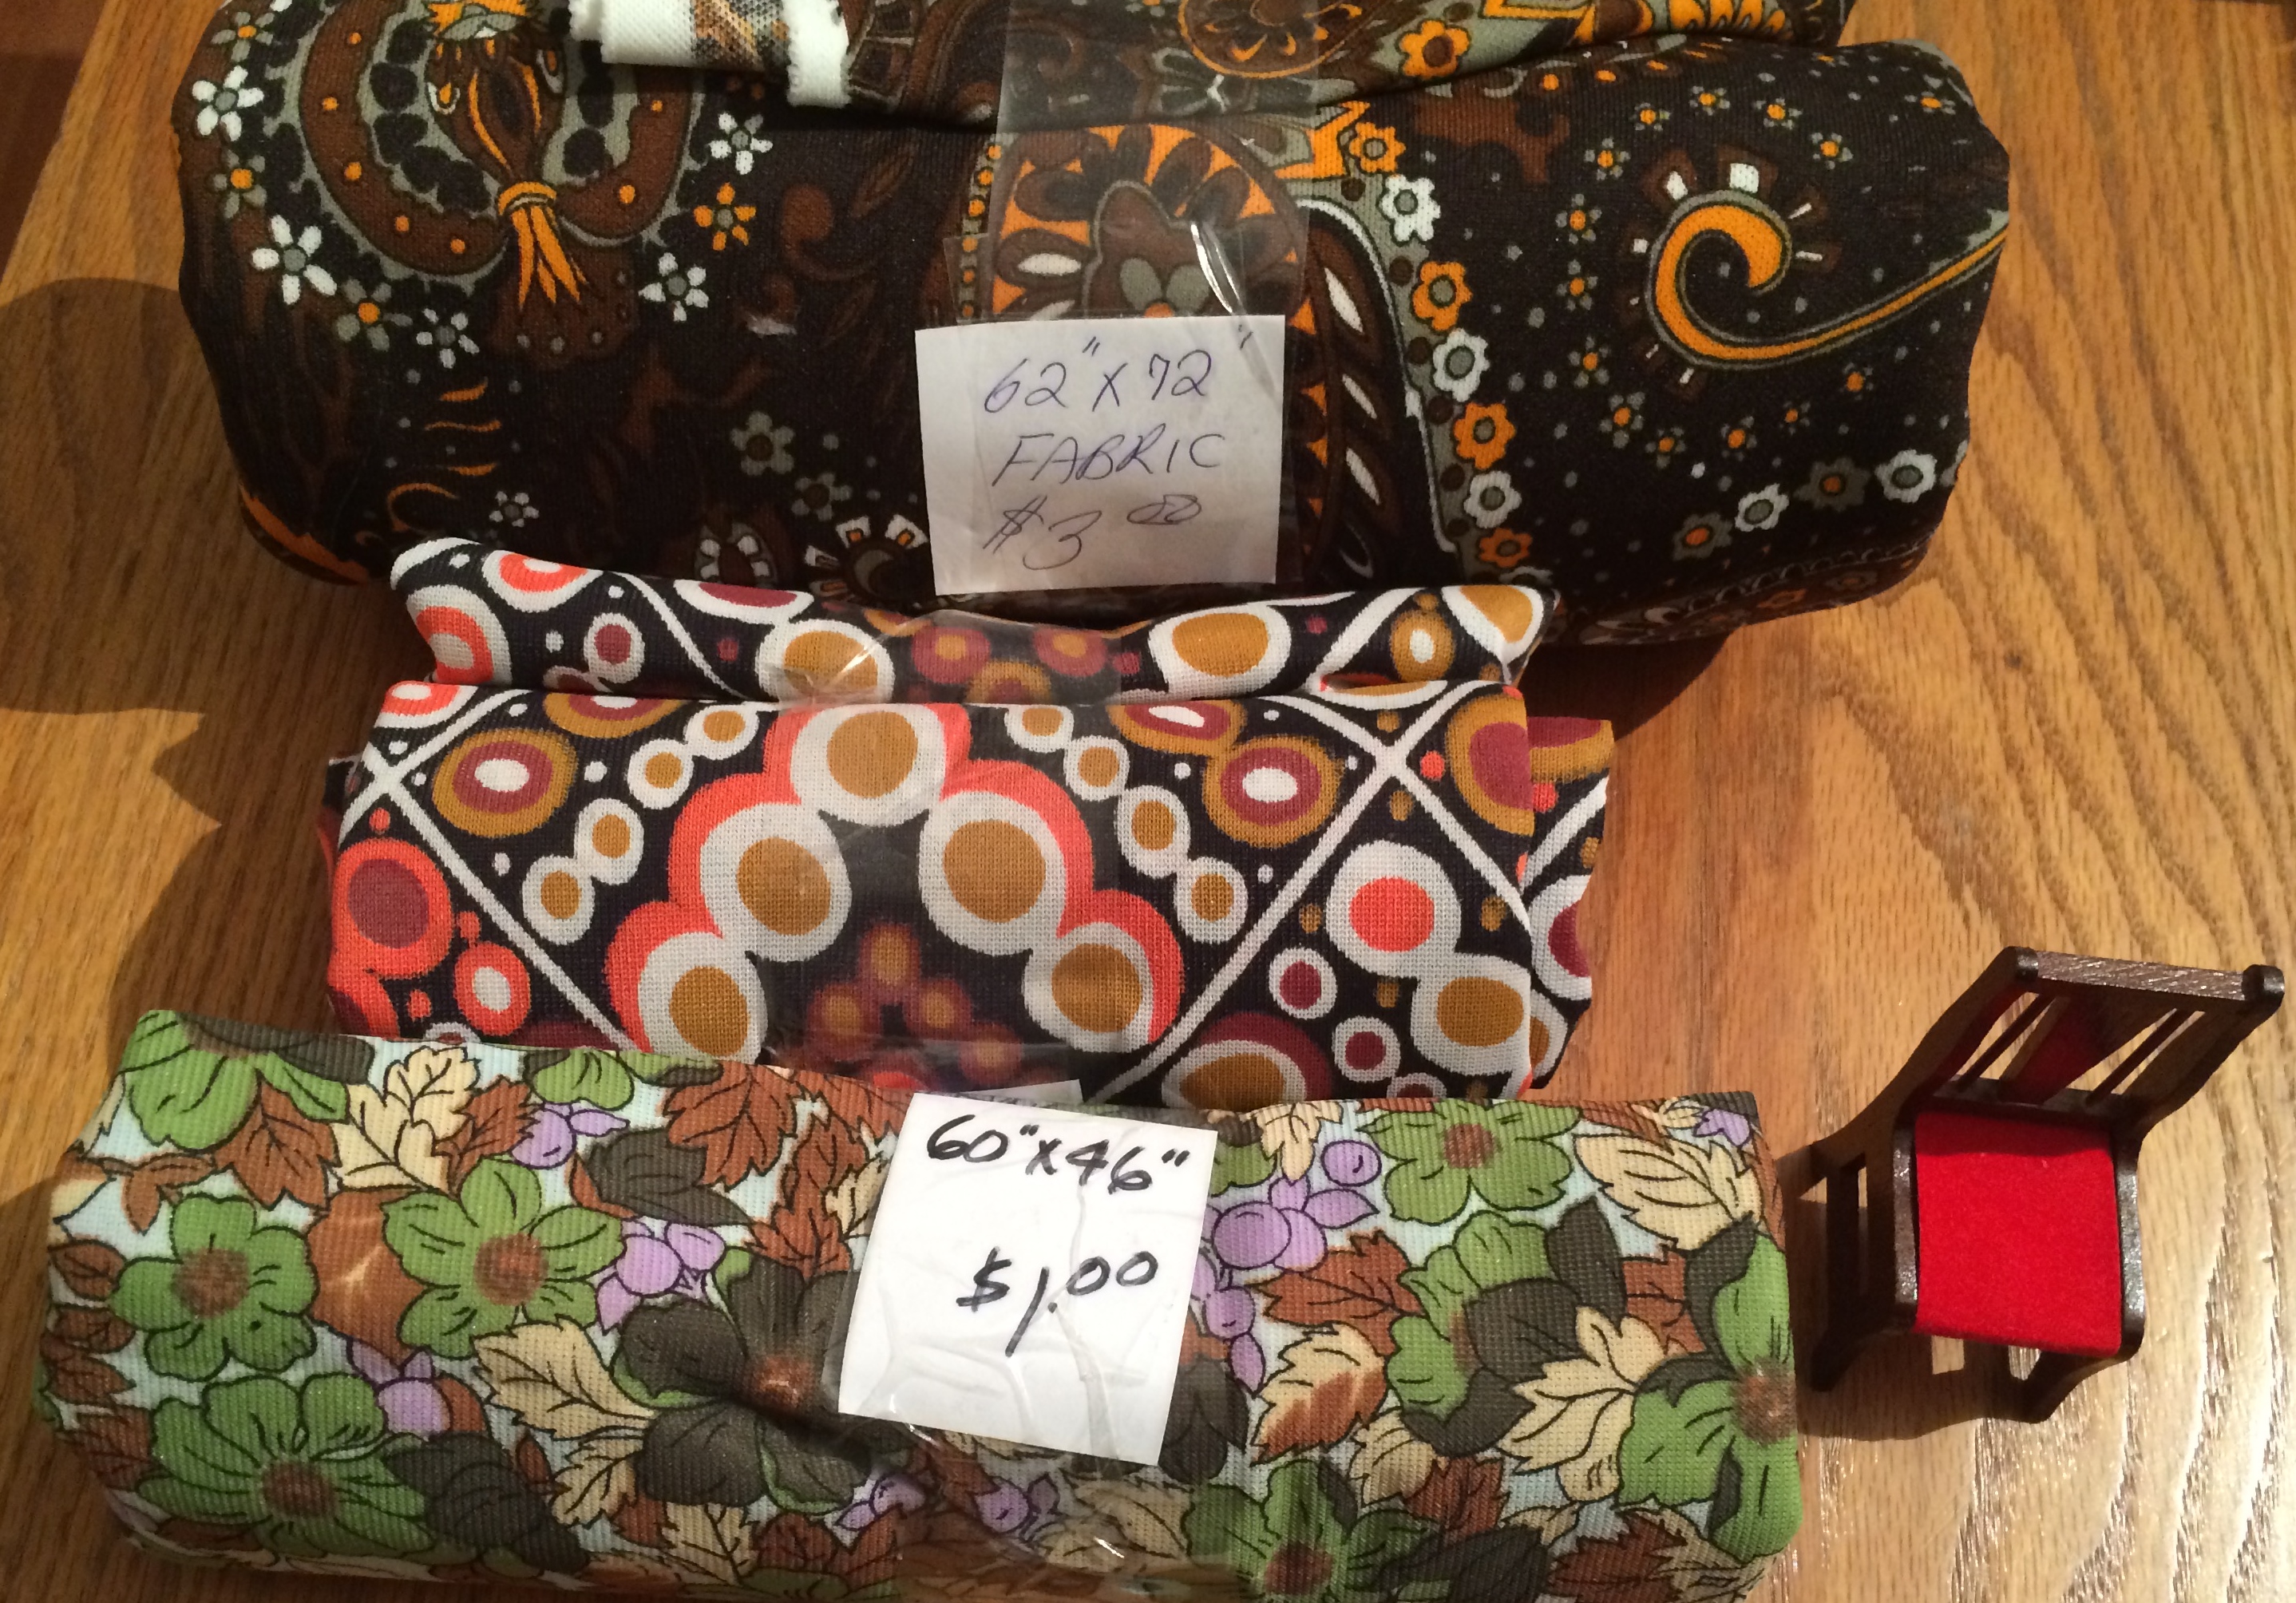
Choosing fabric for the chair.

The winner is… This one!
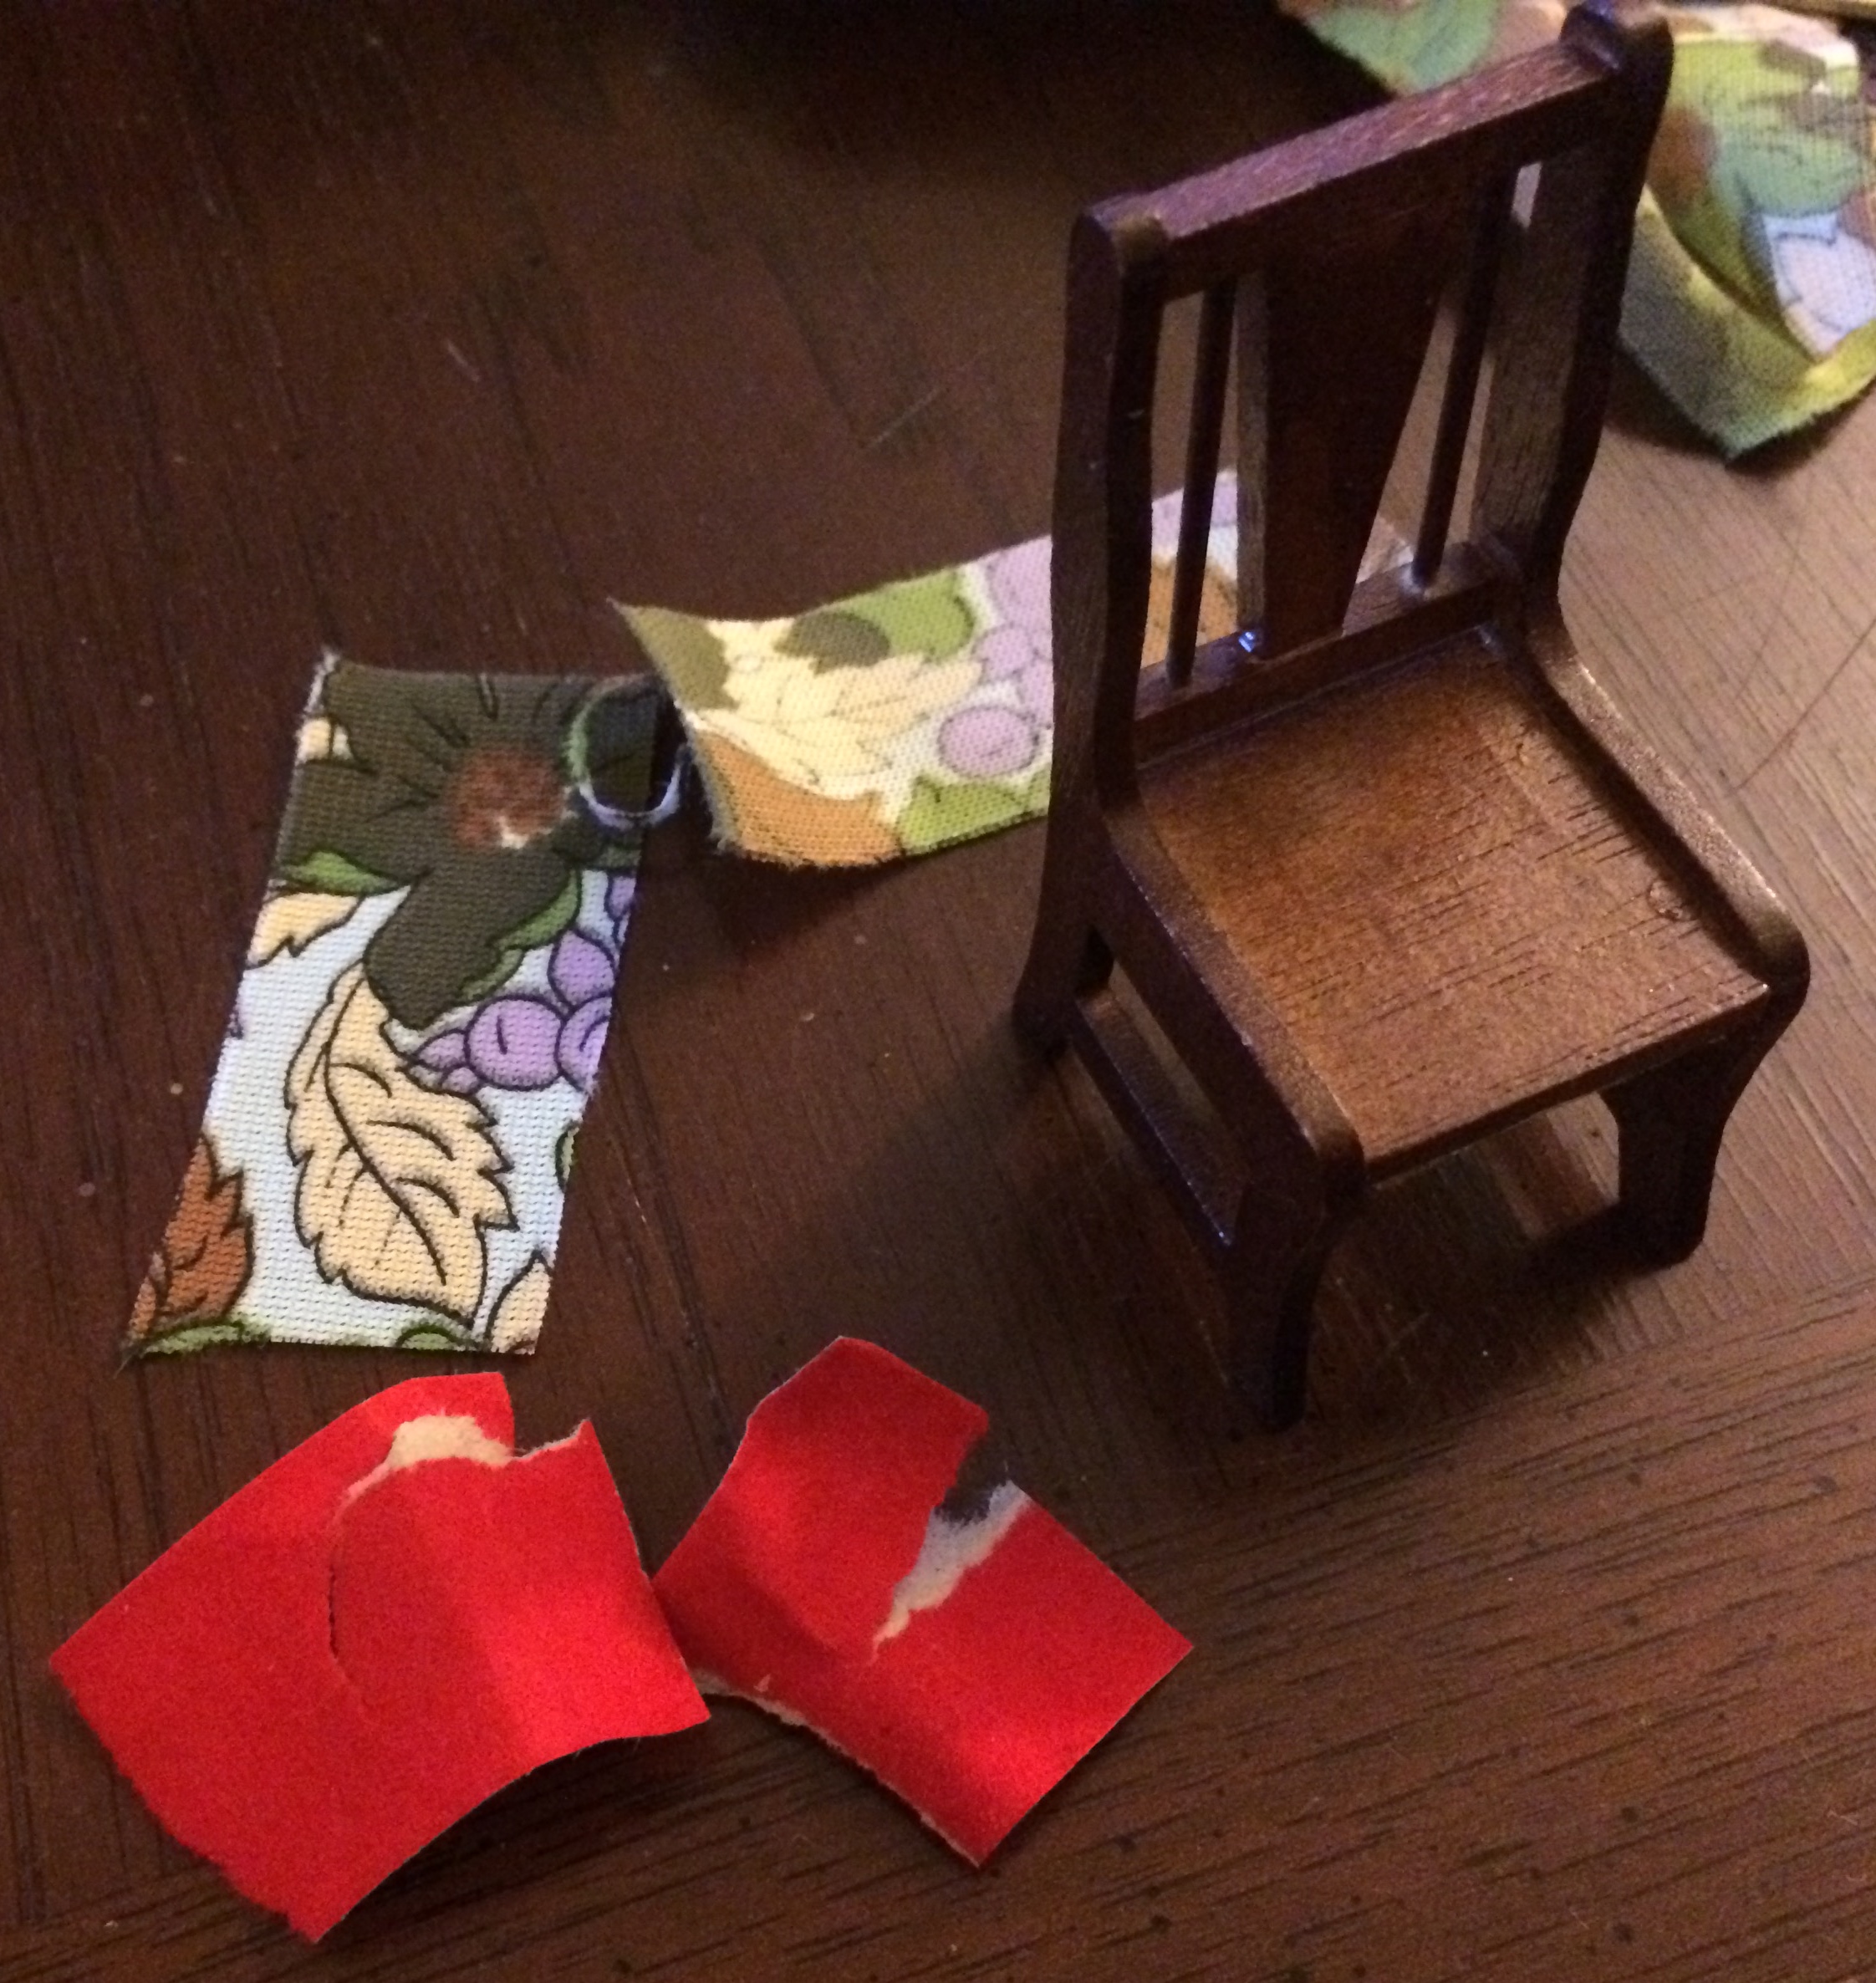
What the heck! You mean the original fabric was actually paper???
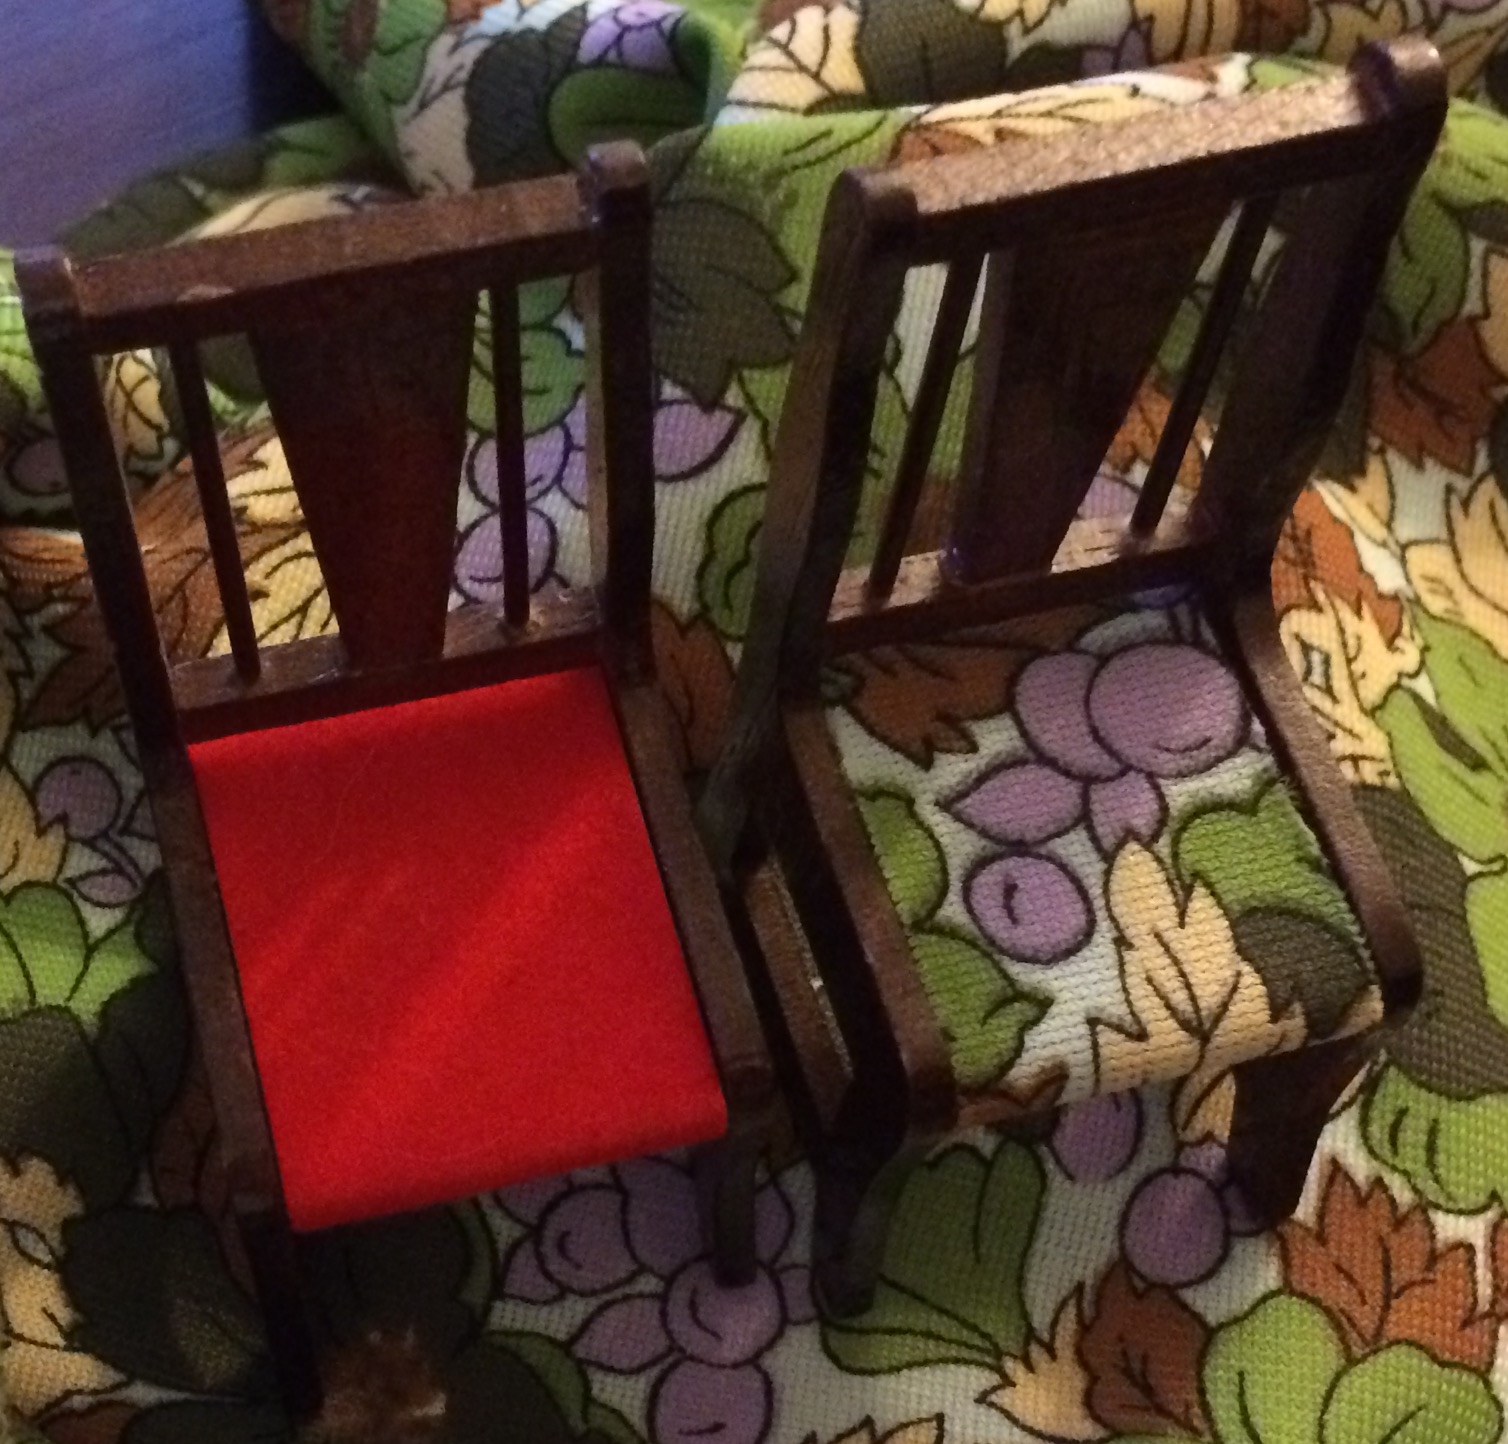
Before and after.
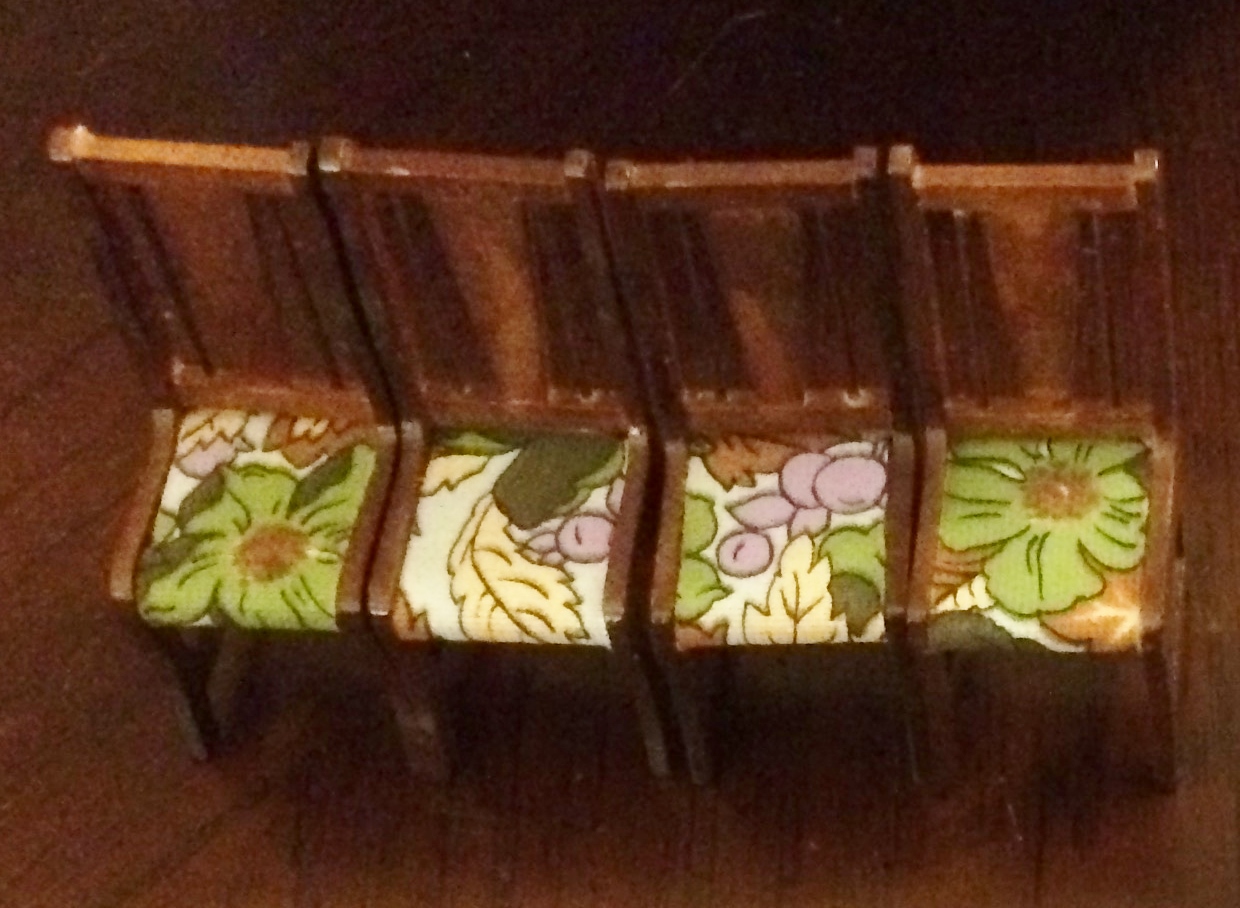
A whole set of chairs!
And a matching table runner, to top it all off.
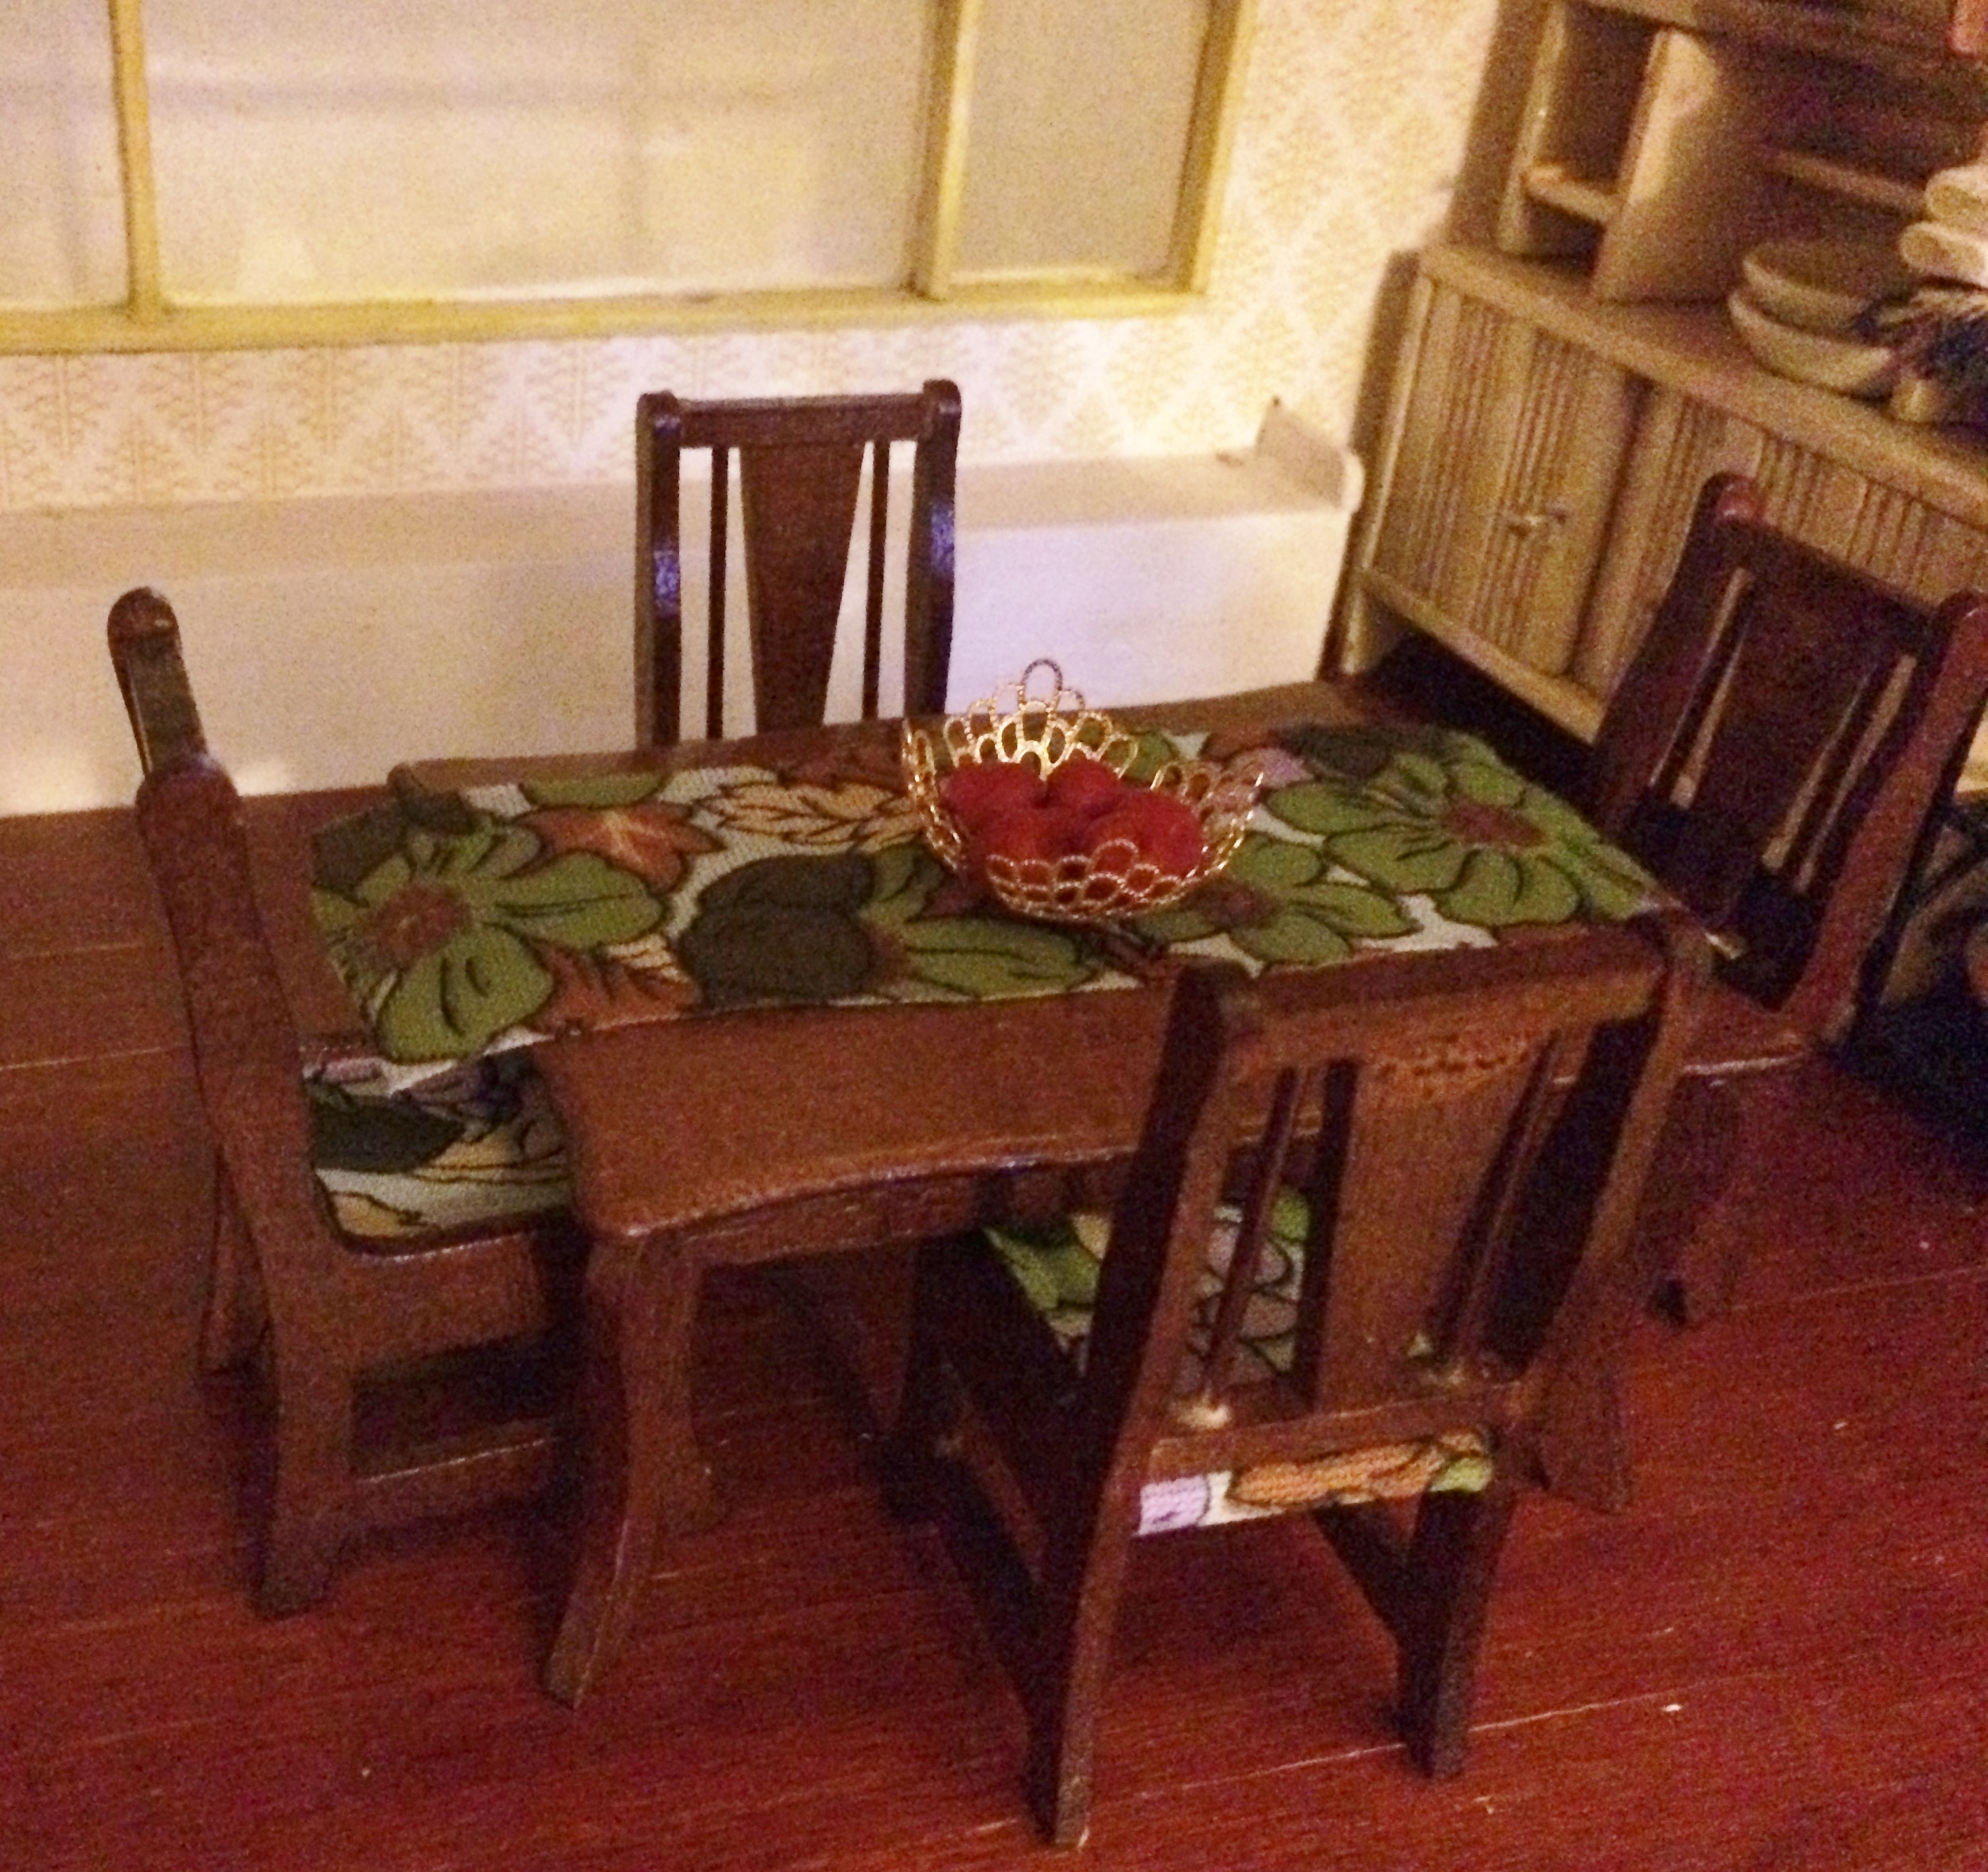
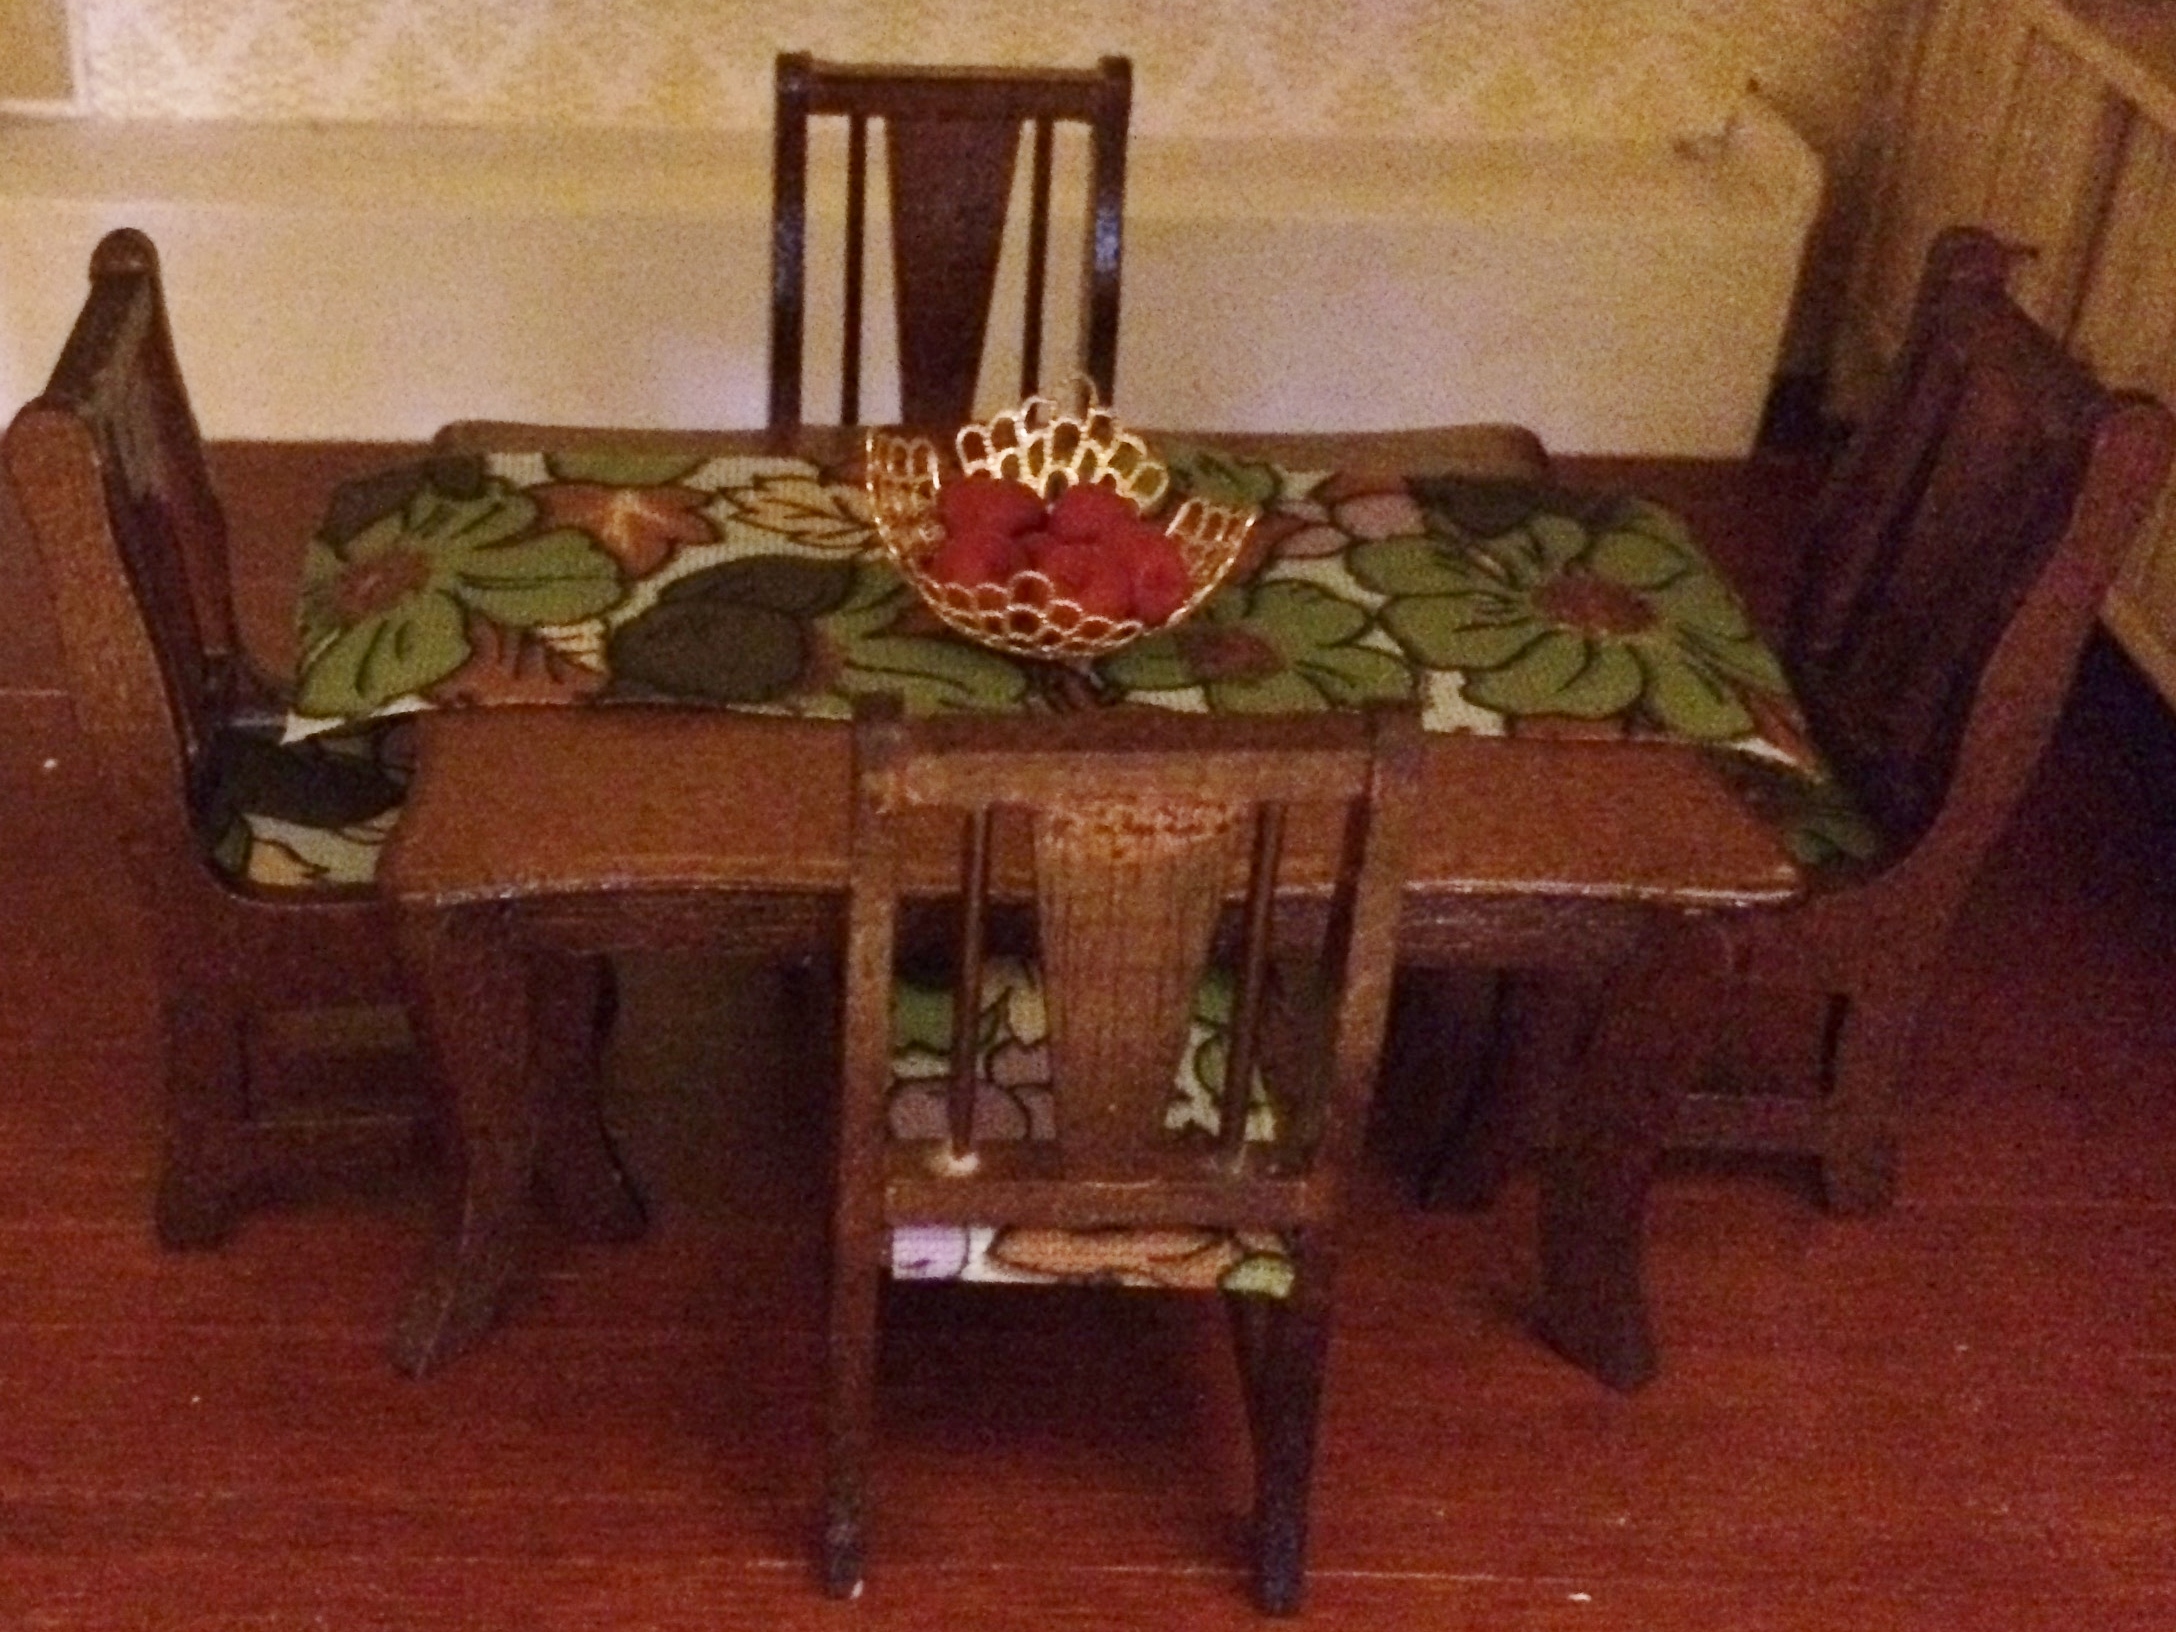
Trying it out in my in-progress dining room.
I’ve got to admit… I really like it! The next step is to make a matching cushion for the window seat bench behind it.
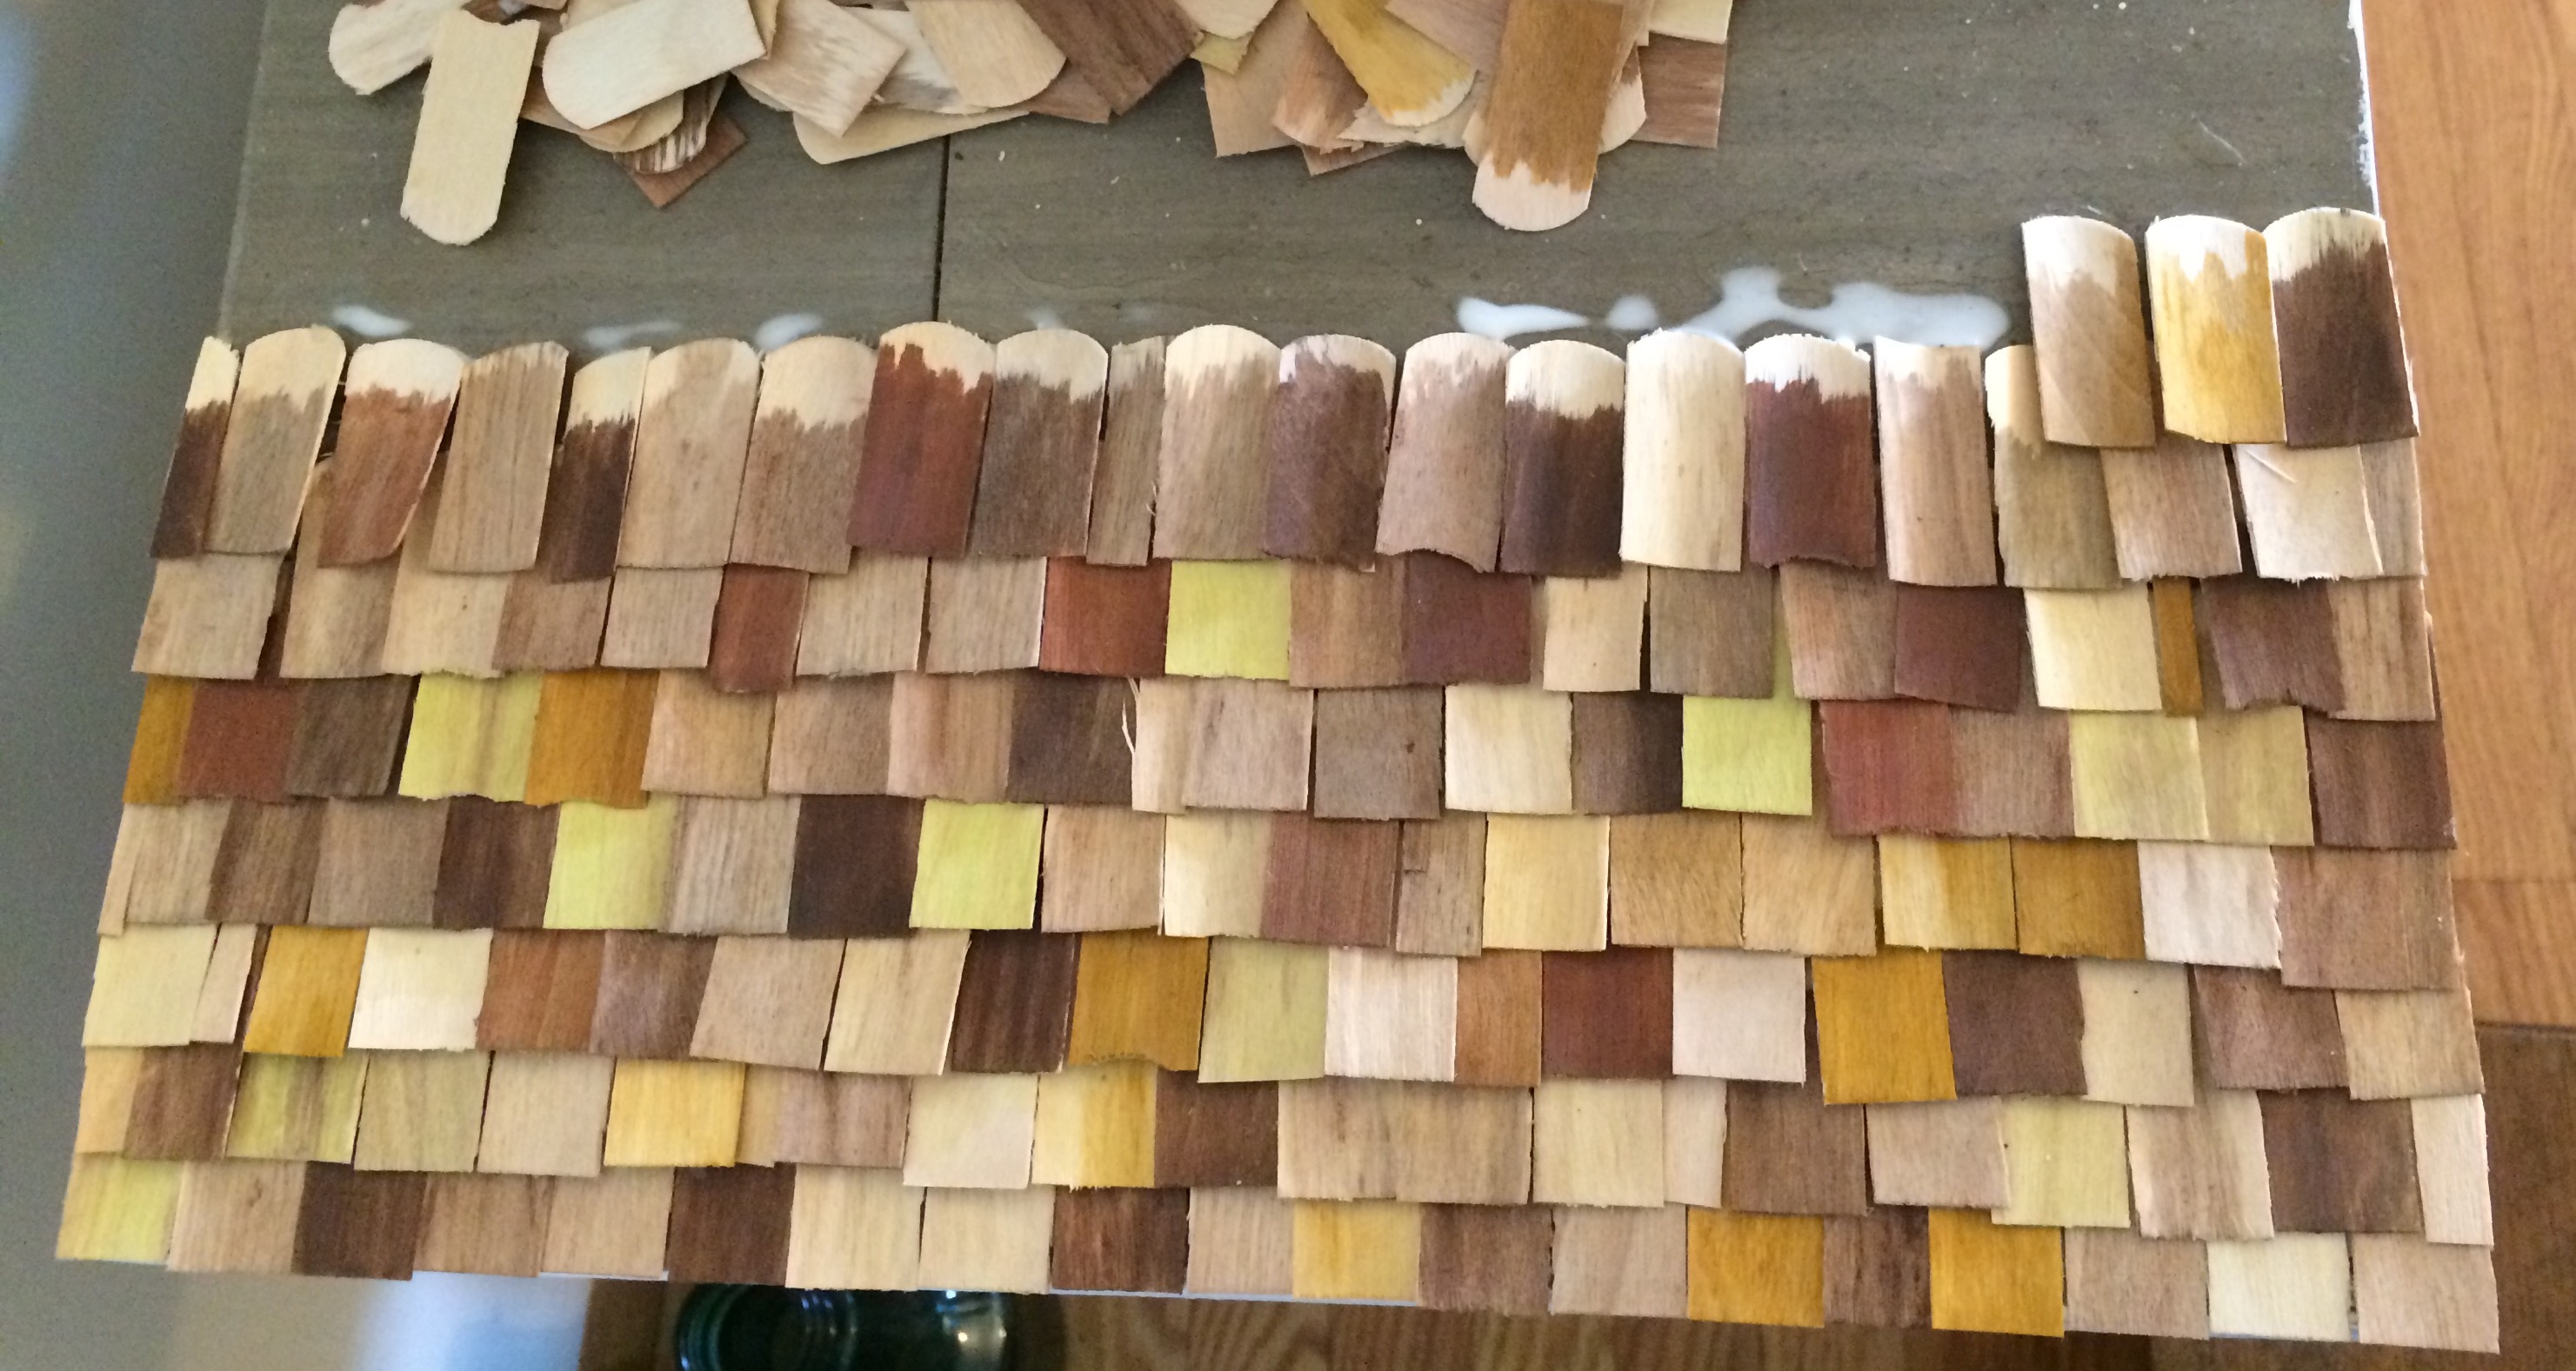
Here’s a look at how my shingle installation is going.
Step one: Paint a bunch of shingles, let them dry.
Start your installation at a bottom corner, as shown.
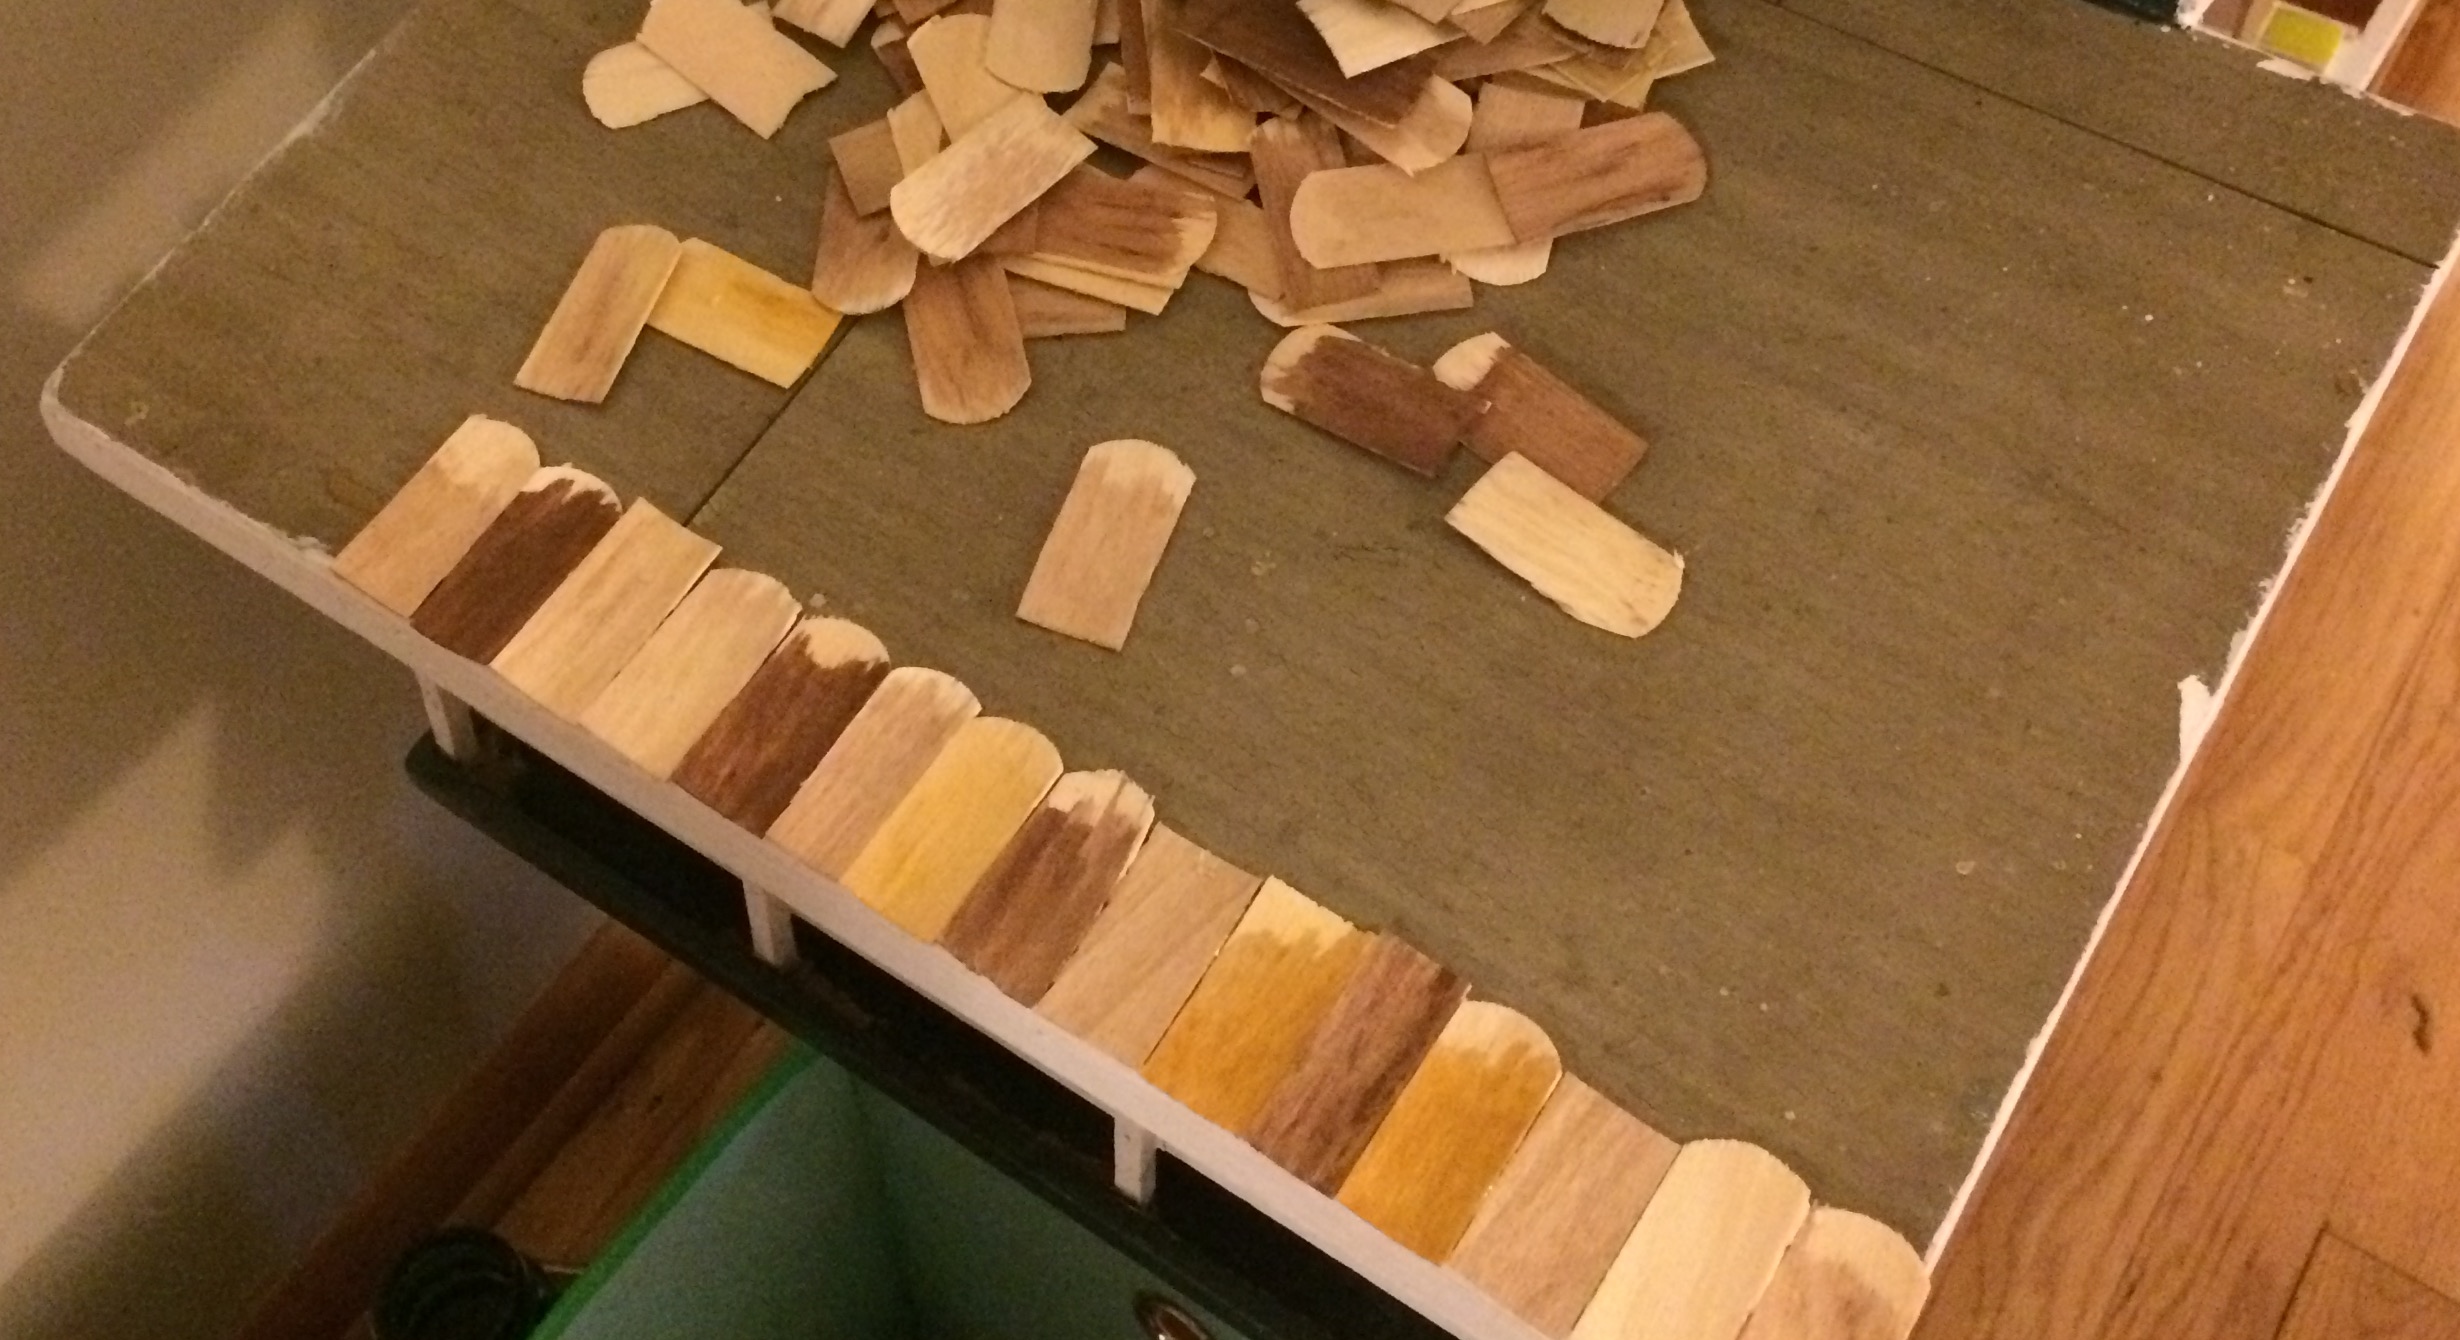
The first shingles going into place. Photo by Holly Tierney-Bedord. All rights reserved.
Some of these are fishscale shingles, more appropriate for a Victorian style house. You can use them with the rounded part buried under other layers, as I’m doing. I actually prefer them to the rectangular kind because the scalloped edge seemed to keep them from curling a little.

When you start your next layer, stagger these shingles. This means you’ll break a shingle in half, and start your row with it, so your seams do not line up, the way real shingles are layered.
If you have a variety of colors going on, like I do, be sure to mix them up.
If a couple of your shingles seem to be glued into place too low, you can carefully trim off a bit to even them up.
Drawing lines on your roof ahead of time as a guide would probably make the job easier.
Here’s where I’m at right now. I’m almost done with the carport. I have a lot of roofing ahead of me. Too bad I don’t have a cooler full of tiny beers.
As I mentioned in my previous post, my mom picked up some adorable white cupboards for my kitchen. Here they are in place, in my semi-completed kitchen:

White cupboards in my mini kitchen. Photos by Holly Tierney-Bedord. All rights reserved.
They’re a little taller than the window, which is unfortunate but not a huge deal.
I added the refrigerator into the mix, even though it needs some more coats of paint, but left out the stove since the paint was still really wet. It looks very cute, but not exactly mid century, not exactly modern, and not exactly personality-filled like I want my house to be.
I decided to make some small changes. I purchased some cool little gold buttons:

Tiny gold buttons.
…and some woodgrain decorative tape, and gave the drawers and doors a makeover. Here’s a look at the “during” portion of the makeover:
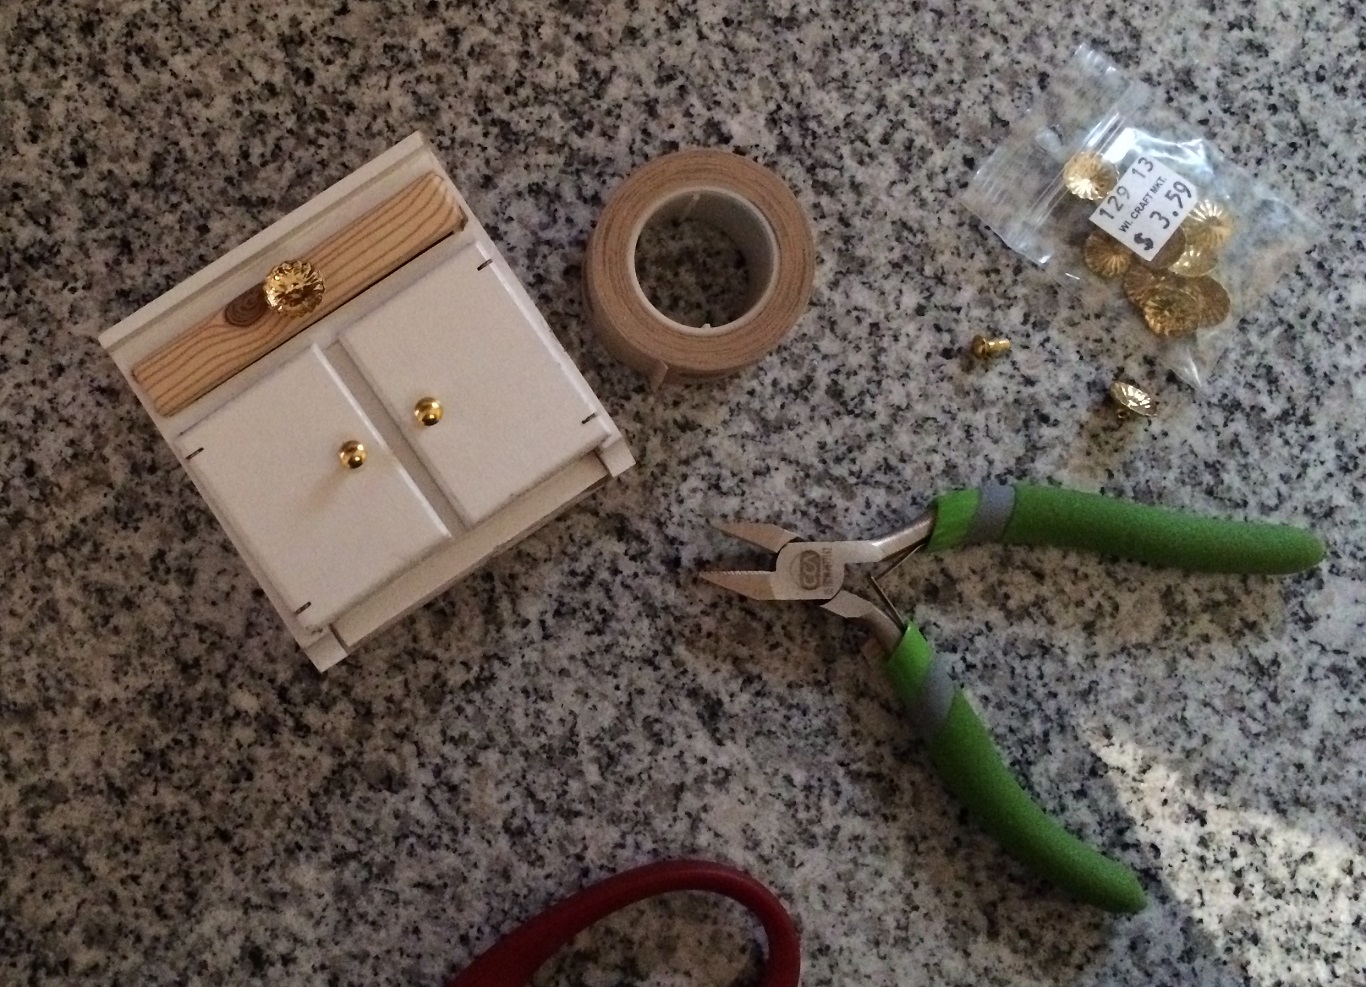
Giving my cupboards a makeover
The great thing about this makeover is that the tape can easily be removed without taking an paint off, and the original brass knobs can be stuck back in place. However, I decided I liked it and felt it was a better fit with the rest of the decor in the house, so I updated everything. Here’s a look at the “after” version:

Kitchen “after”
As you can see, there are plenty of details still needing to be fixed, from paint on the window that needs to be removed, to trim that still needs to be installed. It will all come together soon though. If this new look seems a little weird to you, just wait. When you see the finished product, it will all make sense!
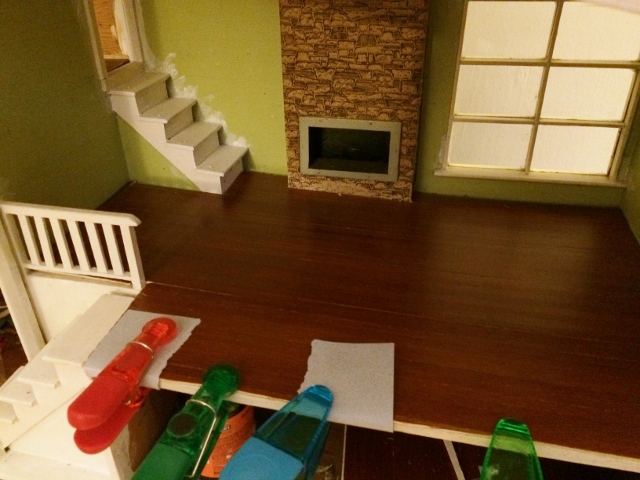
My kitchen floor grouting is complete and my dining room floor has been installed! Here’s a behind-the-scenes look at the unglamorous process, with some books, chip clips, and wedged-in tools all doing their part to make sure the floor stays nice and smooth!


To make your floors fit, create a pattern or stencil using paper, the way clothing designers create patterns before putting scissors to their fancy fabric. This works for wallpaper too. Here are the steps I took to install my living room floor.
First I cleared out my living room. Next I began constructing my stencil, basing it off the shape of the far wall. See (below) how it fits like a puzzle piece against the wall? This required a fair amount of adding and subtracting to get it right. I’d slice a little bit off here, tape in a little extra there, until I had it just right.

Create a stencil to lay on top of your flooring. Photo by Holly Tierney-Bedord. All rights reserved.
Next I added another portion for the section of flooring that is by the railing. Then I put the stencil on top of my flooring and taped it into place.

Photo by Holly Tierney-Bedord. All rights reserved.
Next I carefully cut out my floors. I ended up with this:
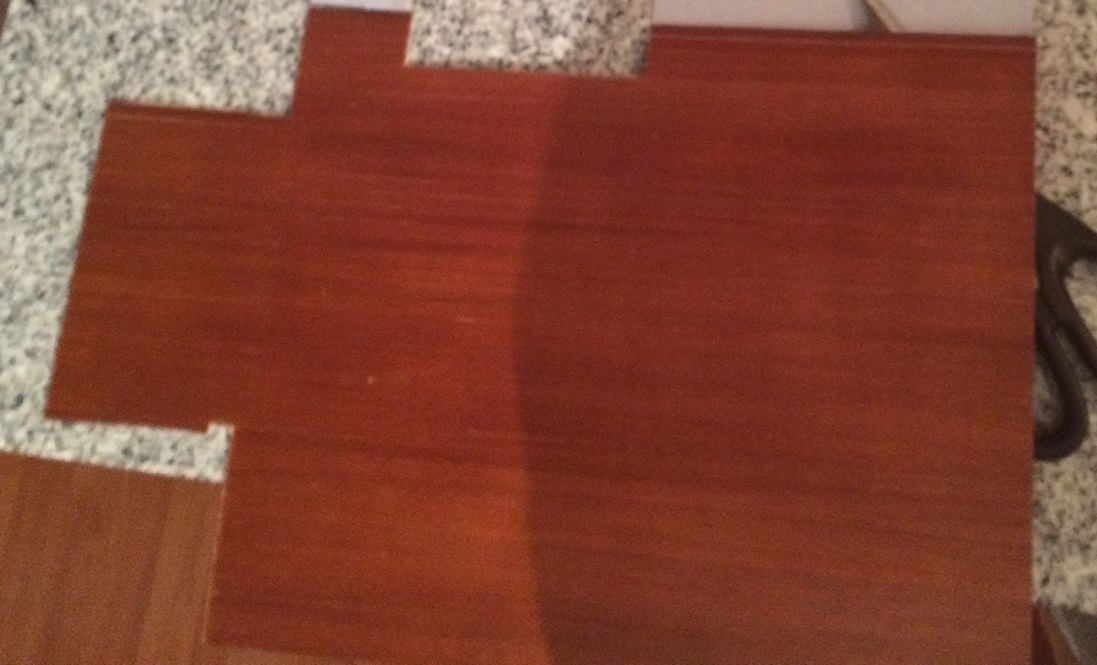
Photo by Holly Tierney-Bedord. All rights reserved.
Now came the moment of truth. Would this amorphous shape fit just right into my mini living room?
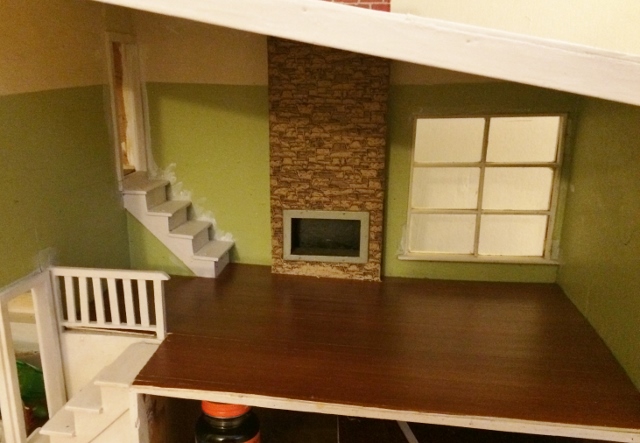
Photo by Holly Tierney-Bedord. All rights reserved.
Yay! It fits! And since the floor is actually made of individual slats of wood affixed to a paper backing, it’s flexible enough to maneuver into place.
Below, if you look to the left of the stairs going up to the bedrooms, you can see one small piece going the wrong way, where I stuck in an extra piece since the flooring was just a bit smaller than the length of the room. Once I install wallpaper, white baseboard trim, and put furniture in place, this will be practically unnoticeable. Chip clips are handy for holding the flooring in place as adhesive dries.
Use chip clips to force your floor flat. Photo by Holly Tierney-Bedord. All rights reserved.
Finally, I’ll pile some books on top to help ensure it stays flat.
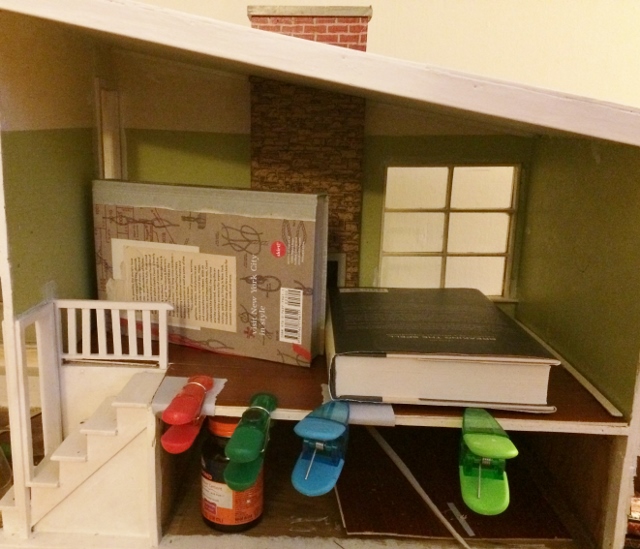
Keeping newly installed floors flat. Photo by Holly Tierney-Bedord. All rights reserved.
Living room wallpaper is going in soon! I can’t wait to show you the results!
My mini bathroom is really coming along! The tile floor has been grouted, trim has been installed, the sparkly chevron wallpaper has gone up, and the mini blinds I made from a coaster are now on the wall. Here’s a look at all the progress:

Progress in the mini bathroom. Photo by Holly Tierney-Bedord. All rights reserved.
As a reminder, here are some before photos:
Bathroom before.

Bathroom floor installation, partway through. Photos by Holly Tierney-Bedord. All rights reserved.
For information on making your own mini coaster blinds, take a look back at this post from a few weeks ago.
This trinket that someone purchased in Jamaica is going to make a fabulous light fixture! Here is the “before” version of it:
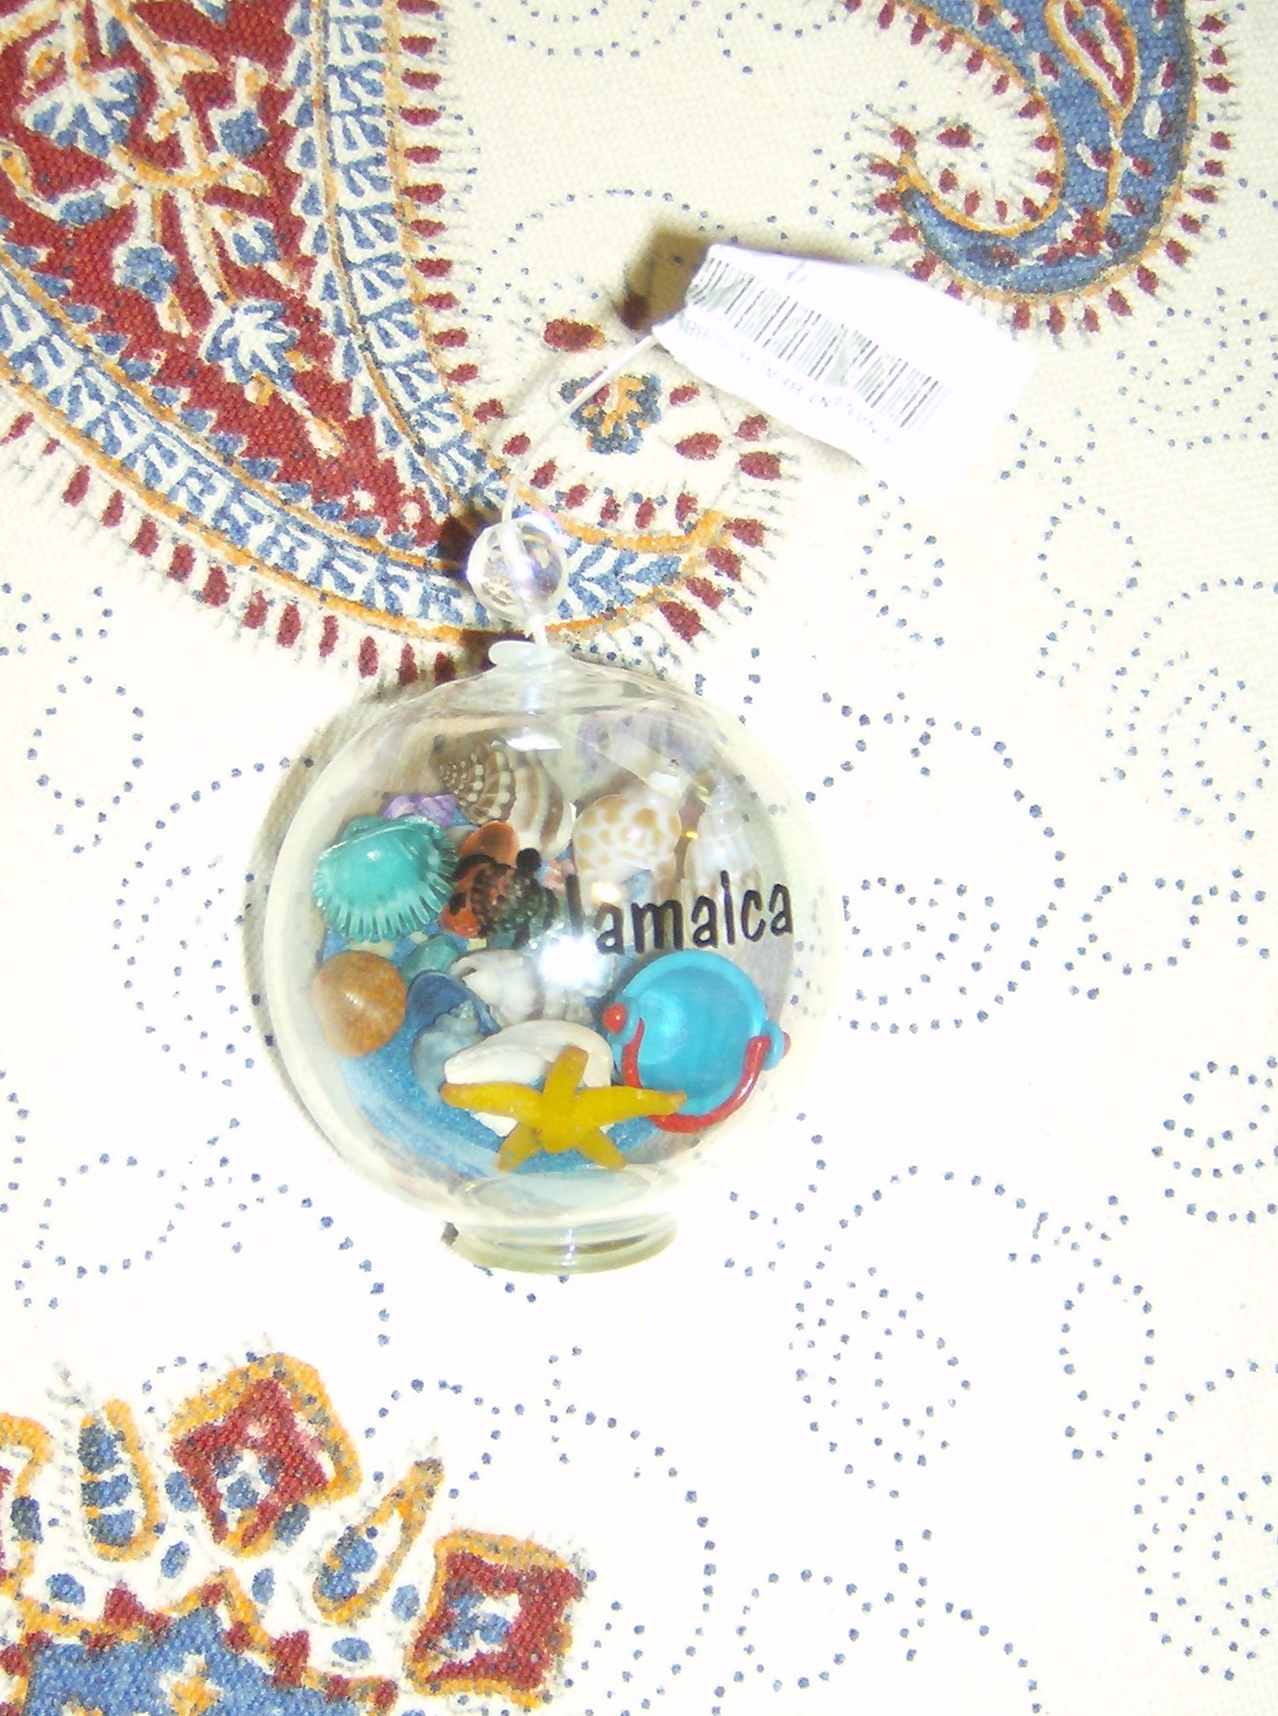
Jamaica ornament. Photo by Holly Tierney-Bedord. All rights reserved.
It was filled with blue sand, little shells, a tiny starfish, and a little pail. My initial attraction to it was based upon the tiny shells, which I thought might be cute sitting on a shelf in my mid century marvel’s bathroom one day.
The only thing keeping the sand and shells inside was a small, easy-to-remove plastic cap at the bottom of the ornament.
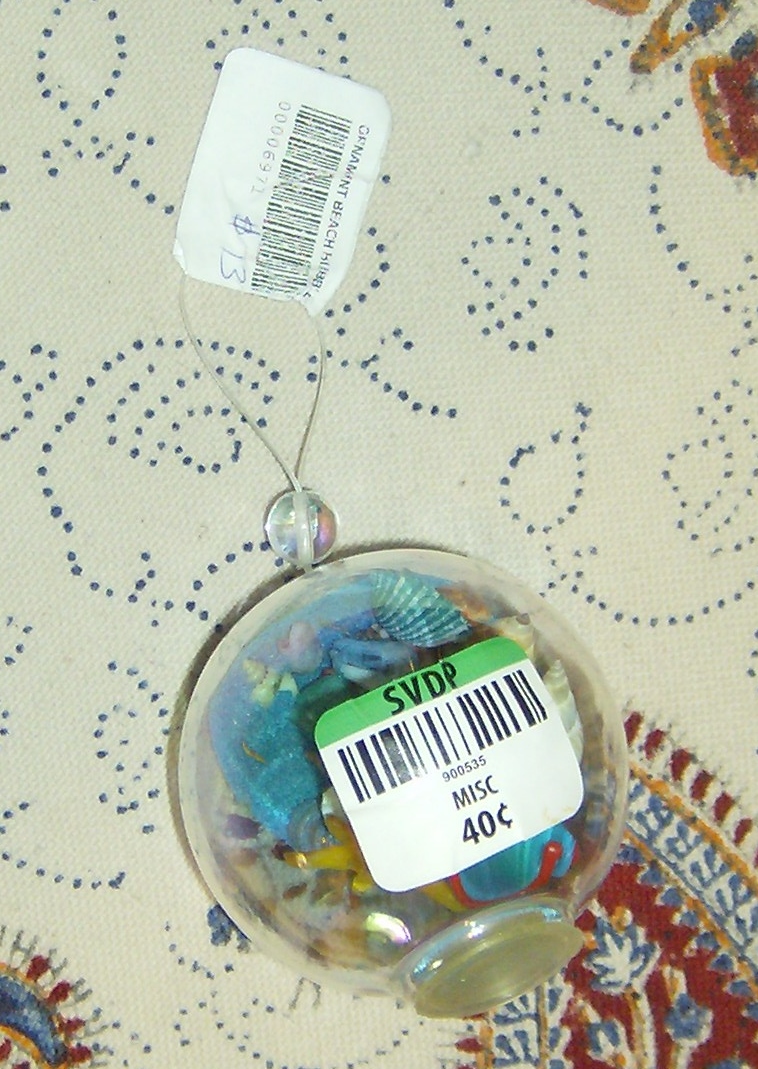
Evidence that people spend way too much money when they’re on vacation. Photo by Holly Tierney-Bedord. All rights reserved.
I separated the stuff inside from the ornament:
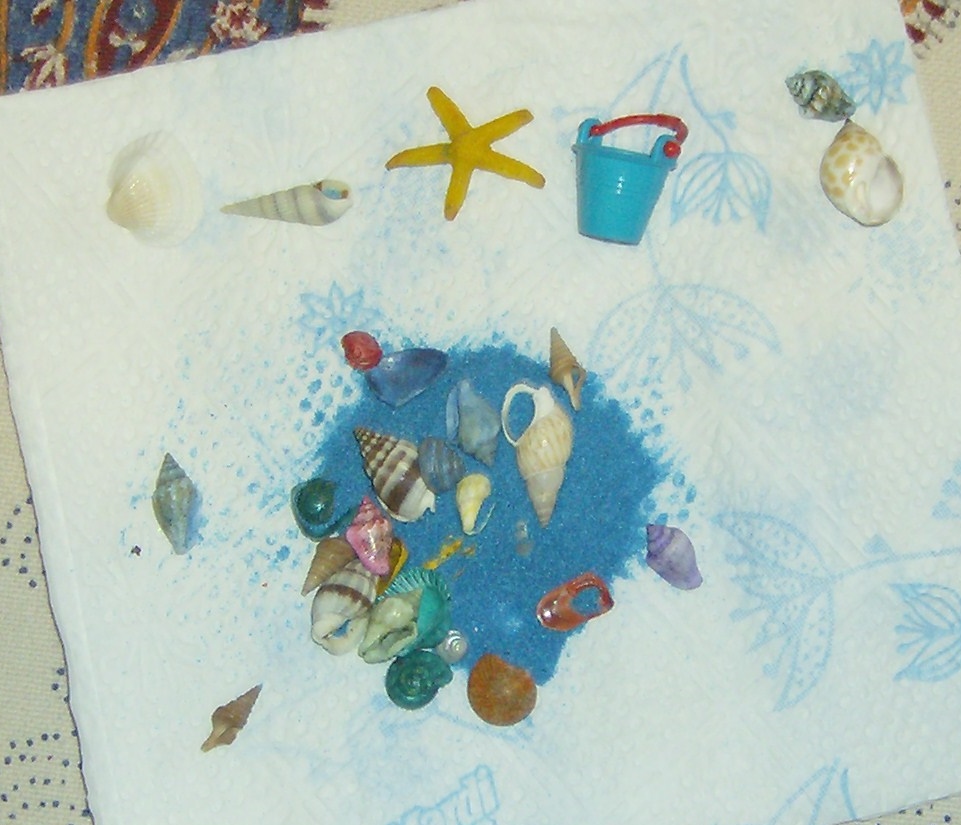
The materials to turn my mid century marvel’s bathroom into a tropical oasis of beachiness. Photo by Holly Tierney-Bedord. All rights reserved.
Next I cleaned up the ornament with some nail polish remover. Without too much trouble the word Jamaica was erased. Here is a picture of it after about thirty seconds of scrubbing at the ornament with a Q-tip and polish remover. After another couple of minutes, the word was gone.
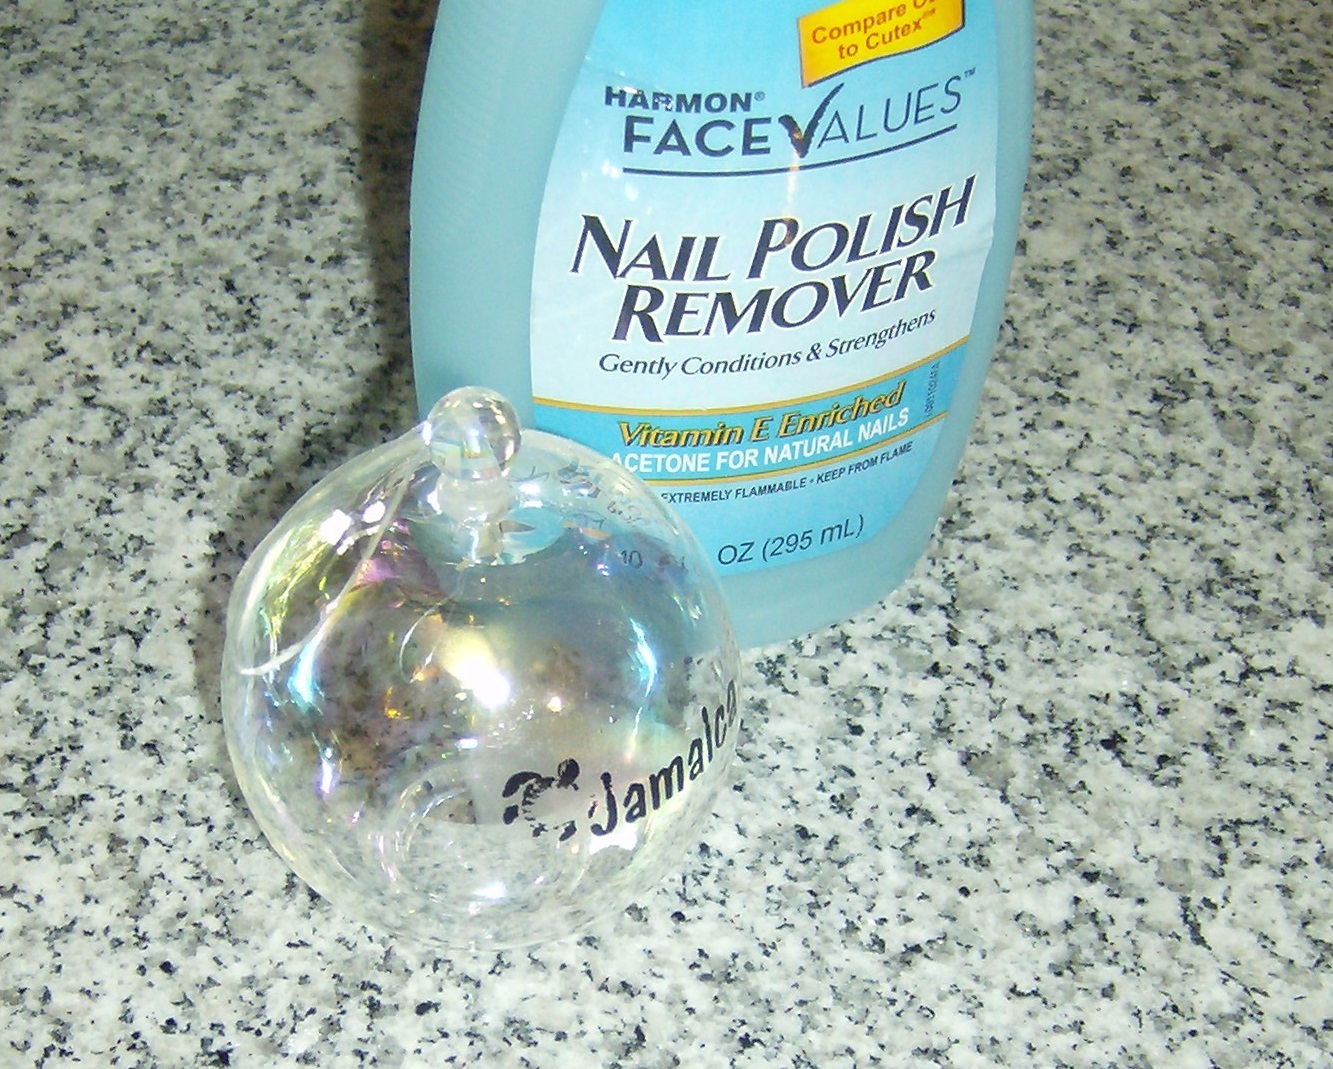
Using finger nail polish remover to erase the word printed on the ornament. Photo by Holly Tierney-Bedord. All rights reserved.
The word and the price sticker all came cleanly off, leaving me with this little globe:
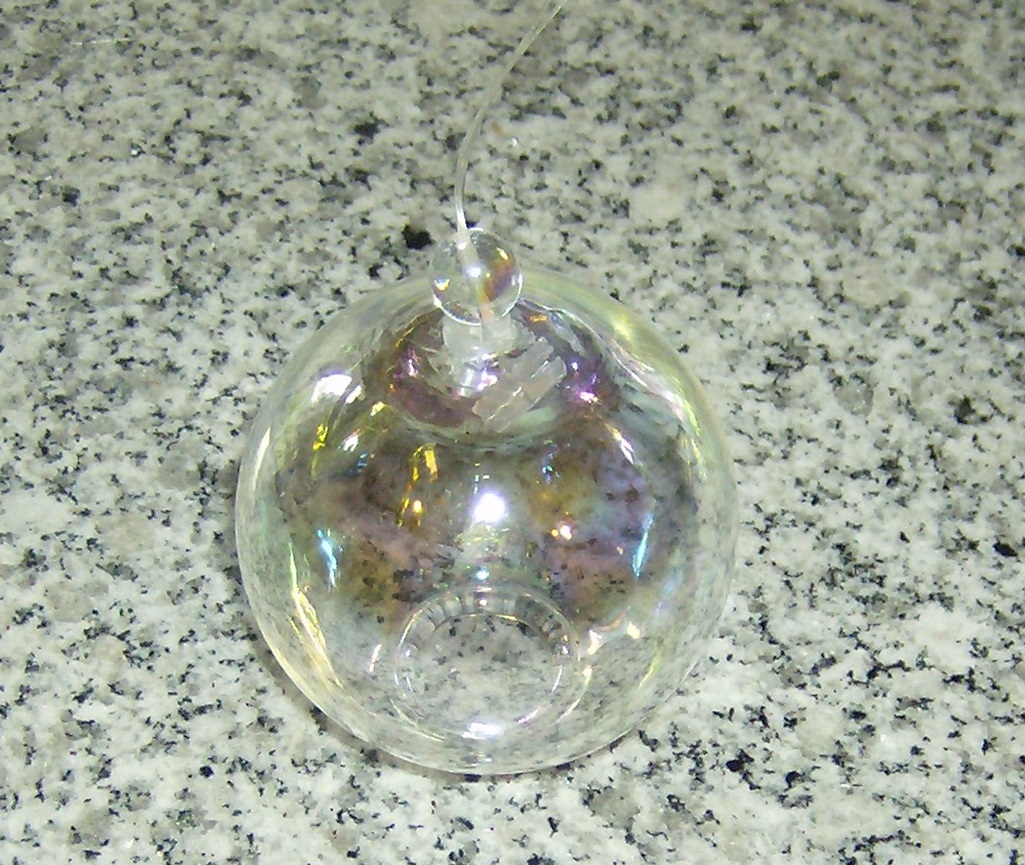
Light fixture for a very small house. Photo by Holly Tierney-Bedord. All rights reserved.
With a little more work, this small globe is going to be a great light fixture one day!
A week or so ago, I was describing the West Elm measuring cups turned planters here, and shortly after that I was considering exterior paint choices here. I realized that I should have included my planters in the illustration I created, to get an idea of how their color would go with the house. Here are a couple new ideas to consider, along with a few more swatch combinations below. At this point I’m leaning towards a teal house with some combination of lime, olive, orange, or cream for the trim and front door.
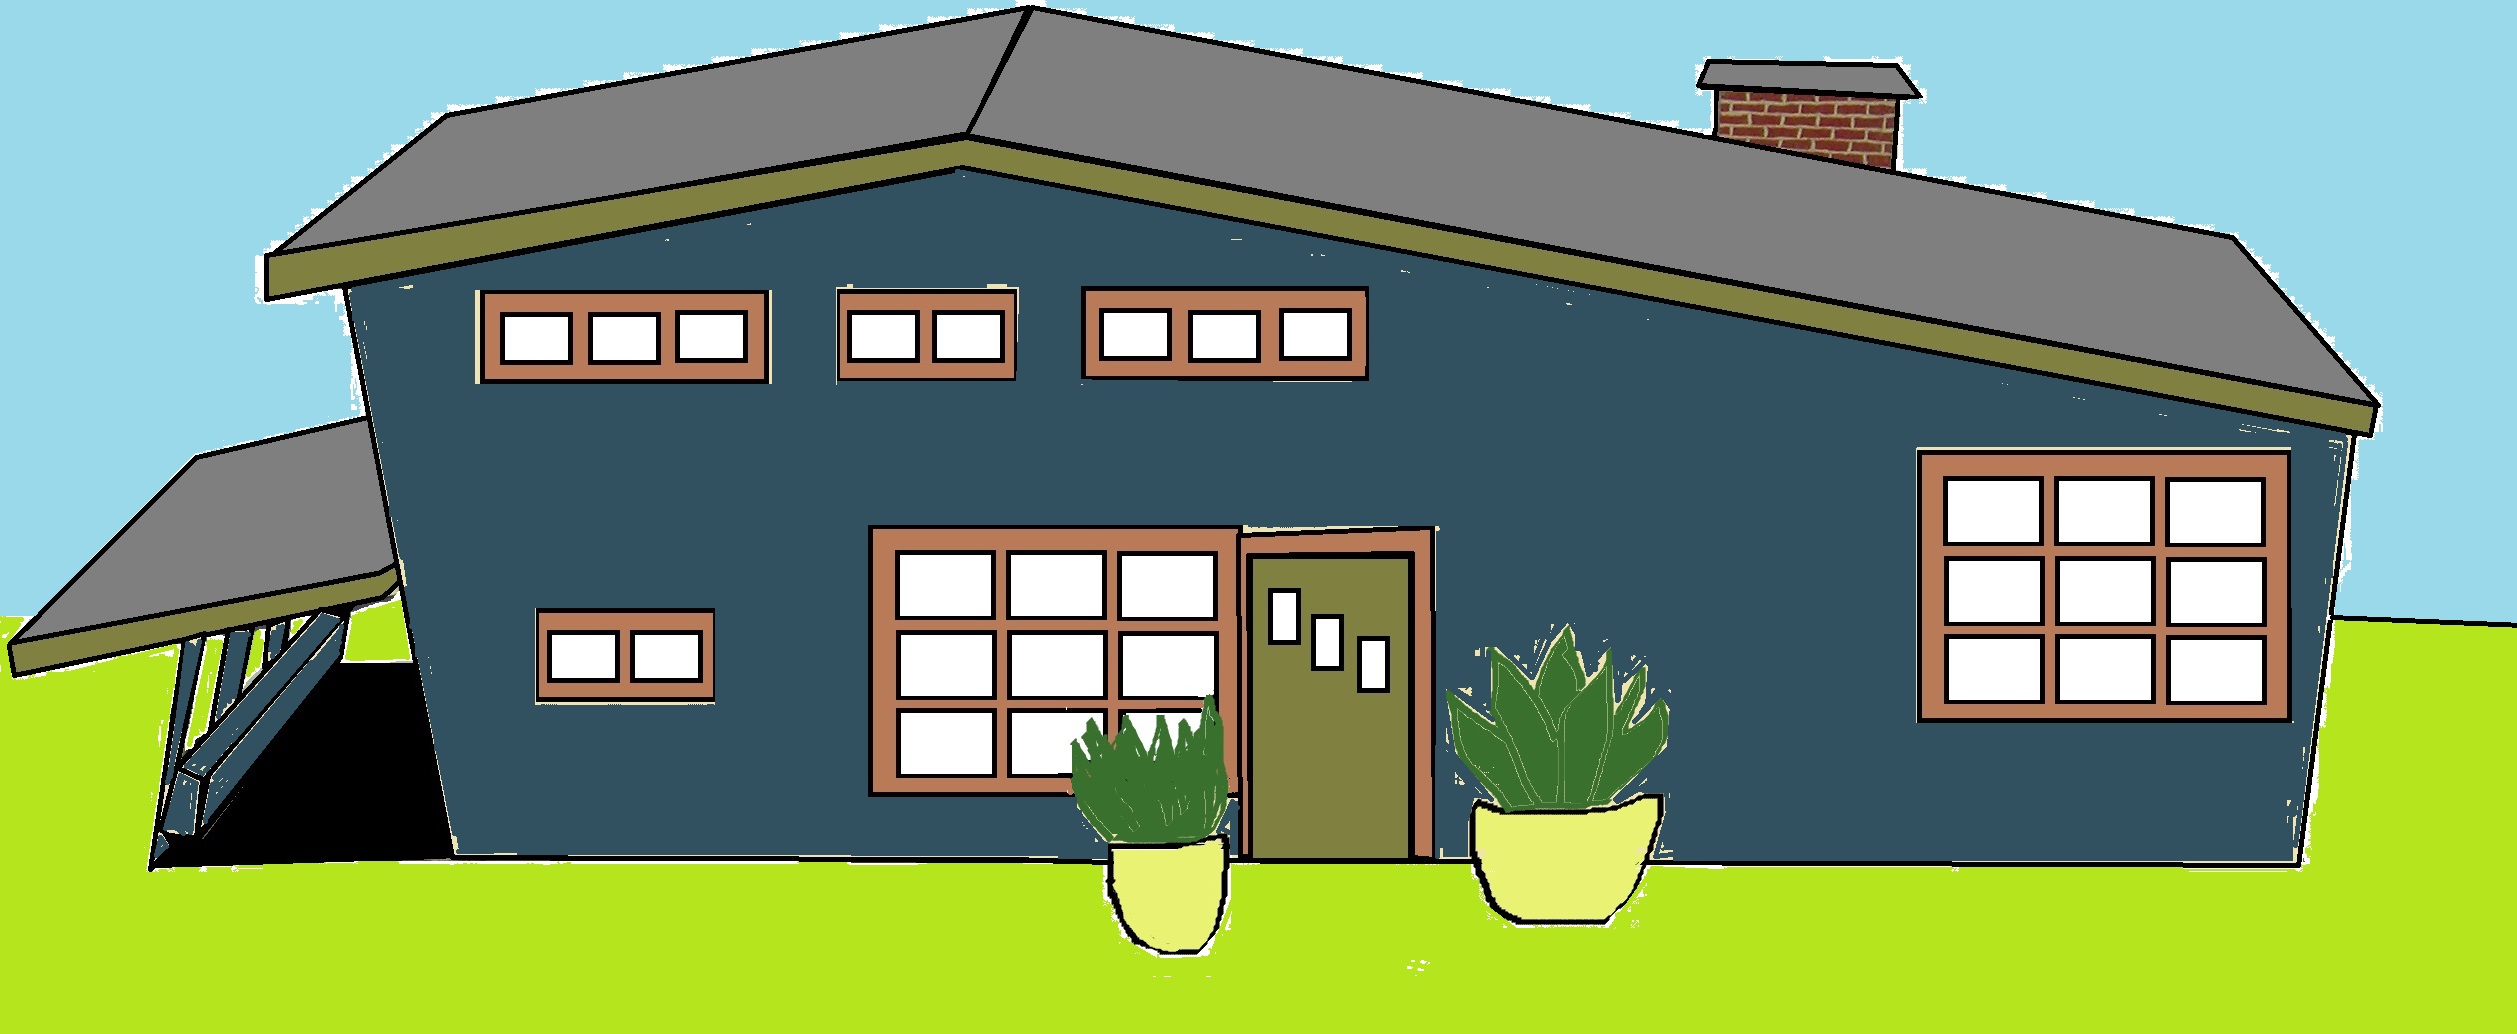
Don’t forget about the planters! Illustrations by Holly Tierney-Bedord. All rights reserved.


More color scheme ideas. Graphic designed by Holly Tierney-Bedord. All rights reserved.
