To make your floors fit, create a pattern or stencil using paper, the way clothing designers create patterns before putting scissors to their fancy fabric. This works for wallpaper too. Here are the steps I took to install my living room floor.
First I cleared out my living room. Next I began constructing my stencil, basing it off the shape of the far wall. See (below) how it fits like a puzzle piece against the wall? This required a fair amount of adding and subtracting to get it right. I’d slice a little bit off here, tape in a little extra there, until I had it just right.

Create a stencil to lay on top of your flooring. Photo by Holly Tierney-Bedord. All rights reserved.
Next I added another portion for the section of flooring that is by the railing. Then I put the stencil on top of my flooring and taped it into place.

Photo by Holly Tierney-Bedord. All rights reserved.
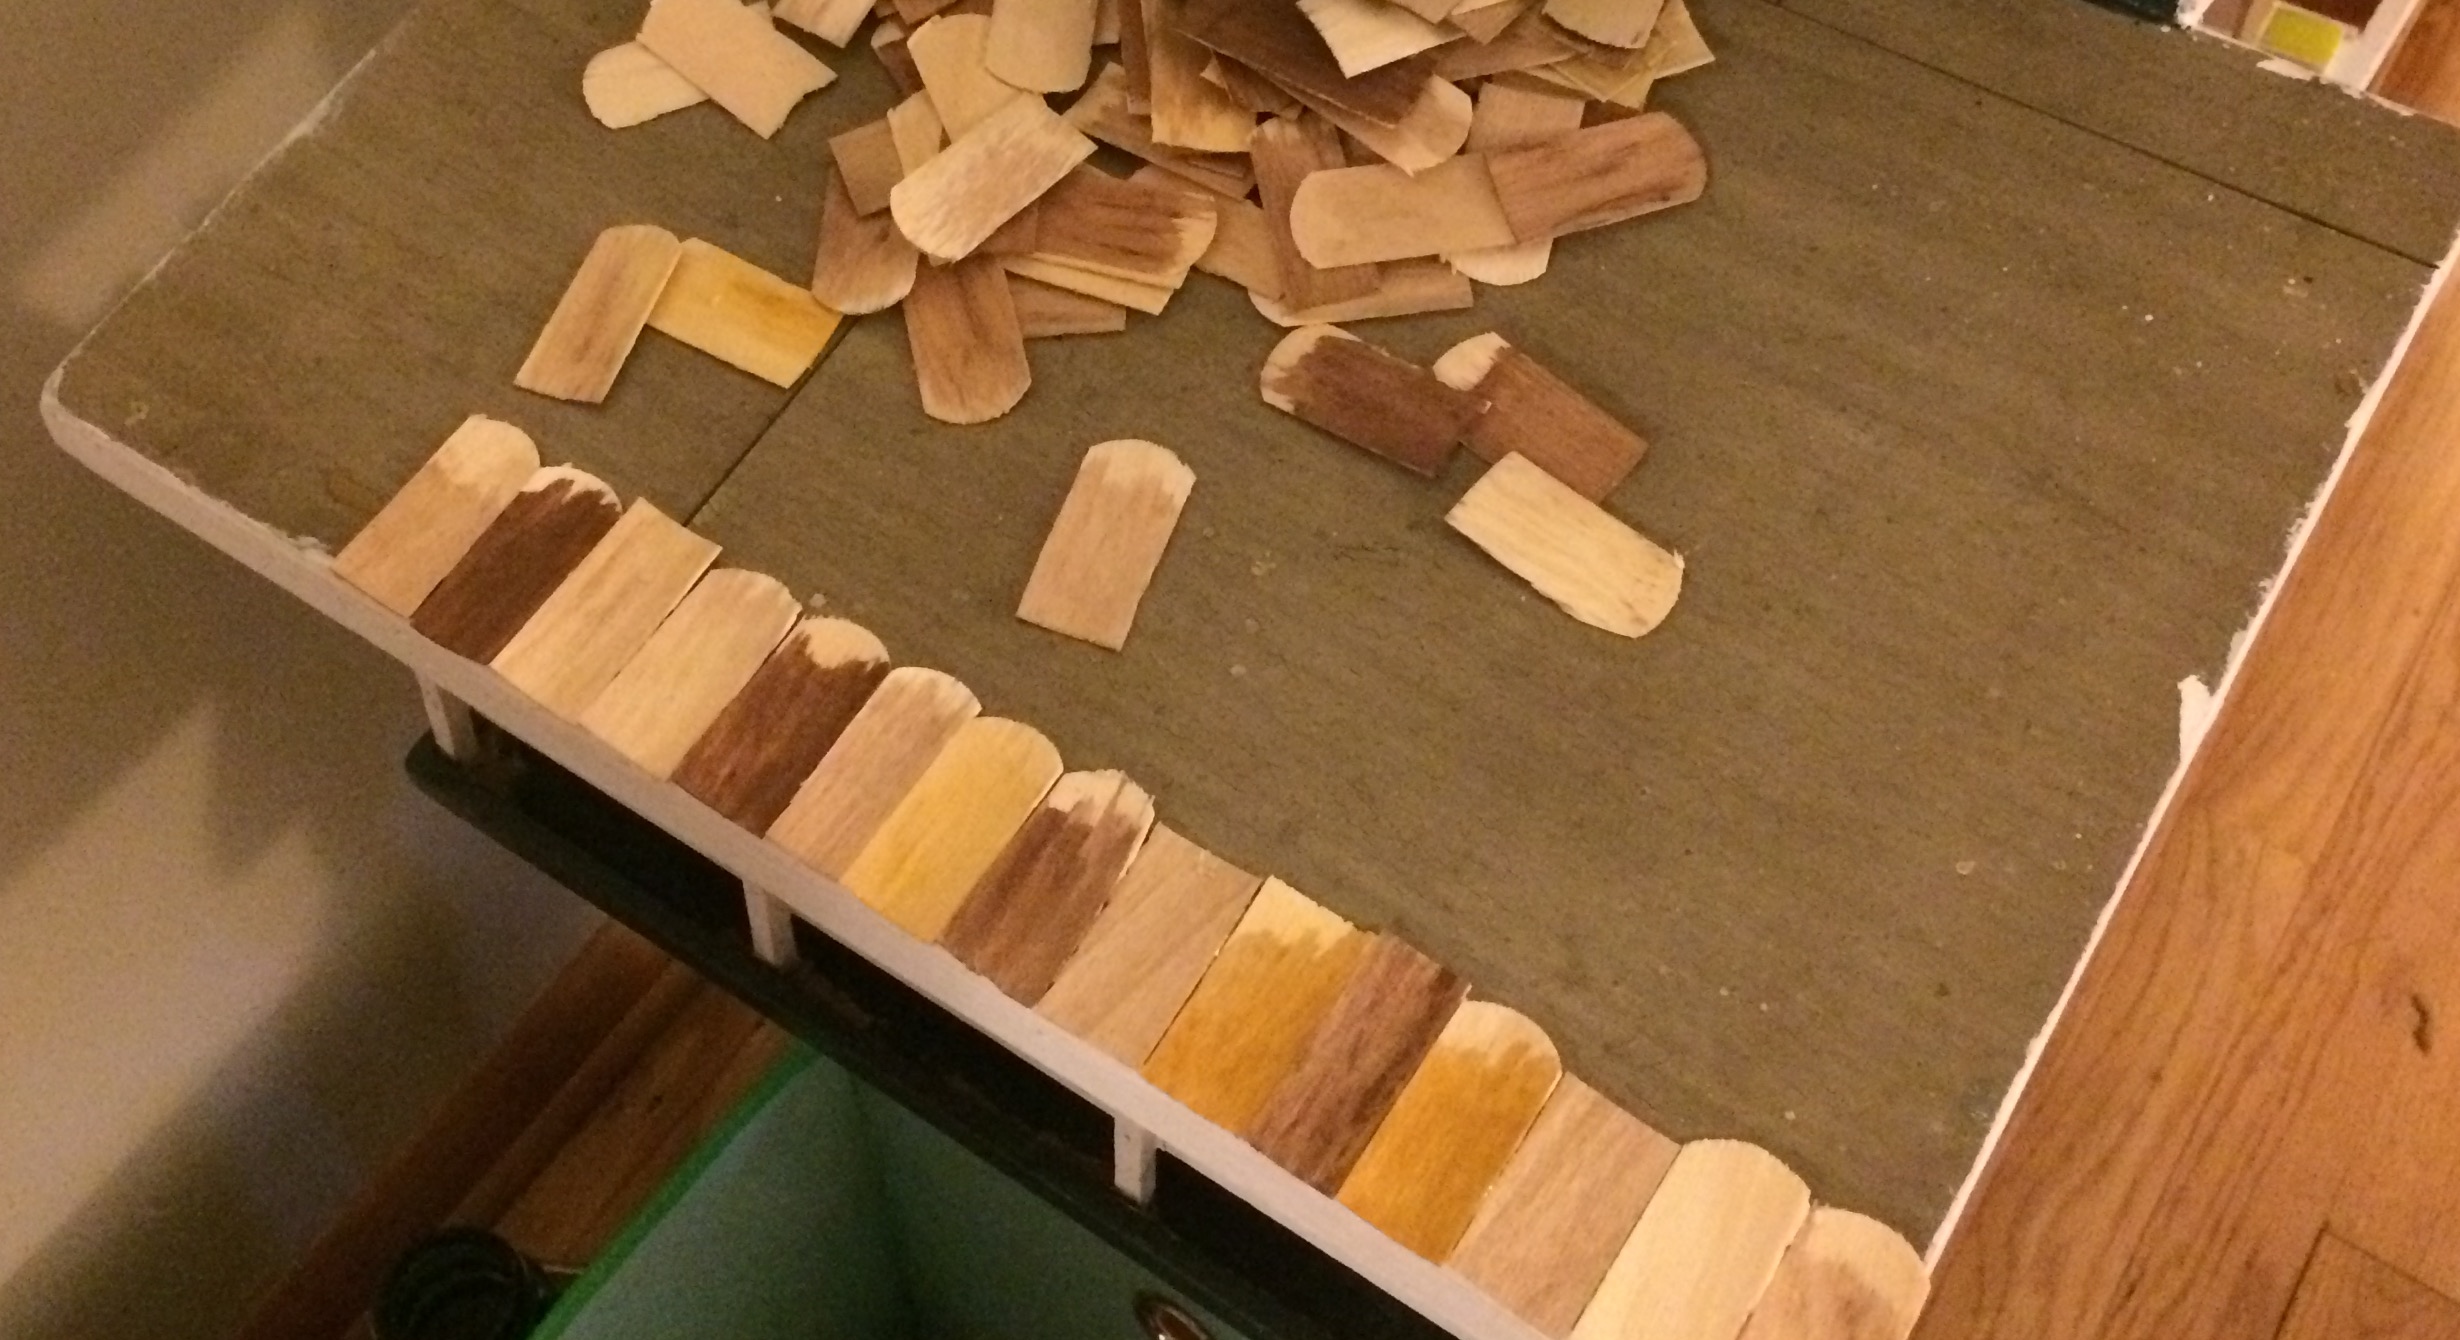
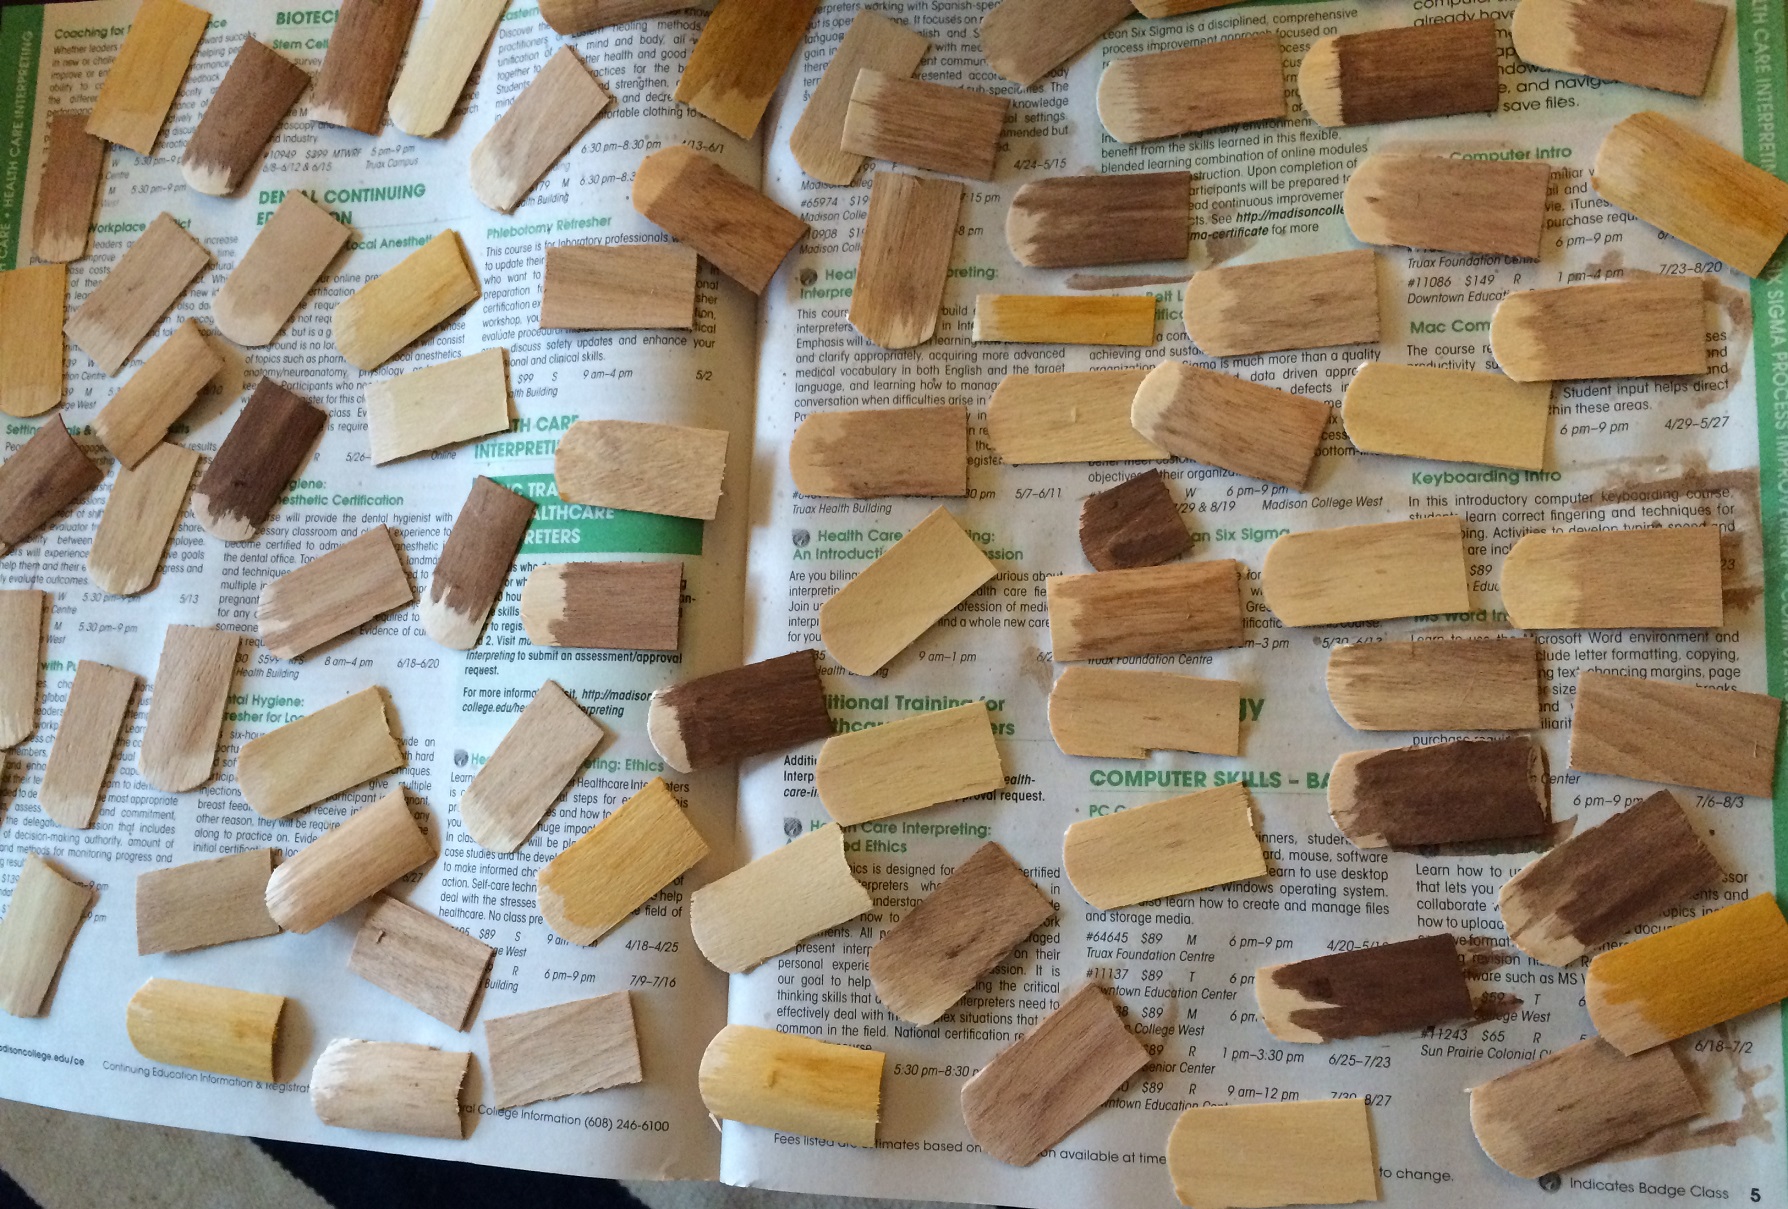
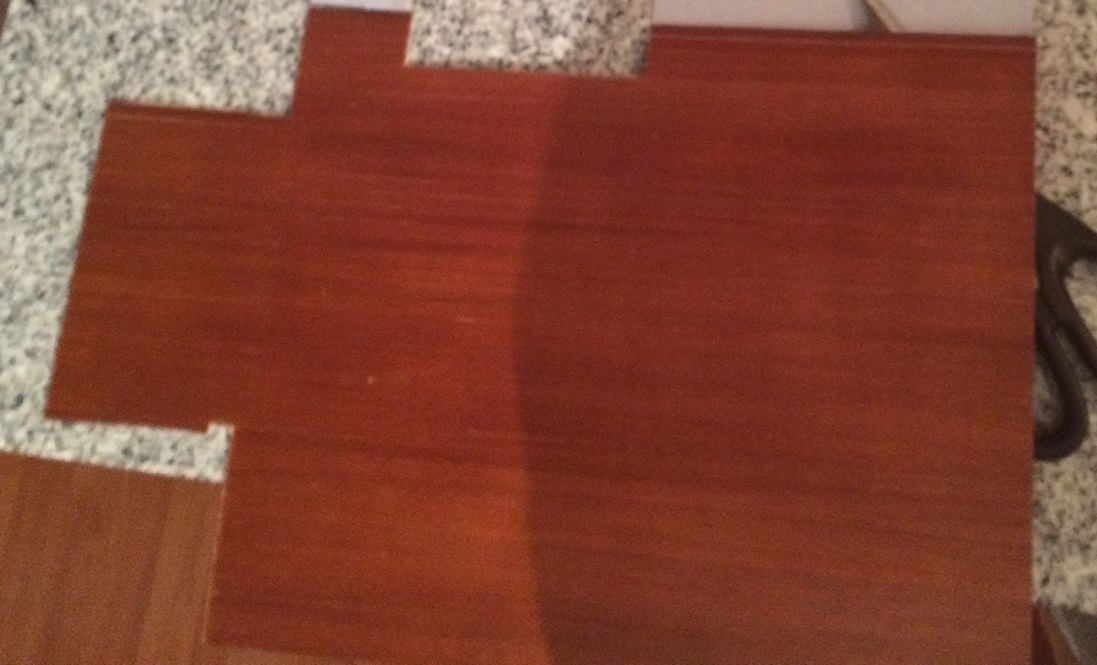
Next I carefully cut out my floors. I ended up with this:

Photo by Holly Tierney-Bedord. All rights reserved.
Now came the moment of truth. Would this amorphous shape fit just right into my mini living room?
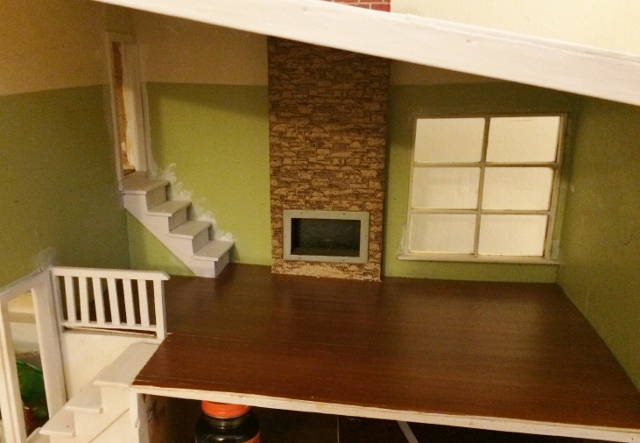
Photo by Holly Tierney-Bedord. All rights reserved.
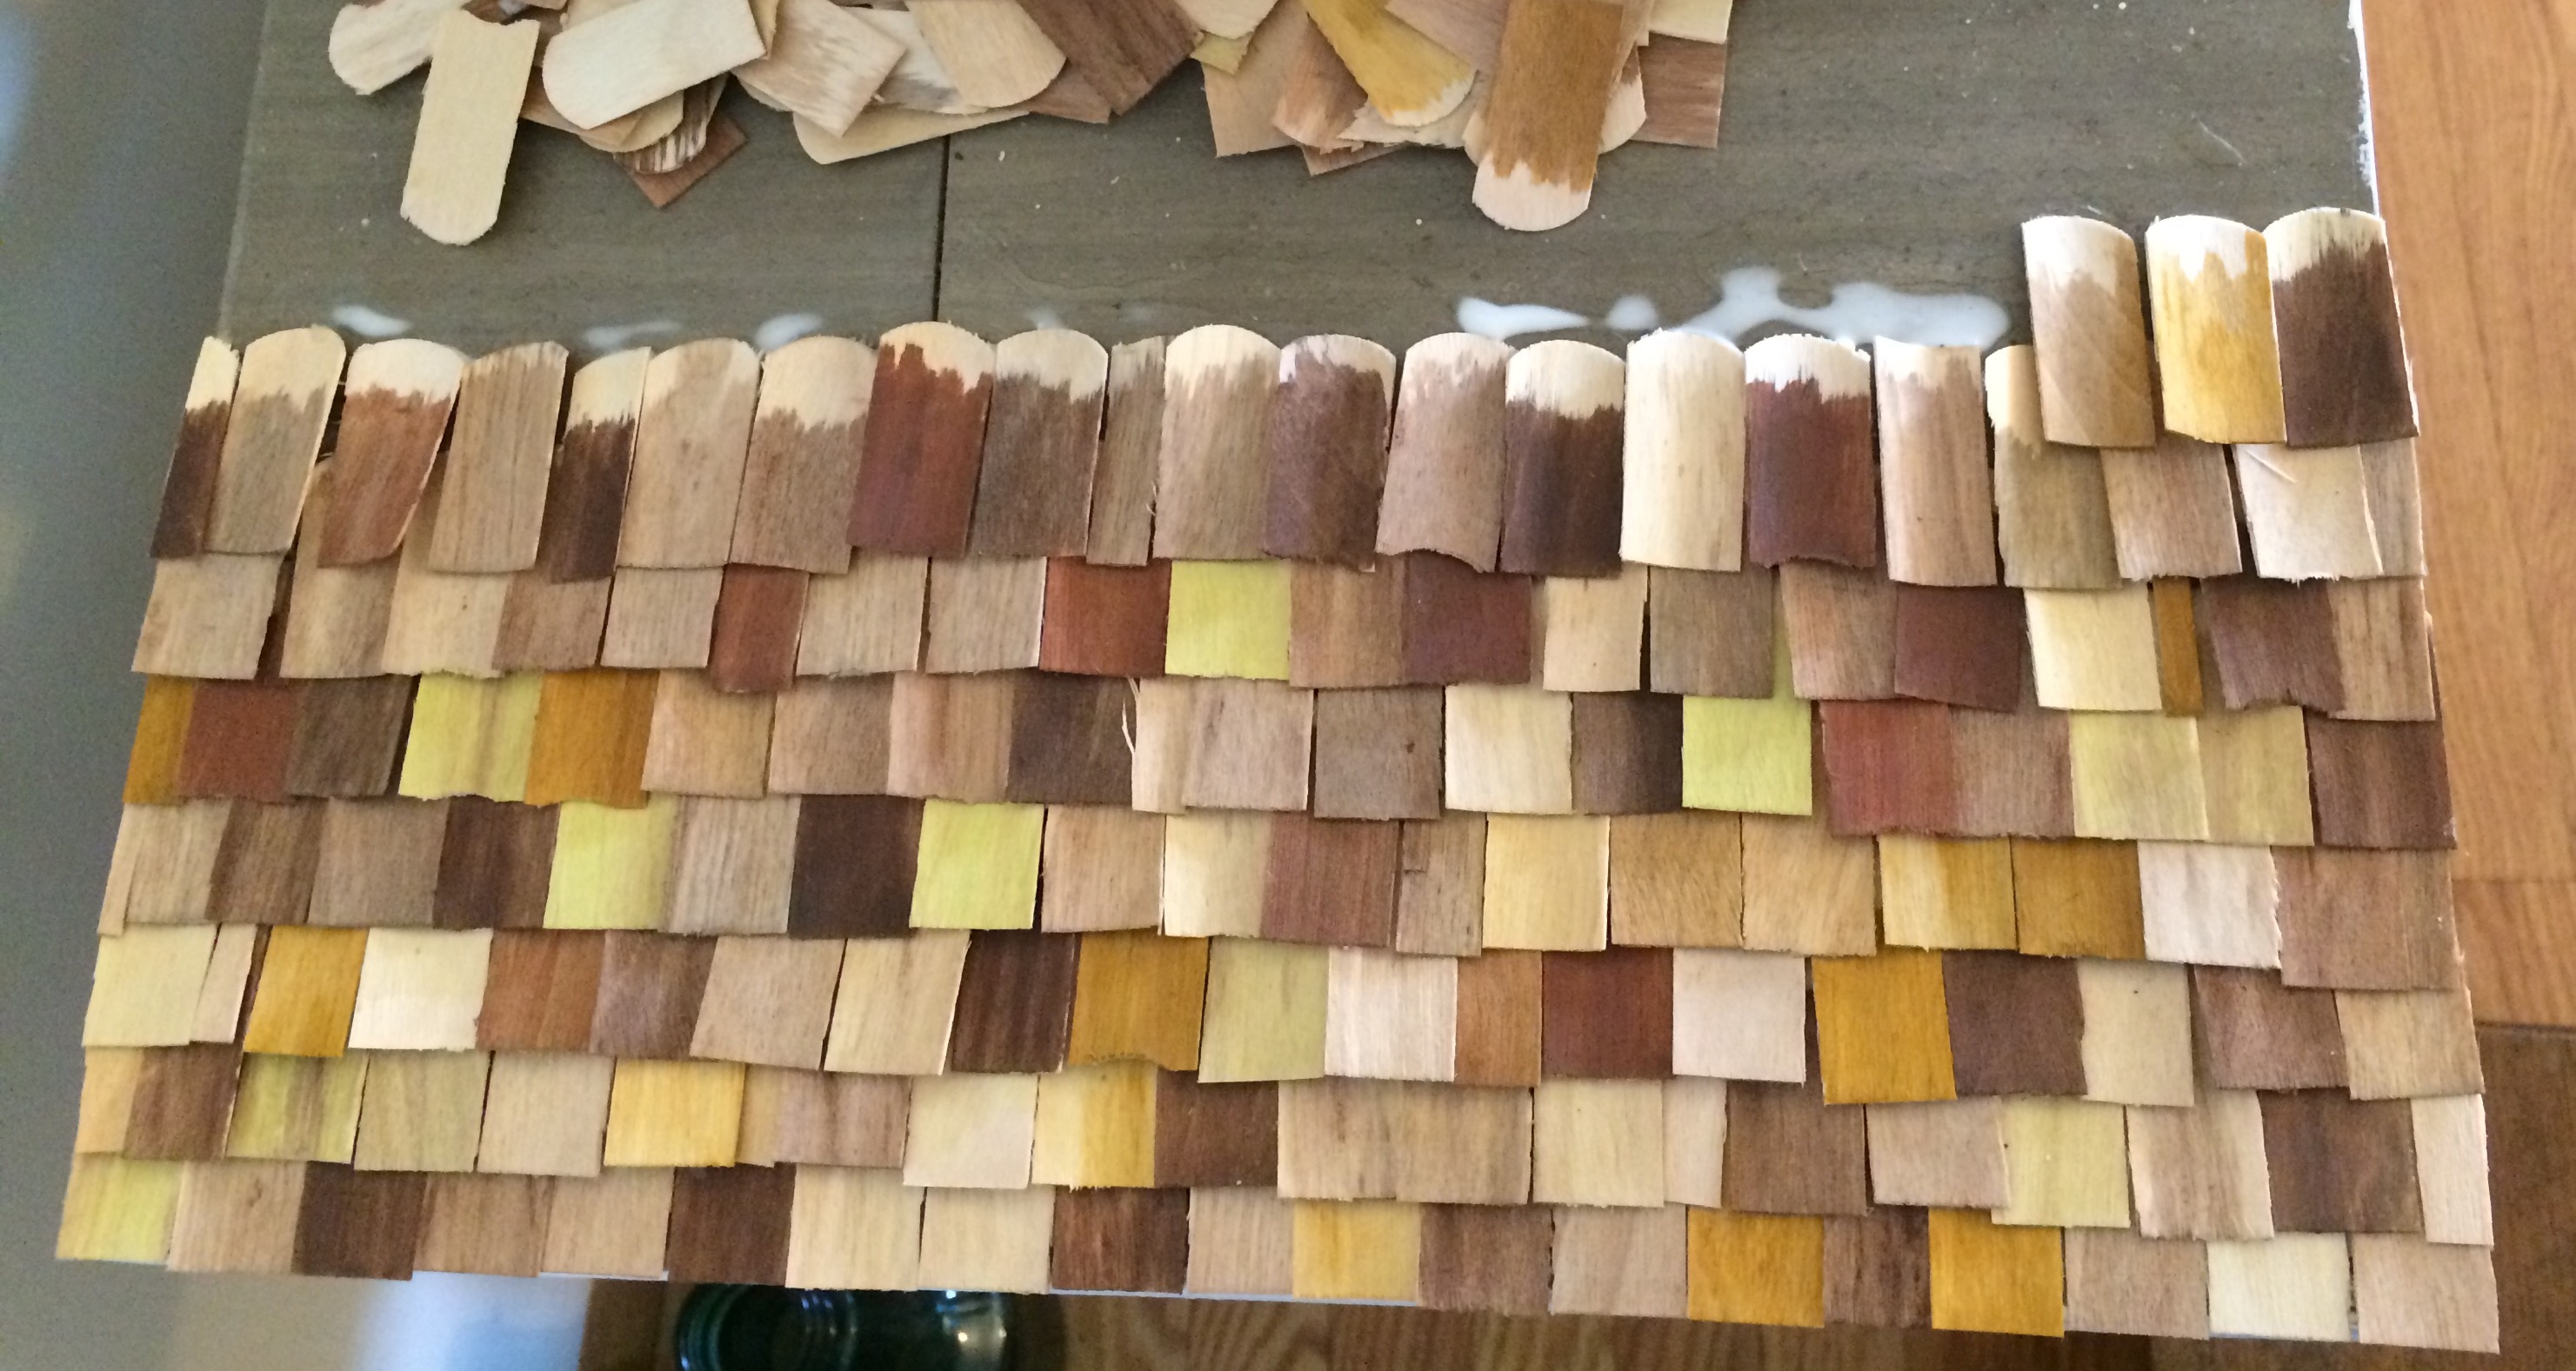
Yay! It fits! And since the floor is actually made of individual slats of wood affixed to a paper backing, it’s flexible enough to maneuver into place.
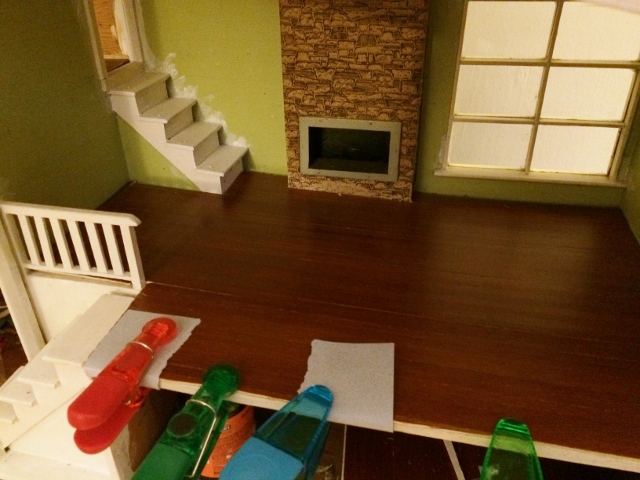
Below, if you look to the left of the stairs going up to the bedrooms, you can see one small piece going the wrong way, where I stuck in an extra piece since the flooring was just a bit smaller than the length of the room. Once I install wallpaper, white baseboard trim, and put furniture in place, this will be practically unnoticeable. Chip clips are handy for holding the flooring in place as adhesive dries.

Use chip clips to force your floor flat. Photo by Holly Tierney-Bedord. All rights reserved.
Finally, I’ll pile some books on top to help ensure it stays flat.
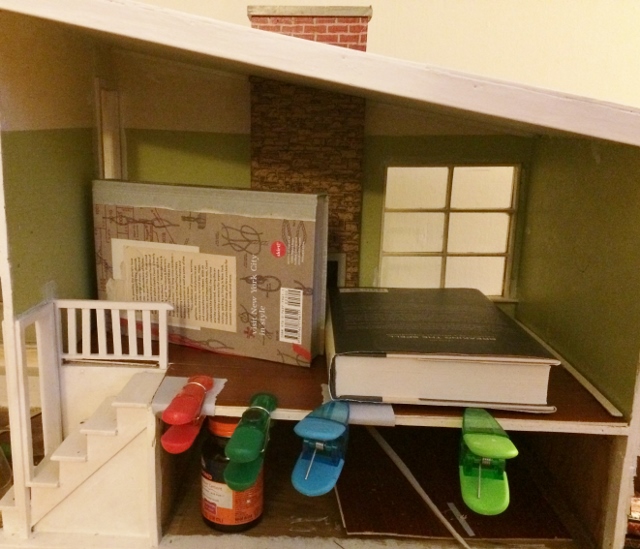
Keeping newly installed floors flat. Photo by Holly Tierney-Bedord. All rights reserved.
Living room wallpaper is going in soon! I can’t wait to show you the results!