Tea for two

Furniture and decor I've purchased, Handmade decor for my mini house, Miniaturists, Shopping for minis

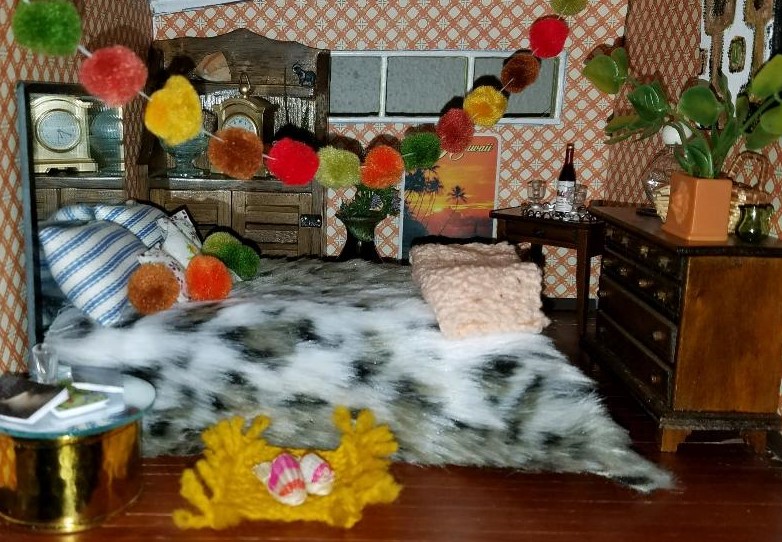
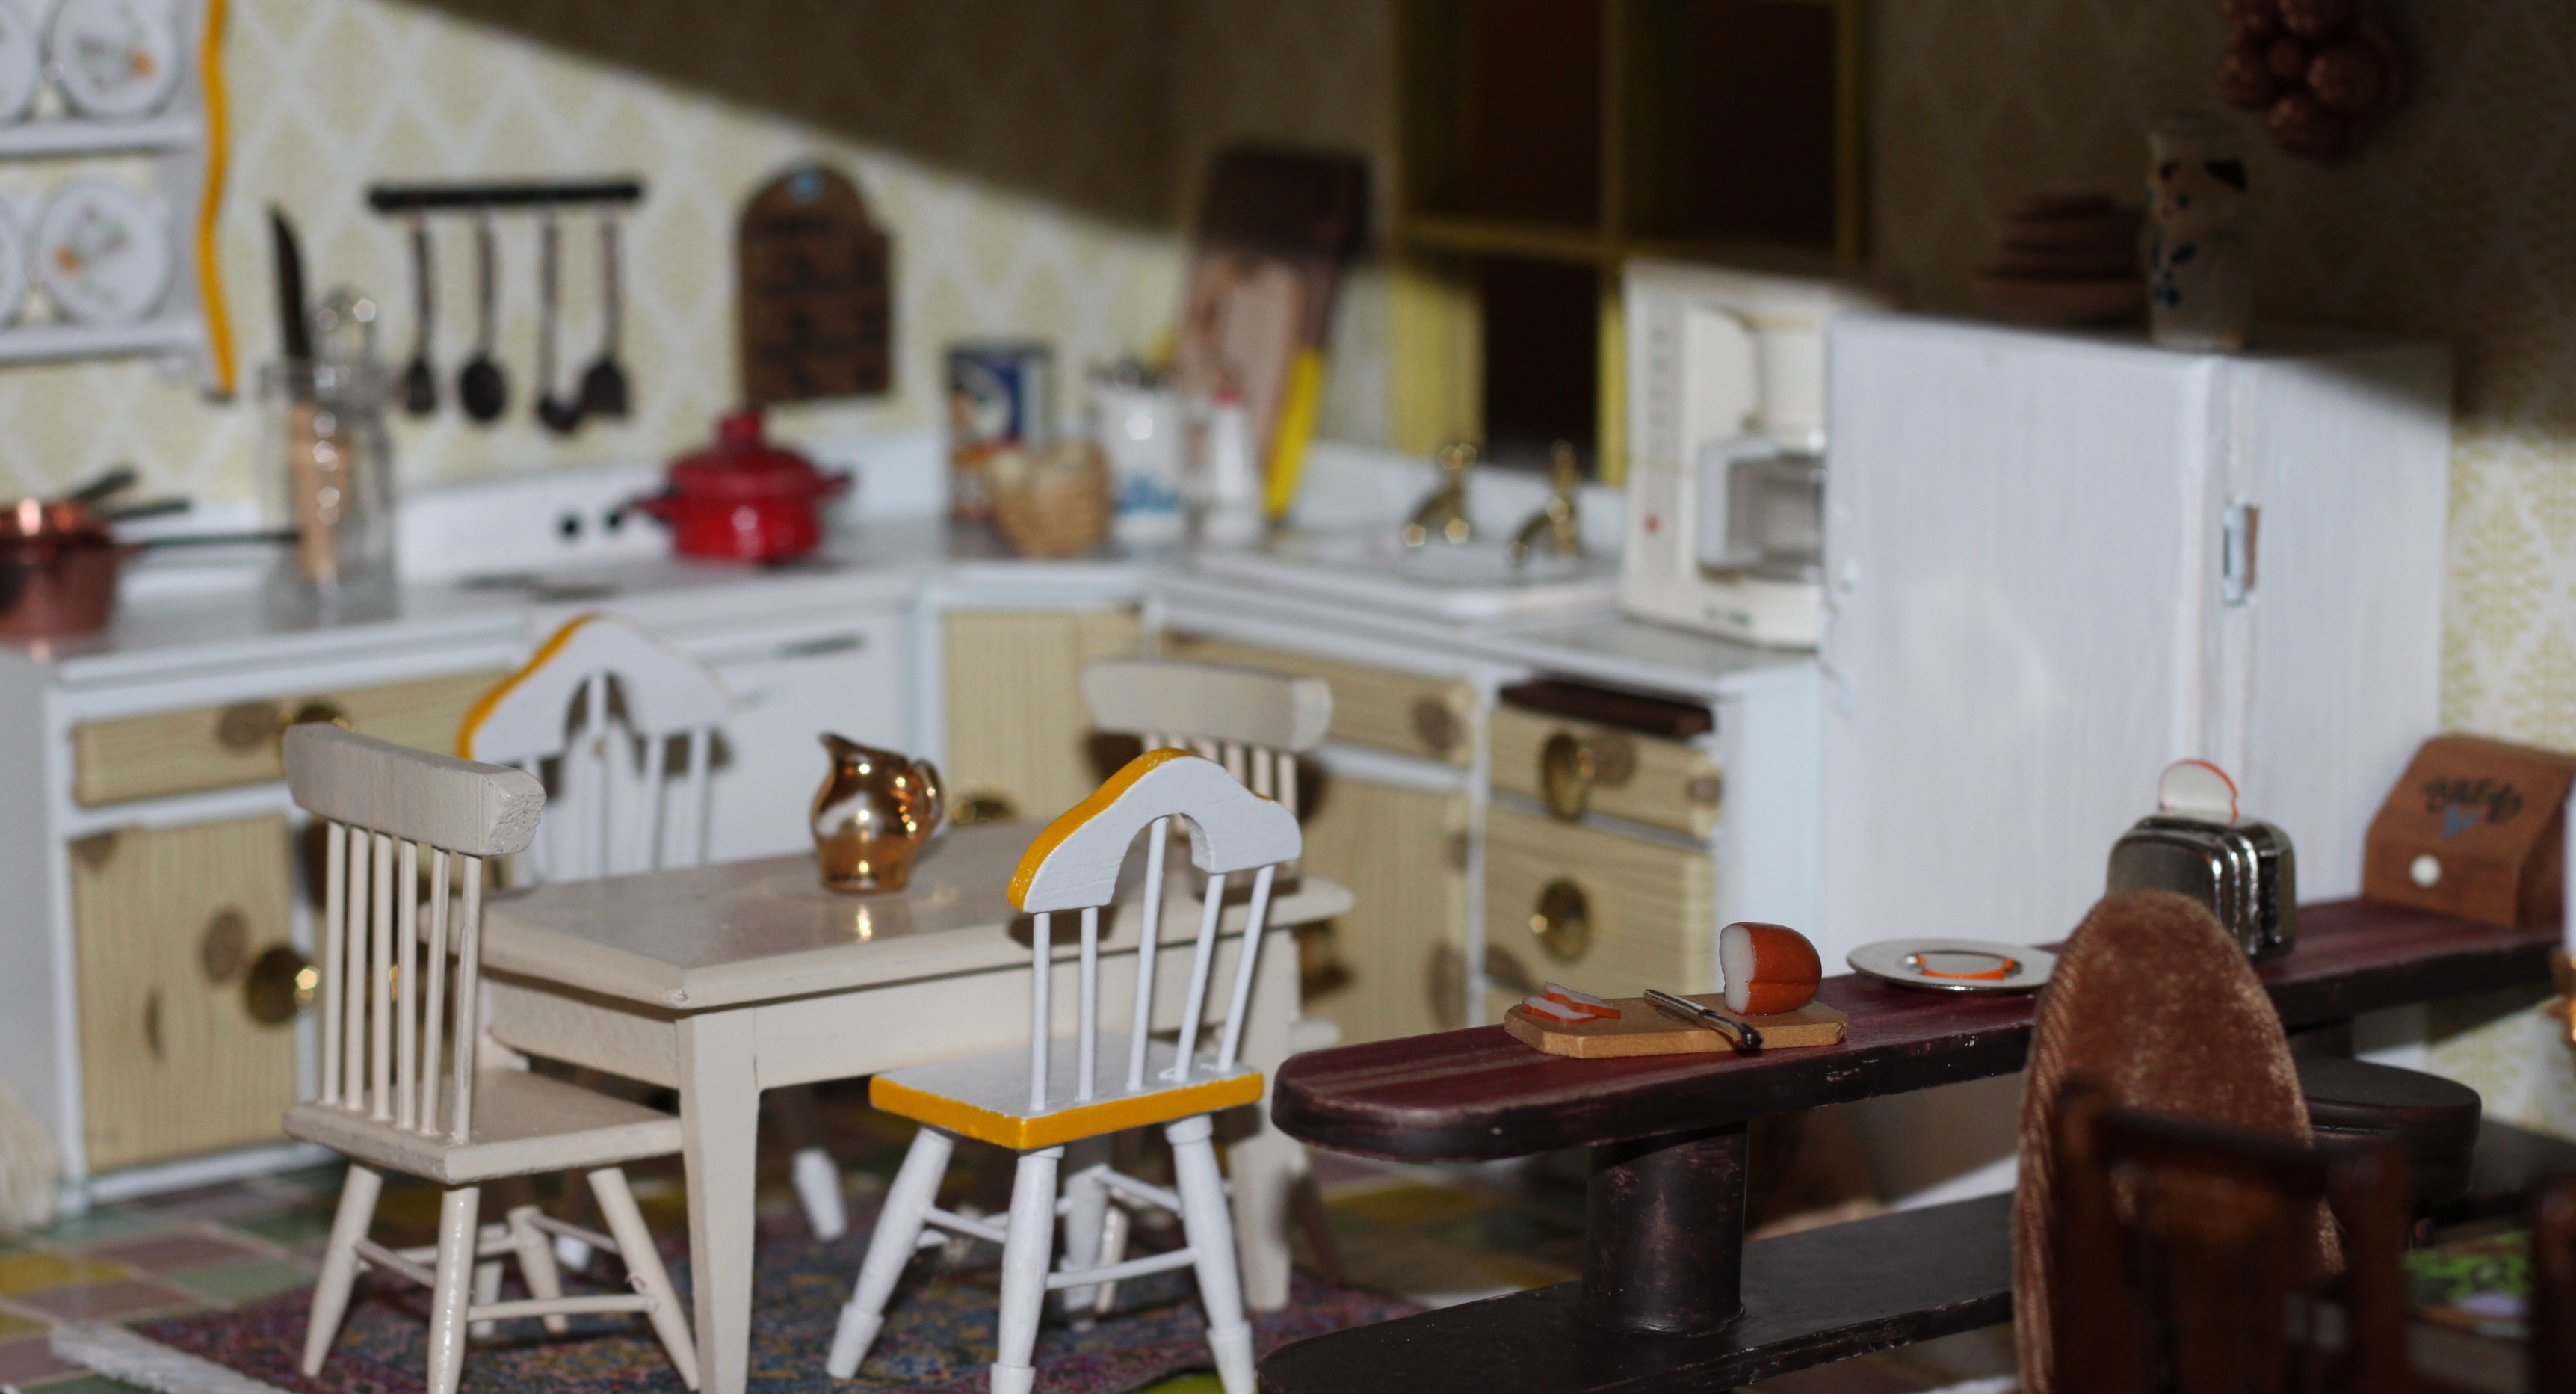
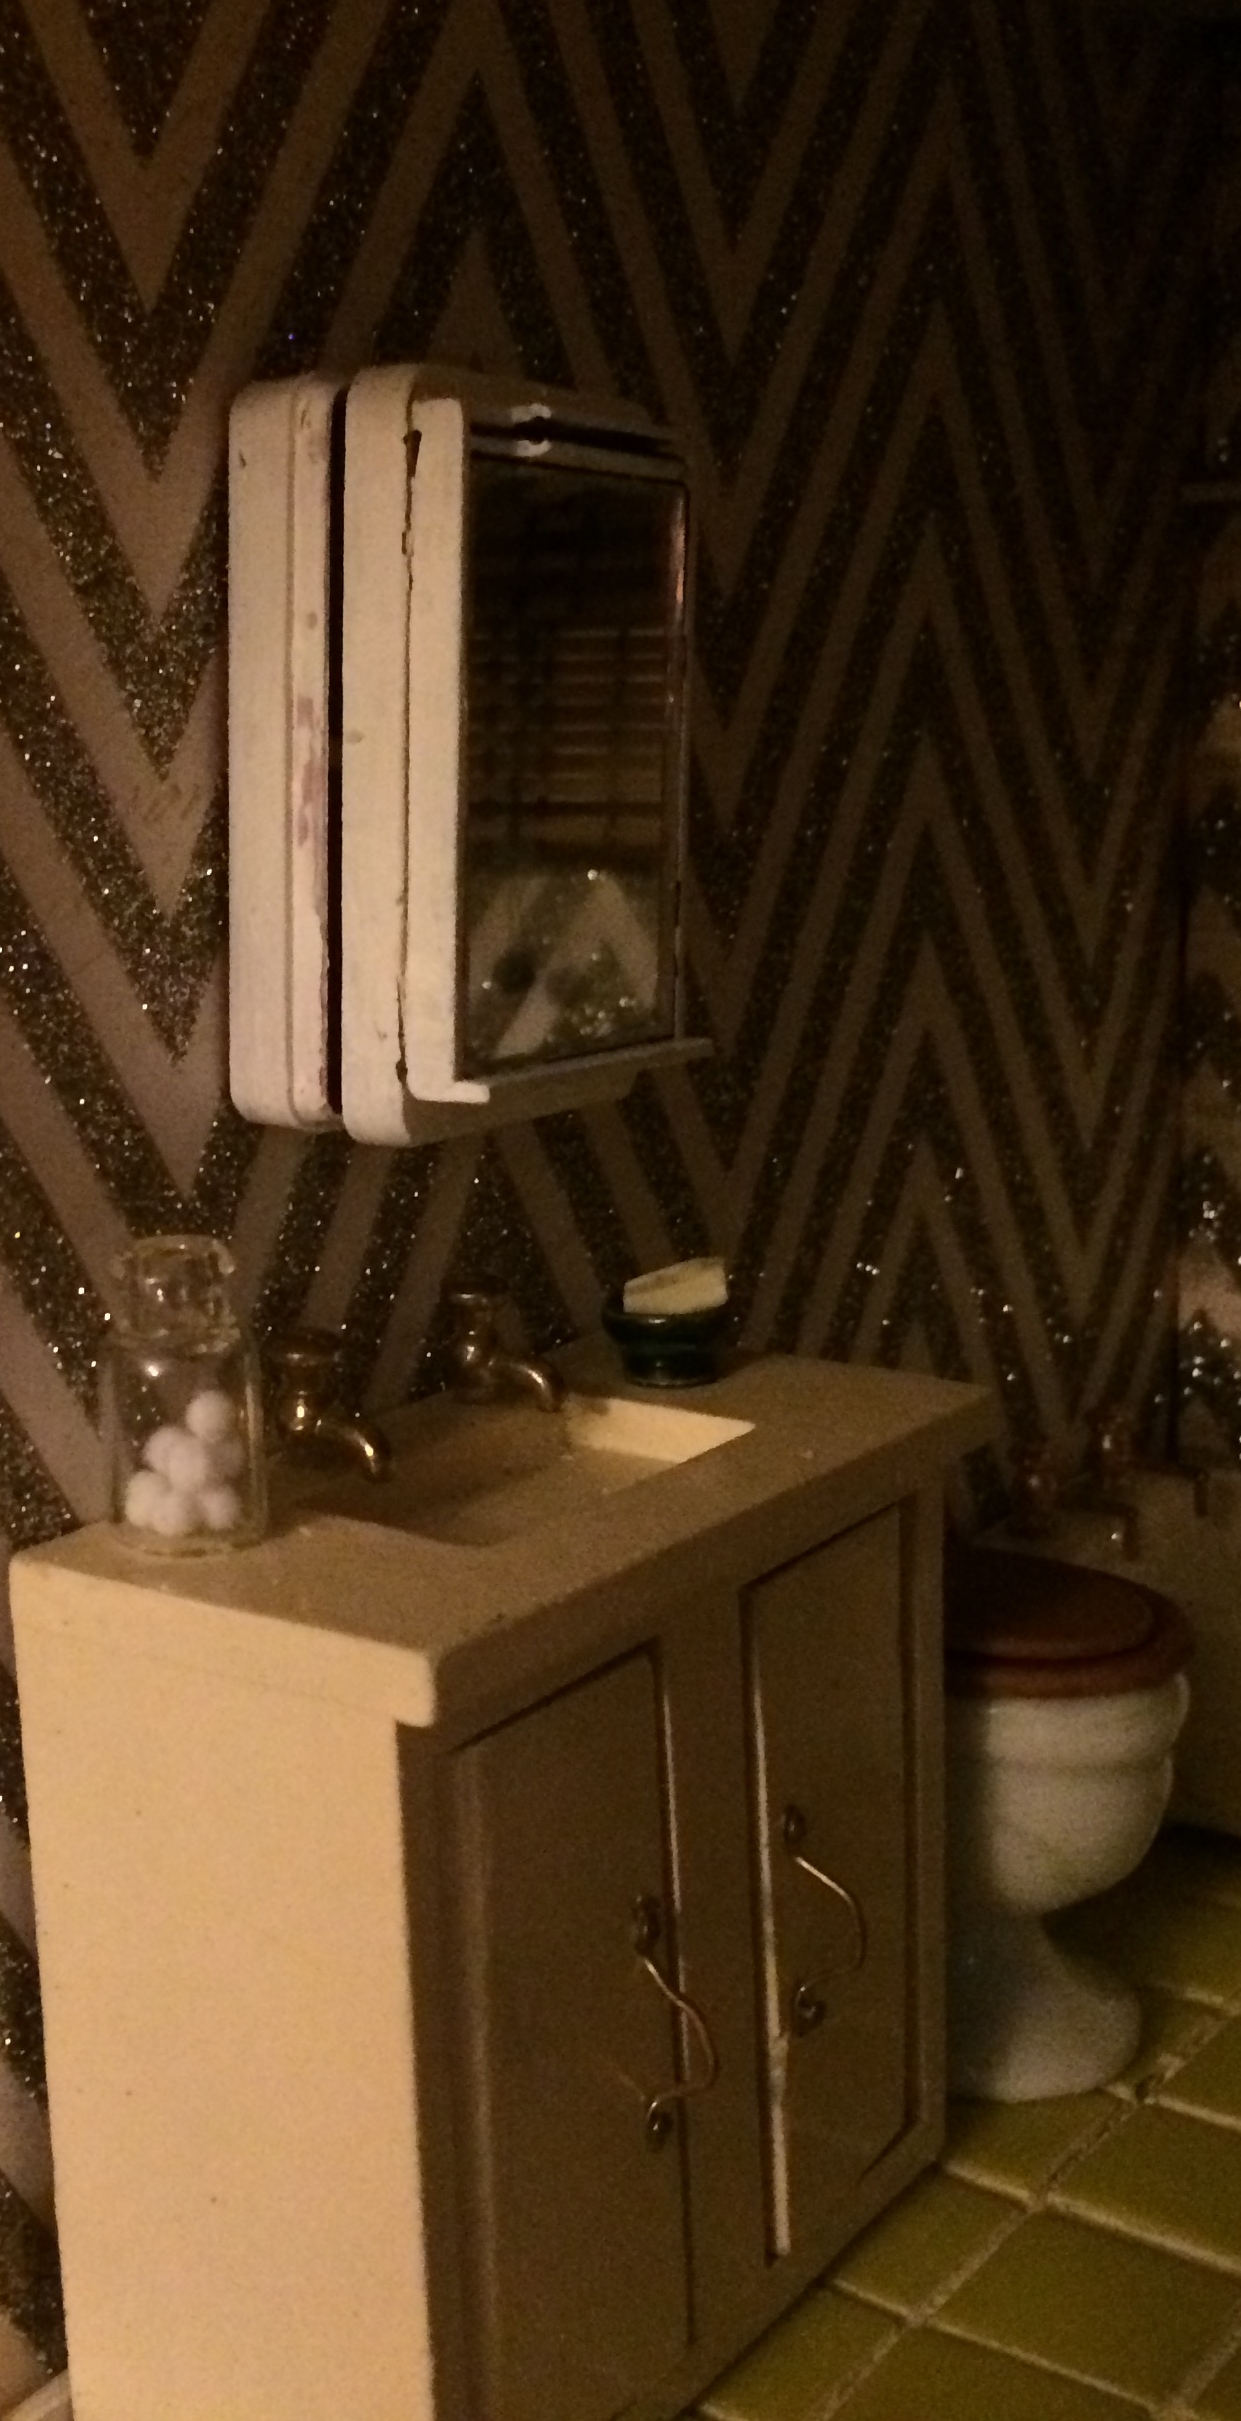
Today I created this sweet little room box:

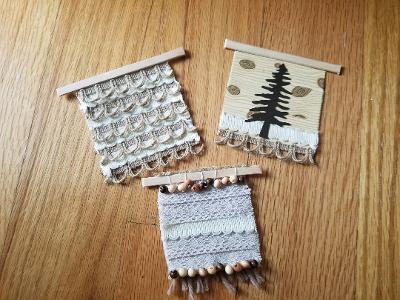
The faux light fixture and two baskets shown above are recent purchases from Etsy artist MiniHome Co. Below is a photo of all my recent purchases from her: Two baskets, a macrame-style wall hanging, and three faux light fixtures. Check out her Etsy shop here.

The cute little glass animals are recent purchases from my trip to Prague.

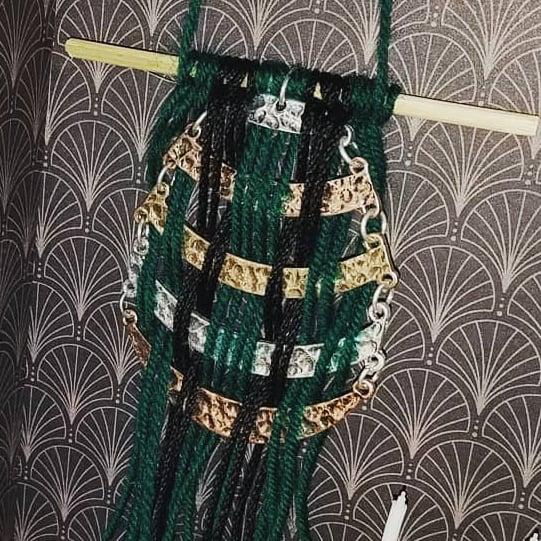
The pink tasseled wall-hanging was made from some inexpensive jewelry.

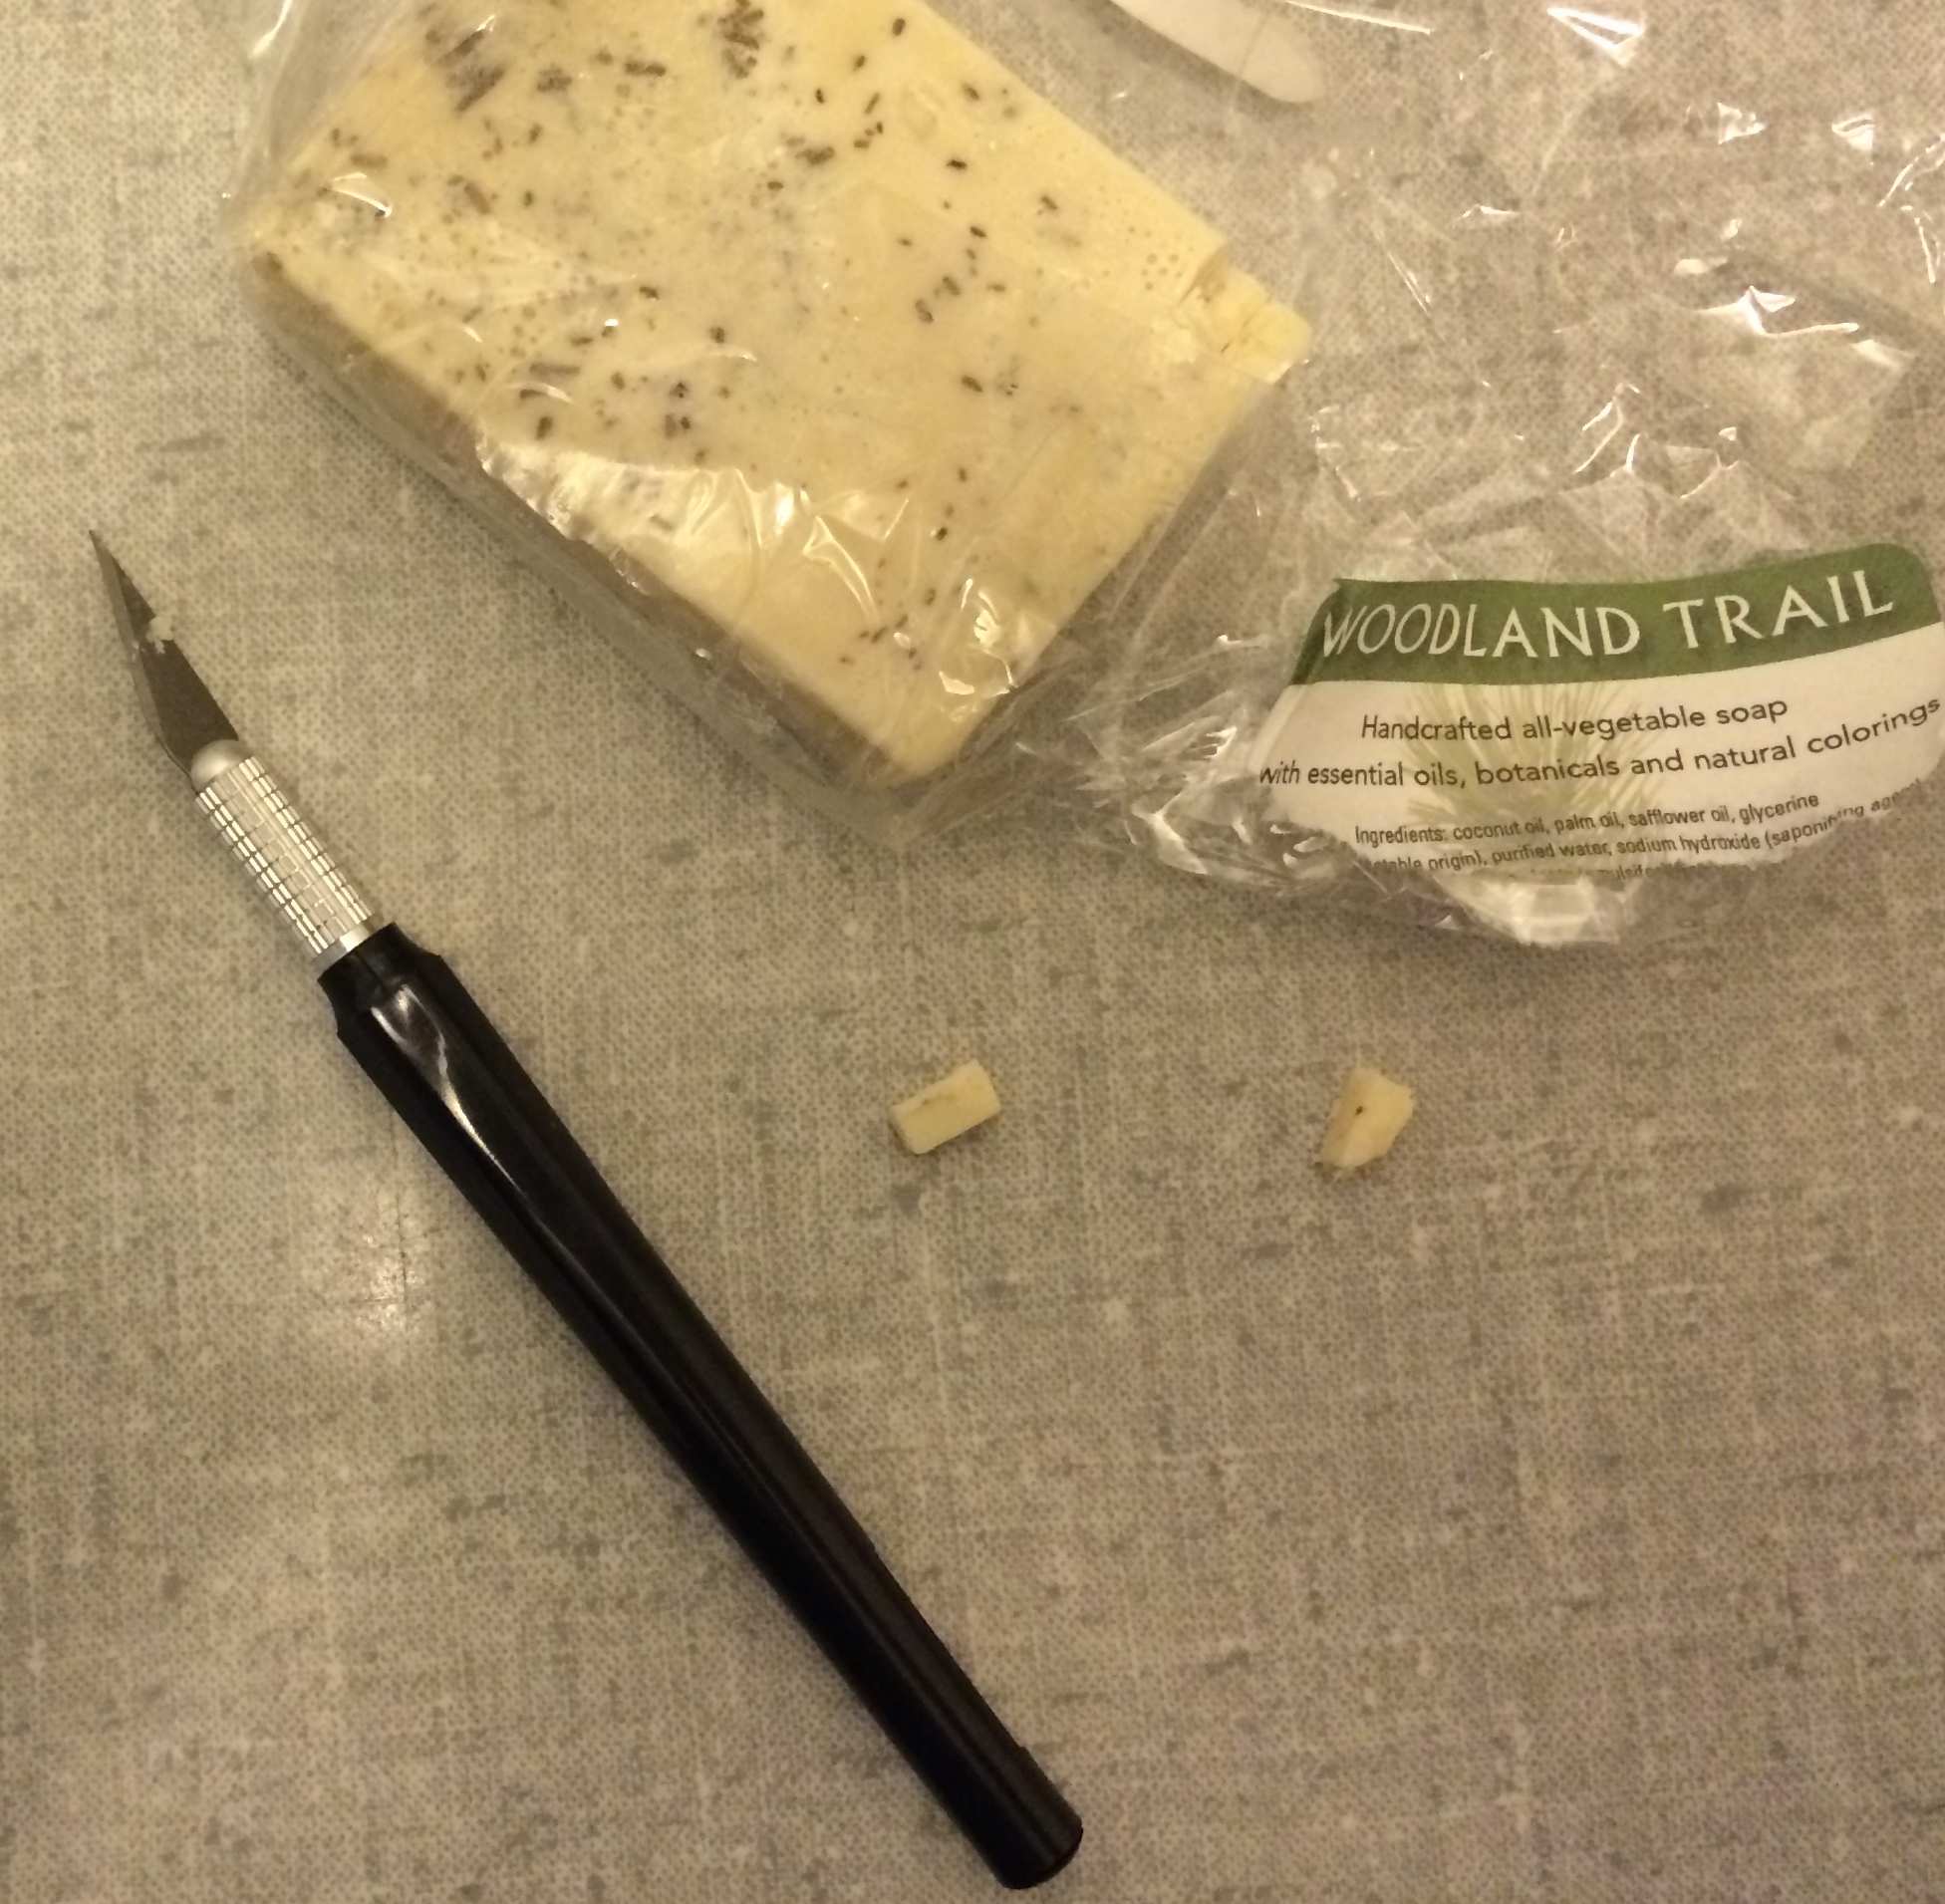
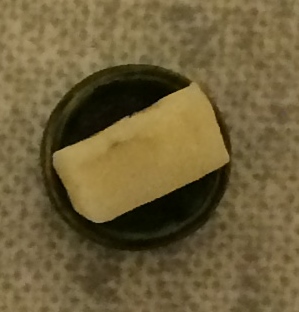
This mirror was a quick project. You just need a snippet of twine, any inexpensive craft store mirror, and some glue.

All photos by Holly Tierney-Bedord. All rights reserved.

Love miniatures? Learn more about the Flip This (Mini) House mid-century dollhouse project here, here, here, or by searching through older posts.

Check out the Flip This (Mini) House book, the Decorate This (Mini) Room book, and the Style This (Mini) Room book by clicking any of these links.

Check out some more of my room box projects here, here, and by searching through older posts or following Flip This (Mini) House on Facebook and Instagram. Both feature occasional exclusive content.

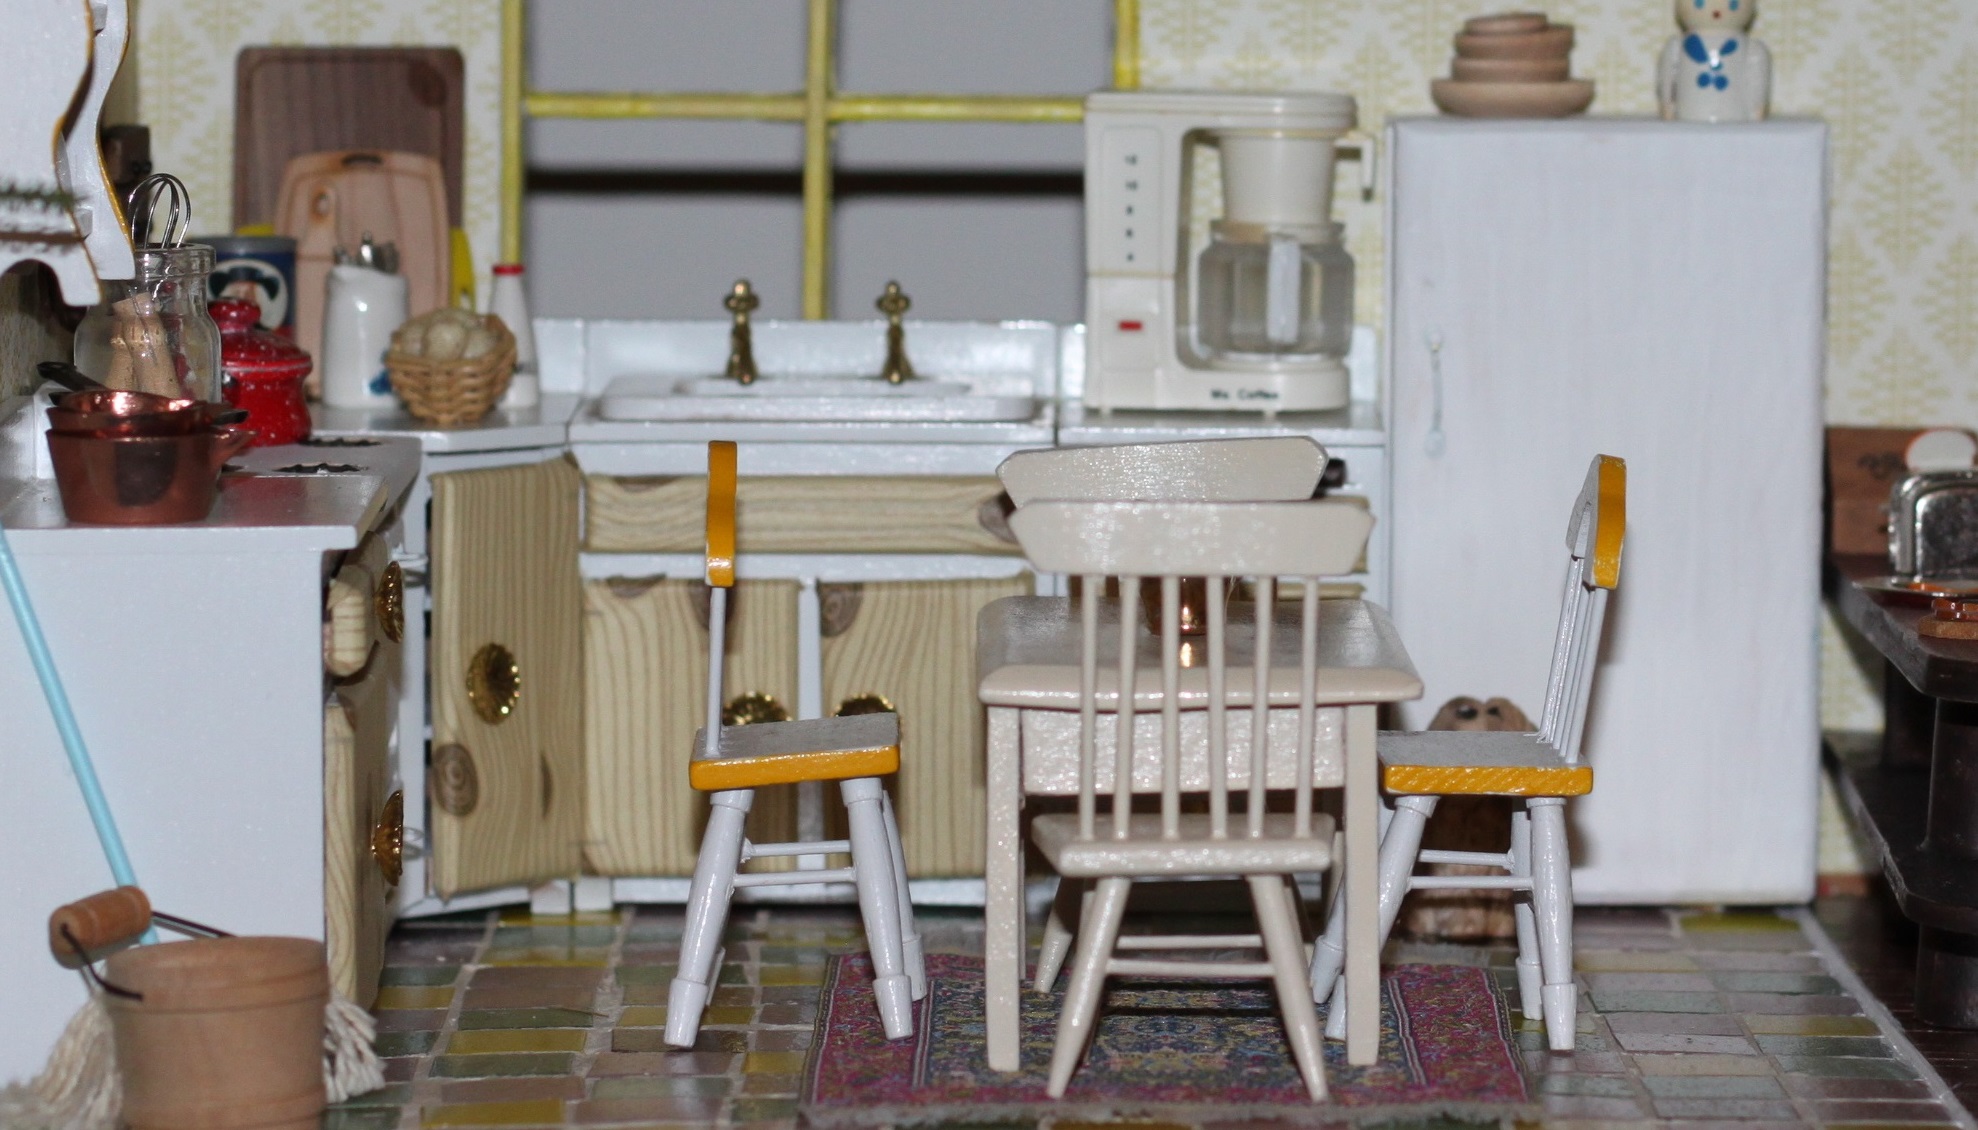
Stick around to see the latest project: a farmhouse style dollhouse makeover!

Advertisement

1970s Style in the Flip This (Mini) House living room and bedroom

Handmade decor for my mini house

Armed with these jumbo pompom balls and scrap of burlap, I made some crafts with swanky style for my mid-century house today.

Easy Wall-hangings

Handmade decor for my mini house

It’s easy to make little wall-hangings like these recent creations.

The card that came with some earrings was the perfect backing. I started with a strip of trim, affixing it with double-sided tape, layering a contrasting trim, and repeating the process.

This little table, above, is made of a rock slice and some wooden beads. The wall-hanging beside it is made of a cardboard earring card, some wood grain craft tape, a small metal tree from a craft store, and some trim.

Chip clips are great for mini craft projects!


Decorate This (Mini) Room

A new house flipping project, Everyday objects repurposed, Furniture and decor I've purchased, Handmade decor for my mini house, Shopping for minis

Since my dollhouse is done, I’ve been having some fun decorating a room box. This is the perfect project for a beginner, someone on a budget, or anyone with a short attention span! Any cardboard shipping box is all you need for your structure. Dress it up with scrapbook paper, mini furniture and accessories. Below are a couple of recent projects, including a bohemian bedroom, inspired by a clearance iron-on butterfly I bought a couple days ago, and a Christmasy room filled with clearance minis.


A closer look at the living room

Flipping my mini house
A closer look at the living room

A closer look at the living room

A closer look at the Flip This (Mini) House living room

A closer look at the Flip This (Mini) House living room

A closer look at the Flip This (Mini) House living room

A closer look at the Flip This (Mini) House living room

Much of the art, furniture, and accessories in the Flip This (Mini) House project are repurposed objects I found for next to nothing at garage sales and thrift stores, or that I created from materials from craft stores and hardware stores.

A closer look at the Flip This (Mini) House living room. To learn how to make a bubble chair, faux modern pendant light, and much more, take a look at old posts.

A closer look at the Flip This (Mini) House living room. To learn how to make a bubble chair, faux modern pendant light, and much more, take a look at old posts.

A closer look at the Flip This (Mini) House project

Flipping my mini house

For the past few months, I’ve been holding off on revealing the Flip This (Mini) House project. Today’s the day I’m going to give you a closer look at some of the finished details, starting with the kitchen! Let me know what you think!

Mini kitchen reveal. Photo by Holly Tierney-Bedord. All rights reserved.

Mini kitchen reveal. Photo by Holly Tierney-Bedord. All rights reserved.

Tiny kitchen, flipped. Photo by Holly Tierney-Bedord. Flip This (Mini) House. All rights reserved.

Tiny kitchen, flipped. Photo by Holly Tierney-Bedord. Flip This (Mini) House. All rights reserved.

Tiny kitchen, flipped. Photo by Holly Tierney-Bedord. Flip This (Mini) House. All rights reserved.

Tiny kitchen, flipped. Photo by Holly Tierney-Bedord. Flip This (Mini) House. All rights reserved.

Tiny kitchen, flipped. Photo by Holly Tierney-Bedord. Flip This (Mini) House. All rights reserved.

Tiny kitchen, flipped. Photo by Holly Tierney-Bedord. Flip This (Mini) House. All rights reserved.

Something's cooking in the kitchen... Photo by Holly Tierney-Bedord. Flip This (Mini) House. All rights reserved.

Something’s cooking in the kitchen… Photo by Holly Tierney-Bedord. Flip This (Mini) House. All rights reserved.

From so-so to super! A new look for this tiny sofa

Handmade decor for my mini house

I picked up this sofa at a garage sale a couple of months ago.

Mini sofa from a garage sale. Photo by Holly Tierney-Bedord. All rights reserved.

While I haven’t been obsessive about the scale within my mini house (in part because there are issues within the house itself, with differences in door frames and things like that), this sofa leaned toward being a little too big. However, I thought I’d refinish it with some of my awesome mid century fabric I got at the St. Vinny’s in Canada last month, just to see if I could make it work.

Choosing between these... and I went with...

Choosing between these… and I went with…

Sofa with fabric. Photo by Holly Tierney-Bedord. All rights reserved.

This one.

Can you guess what these will be?

Can you guess what these will be?

Almost ready!

Almost ready!

Ta-Da!

Tiny sofa by Holly Tierney-Bedord. All rights reserved.

The end result is quite cute, but especially with the addition of the legs, I feel that it might be a tad too big for my house. We’ll see if it makes the final decorating cut…

Woven blinds for your mini home

Handmade decor for my mini house

You may not be a big fan of the woven yarn and wood slat blinds like the ones featured here in this kitchen that used to adorn homes in the 1970’s. I happen to like them, and feel that they’re perfect for the early 1960’s – late 1970’s vibe that my house embodies.

To make some for your own mini house, all you need are some skewers or similar narrow sticks, some yarn, and a small loom (As I’ve mentioned on here before, a potholder loom works great for dollhouse weavings. You can pick one up at your local craft store for usually under $5.00).

Easy to make woven dollhouse shades. Photo by Holly Tierney-Bedord. All rights reserved.

Easy to make woven dollhouse shades. Photos by Holly Tierney-Bedord. All rights reserved.

Once you have a the window covering part taken care of, you can make another piece from cardboard to top it off with. This also gives you a way to hide the knots you’ll tie on one side of the weaving, and gives you a place to install a small pull cord (not installed yet on mine).

Score your cardboard with an exacto knife or scissor edge and it will easily fold like you need it to. The score should be on the outside, not the inside.

Score your cardboard with an exacto knife or scissor edge and it will easily fold like you need it to. The score should be on the outside, not the inside.

Making mini woven shades for a dollhouse. Photos by Holly Tierney-Bedord. All rights reserved.

Simply wrap your cardboard in yarn, adding in some skewers (break or cut them if needed) to complete the look. You can use tape or a dab of a hot glue gun to hold down your yard, since the back of the cardboard won’t be seen. Finally, finish it off with a small pull cord that has a tiny knot or bead at the end (still to come on mine). I think I may add some black yarn to mine to make the top and bottom a better match.

Creating a miniature medicine cabinet and bathroom accessories

Handmade decor for my mini house

I decided to create a medicine cabinet for my mini bathroom. I fashioned it using a mirror from an old eyeshadow compact and a plastic box that once held pins in a sewing kit. Here are the original components in their natural state:

Plastic container that originally held needles and pins. This will the interior and door of my medicine cabinet. Photo by Holly Tierney-Bedord. All rights reserved.

Plastic container that originally held needles and pins. This will the interior and door of my medicine cabinet. Photo by Holly Tierney-Bedord. All rights reserved.

Side view.

Side view.

This mirror goes on the front of it. Photo by Holly Tierney-Bedord. All rights reserved.

This mirror goes on the front of it. Photo by Holly Tierney-Bedord. All rights reserved.

I was able to snap the mirror off the eye shadow without breaking it, which was great. I glued it to the lid of the box and used regular clear tape as a hinge. I painted it with white paint (unfortunately, plastic hates to be painted). I lined the interior of the cabinet with paper and inserted a little shelf that is actually the same floorboard material I’m using for trim (also plastic-y, also hates to be painted).

Medicine cabinet interior, shown with tape so you can better imagine the scale. Photo by Holly Tierney-Bedord. All rights reserved.

Medicine cabinet interior, shown with tape so you can better imagine the scale. Photo by Holly Tierney-Bedord. All rights reserved.


Next I needed some little bathroom accessories, like glass jars of cotton balls and fancy little soaps wrapped in tissue paper. For cotton balls I used the kind of mini pompoms you can buy at almost any craft store. Here’s a look:

Big jar of mini pompoms beside mini jar of mini pompoms. Photo by Holly Tierney-Bedord. All rights reserved.

Big jar of mini pompoms beside mini jar of mini pompoms. Photo by Holly Tierney-Bedord. All rights reserved.

To create soap, I used a real bar and cut off little chunks. A couple got wrapped in white tissue paper, and one was set into a tiny ceramic bowl that will make a great soap dish.

Mini bars of soap made from a regular bar of soap. Photo by Holly Tierney-Bedord. All rights reserved.

Mini bars of soap made from a regular bar of soap. Photo by Holly Tierney-Bedord. All rights reserved.

Little soap.

Little soap.

Are you ready to see the finished product?

Bathroom with handmade medicine cabinet. Photo by Holly Tierney-Bedord. All rights reserved.

Bathroom with handmade medicine cabinet, partially opened. Photo by Holly Tierney-Bedord. All rights reserved.

As you can see, the paint continues to scrape off, especially when I open and close the cabinet door. I’ll need to touch it up again and then leave it alone. Despite its imperfections, I think it’s pretty cute!

Progress in the blizzard

Handmade decor for my mini house

I’ve made some progress on my house (and the creation of accessories for it) in the last couple of days, thanks in large part to the blizzard that has kept me stranded at home. Here are some updates for you.

Photo by Holly Tierney-Bedord. All rights reserved.

Every mid century house needs one of these. Photo by Holly Tierney-Bedord. All rights reserved.

Here’s a look at this little blanket, in progress, with some scissors in the photo so you can get a better idea of scale:

Photo by Holly Tierney-Bedord. All rights reserved.

Photo by Holly Tierney-Bedord. All rights reserved.

I also installed some tile floors in my bathroom:

Grout coming soon! Photo by Holly Tierney-Bedord. All rights reserved.

Grout coming soon! Photo by Holly Tierney-Bedord. All rights reserved.

I was going to go with tealish blue stone, but as I shared in a recent post, I changed my mind and decided to cut blue from my house’s interior color palette. These yellow tiles were purchased at the start of the project, and once again seemed like the best choice, so I went for it and installed them.

Here’s are some photos of the “before”:

Photo by Holly Tierney-Bedord. All rights reserved.

Photo by Holly Tierney-Bedord. All rights reserved.

and “during”:

Photo by Holly Tierney-Bedord. All rights reserved.

Photo by Holly Tierney-Bedord. All rights reserved.

I’ll grout them soon, and install some wall paper. This horrible little room will be bright and cheery before you know it!

I also made a little rug/throw, using the pot holder loom I’ve mentioned in previous posts (every kid had one of these at some point, and they’re great for making mini weavings!)

IMG_0656

Here’s a peek at the finished result:

Photo by Holly Tierney-Bedord. All rights reserved.

Photo by Holly Tierney-Bedord. All rights reserved.

Also, some of you may recall me making a thread-wrapped lampshade for my (real, human-scale) home, in my blog Holly Recommends. Well, I decided to make a little thread-wrapped lampshade for my mini house as well. Here it is:

A mini, thread-wrapped lampshade, set on top of a tiny vase makes a cute lamp. Photo by Holly Tierney-Bedord. All rights reserved.

A mini, thread-wrapped lampshade, set on top of a tiny vase makes a cute lamp.
Photo by Holly Tierney-Bedord. All rights reserved.