More easy bamboo coaster projects for you

Handmade decor for my mini house

I’ve been all about the bamboo coaster crafts lately! It’s easy to turn a little container like this:

Into a cute hamper like this:

Or you can turn a small plastic container you no longer need, like this one:

into something much cuter, like this:

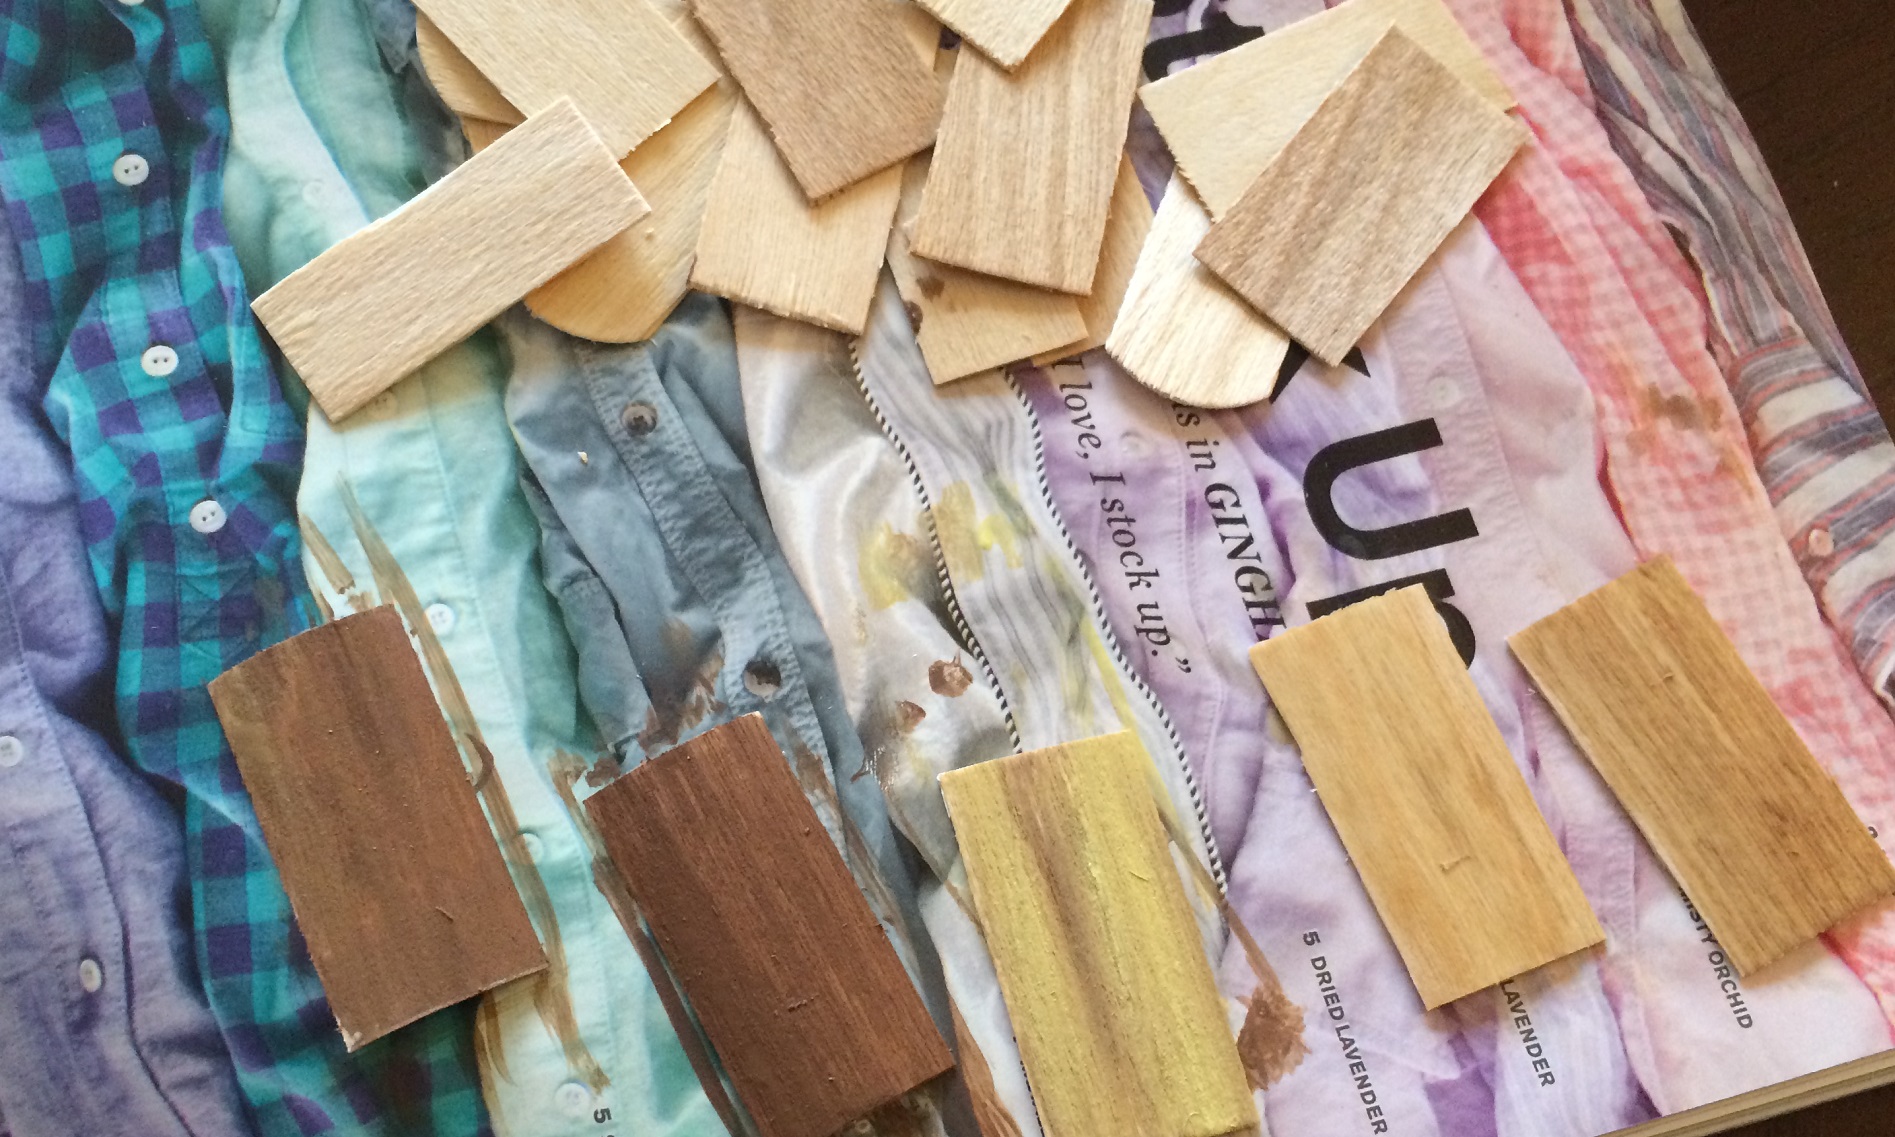
Let me walk you through the steps. Start with some small, sturdy containers. You’ll also need bamboo coasters like these:

Let’s start with the smaller container. This is a travel-sized container that I used for sunscreen at some point. I’m going to call this a hatbox, since that’s kind of how it ended up looking.

I started by creating the top of the container. I used a mesh-backed coaster for this part of the project because I wanted bamboo that would stay together well even after I cut it out.

Trace your cap and cut out your circle, and, when you’re happy with it, glue it to the top of your container.

I often get asked what kind of glue I use. For most projects, I use Elmer’s Glue-All multi-purpose glue. For projects involving paper (for instance, when I put up wallpaper in a dollhouse) I usually use Craft-Bond (aka rubber cement).

For the sides of the container, I used coasters without mesh backing because I wanted the bamboo to be as flexible as possible since it needed to wrap around a small, round container.

If your glue beads up, spread it around before applying your strips of bamboo siding. Otherwise it will seep out and you’ll have an unattractive mess!

If one coaster isn’t big enough to fit around your container, that’s okay. Focus on getting one piece in place properly. Hold it in place for a couple of minutes until it starts to set. Then add your remaining piece, readjust as needed, and use a rubber band or other materials to hold your container together while it dries thoroughly.

Isn’t that cute?

The best part of all is that it’s still a functioning container. Tiny treasures can be stored inside. For a container like this, you’re probably best off having the lid on but not **quite** closed while it’s drying. That way you won’t risk accidentally gluing it shut (if it’s closed tightly) or having the glue dry in a bulky way that makes it so it won’t close (if you have the base and lid drying as two separate parts).

Now let’s look at I how I made the little hamper.

This is a cardboard container that a little bottle of essential oils came in.

Ooh! What’s that inside?

That corrugated cardboard isn’t needed for this project, but I’ll save it for some future project.

I tried wrapping a coaster around the container. Would you believe it?? It’s a perfect fit!

I cut the coaster so that I had the correct portion for the top and the correct portion for the bottom, and then I simply glued each in place, following the same basic plan as with the previous hatbox project. Instead of using a random strip of coaster for the cap and another for the base, if you can use one piece and cut it, so it fits back together like a puzzle later, you’ll have a nice end product. No matter how neatly you cut your coasters, there may be slight nuances and when you put your cap on, you want it to look like a perfect fit.

Base in place! (That’s my little hatbox, not the hamper lid, right behind it.) As you can see above, my coaster extended beyond the bottom of the container. Since it was already so tall, I cut off the excess. If I was going to use this for a different scale project (for instance, a hamper in a Barbie doll house), I would have left it as it was.

This lid is cute, but I didn’t really want a bit of ribbon as my hamper handle, so I removed it.

These piece of a necklace is going to be my hamper handle instead.

Here’s a look at my hamper when it was just about done. Just waiting on that handle.

Once again, I used the mesh-backed coaster for the lid and the non-mesh-backed coaster for the sides. This container was basically designed to have some bamboo popped onto the top of it. It fit perfectly in the cardboard circle that was already part of the container’s design!

Back to that handle…

Since there was already a little hole in the lid from where I removed the ribbon handle, attaching it was really simple.

I just sewed it into place.

Here are some looks at the finished hamper:

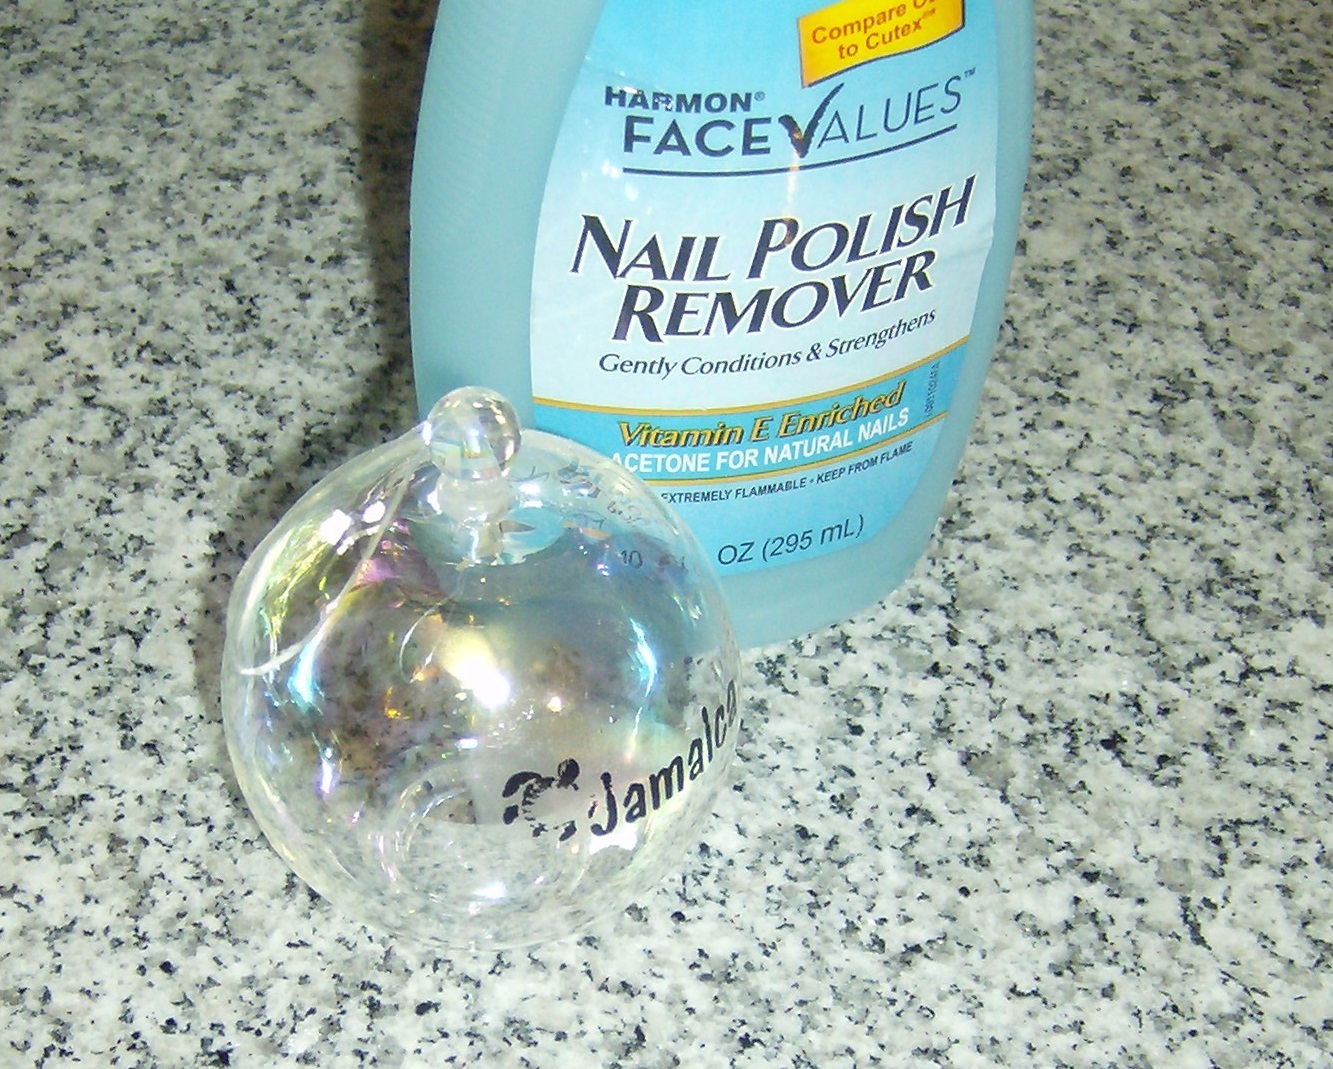
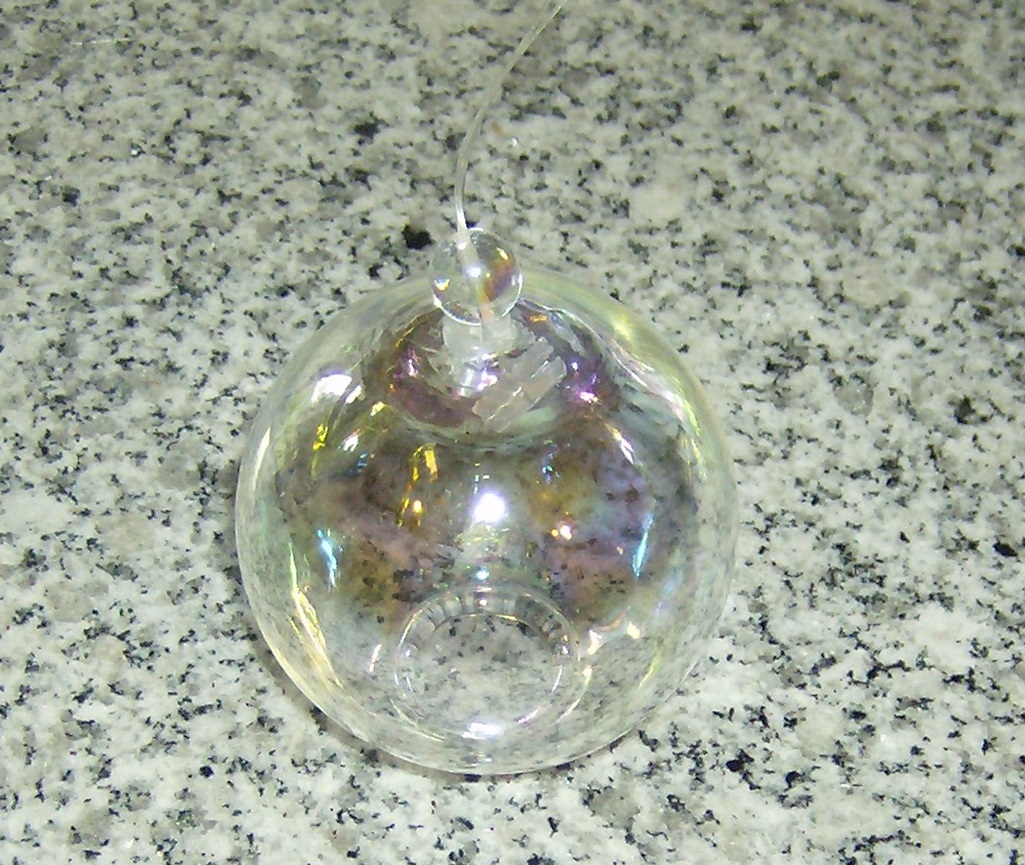
Next up, faux tiki lights! This project was REALLY fast and easy. I just wrapped some coaster bits around some caps, added string, and had fun little lights.

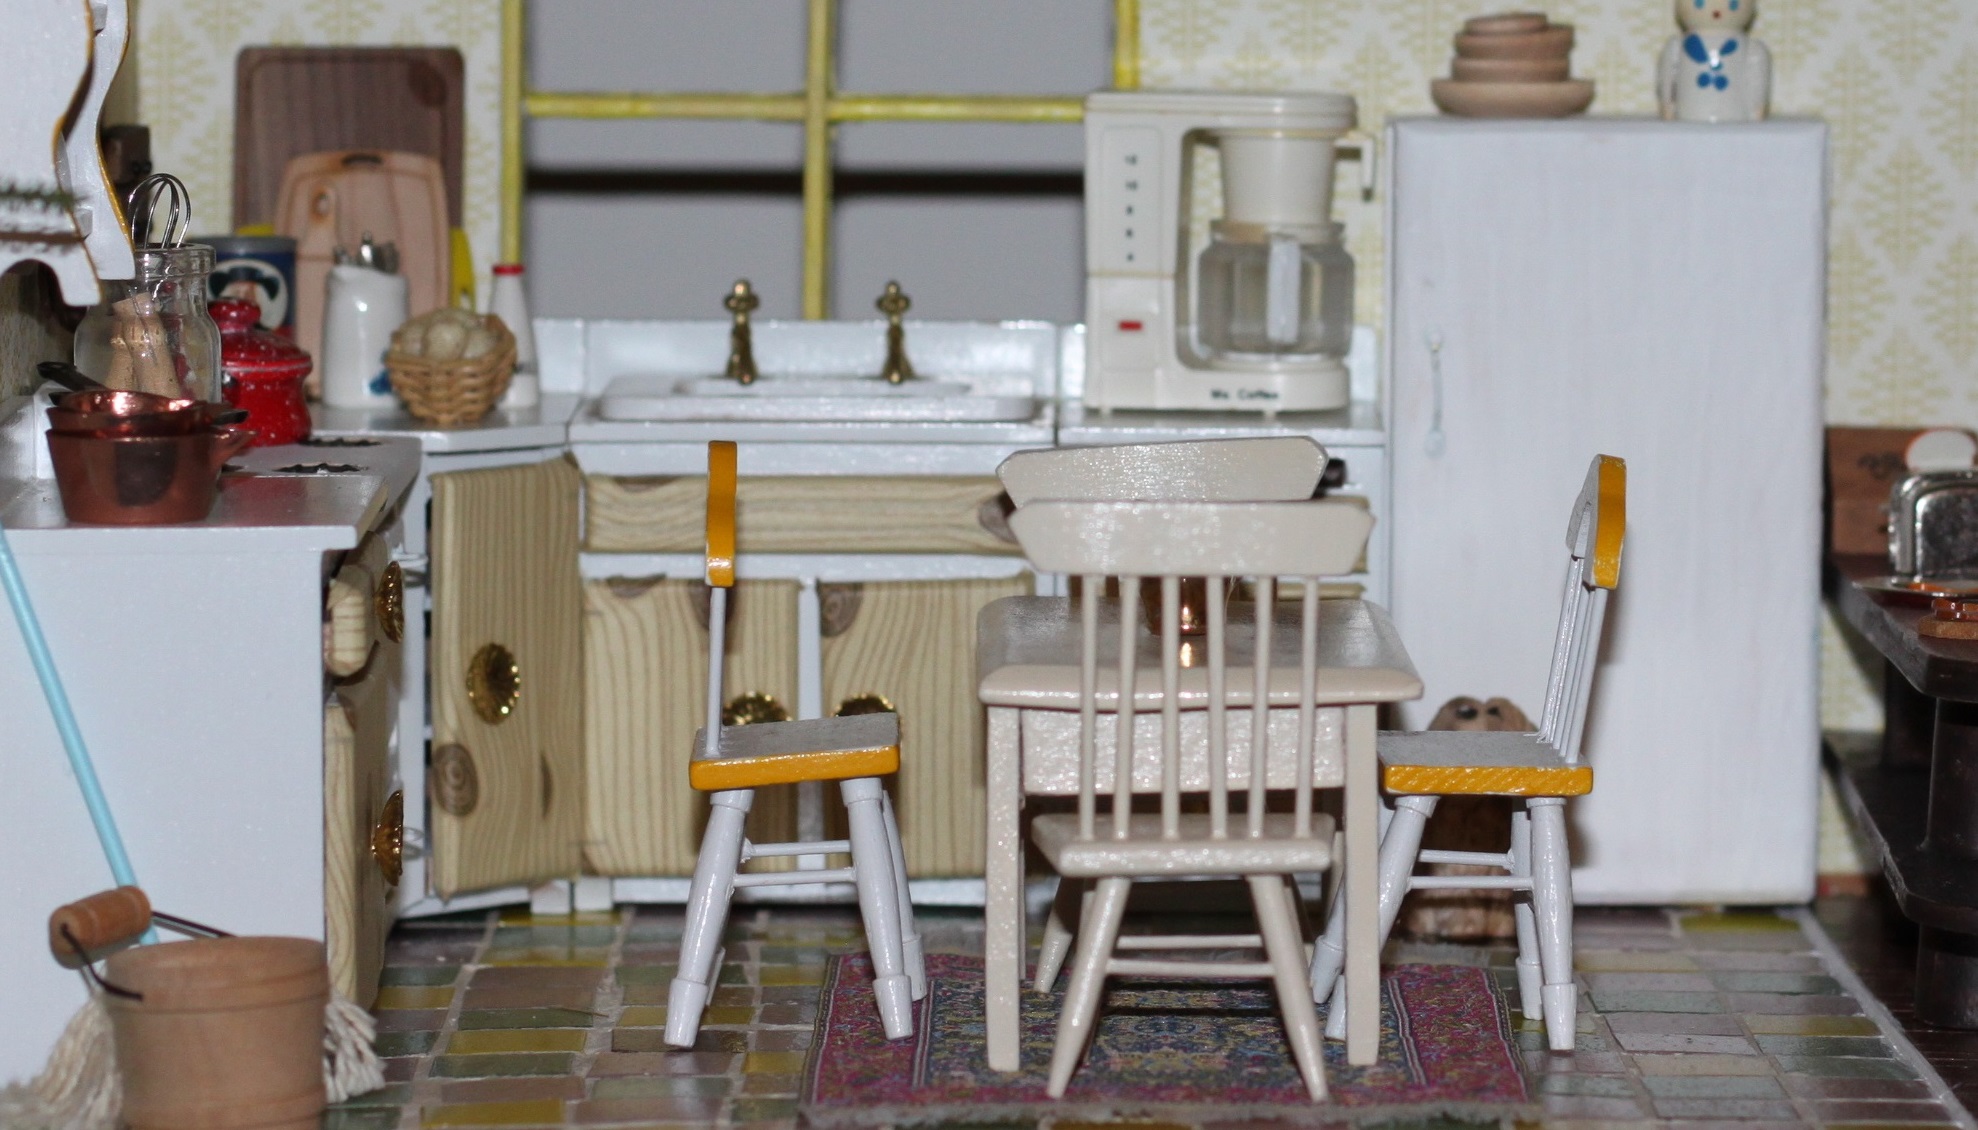
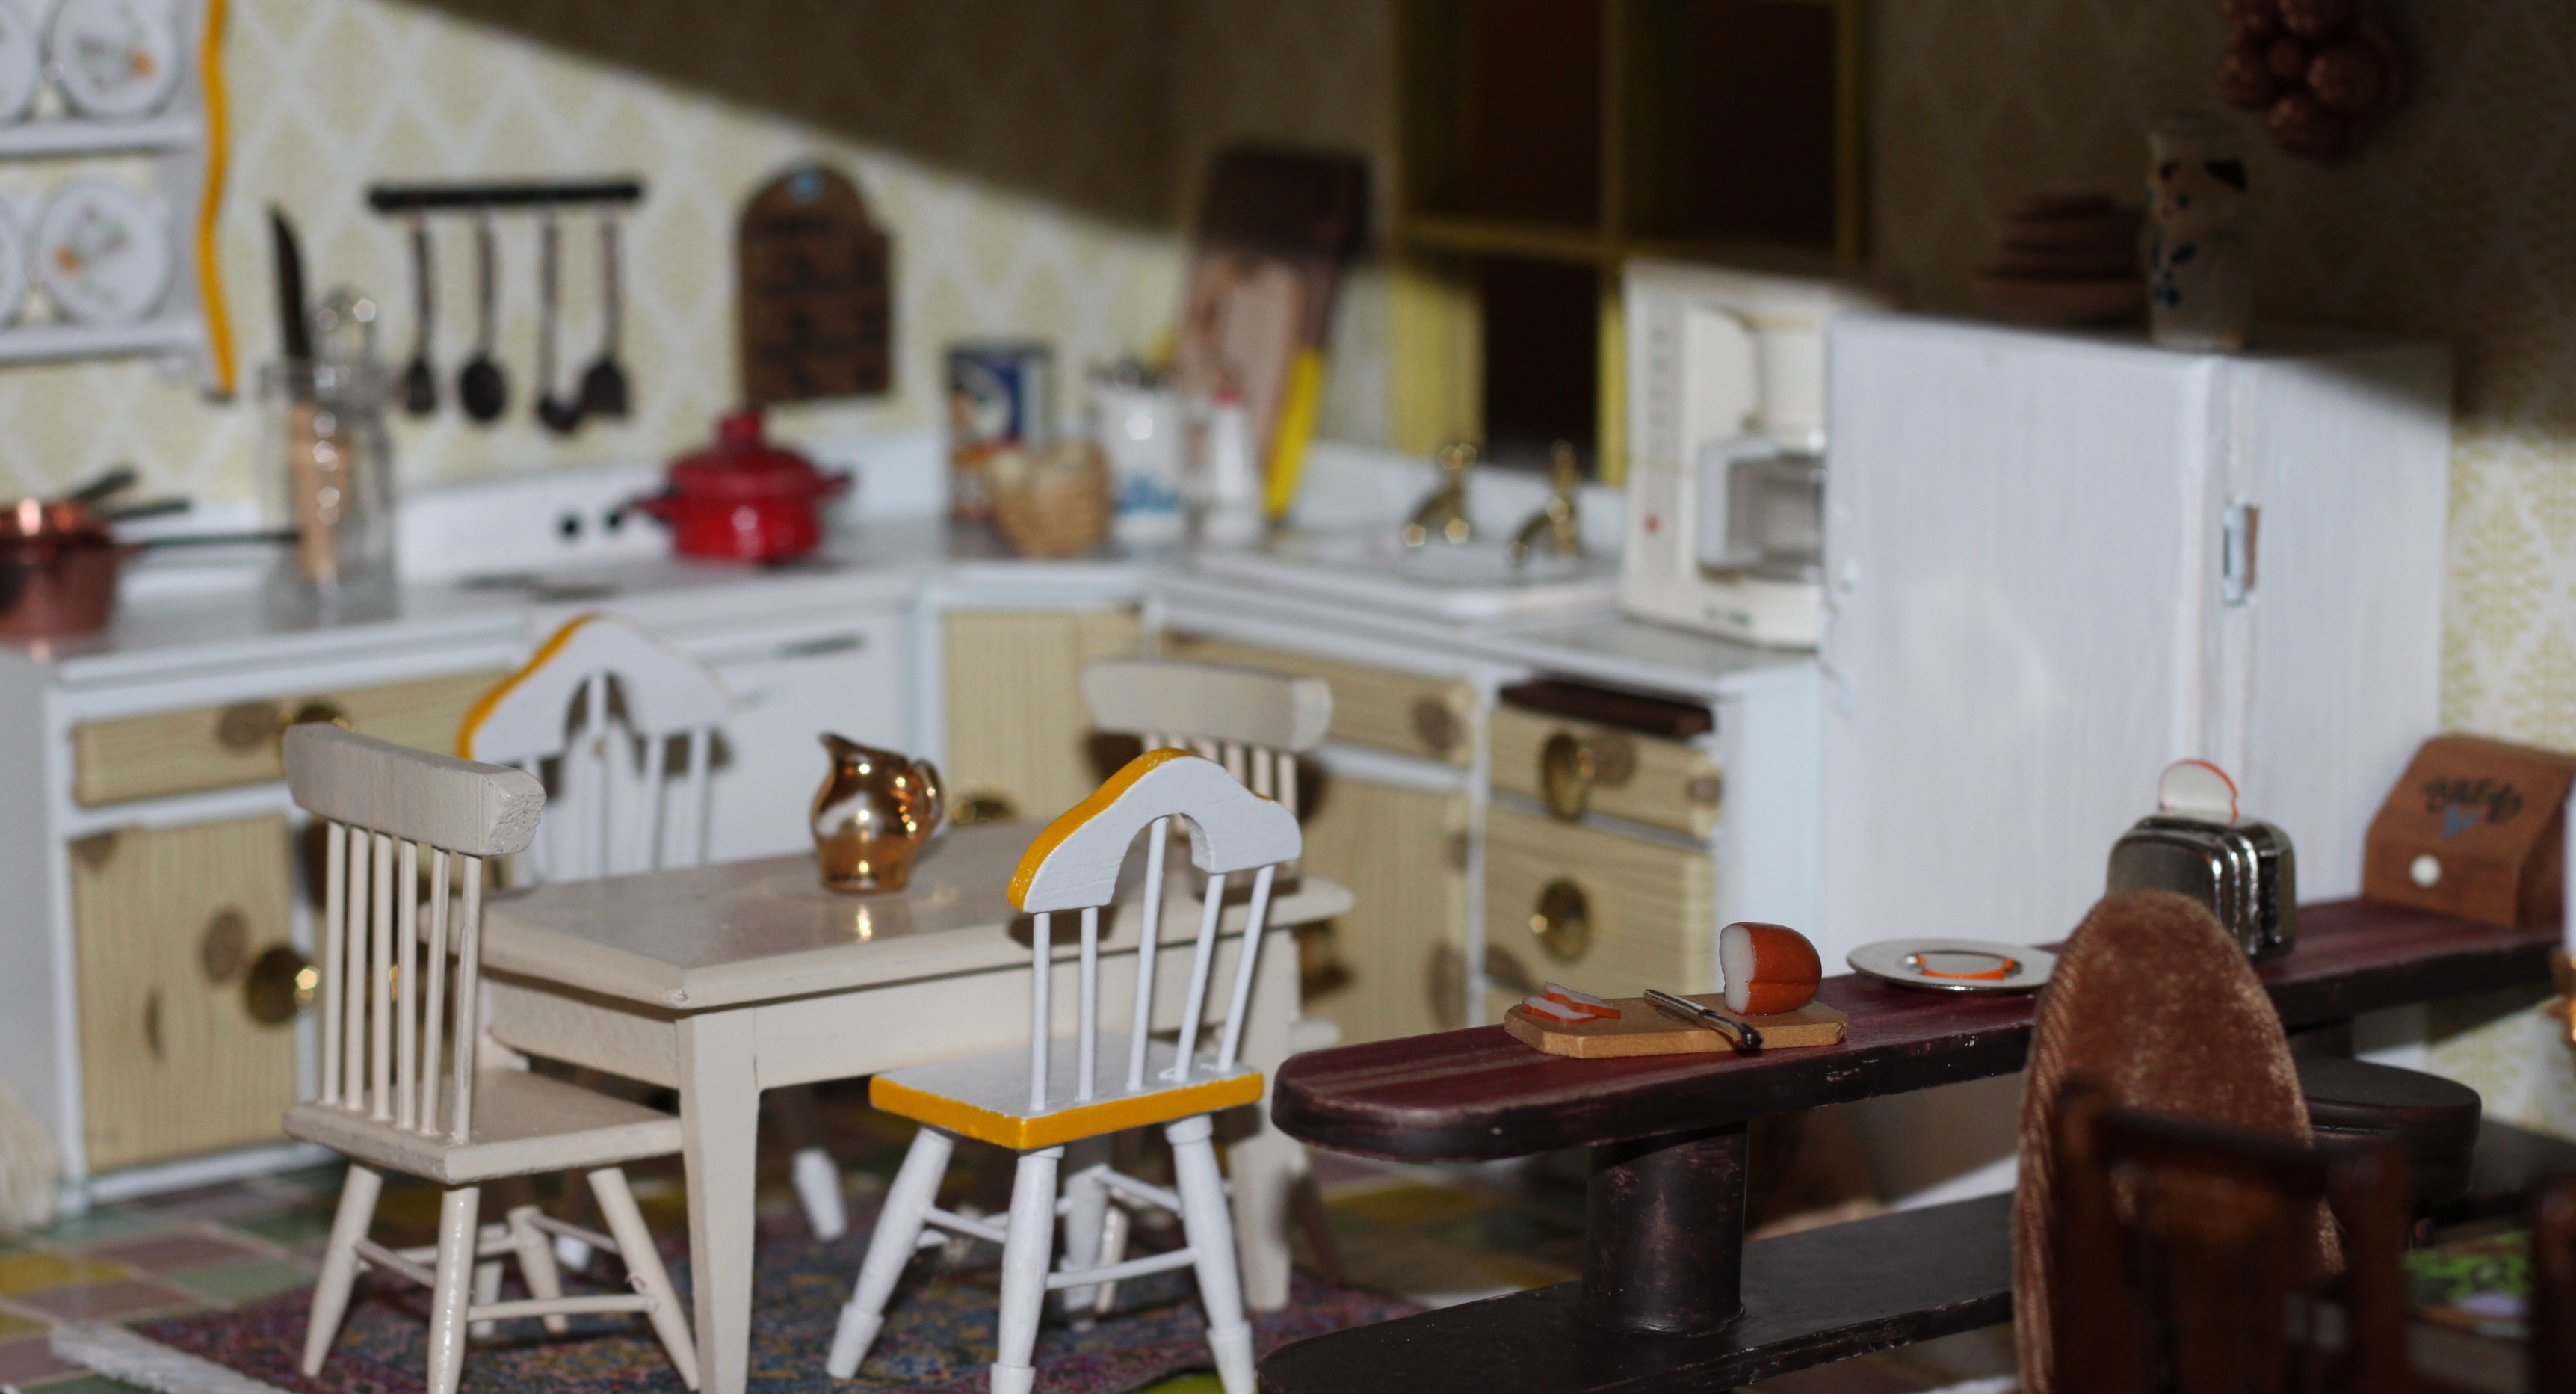
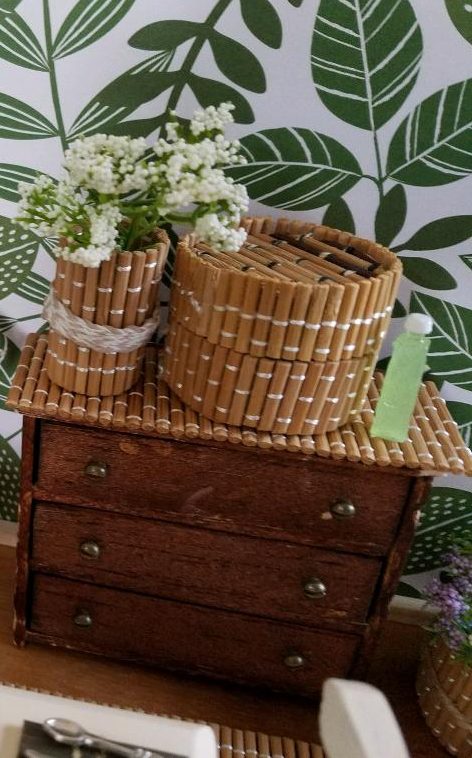
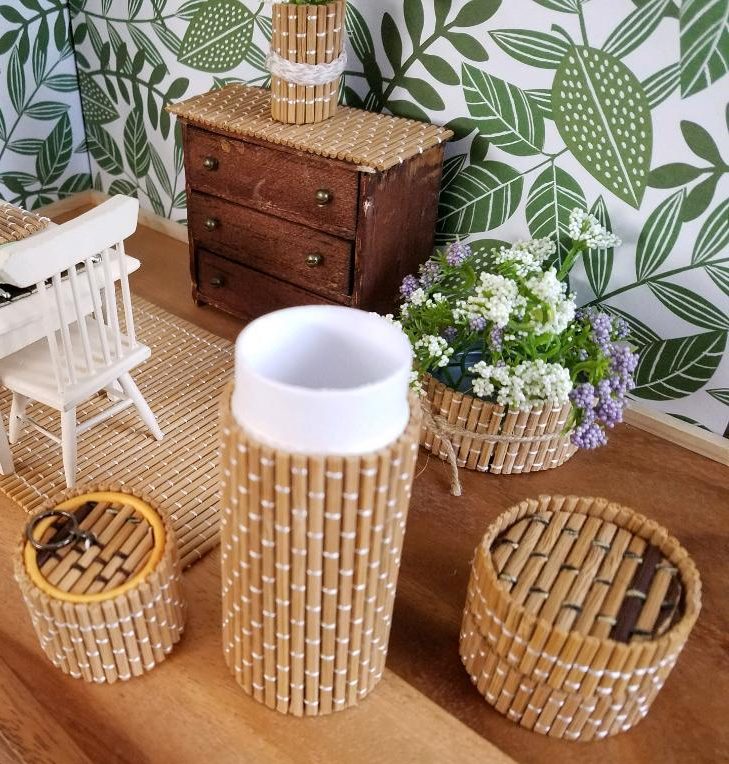
Here’s a room using all of these bamboo projects along with the planters previously seen and some other fun, easy projects, like bamboo coaster blinds, table runners, and place mats.

All photos by Holly Tierney-Bedord. All rights reserved.


Advertisement

A closer look at the Flip This (Mini) House project

Flipping my mini house

For the past few months, I’ve been holding off on revealing the Flip This (Mini) House project. Today’s the day I’m going to give you a closer look at some of the finished details, starting with the kitchen! Let me know what you think!

Mini kitchen reveal. Photo by Holly Tierney-Bedord. All rights reserved.

Mini kitchen reveal. Photo by Holly Tierney-Bedord. All rights reserved.

Tiny kitchen, flipped. Photo by Holly Tierney-Bedord. Flip This (Mini) House. All rights reserved.

Tiny kitchen, flipped. Photo by Holly Tierney-Bedord. Flip This (Mini) House. All rights reserved.

Tiny kitchen, flipped. Photo by Holly Tierney-Bedord. Flip This (Mini) House. All rights reserved.

Tiny kitchen, flipped. Photo by Holly Tierney-Bedord. Flip This (Mini) House. All rights reserved.

Tiny kitchen, flipped. Photo by Holly Tierney-Bedord. Flip This (Mini) House. All rights reserved.

Tiny kitchen, flipped. Photo by Holly Tierney-Bedord. Flip This (Mini) House. All rights reserved.

Something's cooking in the kitchen... Photo by Holly Tierney-Bedord. Flip This (Mini) House. All rights reserved.

Something’s cooking in the kitchen… Photo by Holly Tierney-Bedord. Flip This (Mini) House. All rights reserved.

Flipping the roof

Flipping my mini house

It’s time for shingles to get glued into place and the world’s ugliest mini chimney to get a facelift. Stay tuned!

Chimney before. Photos by Holly Tierney-Bedord. All rights reserved.

Chimney before. Photos by Holly Tierney-Bedord. All rights reserved.

Debating between small teal shells to match the exterior paint color, or tumbled river rocks…

Chimney before. Photos by Holly Tierney-Bedord. All rights reserved.

Which did I choose? I’ll tell you soon!

Trying out paint colors on shingles

Flipping my mini house
Painting dollhouse shingles. Photos by Holly Tierney-Bedord. All rights reserved.

Painting dollhouse shingles. Photos by Holly Tierney-Bedord. All rights reserved.

I’m trying out paint colors on shingles. I’ve decided to go with a mix of yellows and browns. You may be tempted to shingle your house and paint it later, since this is much faster than painting shingles individually. I think it’s worth the extra time to paint them individually, varying the color a bit from shingle to shingle, so your finished product looks more realistic.

I will show you where to start applying your shingles soon!

More shingles. The fishscale style are fine for my house -- I'll just keep the round part hidden beneath other layers.

More shingles. The fishscale style are fine for my house — I’ll just keep the round part hidden beneath other layers.

It takes a long time, but this is what television is for. So you can watch it, guilt-free, while accomplishing mindless projects like painting 8 zillion mini shingles.

Have I mentioned how excited I am that the Real Housewives of New York are back? I love them all!!!!! Even Ramona has carved a small place in my heart.

Some small changes to some (small) appliances

Tweaking store-bought dollhouse furniture

The refrigerator and stove I plan to use in my house were a little too small and an icky shade of yellowish beige. After several unsuccessful looks at eBay and other online miniature shopping sites, I decided to do what I could to improve the appearance of them.

I didn’t mind so much that they were a little small — to me, it gave the refrigerator a bit of a Smeg feel to it, and the stove reminded me of a cute little 1960’s gas stove I had in an apartment long ago (my favorite apartment ever). But the stove in particular was just too small to work with the cute little set of cupboards my mom picked up for me, which I am firmly committed to using, so I decided to do what I could to make the stove a little bigger.

Stove before. Photos by Holly Tierney-Bedord. All rights reserved.

Stove before. Photos by Holly Tierney-Bedord. All rights reserved.

Adding coats of paint to the stove and refrigerator.

After putting a couple of coats of paint on each, I added some feet to the stove (tiles, actually).

Stove with feet added.

Stove with feet added.

The tiles/feet overhang the back of the stove, because I’m going to build up the back of it with some cork coasters. These little feet bring it up to the same height as my countertops.

Two cork coasters, painted white, trimmed to size, and glued to the back of my little stove.

Two cork coasters, painted white, trimmed to size, and glued to the back of my little stove.

These coasters not only give the stove a top portion for knobs, but they also make it so the stove is the same approximate depth of my counter tops.

I added some tape to round off the border of the stove, some more coats of paint, and some black brads as tiny control knobs.

Almost done!

Almost done!

My stove is almost done! It needs another coat of paint and some of the details worked out, but I’m much happier with the color, size, and general appearance. Photos of it in the kitchen coming soon!

Souvenir ornament repurposed into a light fixture

Everyday objects repurposed

This trinket that someone purchased in Jamaica is going to make a fabulous light fixture! Here is the “before” version of it:

Jamaica ornament. Photo by Holly Tierney-Bedord. All rights reserved.

Jamaica ornament. Photo by Holly Tierney-Bedord. All rights reserved.

It was filled with blue sand, little shells, a tiny starfish, and a little pail. My initial attraction to it was based upon the tiny shells, which I thought might be cute sitting on a shelf in my mid century marvel’s bathroom one day.

The only thing keeping the sand and shells inside was a small, easy-to-remove plastic cap at the bottom of the ornament.

Evidence that people spend way too much money when they're on vacation. Photo by Holly Tierney-Bedord. All rights reserved.

Evidence that people spend way too much money when they’re on vacation. Photo by Holly Tierney-Bedord. All rights reserved.

I separated the stuff inside from the ornament:

The materials to turn my mid century marvel's bathroom into a tropical oasis of beachiness. Photo by Holly Tierney-Bedord. All rights reserved.

The materials to turn my mid century marvel’s bathroom into a tropical oasis of beachiness. Photo by Holly Tierney-Bedord. All rights reserved.

Next I cleaned up the ornament with some nail polish remover. Without too much trouble the word Jamaica was erased. Here is a picture of it after about thirty seconds of scrubbing at the ornament with a Q-tip and polish remover. After another couple of minutes, the word was gone.

Using finger nail polish remover to erase the word printed on the ornament. Photo by Holly Tierney-Bedord. All rights reserved.

Using finger nail polish remover to erase the word printed on the ornament. Photo by Holly Tierney-Bedord. All rights reserved.

The word and the price sticker all came cleanly off, leaving me with this little globe:

Light fixture for a very small house. Photo by Holly Tierney-Bedord. All rights reserved.

Light fixture for a very small house. Photo by Holly Tierney-Bedord. All rights reserved.

With a little more work, this small globe is going to be a great light fixture one day!

Groovy pom-pom love sign

Handmade decor for my mini house

Here is an in-progress project:

Pom-pom love sign by Holly Tierney-Bedord. All rights reserved.

Pom-pom love sign by Holly Tierney-Bedord. All rights reserved.

This groovy little pom-pom sign will be a great addition to my mid century house! The tiny pom-poms and backing are available at most crafts stores. It’s easy to sew them onto the backing. You can write or draw your design on ahead of time, or just wing it. Make sure you have enough of each color to complete your shapes or letters. I ran out of light blue on the “e” and had to finish it with white, but I think it turned out pretty cute anyway. This is a quick, simple, inexpensive project. I’m still deciding if I’m going to turn this into a wallhanging or the face of a throw pillow.