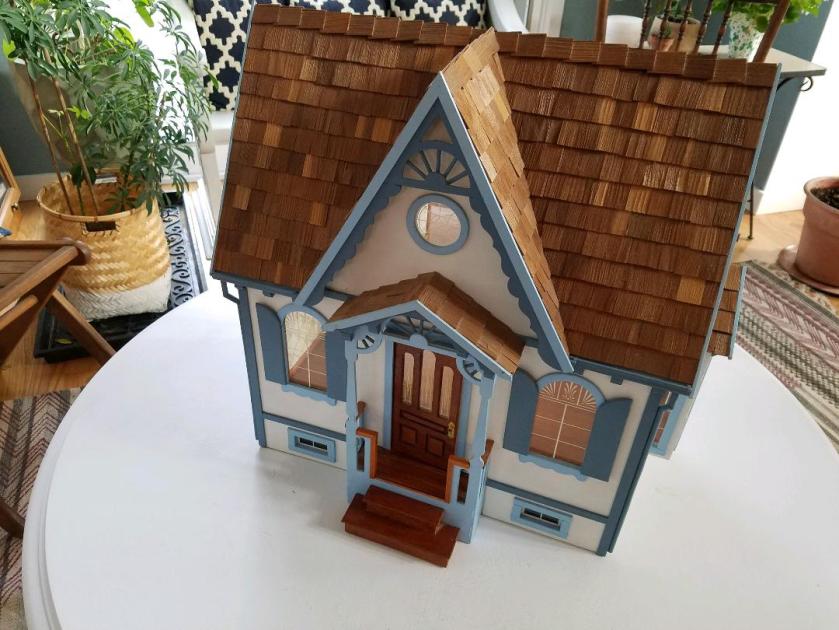
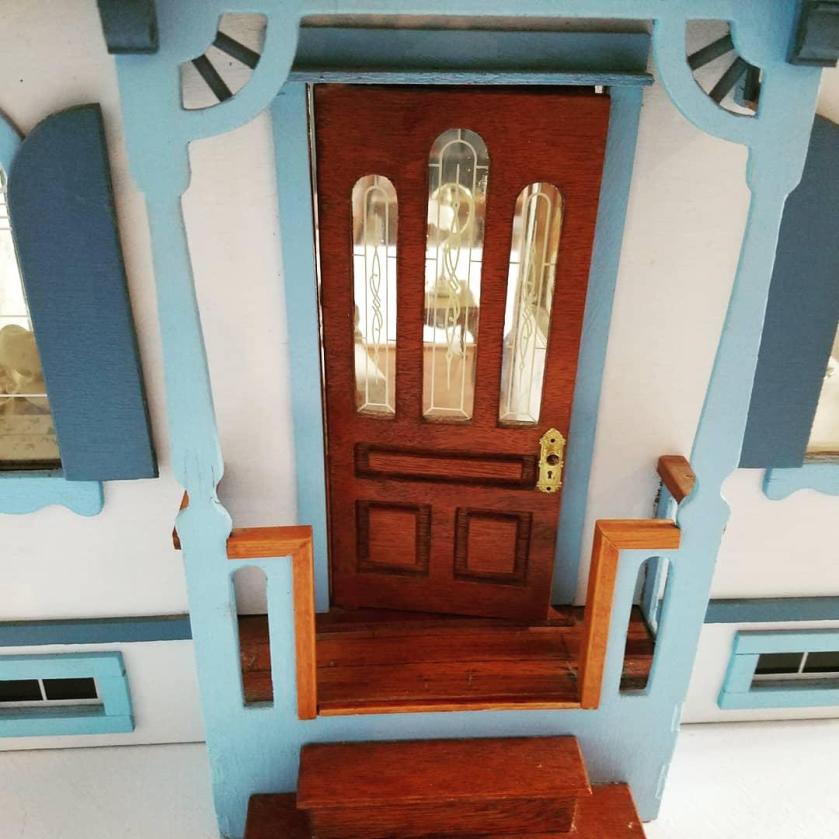
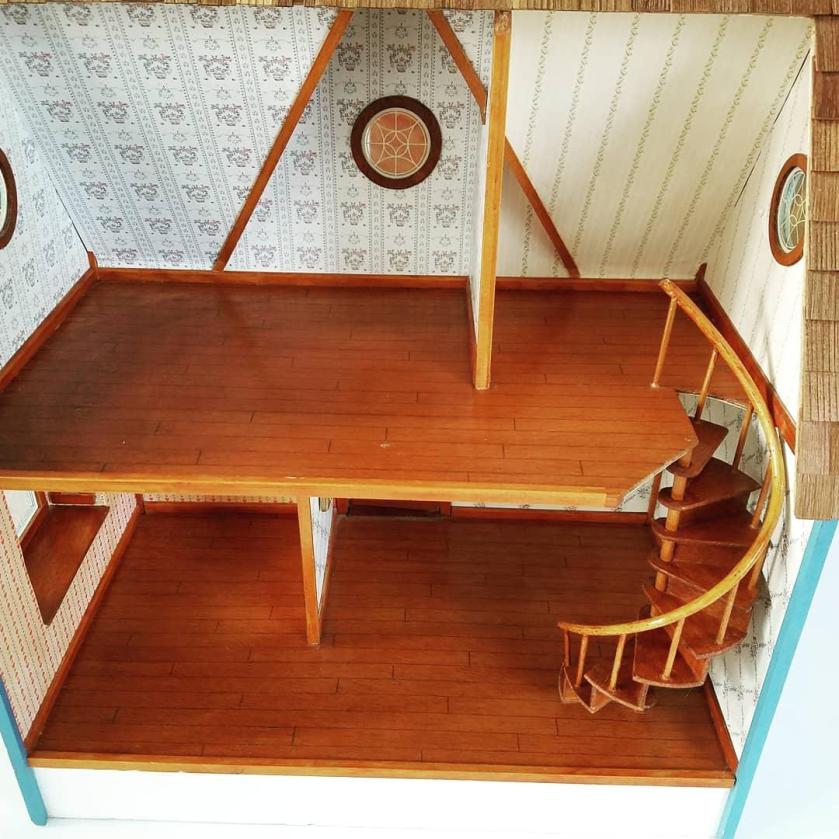
This past weekend I got this sweet, adorable cottage. It came with the furnishings and family. The beautiful little staircase is what convinced me to drive all the way from Madison to Dubuque to get it.


This past weekend I got this sweet, adorable cottage. It came with the furnishings and family. The beautiful little staircase is what convinced me to drive all the way from Madison to Dubuque to get it.
Please note, this post is highlighting the work of miniaturist Melissa Johnson.
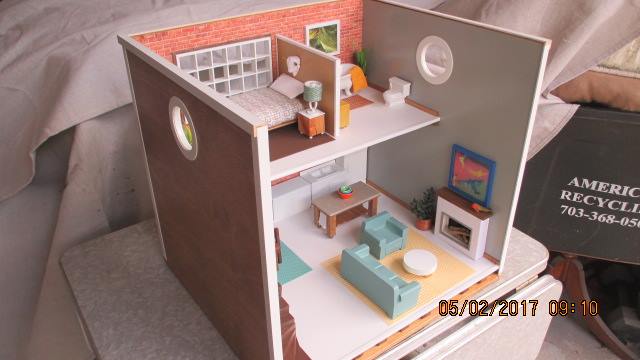
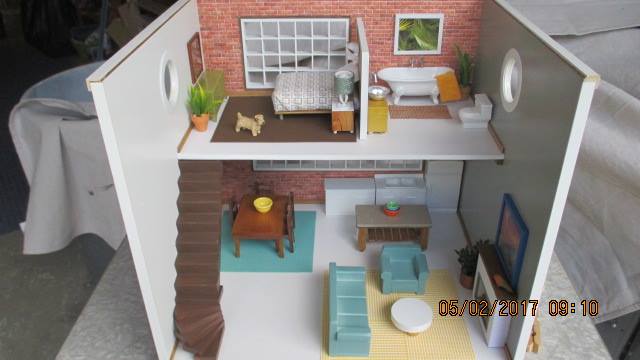
Melissa Johnson has been a wonderfully supportive fan of FlipThis(Mini)House over the years. She recently reached out to me to show off the loft-style dollhouse she just completed. With her permission, I’m sharing it here!
Made from scratch from an Ikea wood storage box and decorated with a combination of handmade furniture and vintage pieces from the 60’s and 70’s, it’s truly a one-of-a-kind piece! Finished size is 18X18 inches.


All photos by Melissa Johnson. All rights reserved.
I’ve always loved dollhouses. Last summer (July, I think) my friend and her husband spotted a mid century dollhouse at a flea market and sent me a text, asking if they should buy it for me. It was just $35, appeared to be pretty solid looking, and had an awesome, unique split level layout.
“Sure!” I said.
A few hours later they were delivering it to me. Here’s how it looked on the day I got it:
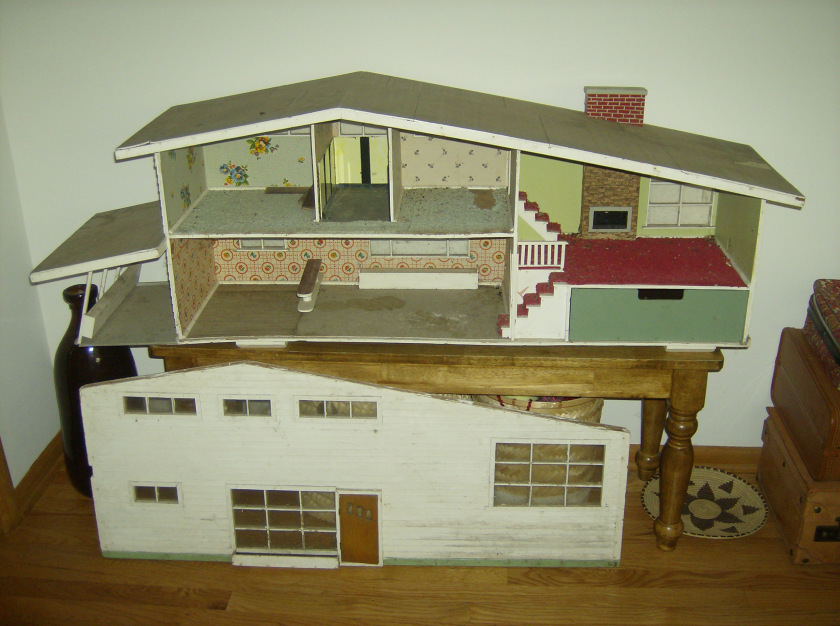
Day 1 of my mini house. Photo by Holly Tierney-Bedord. All rights reserved.
Since then I’ve been hard at work creating furniture and accessories from scratch, tweaking store-bought furniture and accessories, and making over everything inside. Here are a few of the accessories and pieces of furniture I created from things like coasters, handles, and yarn that I wove on a potholder loom:

Mini blinds made from a coaster.
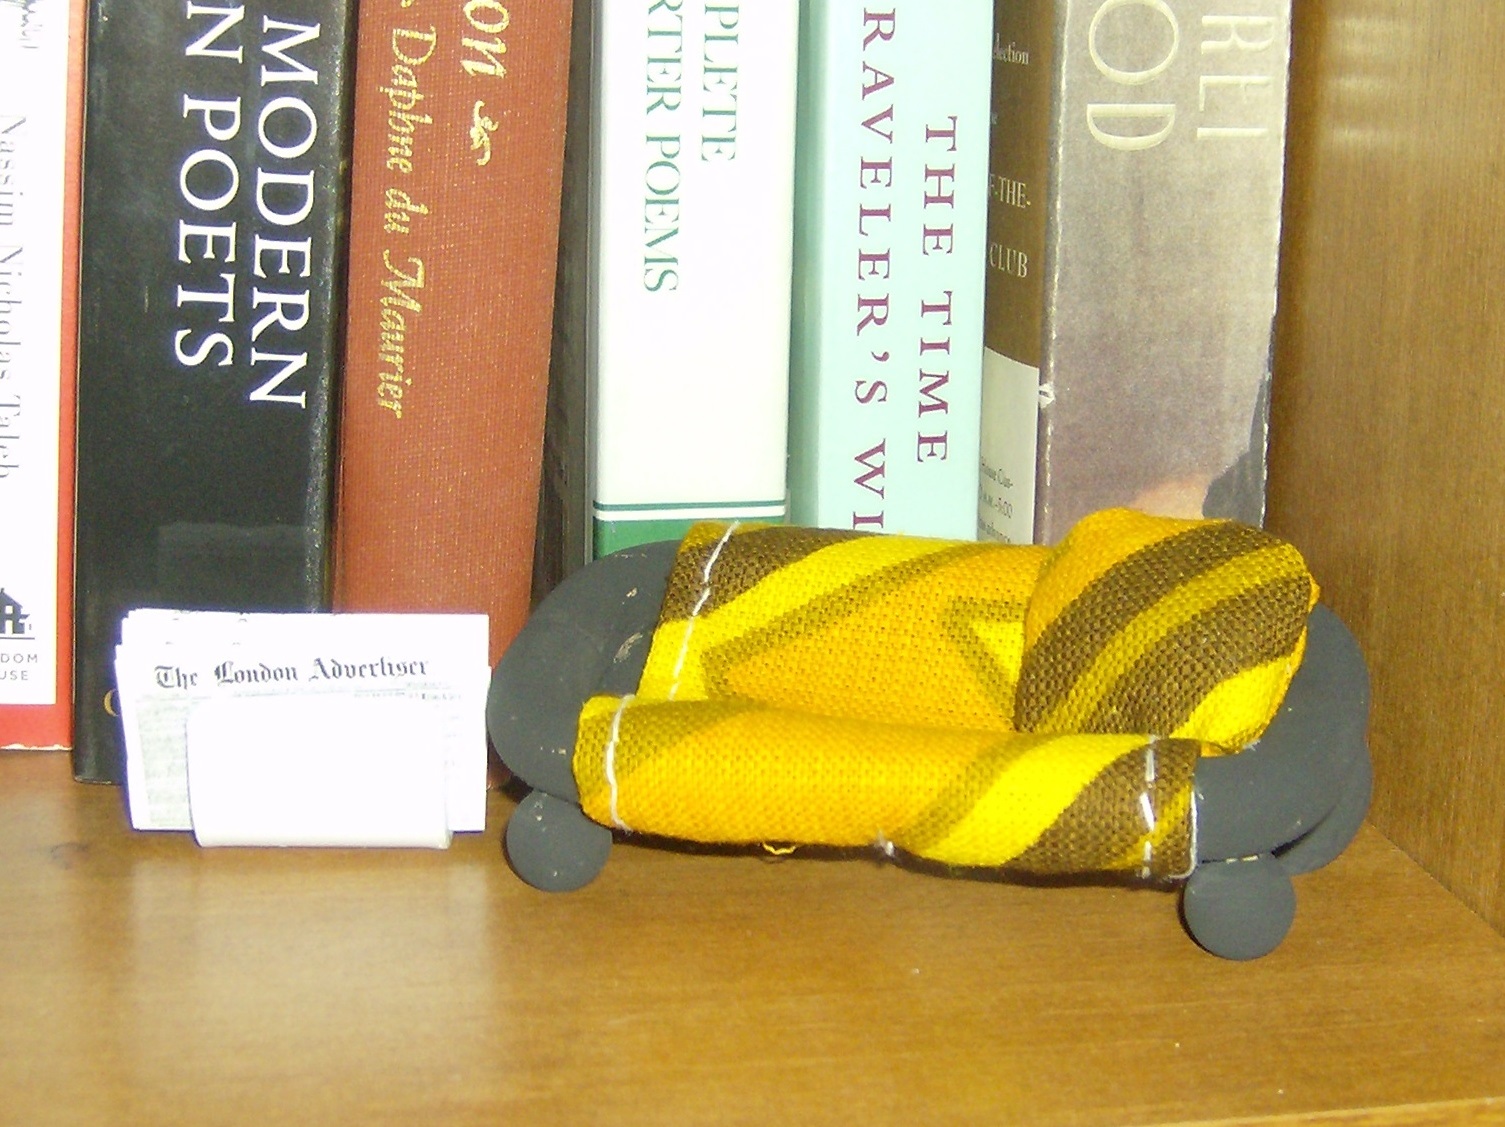
Tiny love seat made from two wooden handles, a mid century cloth napkin, and some small wooden balls. The tiny newspaper rests in a metal doodad from Habitat for Humanity Re-Store.

A small rug/blanket woven on a potholder loom. Photos by Holly Tierney-Bedord. All rights reserved.
It took me months just to get all the wallpaper and flooring removed!
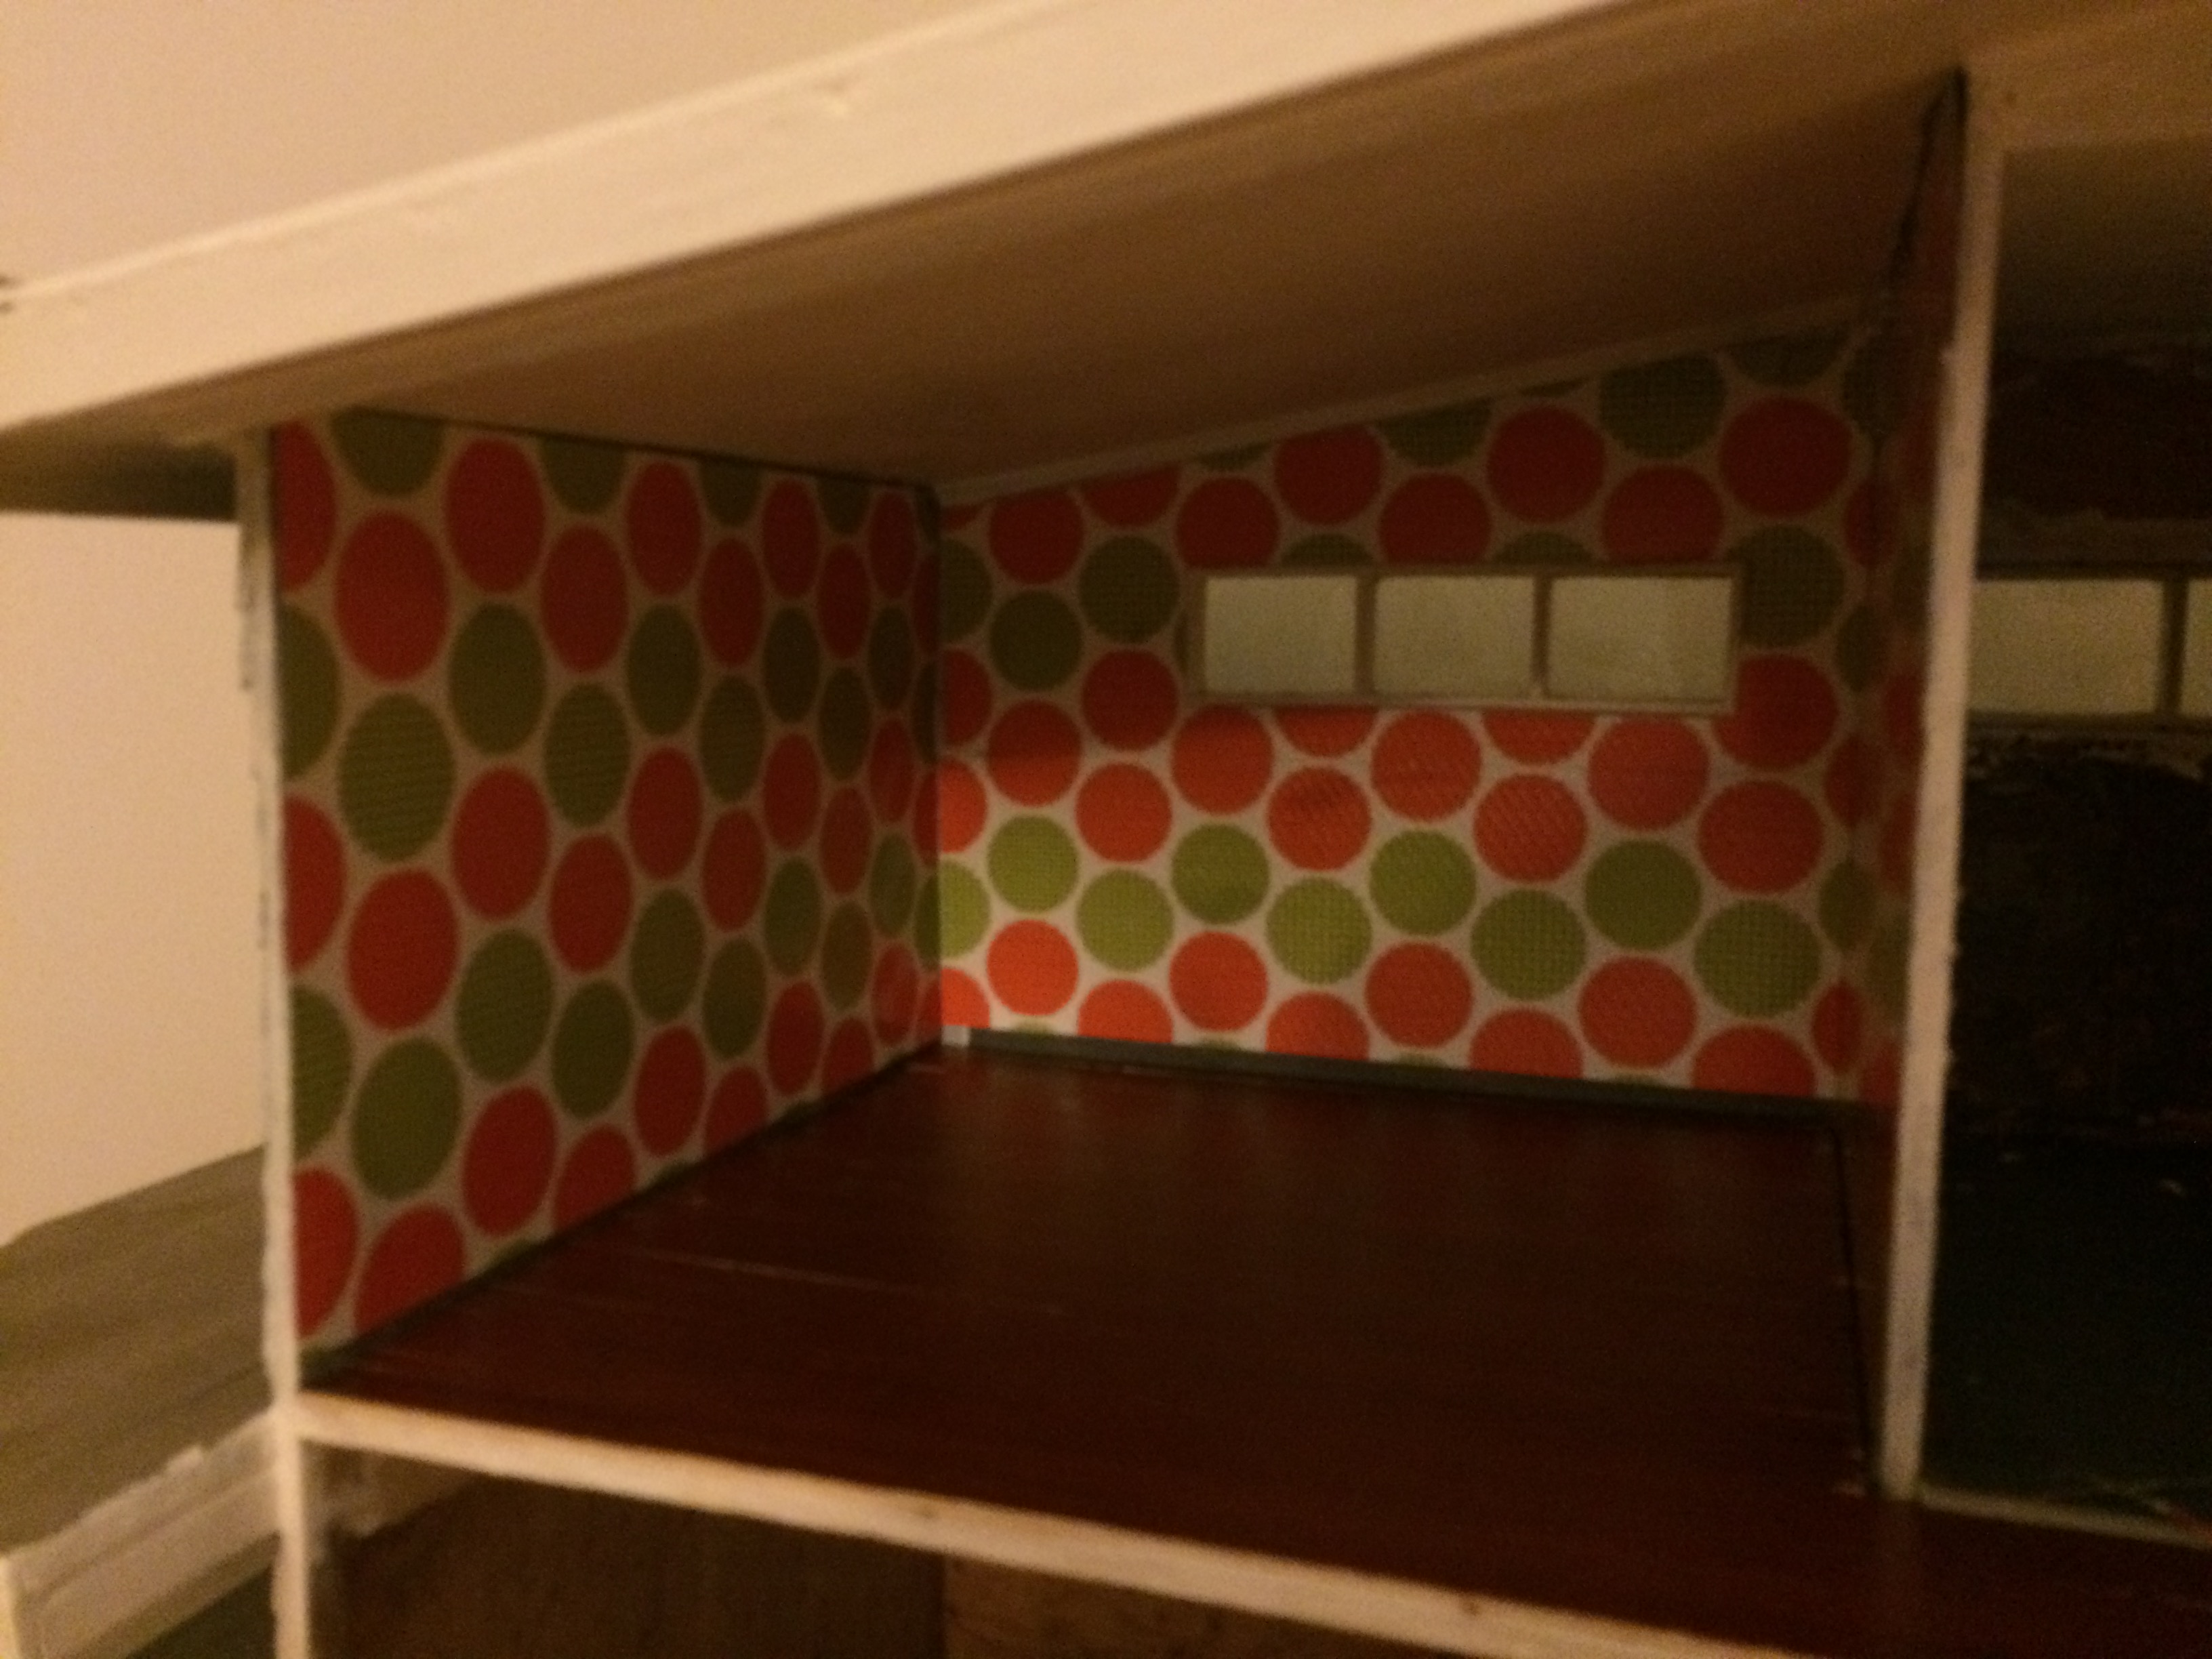
Here’s a look at some of the rooms in progress:

A look at my mini kitchen and dining area, in progress.

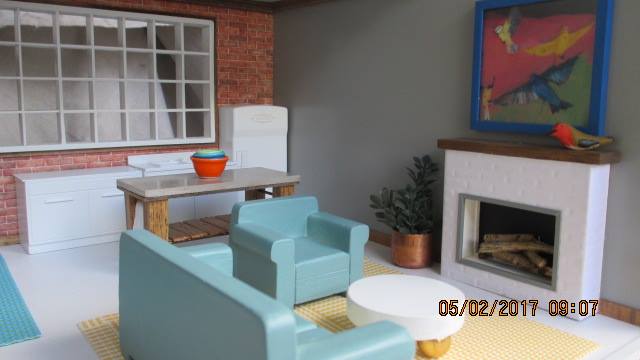
Living room in progress.
And now here’s a look at some of the rooms today:
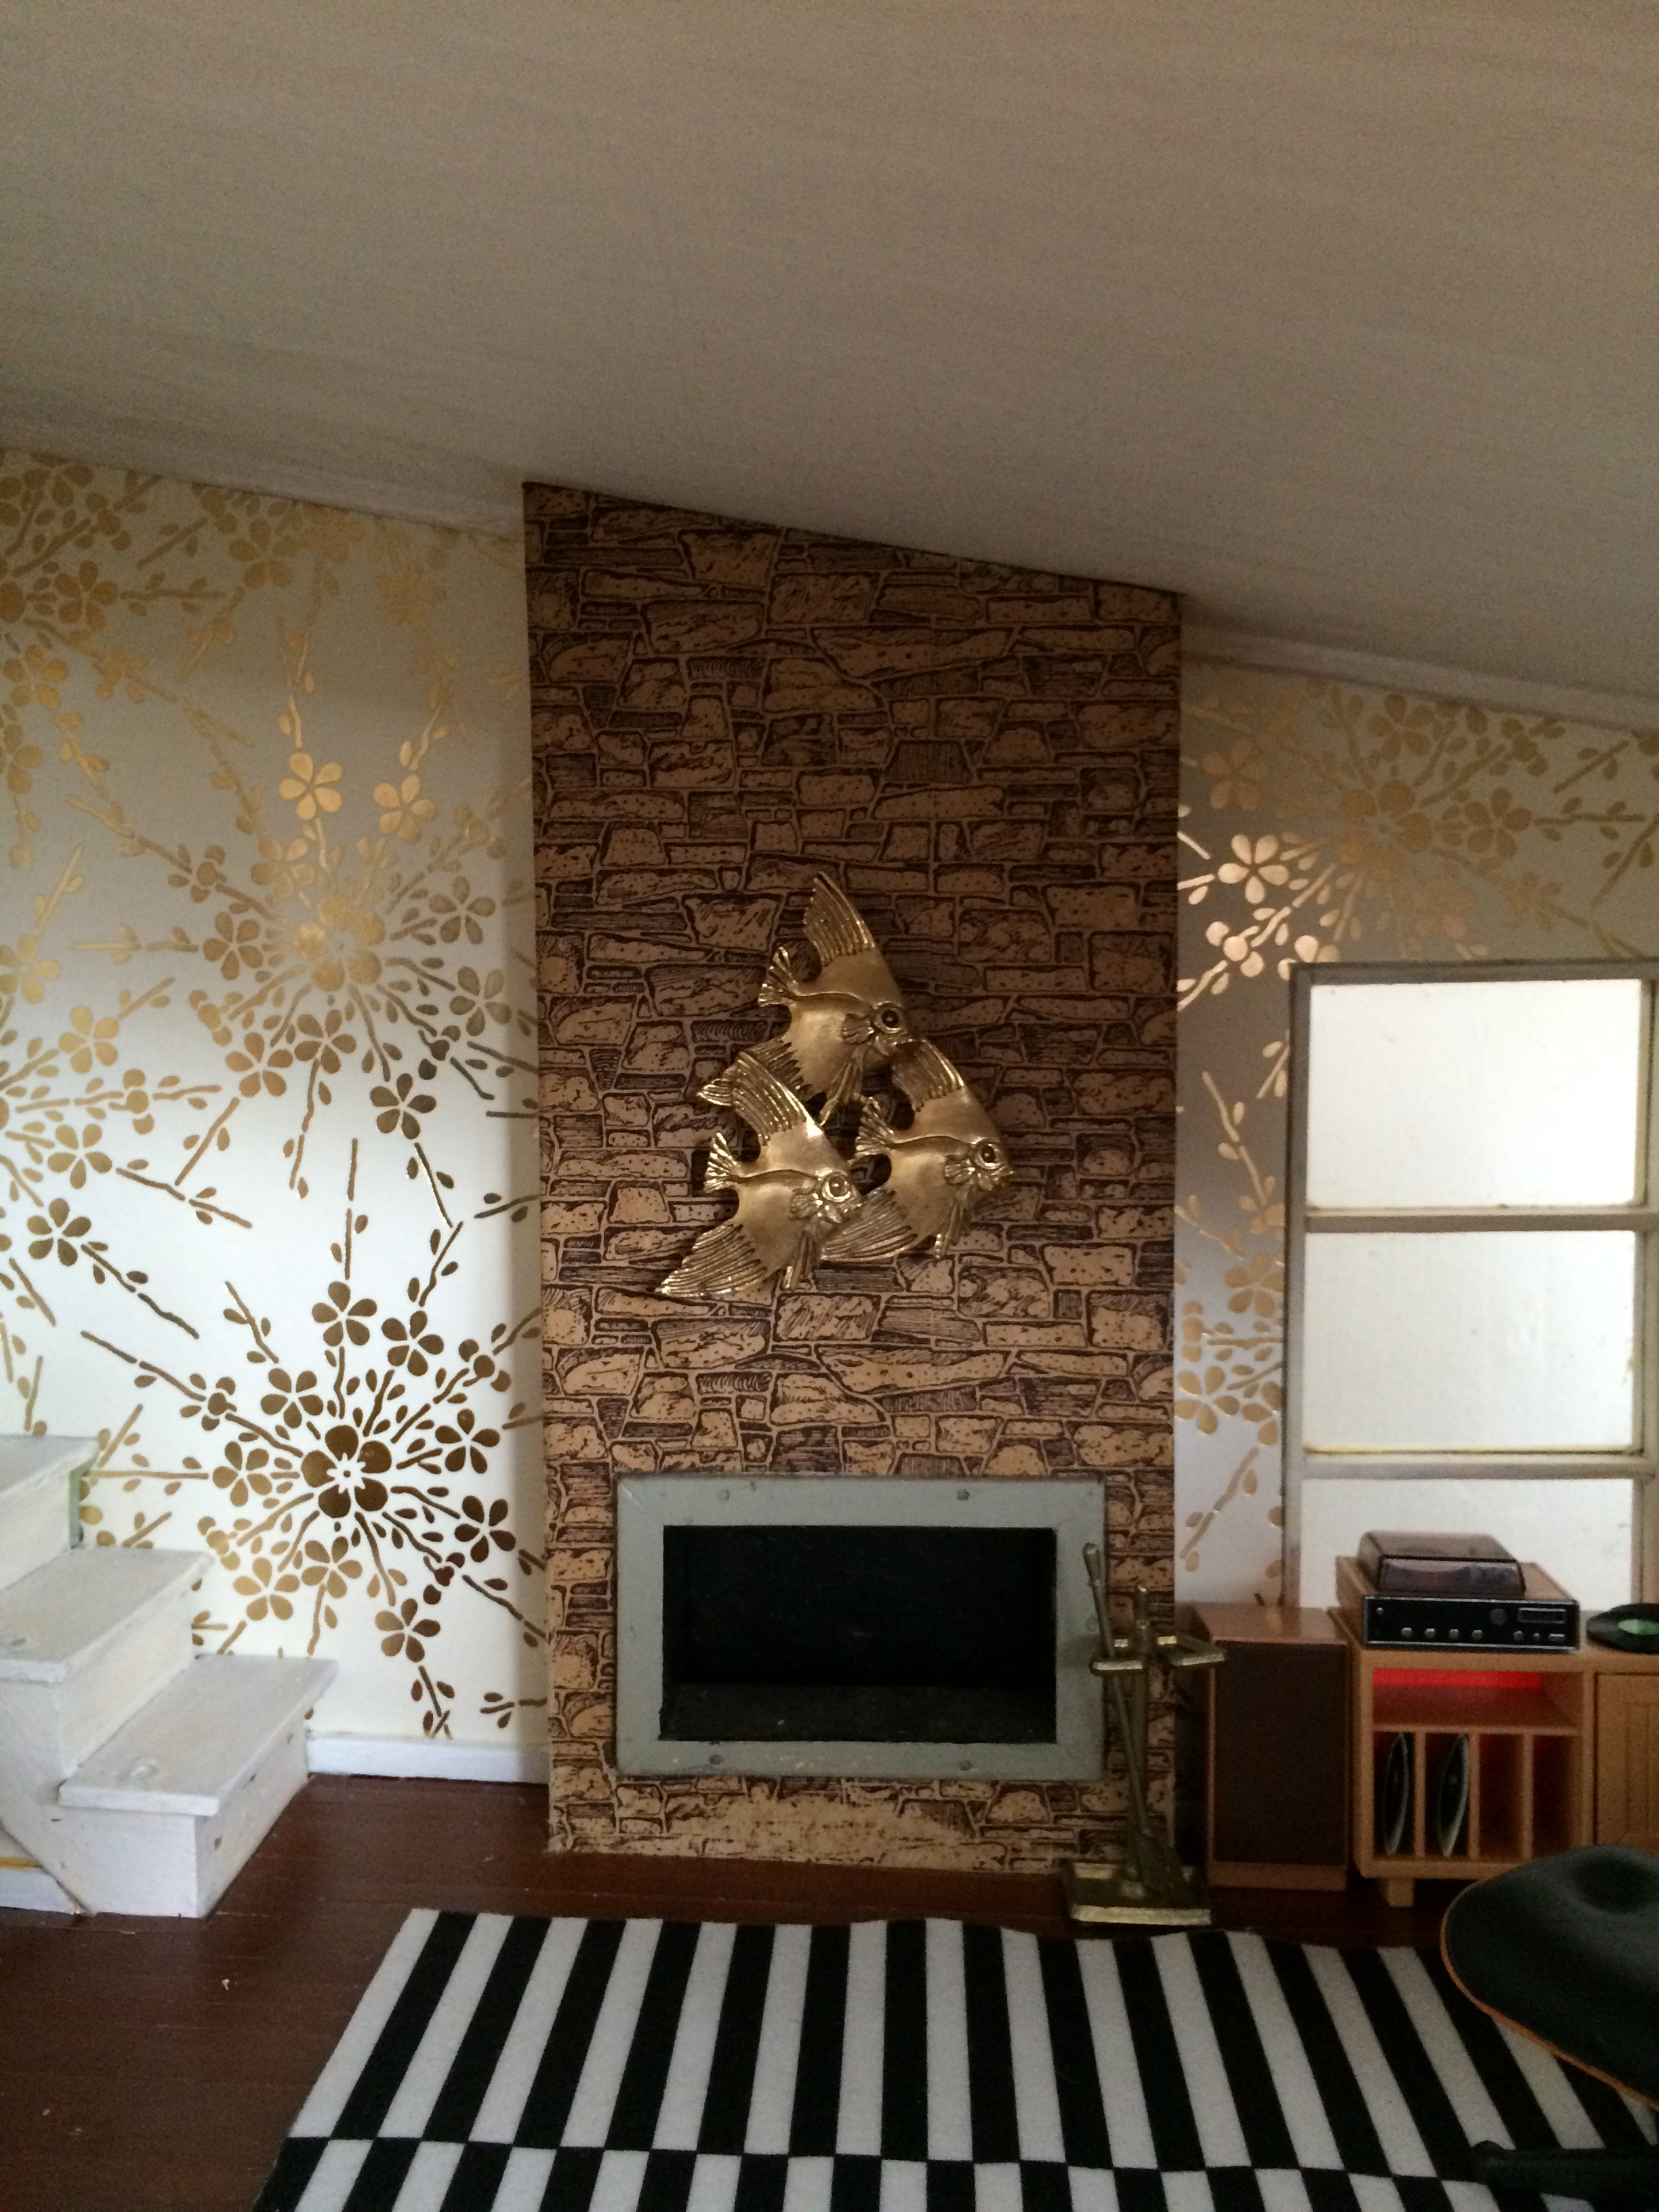
Trying out furniture and decor in the living room.

This kitchen is coming along! All photos by Holly Tierney-Bedord. All rights reserved.
For all the details, and to see the final unveiling which will hopefully happen in the later spring/summer, follow me here on WordPress or on the Flip This Mini House Facebook page.
I think I’ve finally chosen a look for the kitchen.
It hasn’t been easy! Kitchens are so important. I really wanted a mainly white kitchen with orange or yellow Orly Kiely-esque wallpaper. Finally I decided it wasn’t realistically going to happen, no matter how many times I sifted through the scrapbook paper at my local craft store. So this is what I came up with:

Tiles and wallpaper for my mini kitchen. Photo by Holly Tierney-Bedord. All rights reserved.
I’m not sure about the multicolored tiles. I’ll have to put some in place and see what I think. Stay tuned!
My mini bathroom is really coming along! The tile floor has been grouted, trim has been installed, the sparkly chevron wallpaper has gone up, and the mini blinds I made from a coaster are now on the wall. Here’s a look at all the progress:

Progress in the mini bathroom. Photo by Holly Tierney-Bedord. All rights reserved.
As a reminder, here are some before photos:
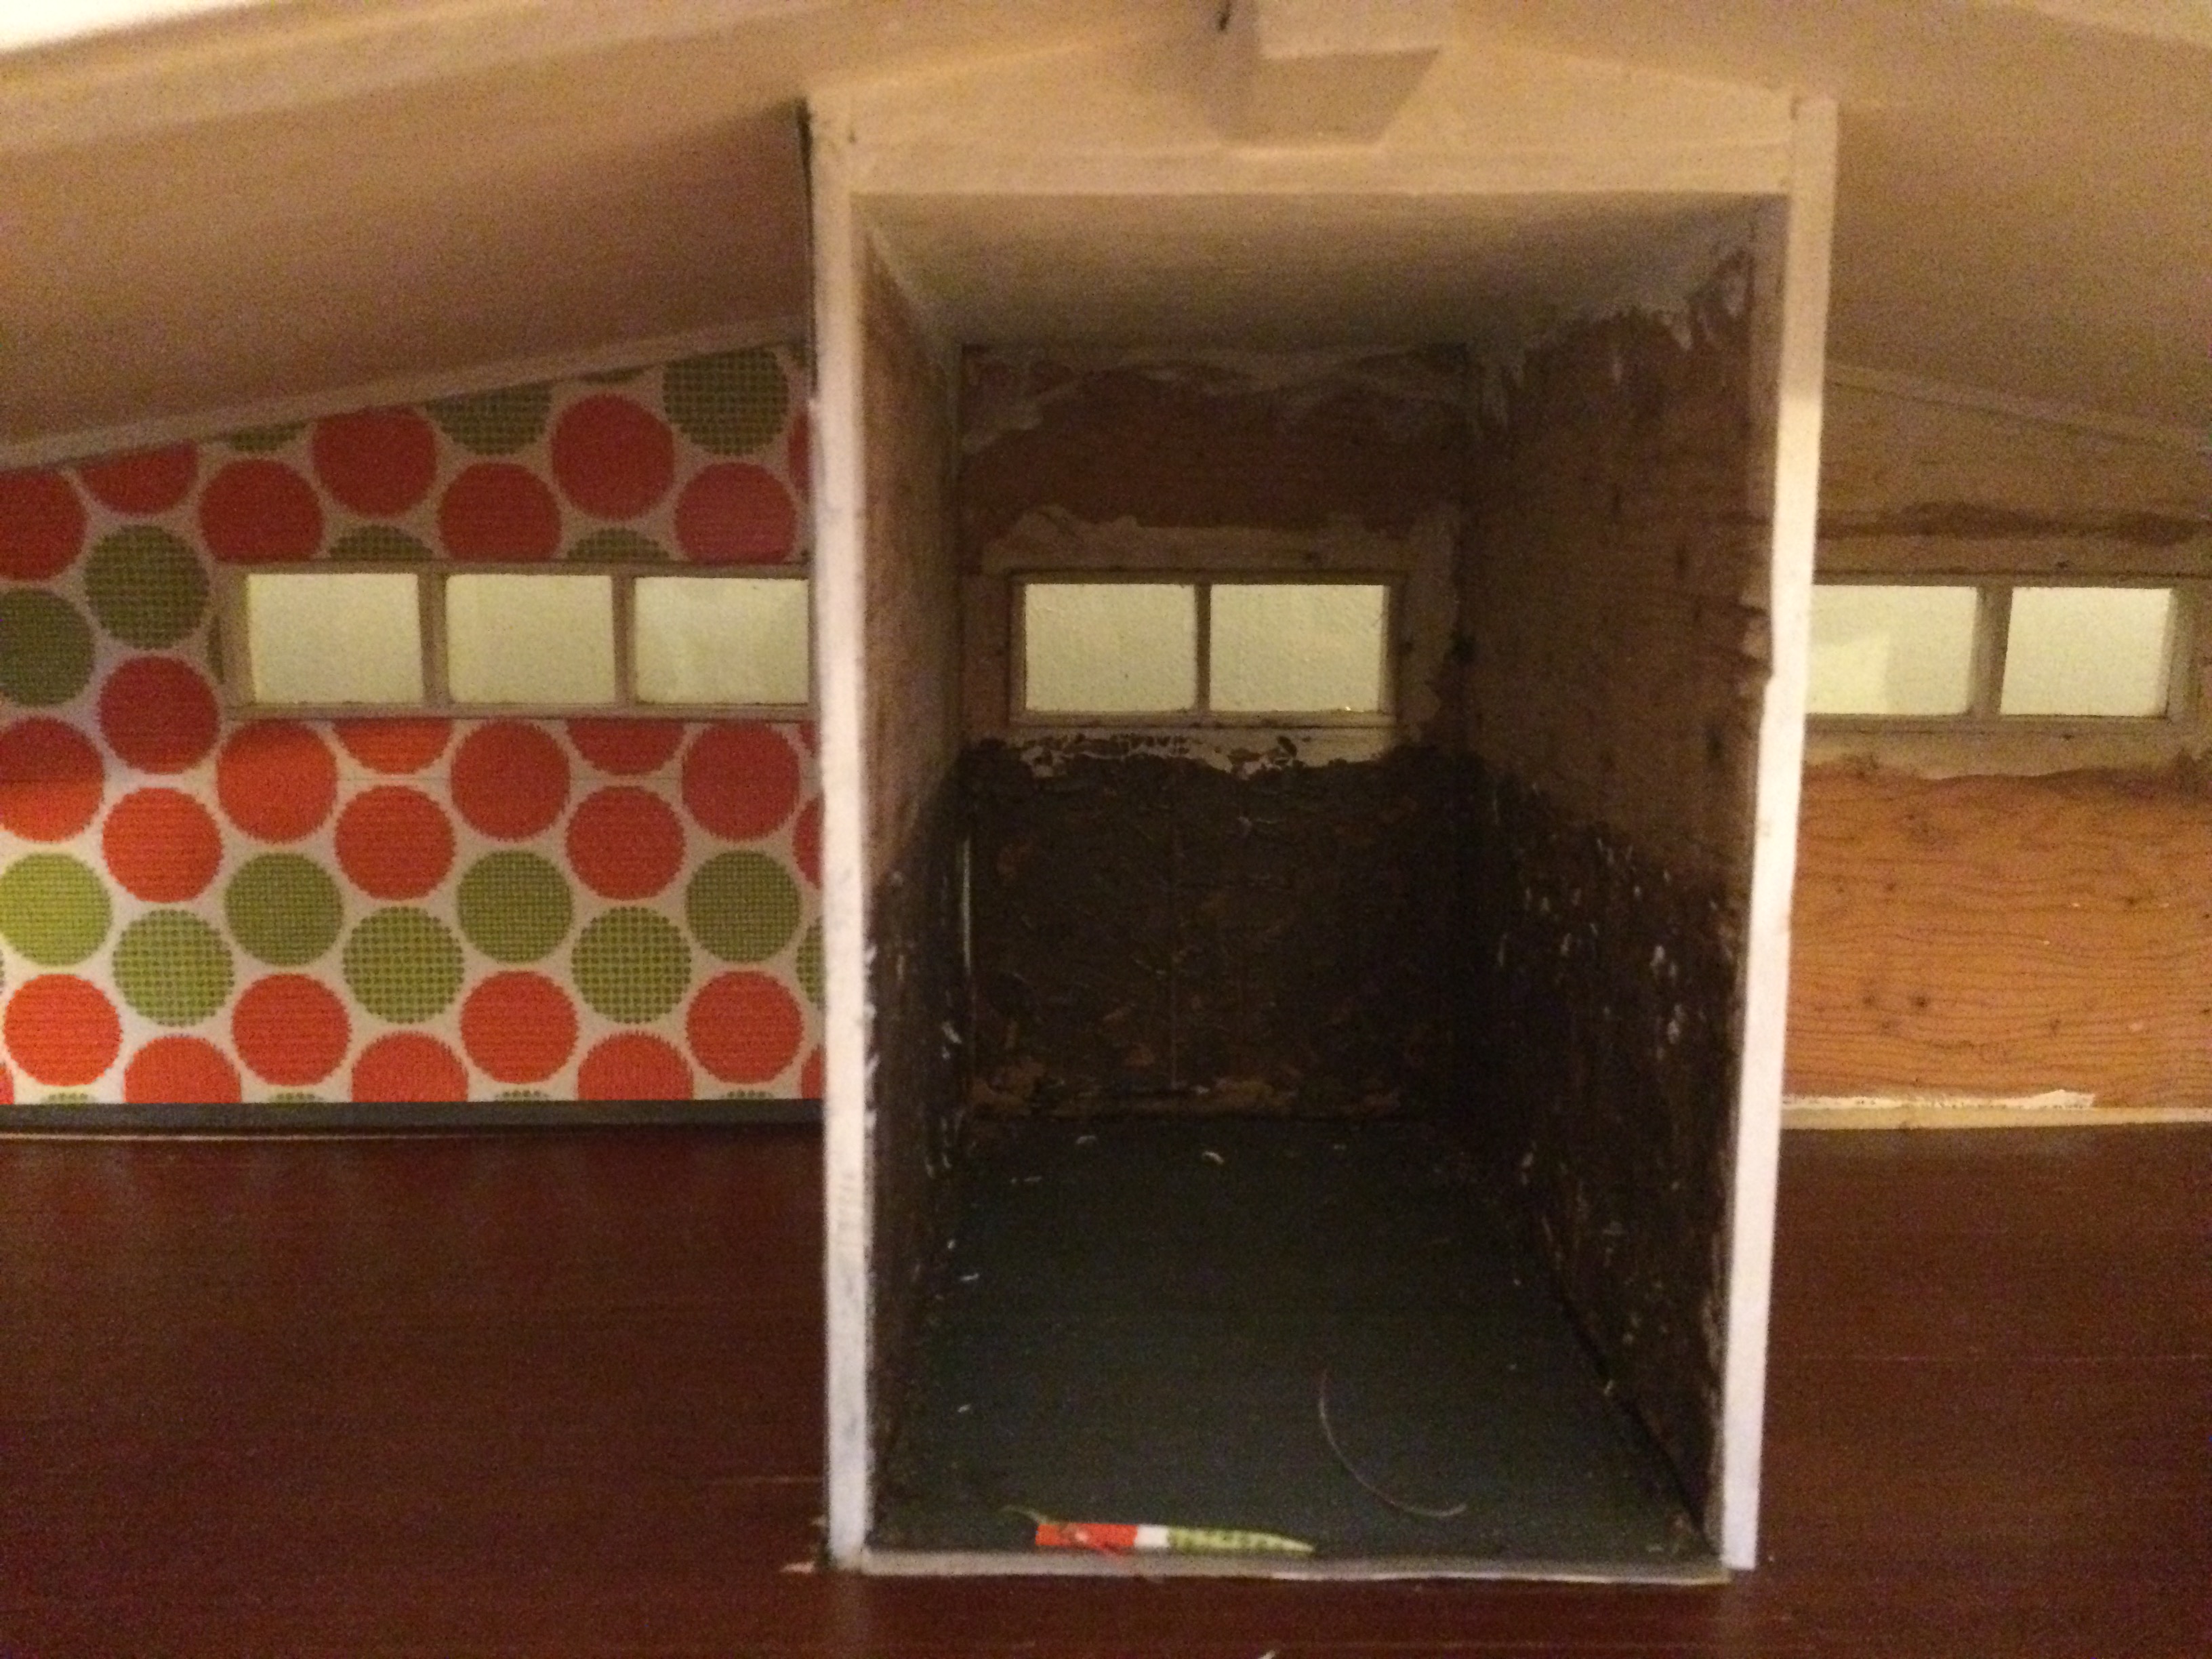
Bathroom before.

Bathroom floor installation, partway through. Photos by Holly Tierney-Bedord. All rights reserved.
For information on making your own mini coaster blinds, take a look back at this post from a few weeks ago.
After recently debating between a bunch of different wallpaper choices (using scrapbook paper, not actual wallpaper) here, the master bedroom has been wallpapered! I ended up choosing something completely different from the samples I showed you a couple of weeks ago. As I’ve mentioned, one of the designers inspiring me on my house flip is Jonathan Adler. I thought what I ended up choosing had that fun, “Happy Chic” feeling I was seeking, but it actually looks a little more on the childish and maniacal side of things than I’d intended. The good thing is, if I choose to take it down, at least I can use it for templates for the next sheets I install in that room.
Wallpaper. Photo by Holly Tierney-Bedord. All rights reserved.
I think I will give it a couple of days and try it with furniture, just to see if it grows on me in a good or bad way. What do you think?
I want my mid century house to feel homey and authentic, although it will be an updated, 21st century version of how a mid century house would look. This tiny mushroom and butterfly stitching project was created by me, but inspired by other 1960’s and 1970’s patterns I found online. I drew the mushrooms and butterflies on a small piece of cross-stitch backing, filled them in with stitches, added some stitched blades of grass, and finished it off with a wood bead border. The whole project took just a couple of hours, and was mindlessly completed while watching television. If you’re going to watch TV, you might as while create something at the same time.

Groovy mushrooms mini wallhanging. Photo by Holly Tierney-Bedord. All rights reserved.
Everyday objects around your house can be repurposed in unique ways. I love these West Elm measuring cups I got from a friend, and now I have found a great way to show them off: The bigger measuring cups have joined a stack of small bowls in my (real life, full sized) kitchen, while the two smaller cups have been turned into cute planters for my dollhouse. I paired them with some plastic succulents from the craft store to give them a whole new look. They’ll be cute by the front door, someday in the future when I get to that stage. The best part? This project took approximately 1 second to complete, cost very little, and has no long term effects on the measuring cups, in the event that I change my mind and want to return them to their former measuring cup status.
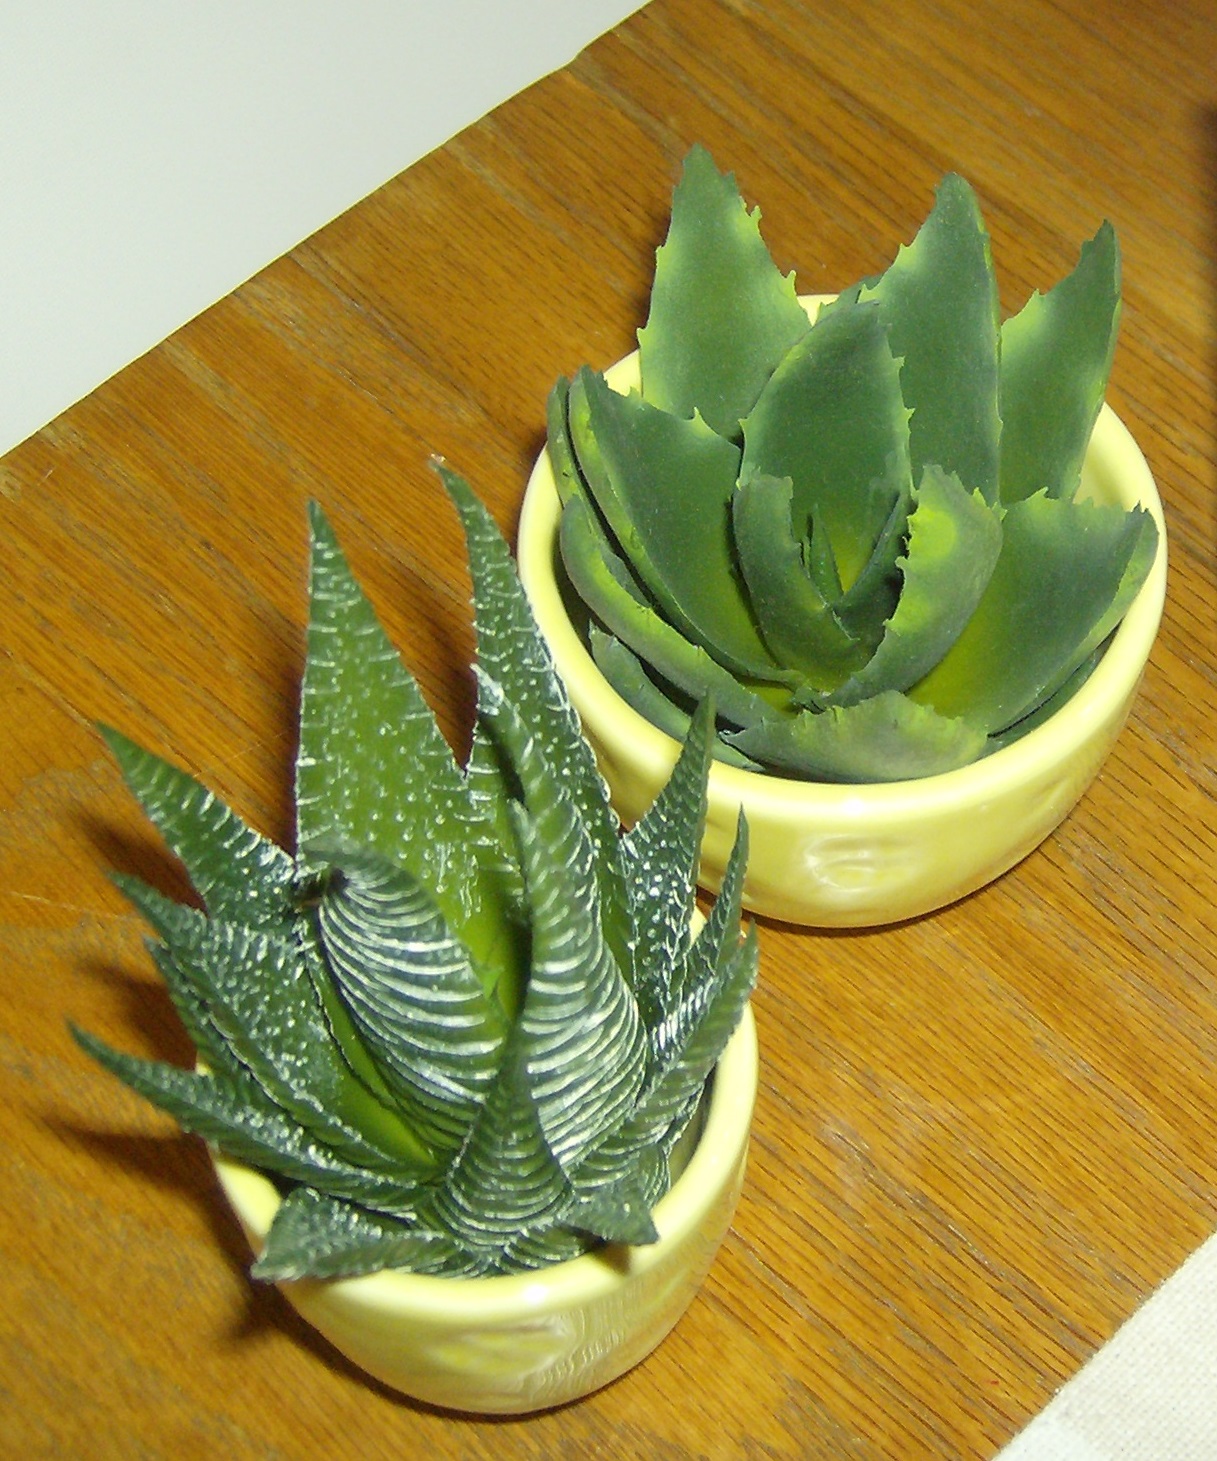
West Elm measuring cups turned oversized planters. Photo by Holly Tierney-Bedord. All rights reserved.
It’s nowhere near being move-in ready yet, but my mid-century marvel has been accumulating stacks of decor. Some of it I’ve purchased new, some at antique and thrift stores, but most of it I’ve made myself. This miniature macrame owl was inspired by Jonathan Adler’s design book 100 Ways to Happy Chic Your Life. In the book he shows several macrame owls and gives simple, step-by-step instructions to create your own owl. I used his instructions as helpful guidelines, but altered them to work for me. I used thin yarn so it would be the appropriate scale. I added the eyes with slightly darker thread, and I will reattach them once I pick up some thread that’s a match. Up close and with the camera flash the thread is quite noticeable, but until I can replace it, it’s actually not that easy to see in person. I’ve shown the owl with a regular pen so you can get an idea of the scale. Once it’s hanging in the house it will look like a pretty large wallhanging. I think it will end up in the living room, but I am not sure yet. The best part about miniature crafts? They don’t take very long to make!

Photo by Holly Tierney-Bedord. All rights reserved.

