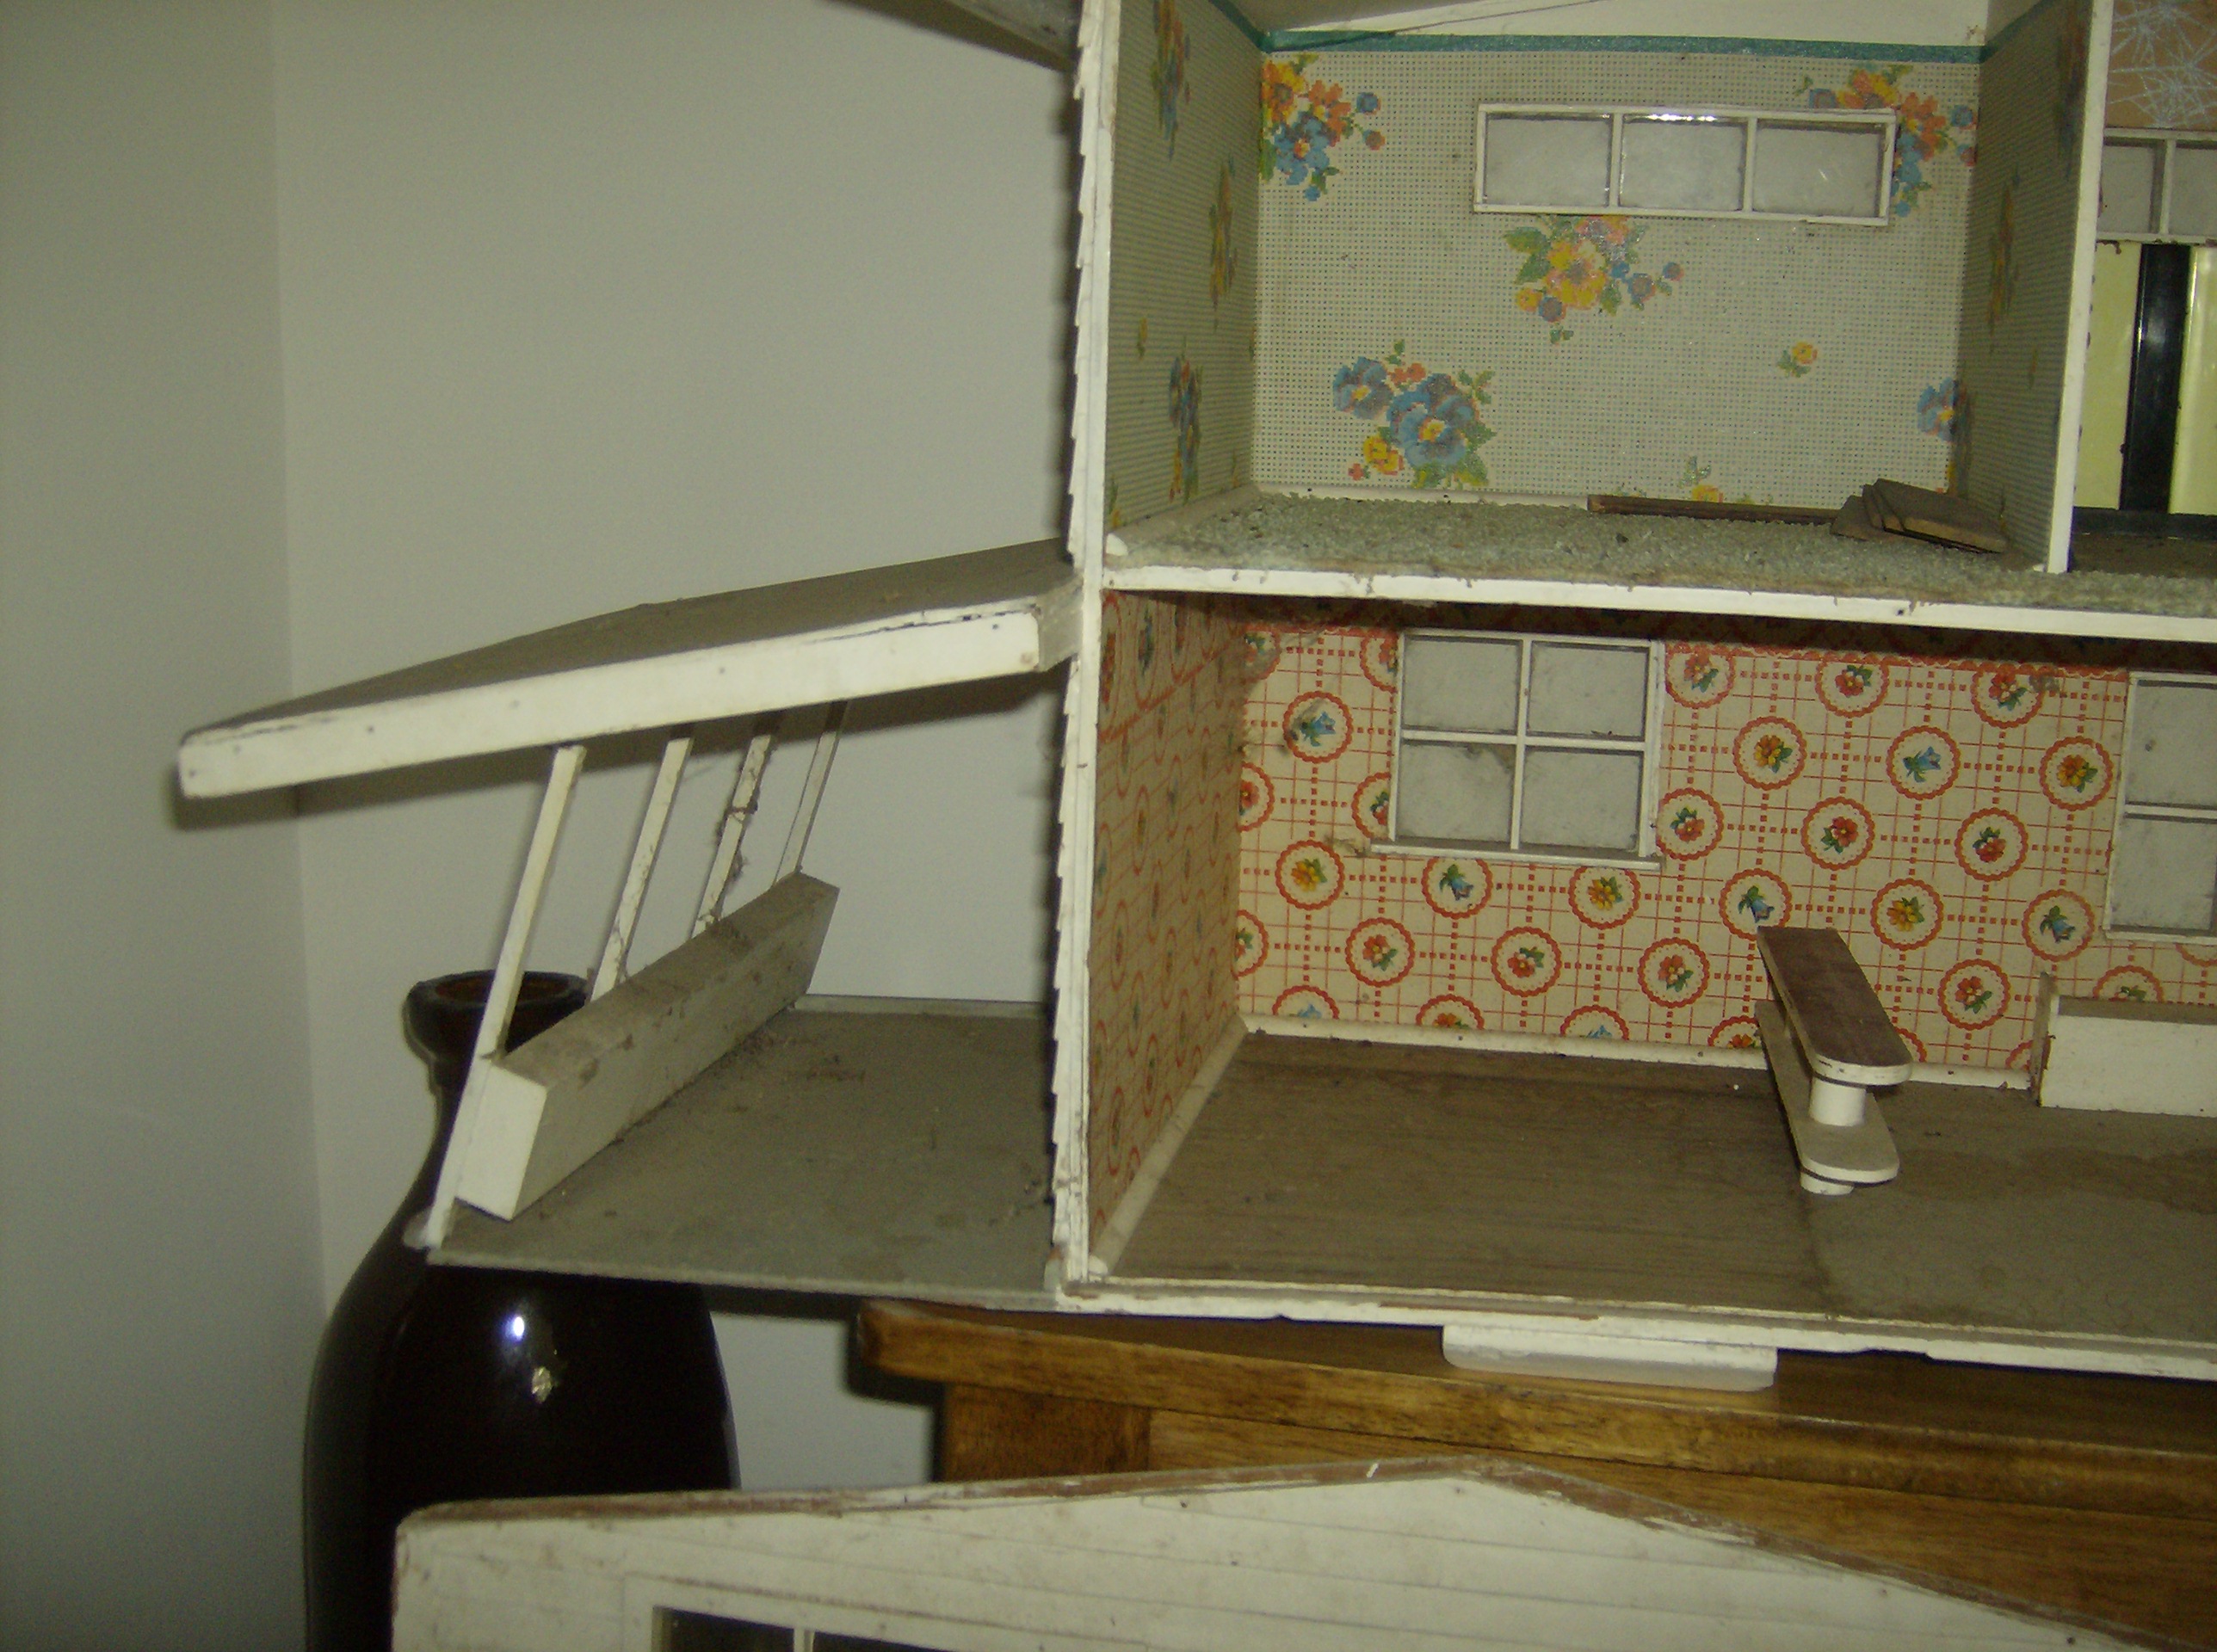
A look at my mini kitchen and dining area. Photo by Holly Tierney-Bedord. All rights reserved.
I finally got my breakfast bar removed. It turns out it was screwed into place. Once I figured that out I was able to remove it without breaking it, which I was really excited about since I thought it was such a cute feature. I’ll drill new holes for it and it will get moved a little closer to the bench in the dining area, so my kitchen will be a little bigger than it used to be.
The little bit of flooring that remains is coming out one little chip at a time. I almost cut my thumb off the other day when I was trying to watch an old episode of Survivor and work on my house at the same time. All I can say is, I’m glad this is dollhouse flooring and not something I’m dealing with on a larger scale.
I’m not sure what, if anything, I can do about the fact that the floor swoops down a little towards the carport. I didn’t notice it so much at first, but when you’re sitting on the floor, staring at it for an hour, it starts to become really obvious.
Speaking of the carport, I was able to get the wall propped back up to be straight. So that’s great news.
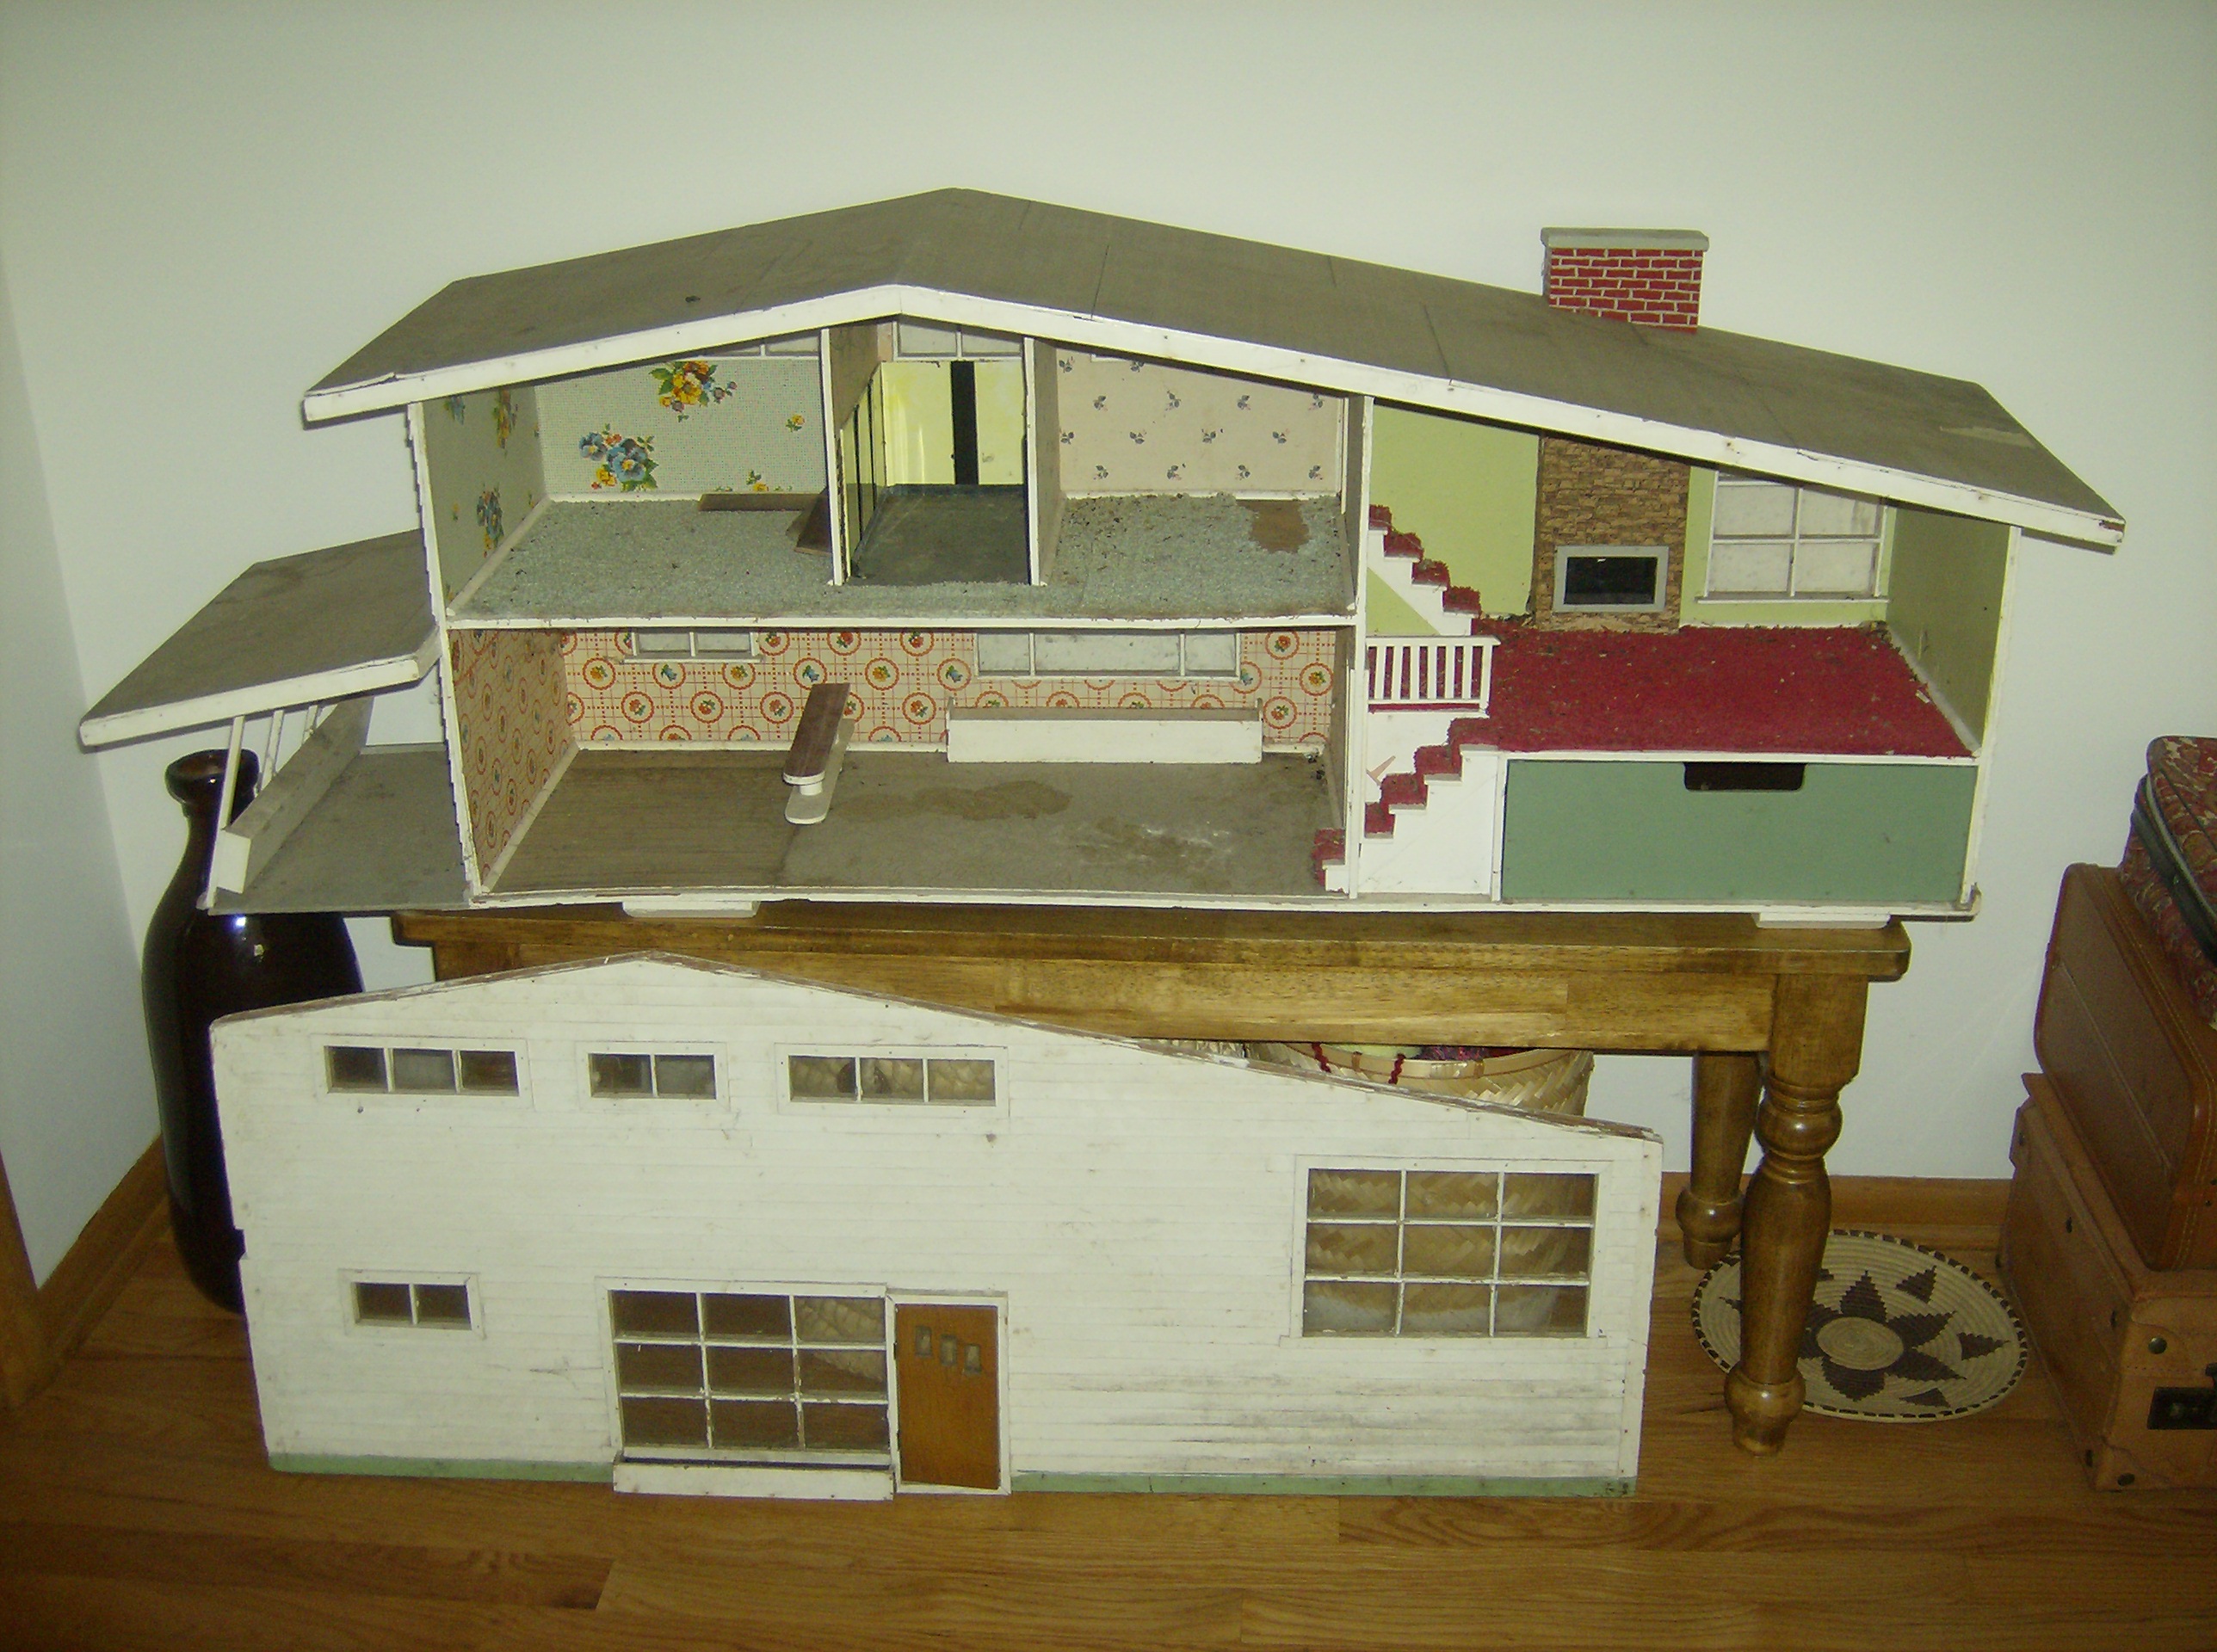
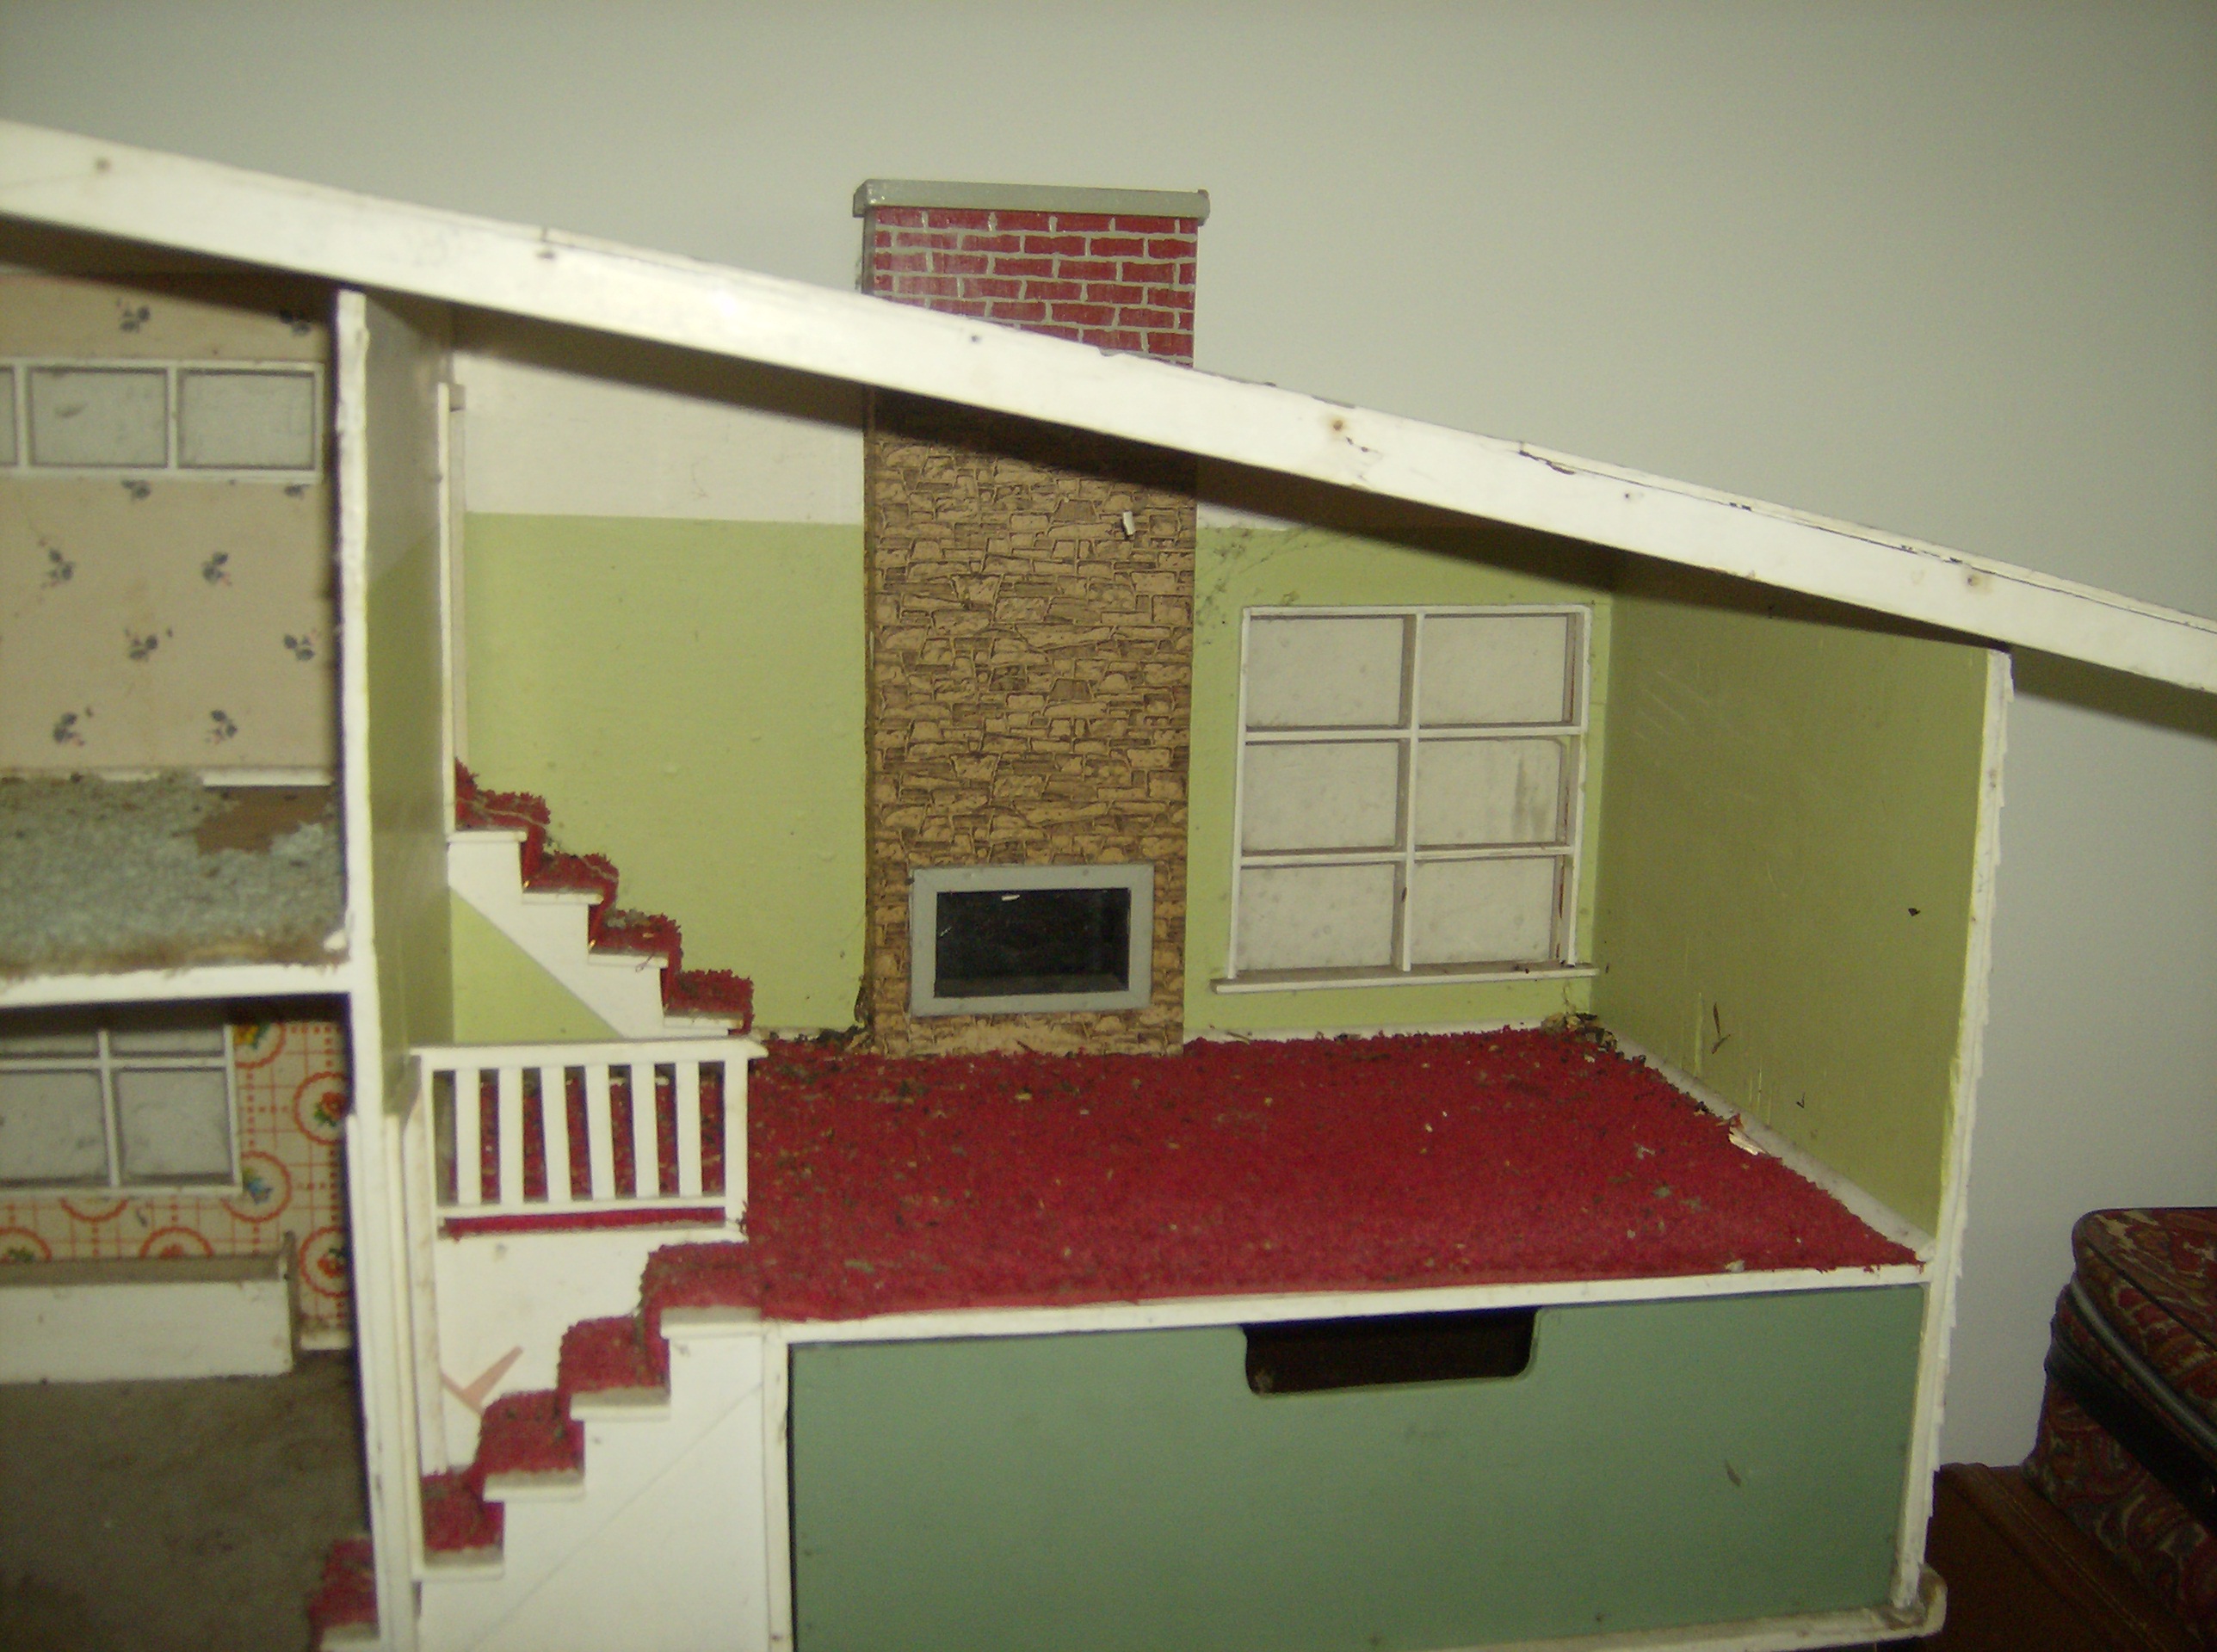
Here’s a reminder of how my house looked when I first got it:

Day 1 of my mini house. Photo by Holly Tierney-Bedord. All rights reserved.
The exterior is now dark teal. Also, I’ve decided the exterior trim will be a yellowish color to match my West Elm measuring cup planters. Photos of that coming soon!