I decided to create a medicine cabinet for my mini bathroom. I fashioned it using a mirror from an old eyeshadow compact and a plastic box that once held pins in a sewing kit. Here are the original components in their natural state:

Plastic container that originally held needles and pins. This will the interior and door of my medicine cabinet. Photo by Holly Tierney-Bedord. All rights reserved.

Side view.

This mirror goes on the front of it. Photo by Holly Tierney-Bedord. All rights reserved.
I was able to snap the mirror off the eye shadow without breaking it, which was great. I glued it to the lid of the box and used regular clear tape as a hinge. I painted it with white paint (unfortunately, plastic hates to be painted). I lined the interior of the cabinet with paper and inserted a little shelf that is actually the same floorboard material I’m using for trim (also plastic-y, also hates to be painted).
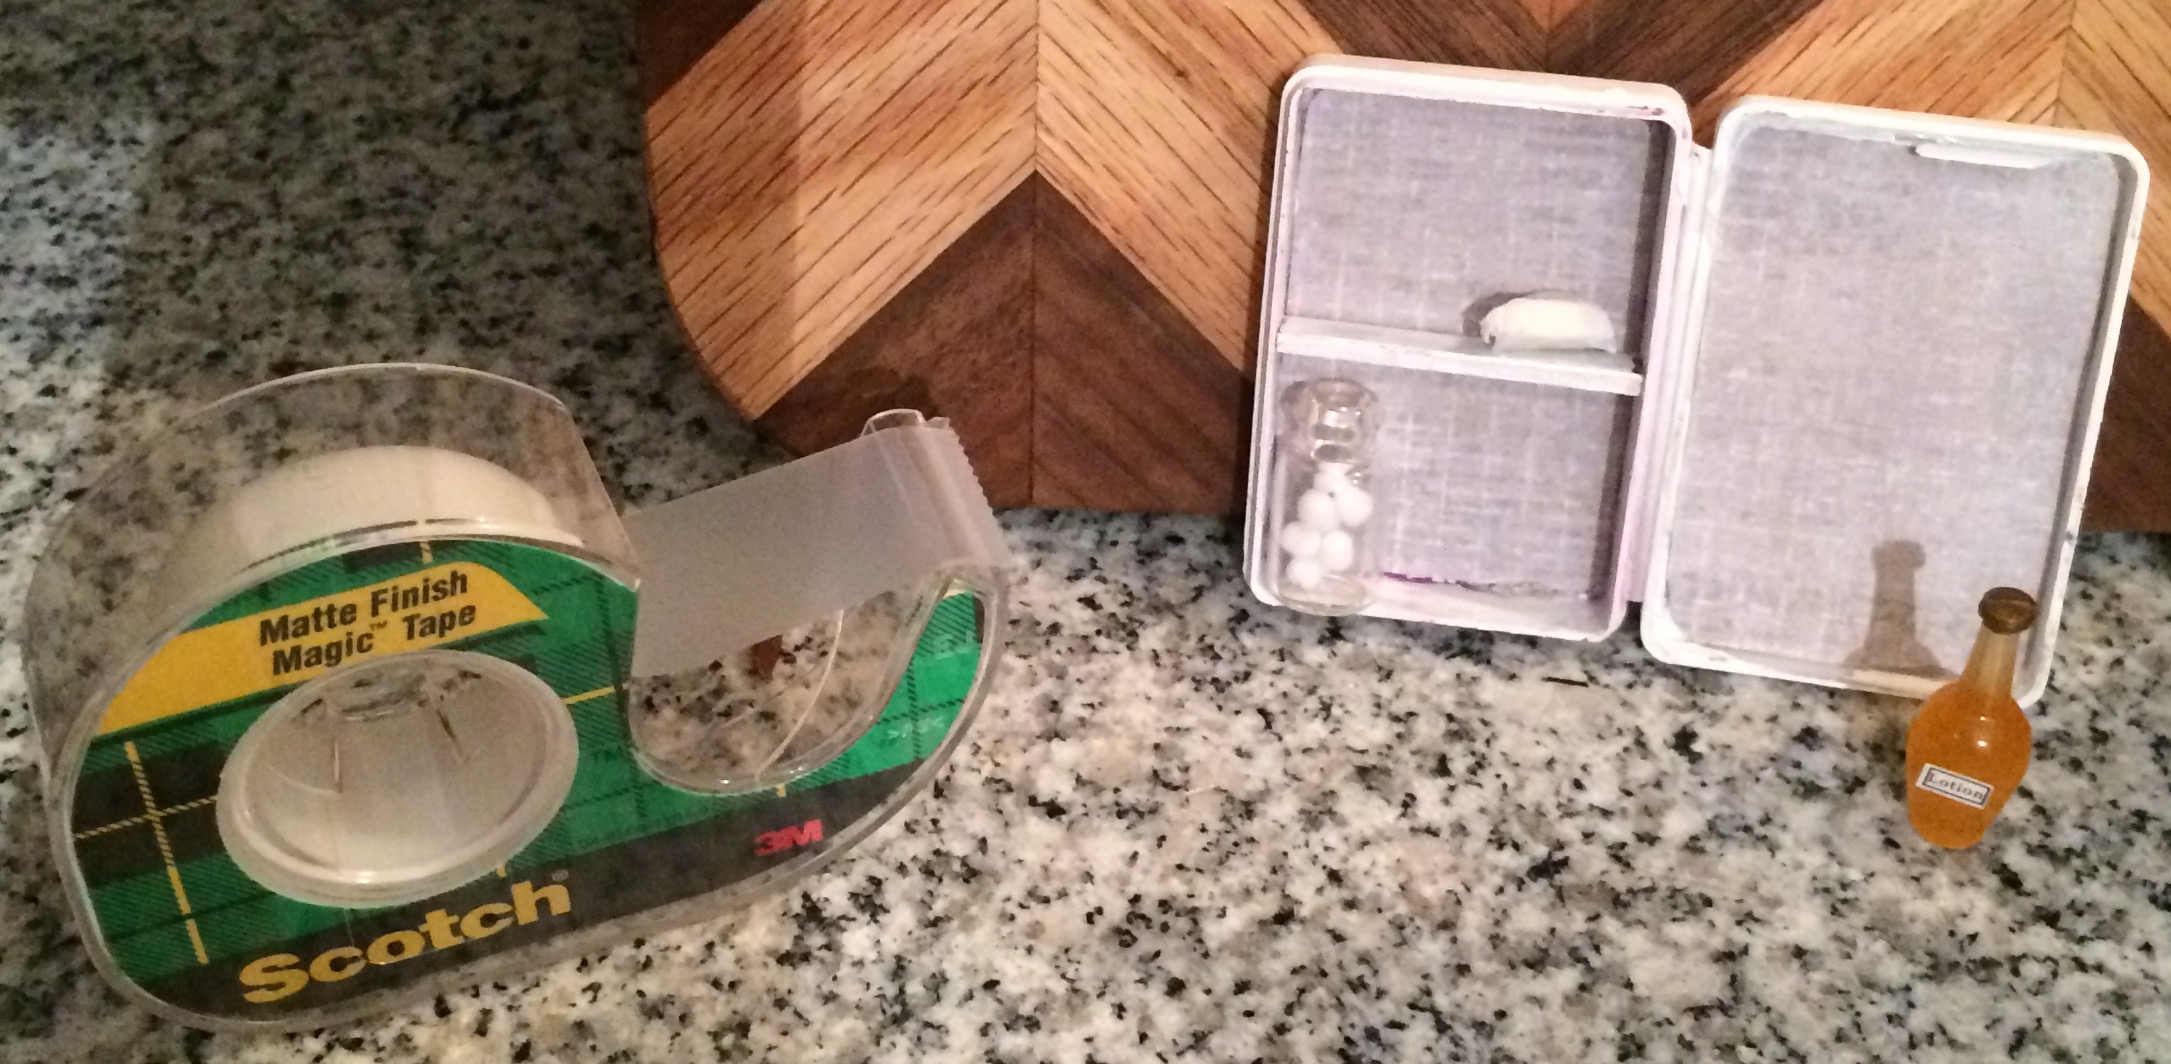
Medicine cabinet interior, shown with tape so you can better imagine the scale. Photo by Holly Tierney-Bedord. All rights reserved.
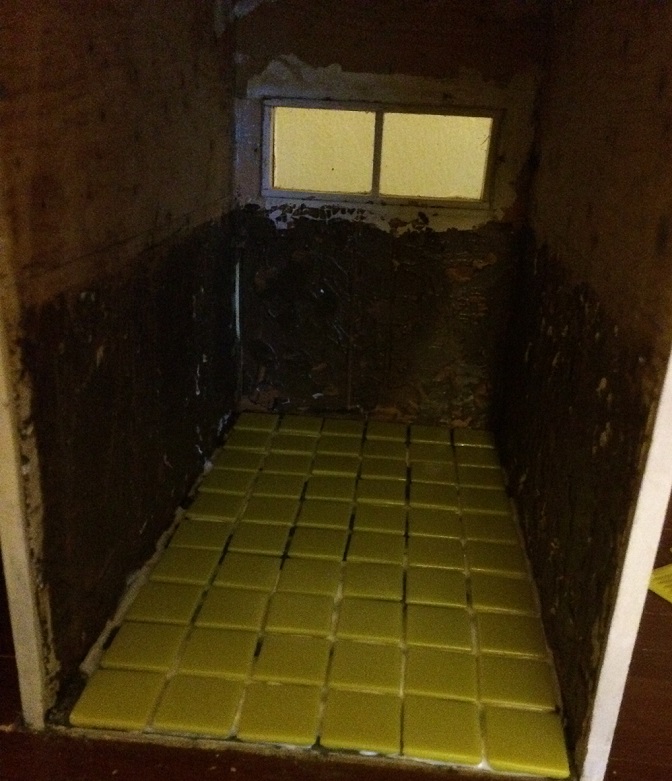
Next I needed some little bathroom accessories, like glass jars of cotton balls and fancy little soaps wrapped in tissue paper. For cotton balls I used the kind of mini pompoms you can buy at almost any craft store. Here’s a look:
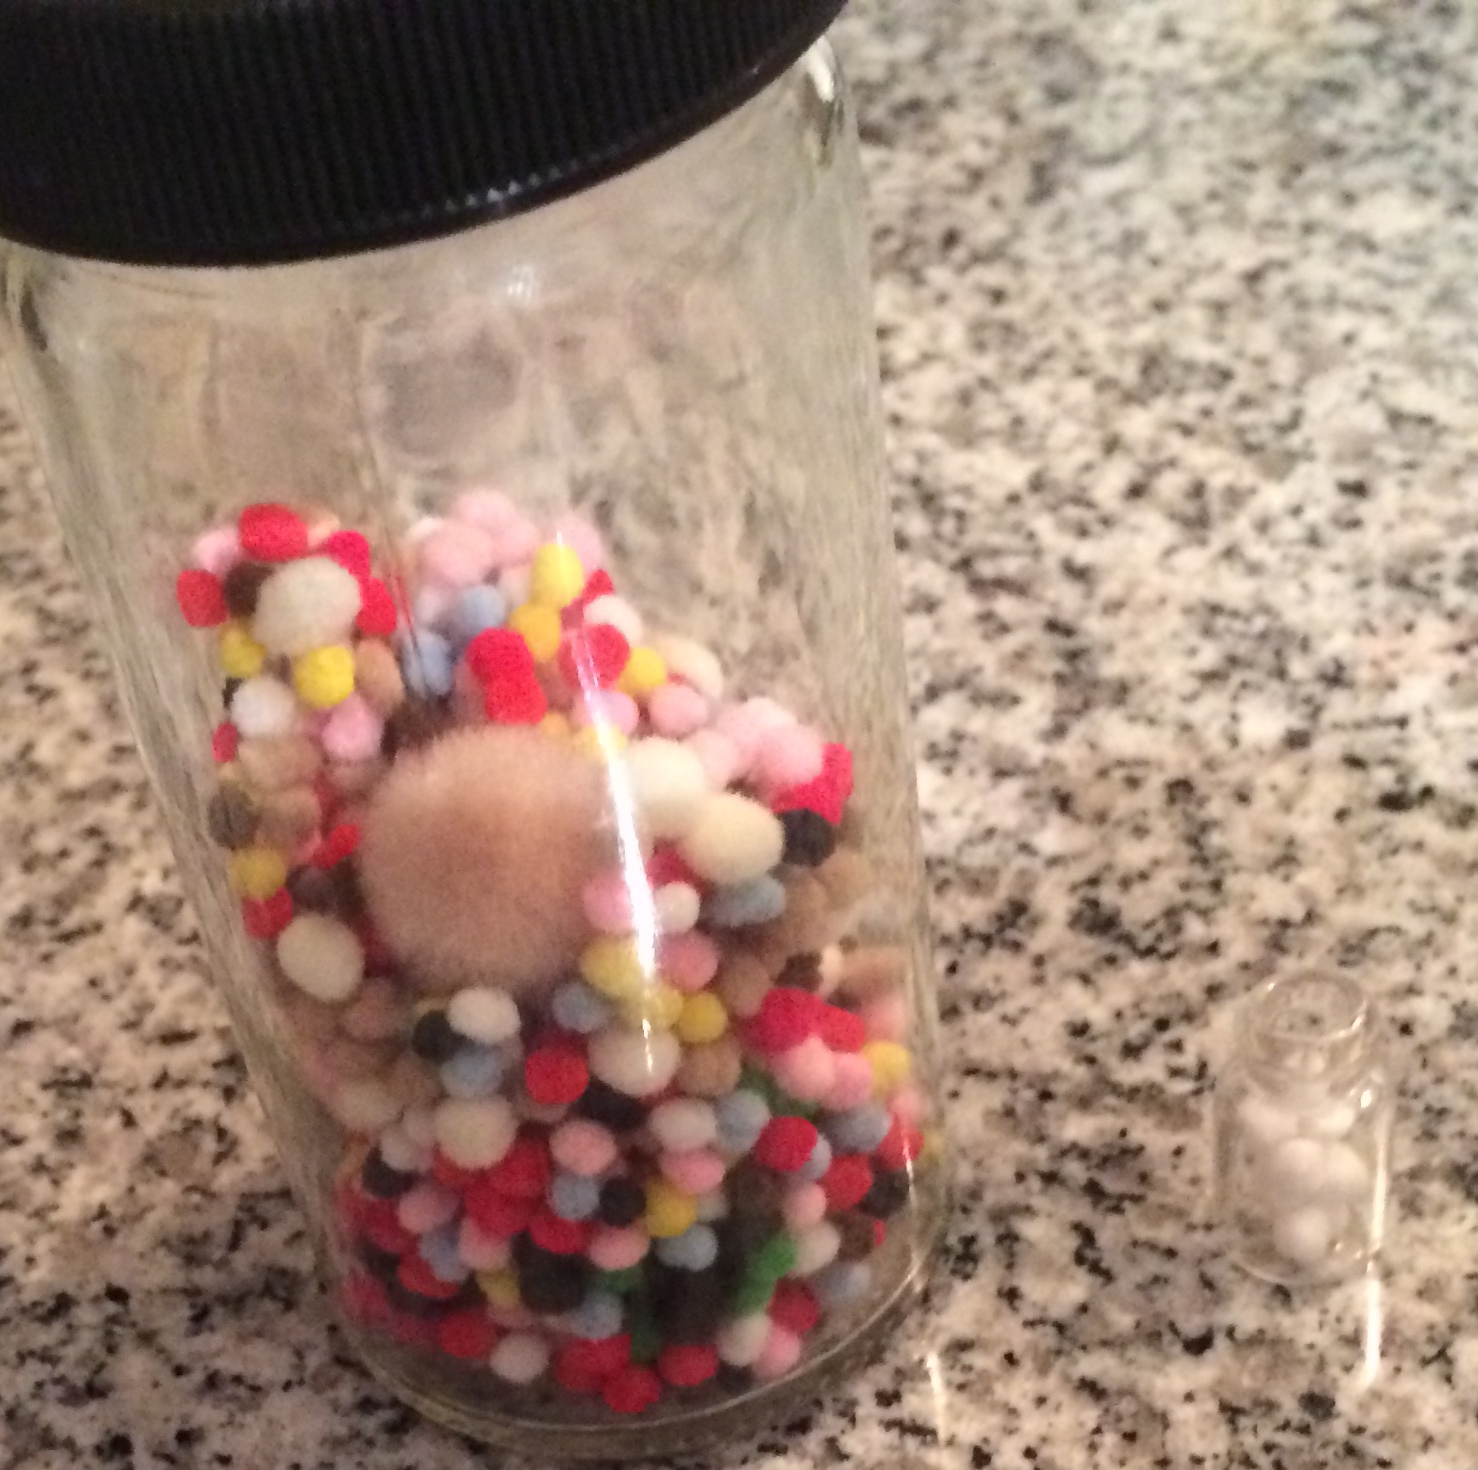
Big jar of mini pompoms beside mini jar of mini pompoms. Photo by Holly Tierney-Bedord. All rights reserved.
To create soap, I used a real bar and cut off little chunks. A couple got wrapped in white tissue paper, and one was set into a tiny ceramic bowl that will make a great soap dish.
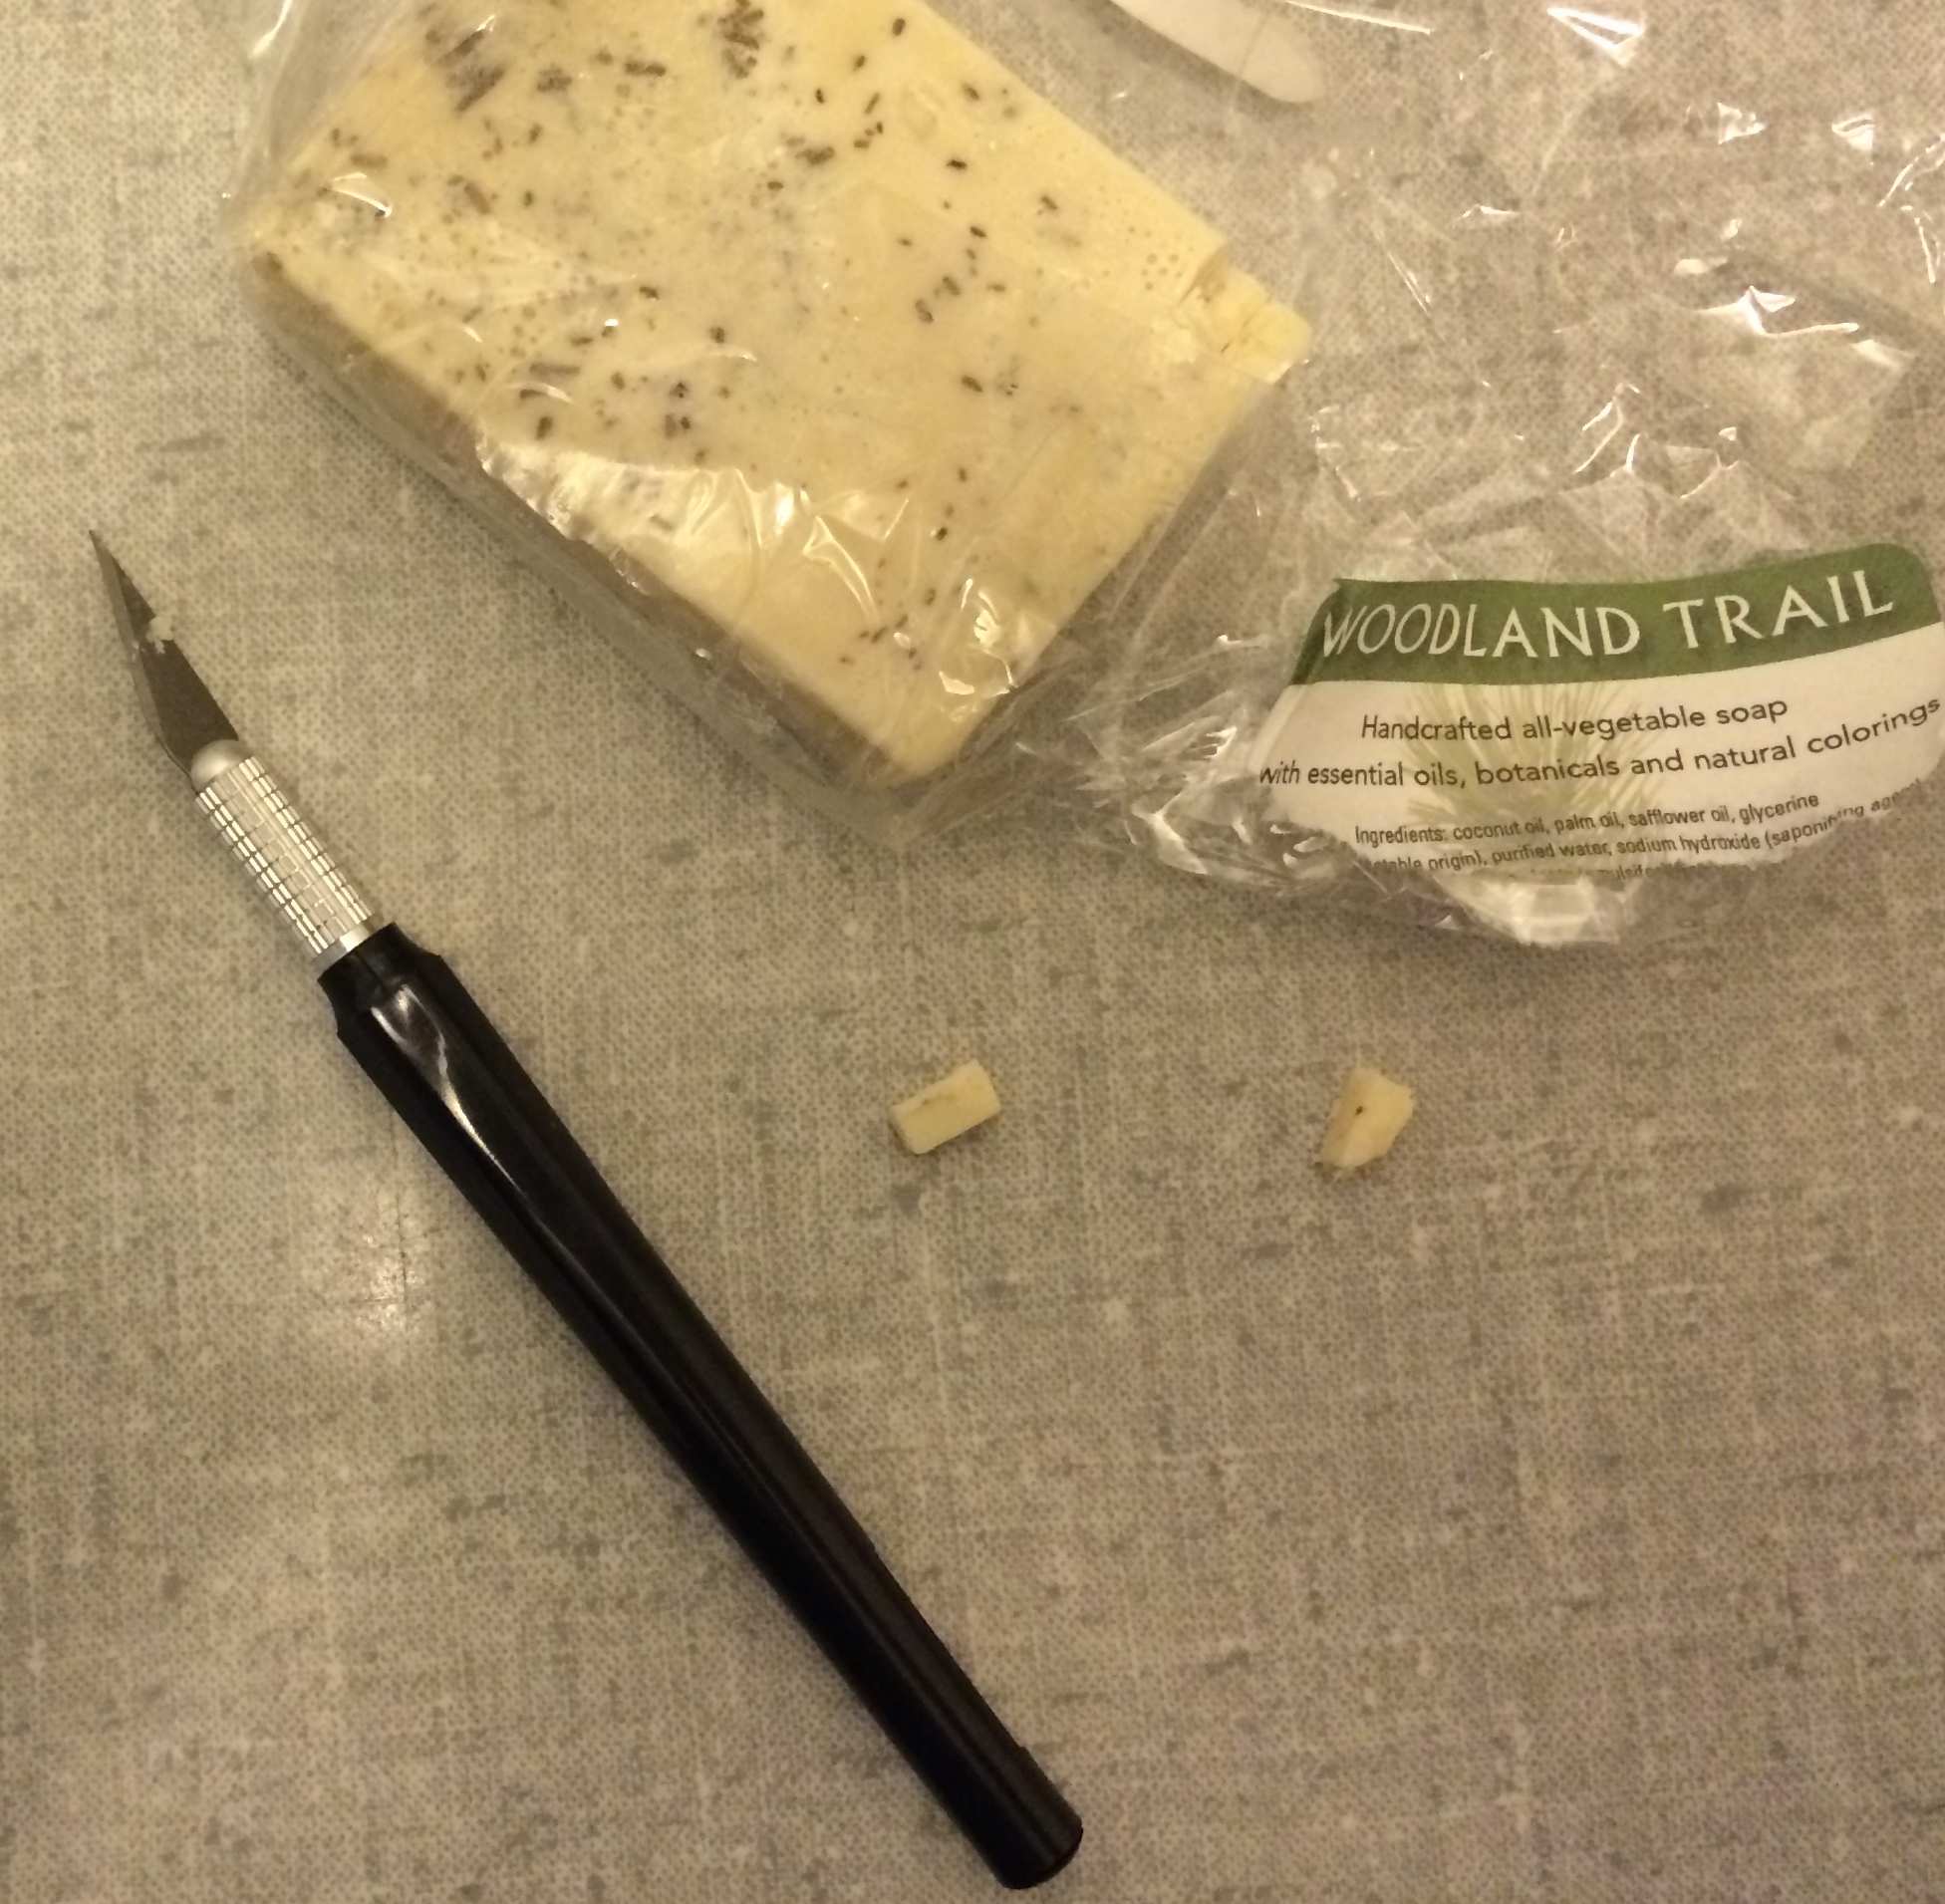
Mini bars of soap made from a regular bar of soap. Photo by Holly Tierney-Bedord. All rights reserved.
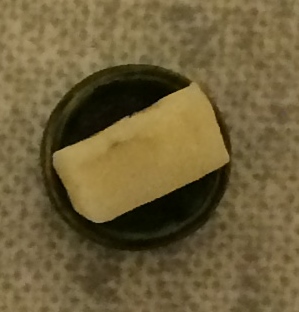
Little soap.
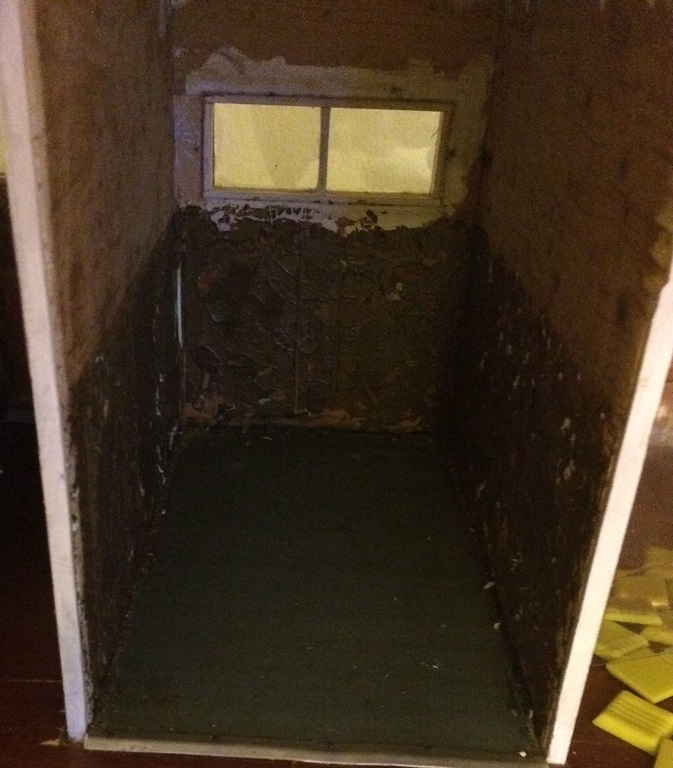
Are you ready to see the finished product?
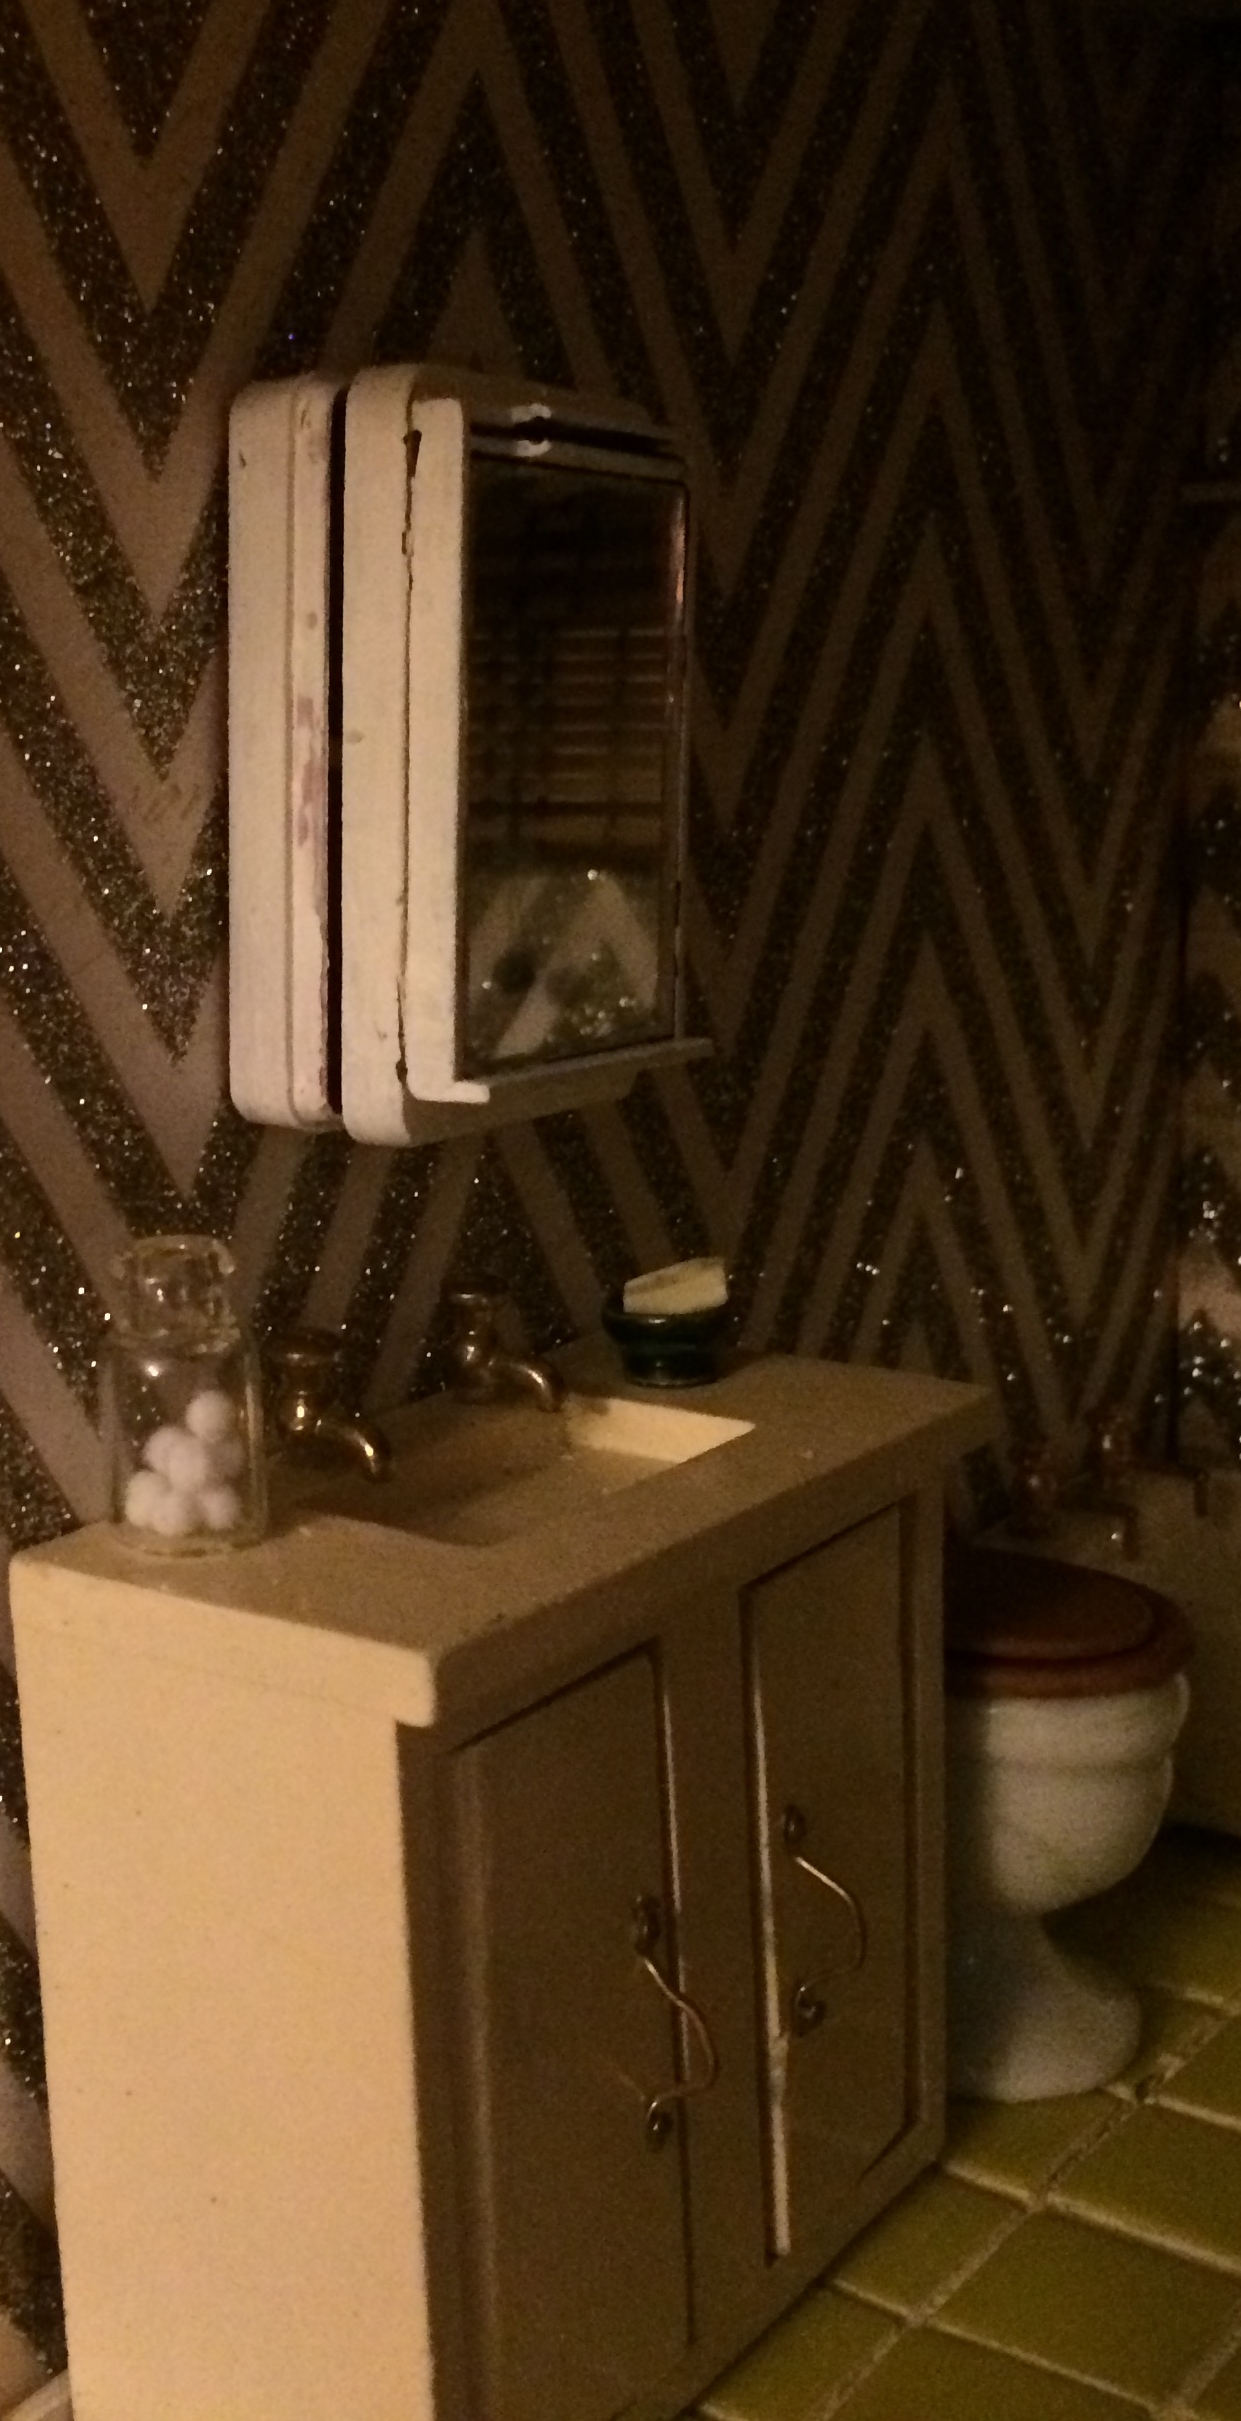
Bathroom with handmade medicine cabinet, partially opened. Photo by Holly Tierney-Bedord. All rights reserved.
As you can see, the paint continues to scrape off, especially when I open and close the cabinet door. I’ll need to touch it up again and then leave it alone. Despite its imperfections, I think it’s pretty cute!