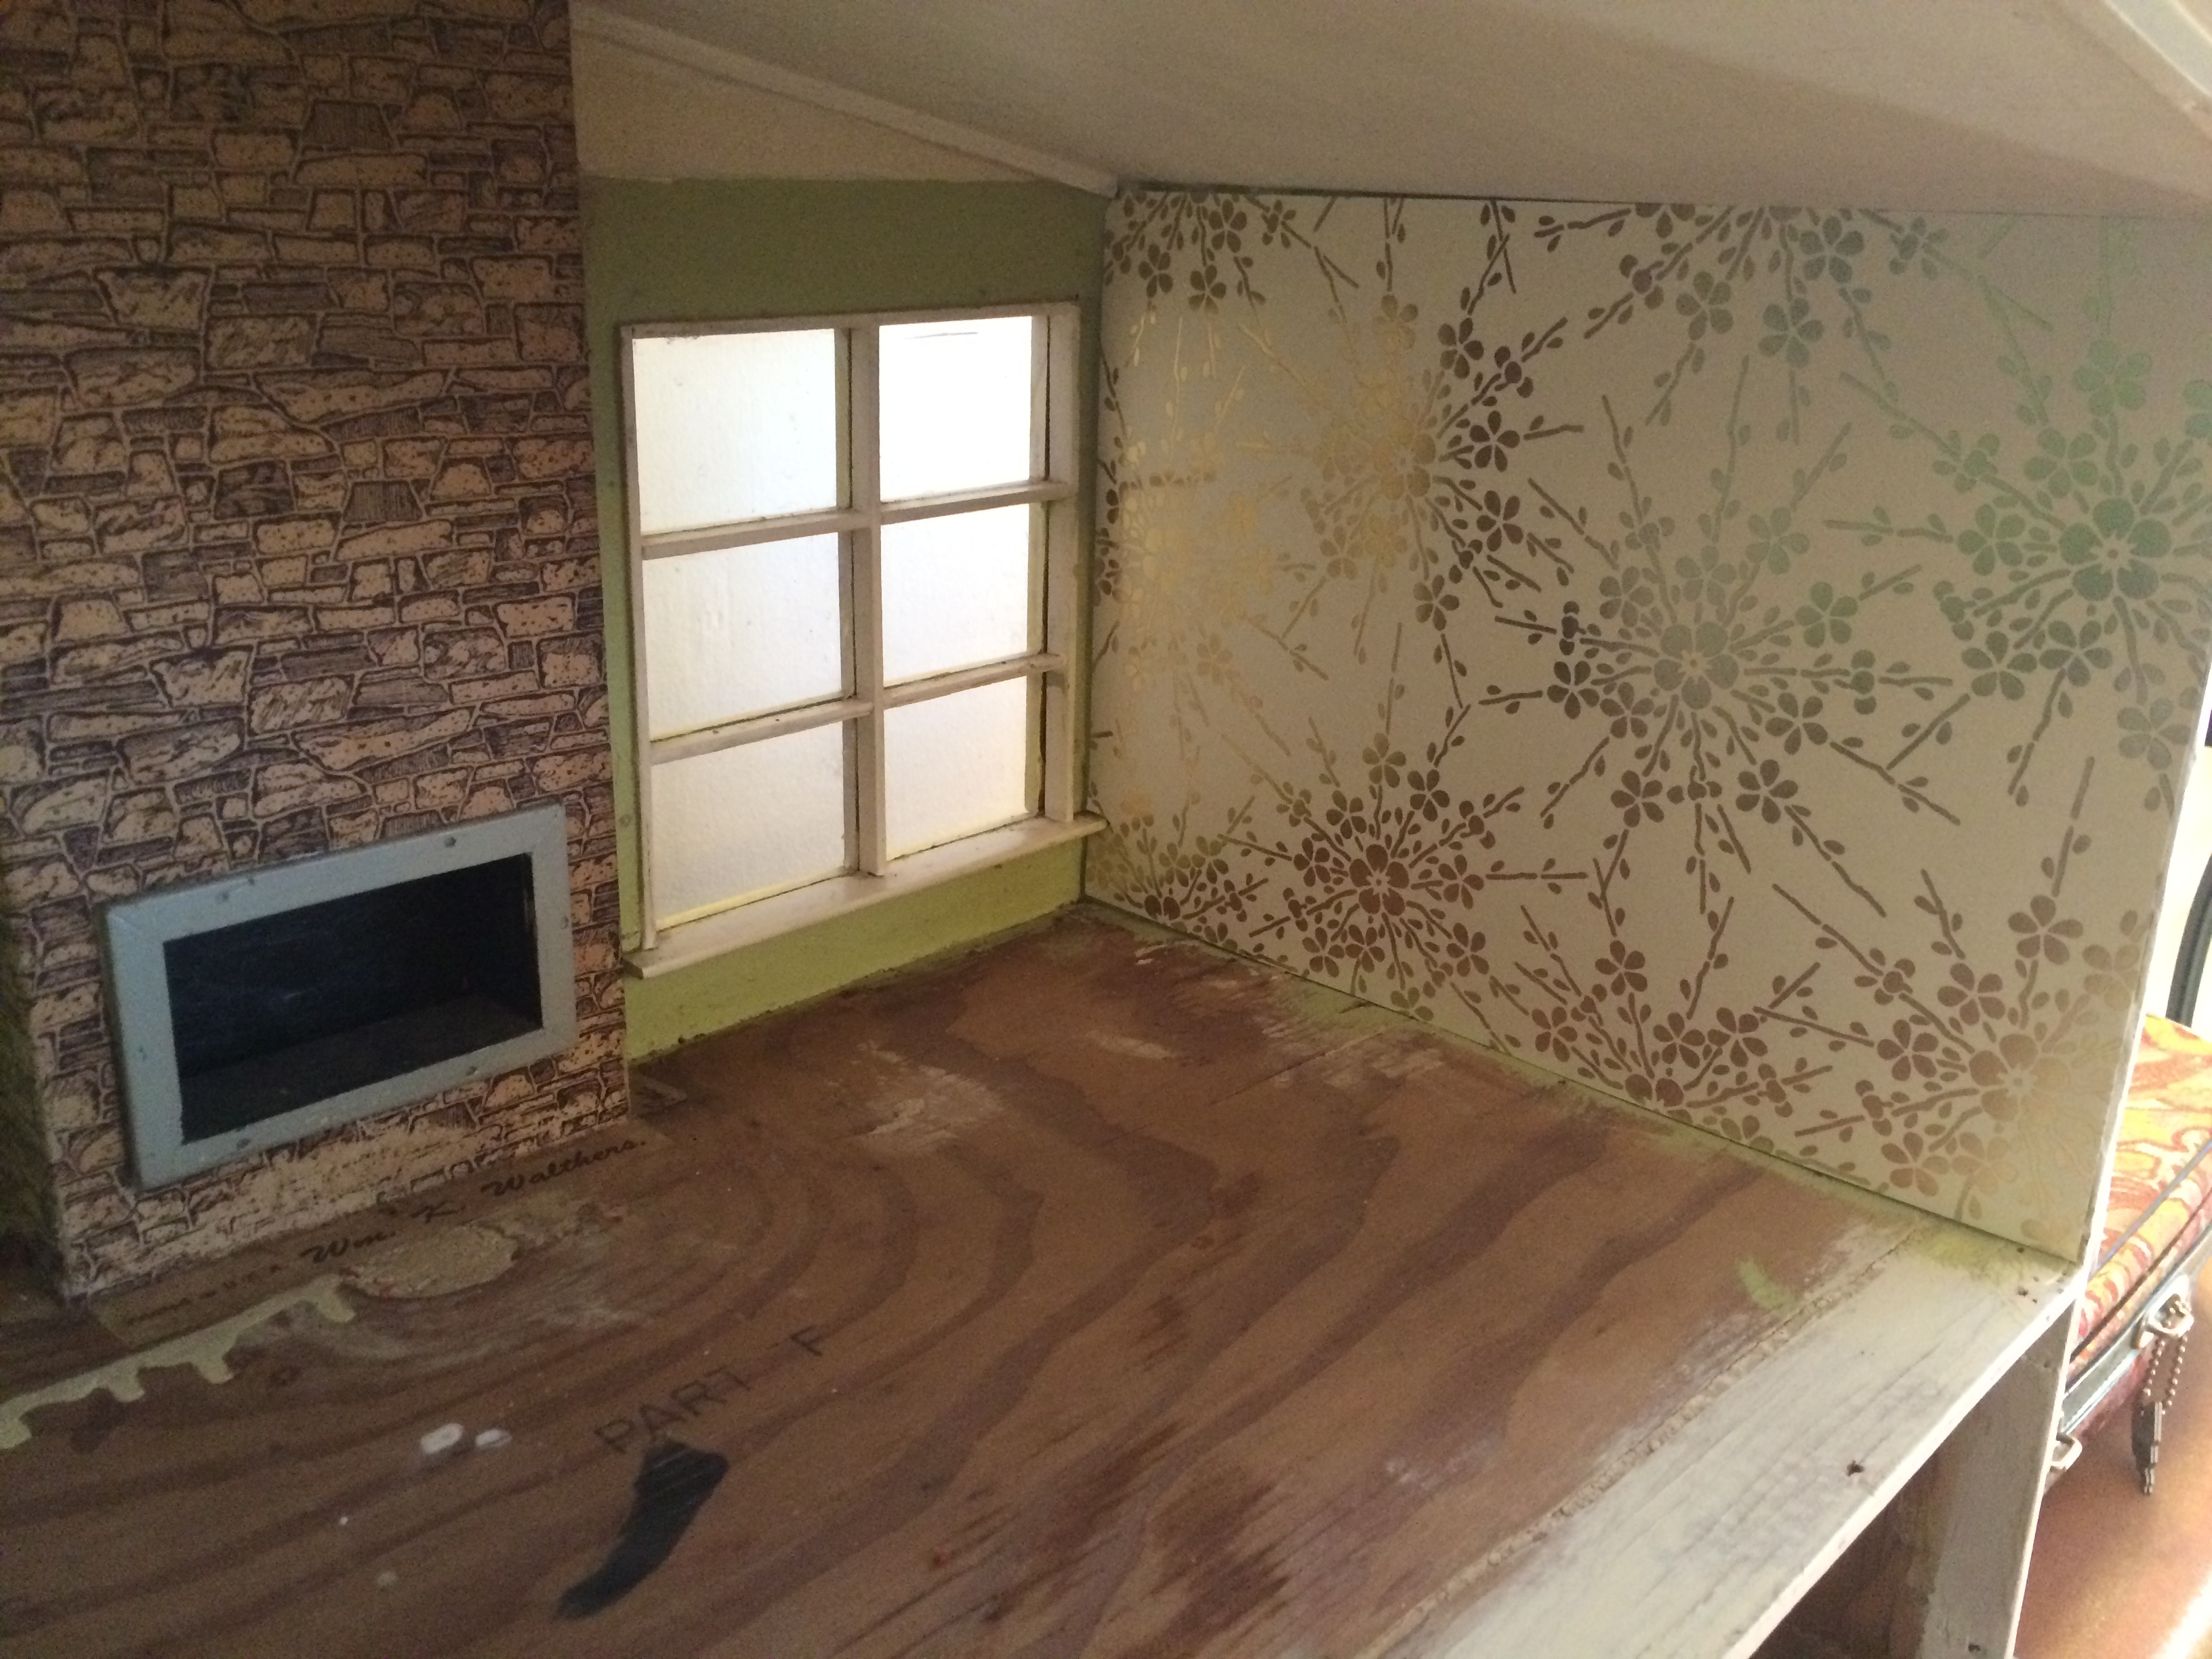
There’s been a huge, unexpected benefit to installing wallpaper that I’m feeling lukewarm about. Before installing the wallpaper, I felt like I was pretty much done with the bedroom decor. I had a little bed I’d made from some Styrofoam, handmade bedding, some nightstands I’d painted, and a little dresser. They were all so-so. I was happy enough with them. Once the wallpaper was installed (And let me tell you, working in a tiny space like that, cutting out the perfect window-shaped rectangle that is positioned just so is the definition of tedium), I realized I would do whatever it took to not have to redo it. That has meant taking a serious look at everything else going in the room, and only allowing in decor that will elevate the overall look of the room. I’ve admitted to myself that some of my original plan wasn’t particularly mid-century or modern. Like the nightstands. I decided I either need better nightstands or better wallpaper, but I can’t leave both as they are, or my room will not be cute enough.
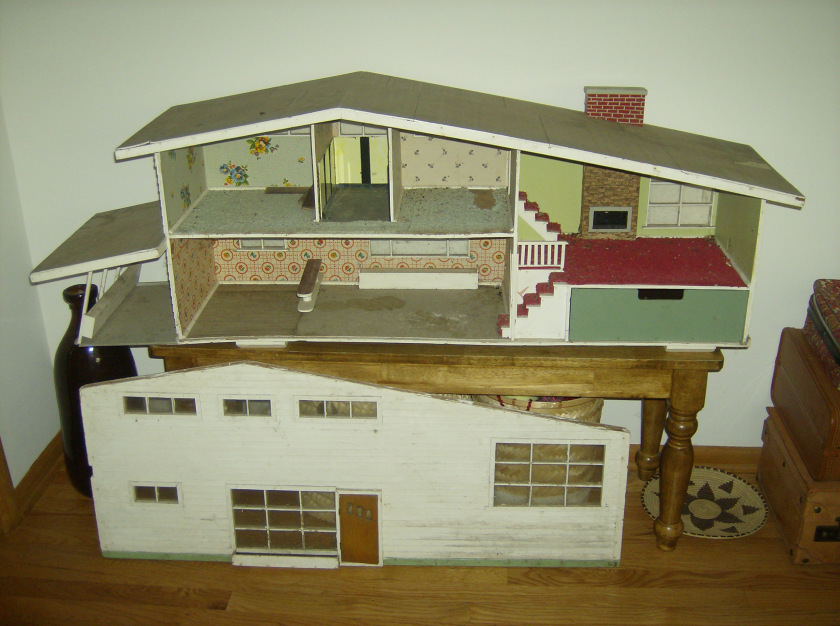
In this instance, inspired mainly by The Century House, I decided I wanted my mini bedroom to have a platform bed with built-in side tables like this, this and this, and ohmygoodness this, so I decided to create one for my mini house.
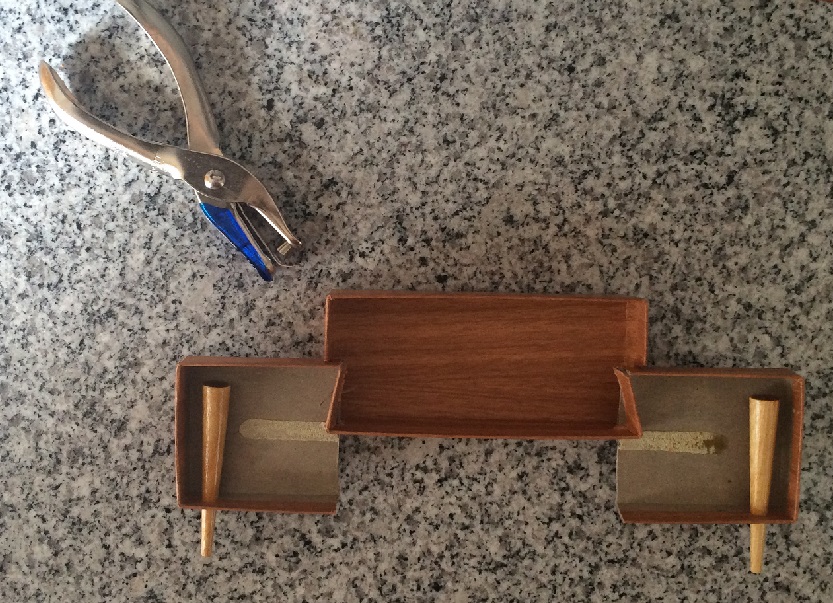
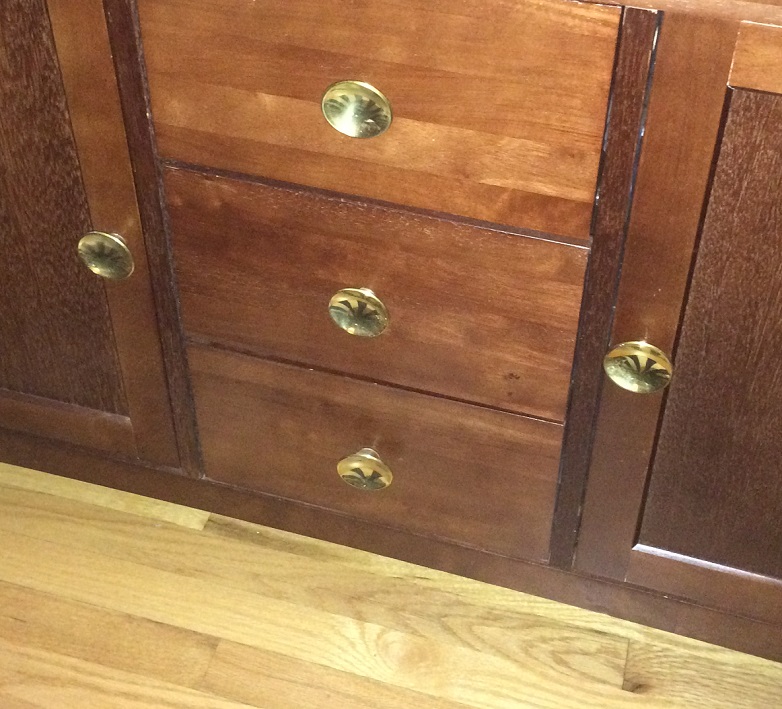
Several months ago I purchased a bottle of men’s cologne from St. Vinny’s, specifically for the awesome wood cap that came with it. The cologne was nestled in a faux wood box. Here’s a look at the box:
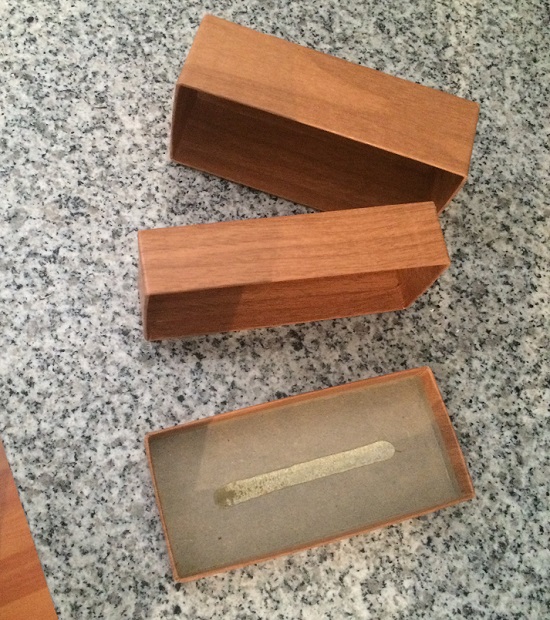
Faux wood box. Photo by Holly Tierney-Bedord. All rights reserved.
I decided I was going to turn this into a headboard with side tables!
The box had three parts, as you can see, that all fit together. I decided the two smallest ones would work best for my mini house.
The box is not in perfect condition since it’s from decades ago and has who knows what history. I’m not letting little issues like that stop me. No house is perfect, so a couple of scuffs here and there are no big deal.
Here are the steps I took:
1. Cut the lid in half. These will be my side tables.
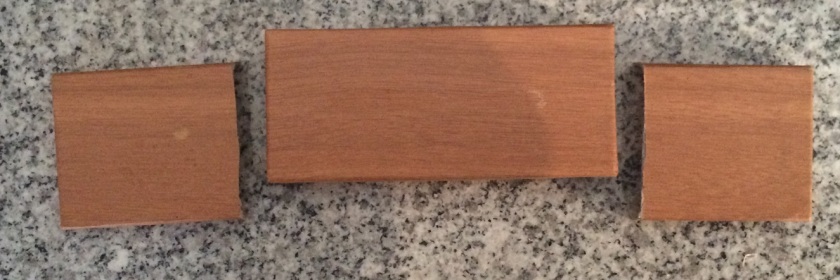
You say lid, I say side tables. Photo by Holly Tierney-Bedord. All rights reserved.
2. Next I made marks on what will be the headboard of the bed, outlining where the side tables will be inserted.
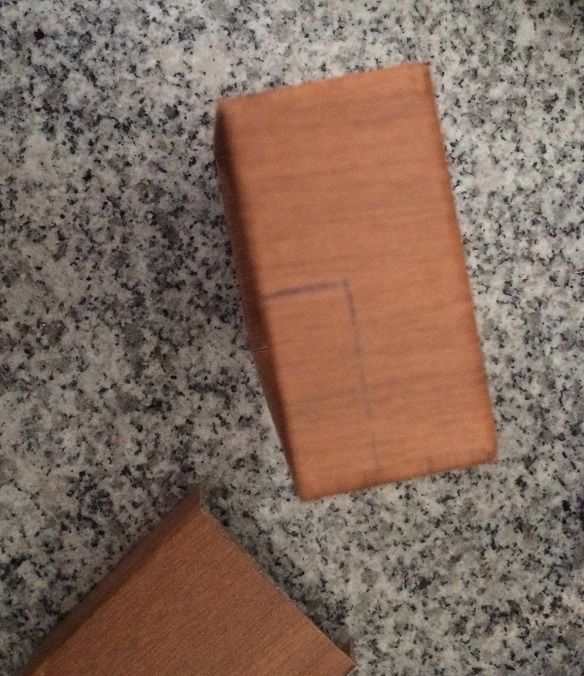
Attach side table here. Photo by Holly Tierney-Bedord. All rights reserved.
3. Both sides got matching marks, and then were sliced through with an Exacto knife. Then the side tables’ rough cut sides were inserted into the slots that had been made. Here’s the result:
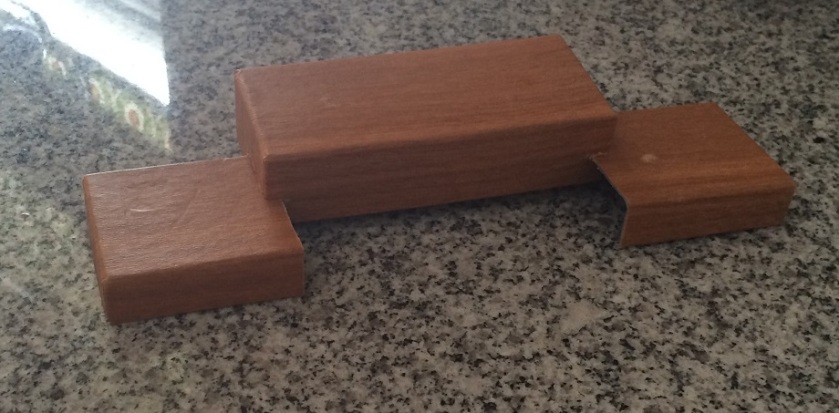
Mini headboard. Photo by Holly Tierney-Bedord. All rights reserved.
And a view from the back:
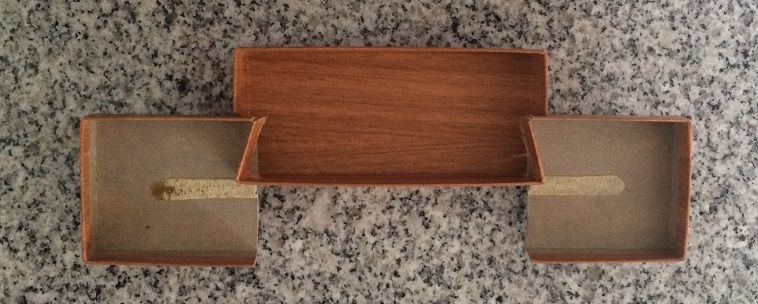
Back of the mini headboard. Photo by Holly Tierney-Bedord. All rights reserved.
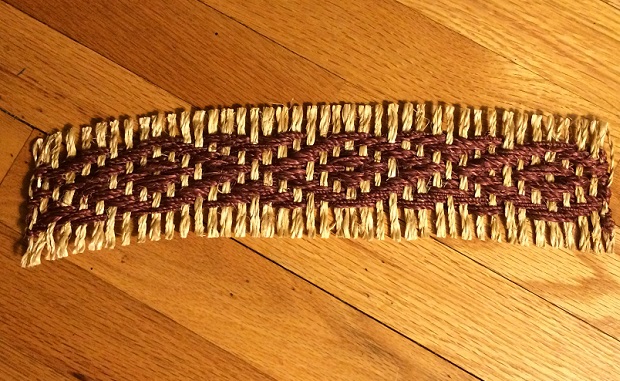
I realized it needed legs. With their light coloring and clean lines, these wooden caning pegs are perfect for mini mid-century furniture legs!
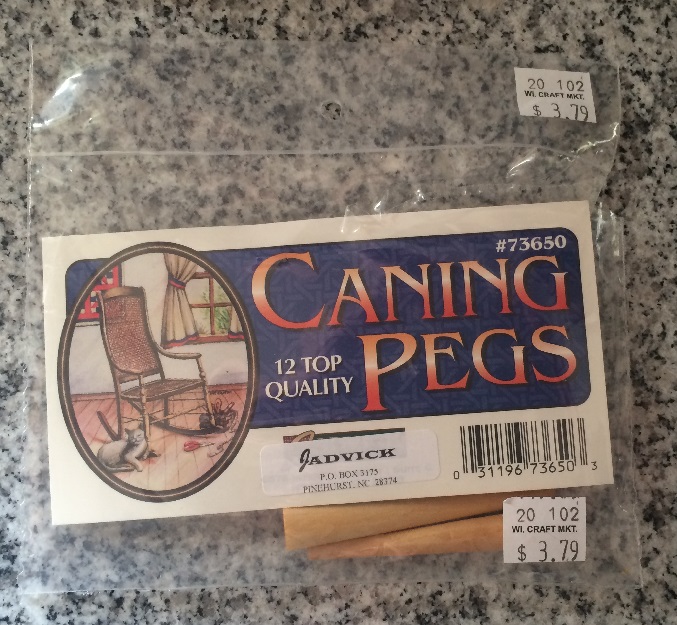
Caning pegs. Photo by Holly Tierney-Bedord. All rights reserved.
4. I punched holes in the bases of the sides tables, and each got a leg added:

Adding some legs to my mini headboard. Photo by Holly Tierney-Bedord. All rights reserved.
Here’s a view from the front:
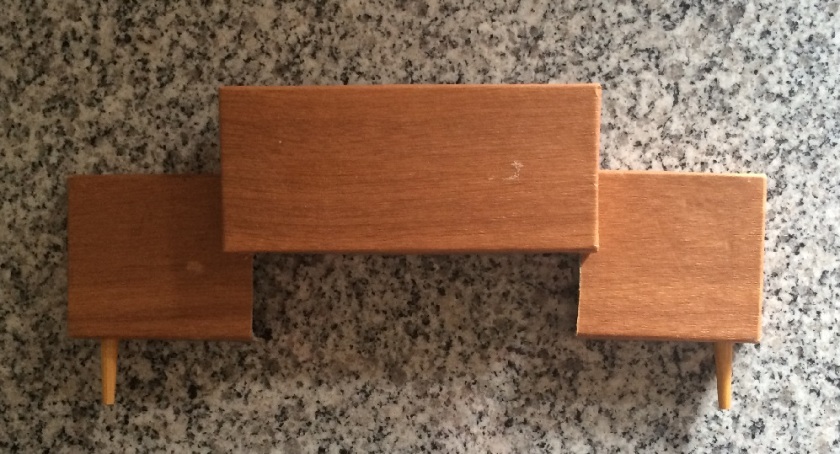
Mini headboard, now with legs. Photo by Holly Tierney-Bedord. All rights reserved.
Once the mattress, pillows, and comforter come into play, the imperfections will be hidden or toned down. I think it looks pretty cute! What do you think?