Choosing wallpaper for my mini master bedroom

Flipping my mini house

There’s going to be a lot of wallpaper in my mini house. A LOT. Like every room. Since it’s a mini house, I’m going to pile on all the crazy things I wouldn’t want to live with in my real house. (Or in some cases, the things I would want in my real house, but don’t have the energy or money to make happen.)

I’ve been thinking about wallpaper for the master bedroom. Here are several choices:

This slideshow requires JavaScript.

Originally, the second picture (green flowered) was what I had in mind. However, now I like the sparkly chevrons and the fireflies (# 9) best. Sparkly chevrons was intended to go the bathroom, in part because it’s got some texture to it and the walls in there a mess from having had tiles glued to them at one time. I love number ten, but at some point my house is going to stop reading mid-century modern if I’m not careful. I think that could be detail that takes it from mid-century with quirky touches to just plain wrong.

I’ll have to think about this.

Which do you prefer?

Exterior painting in progress!

Flipping my mini house

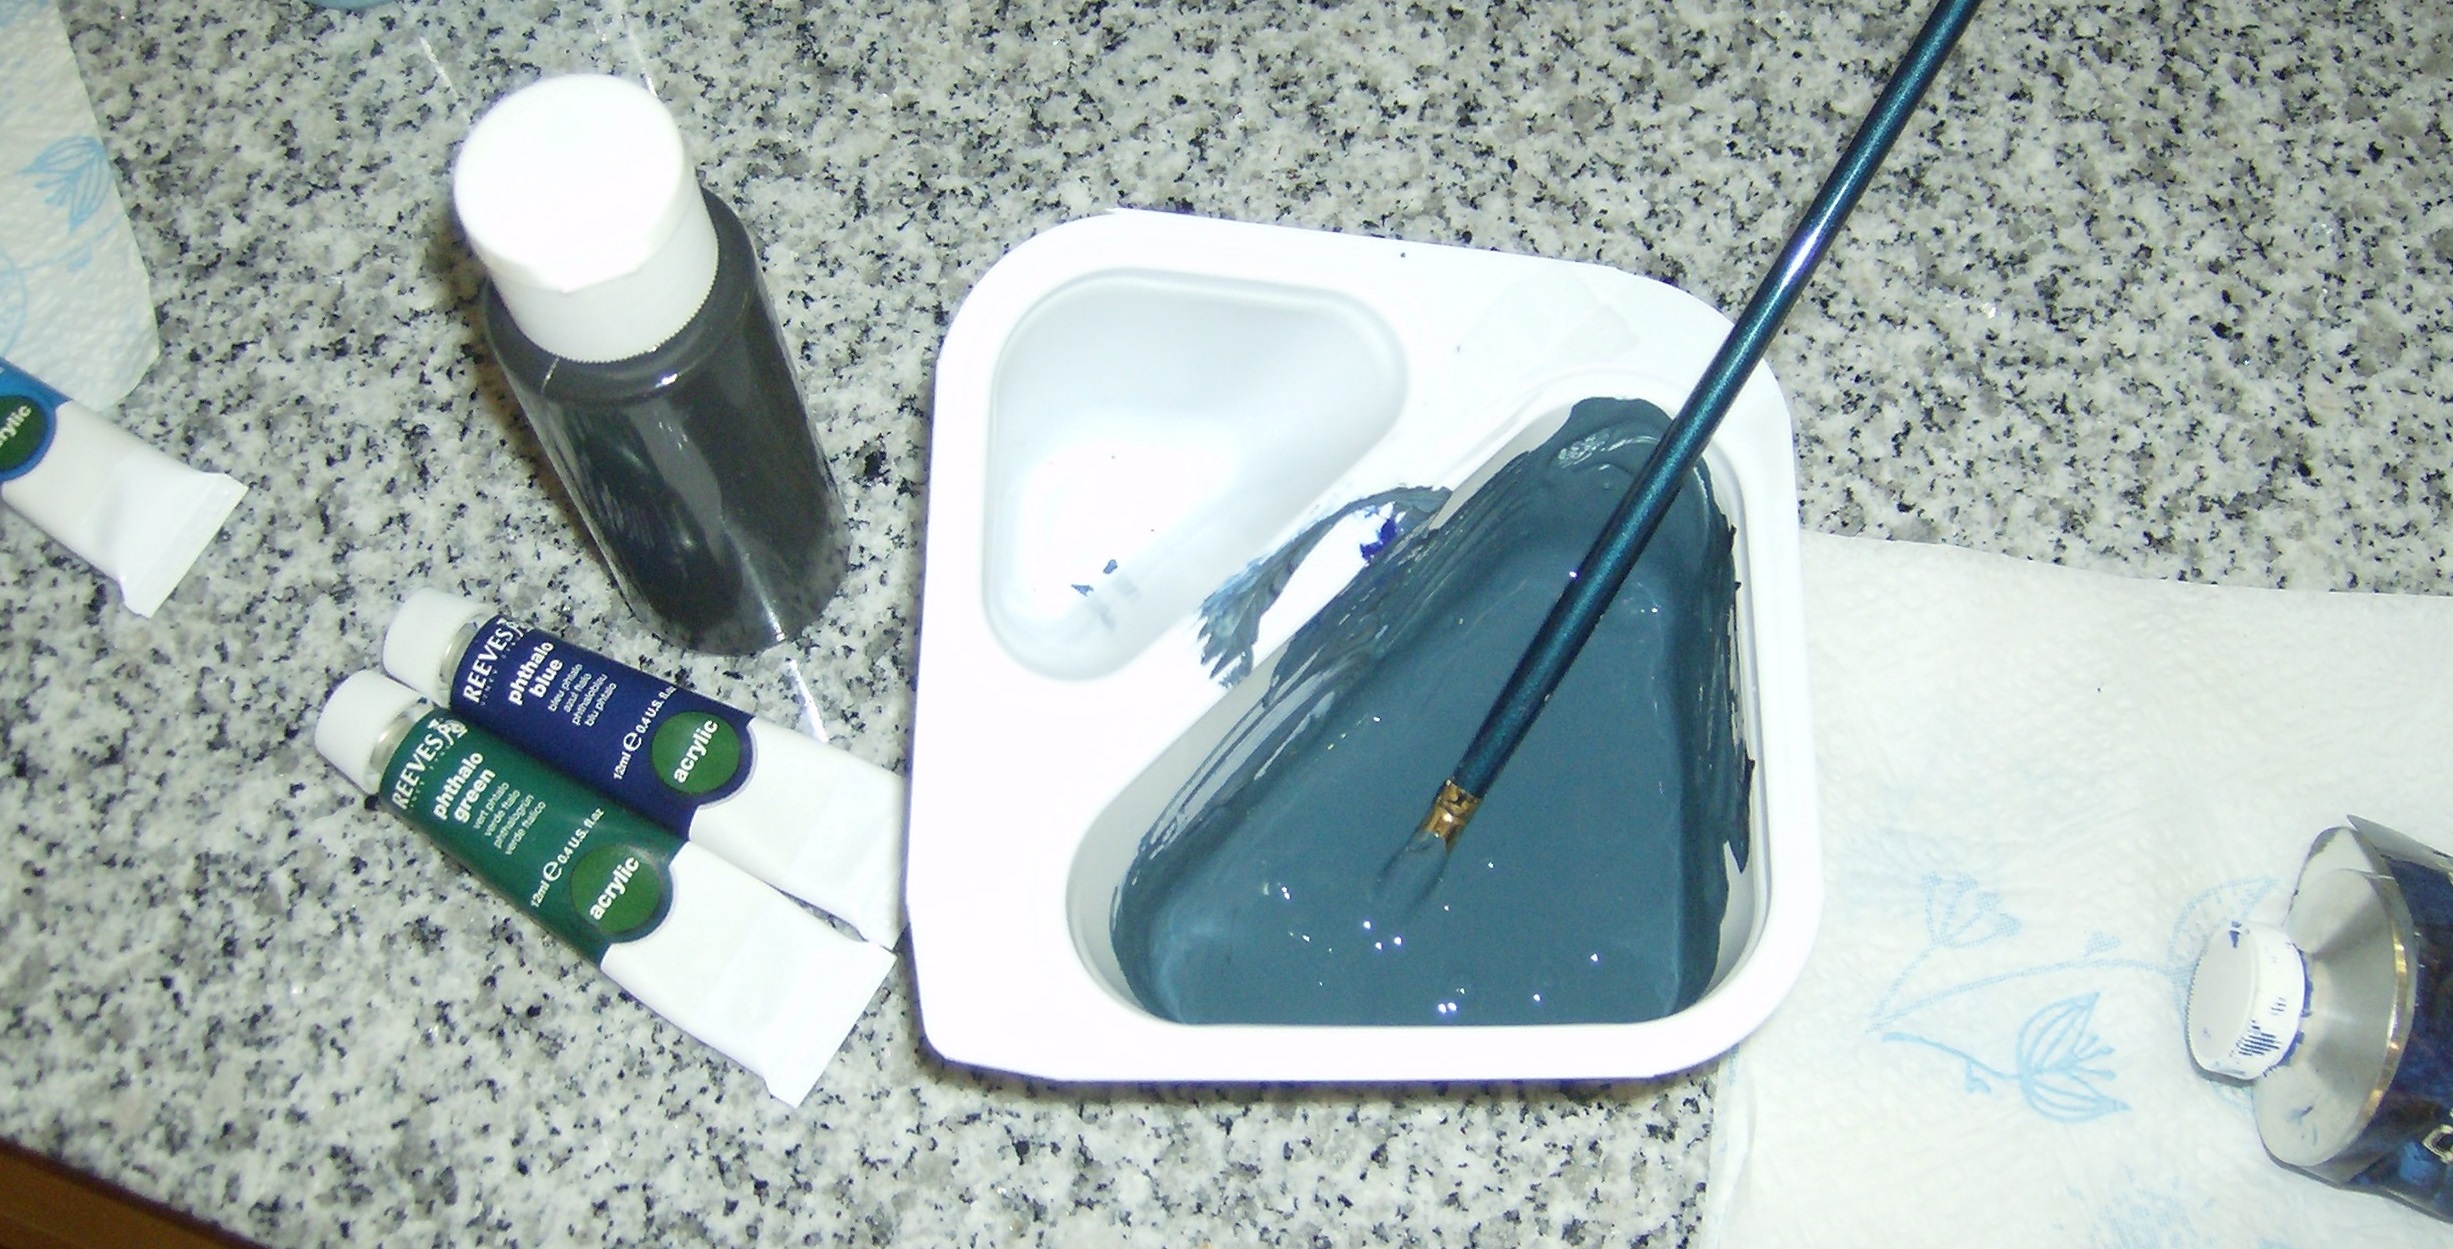
A decision has been made. After much hemming and hawing, I’ve chosen this shade of deep teal and given my house its first coat of paint. To get the perfect shade, I mixed it myself using a variety of tubes and bottles of art and craft paint. Here is a little peek at the secret formula:

The magic ingredients. Photo by Holly Tierney-Bedord. All rights reserved.

The magic ingredients. Photo by Holly Tierney-Bedord. All rights reserved.


Final product. Photo by Holly Tierney-Bedord. All rights reserved.

Final product. Photo by Holly Tierney-Bedord. All rights reserved.

I tried to make a lot since matching that color is going to be really tricky. Still, I didn’t end up with nearly enough. I’ll mix another batch soon on a bright, sunny day so I can have the best chance of getting a close enough match.

Here is a look at my house now. It’s splotchy and definitely needs another good coat, but you can see how cute it’s going to be. I’m still debating on trim colors. I’m considering leaving the front door alone and just adding a cute doorknob, and maybe some mid century miniature doodad like this backplate.

New exterior color. Photo by Holly Tierney-Bedord. All rights reserved.

New exterior color. Photo by Holly Tierney-Bedord. All rights reserved.

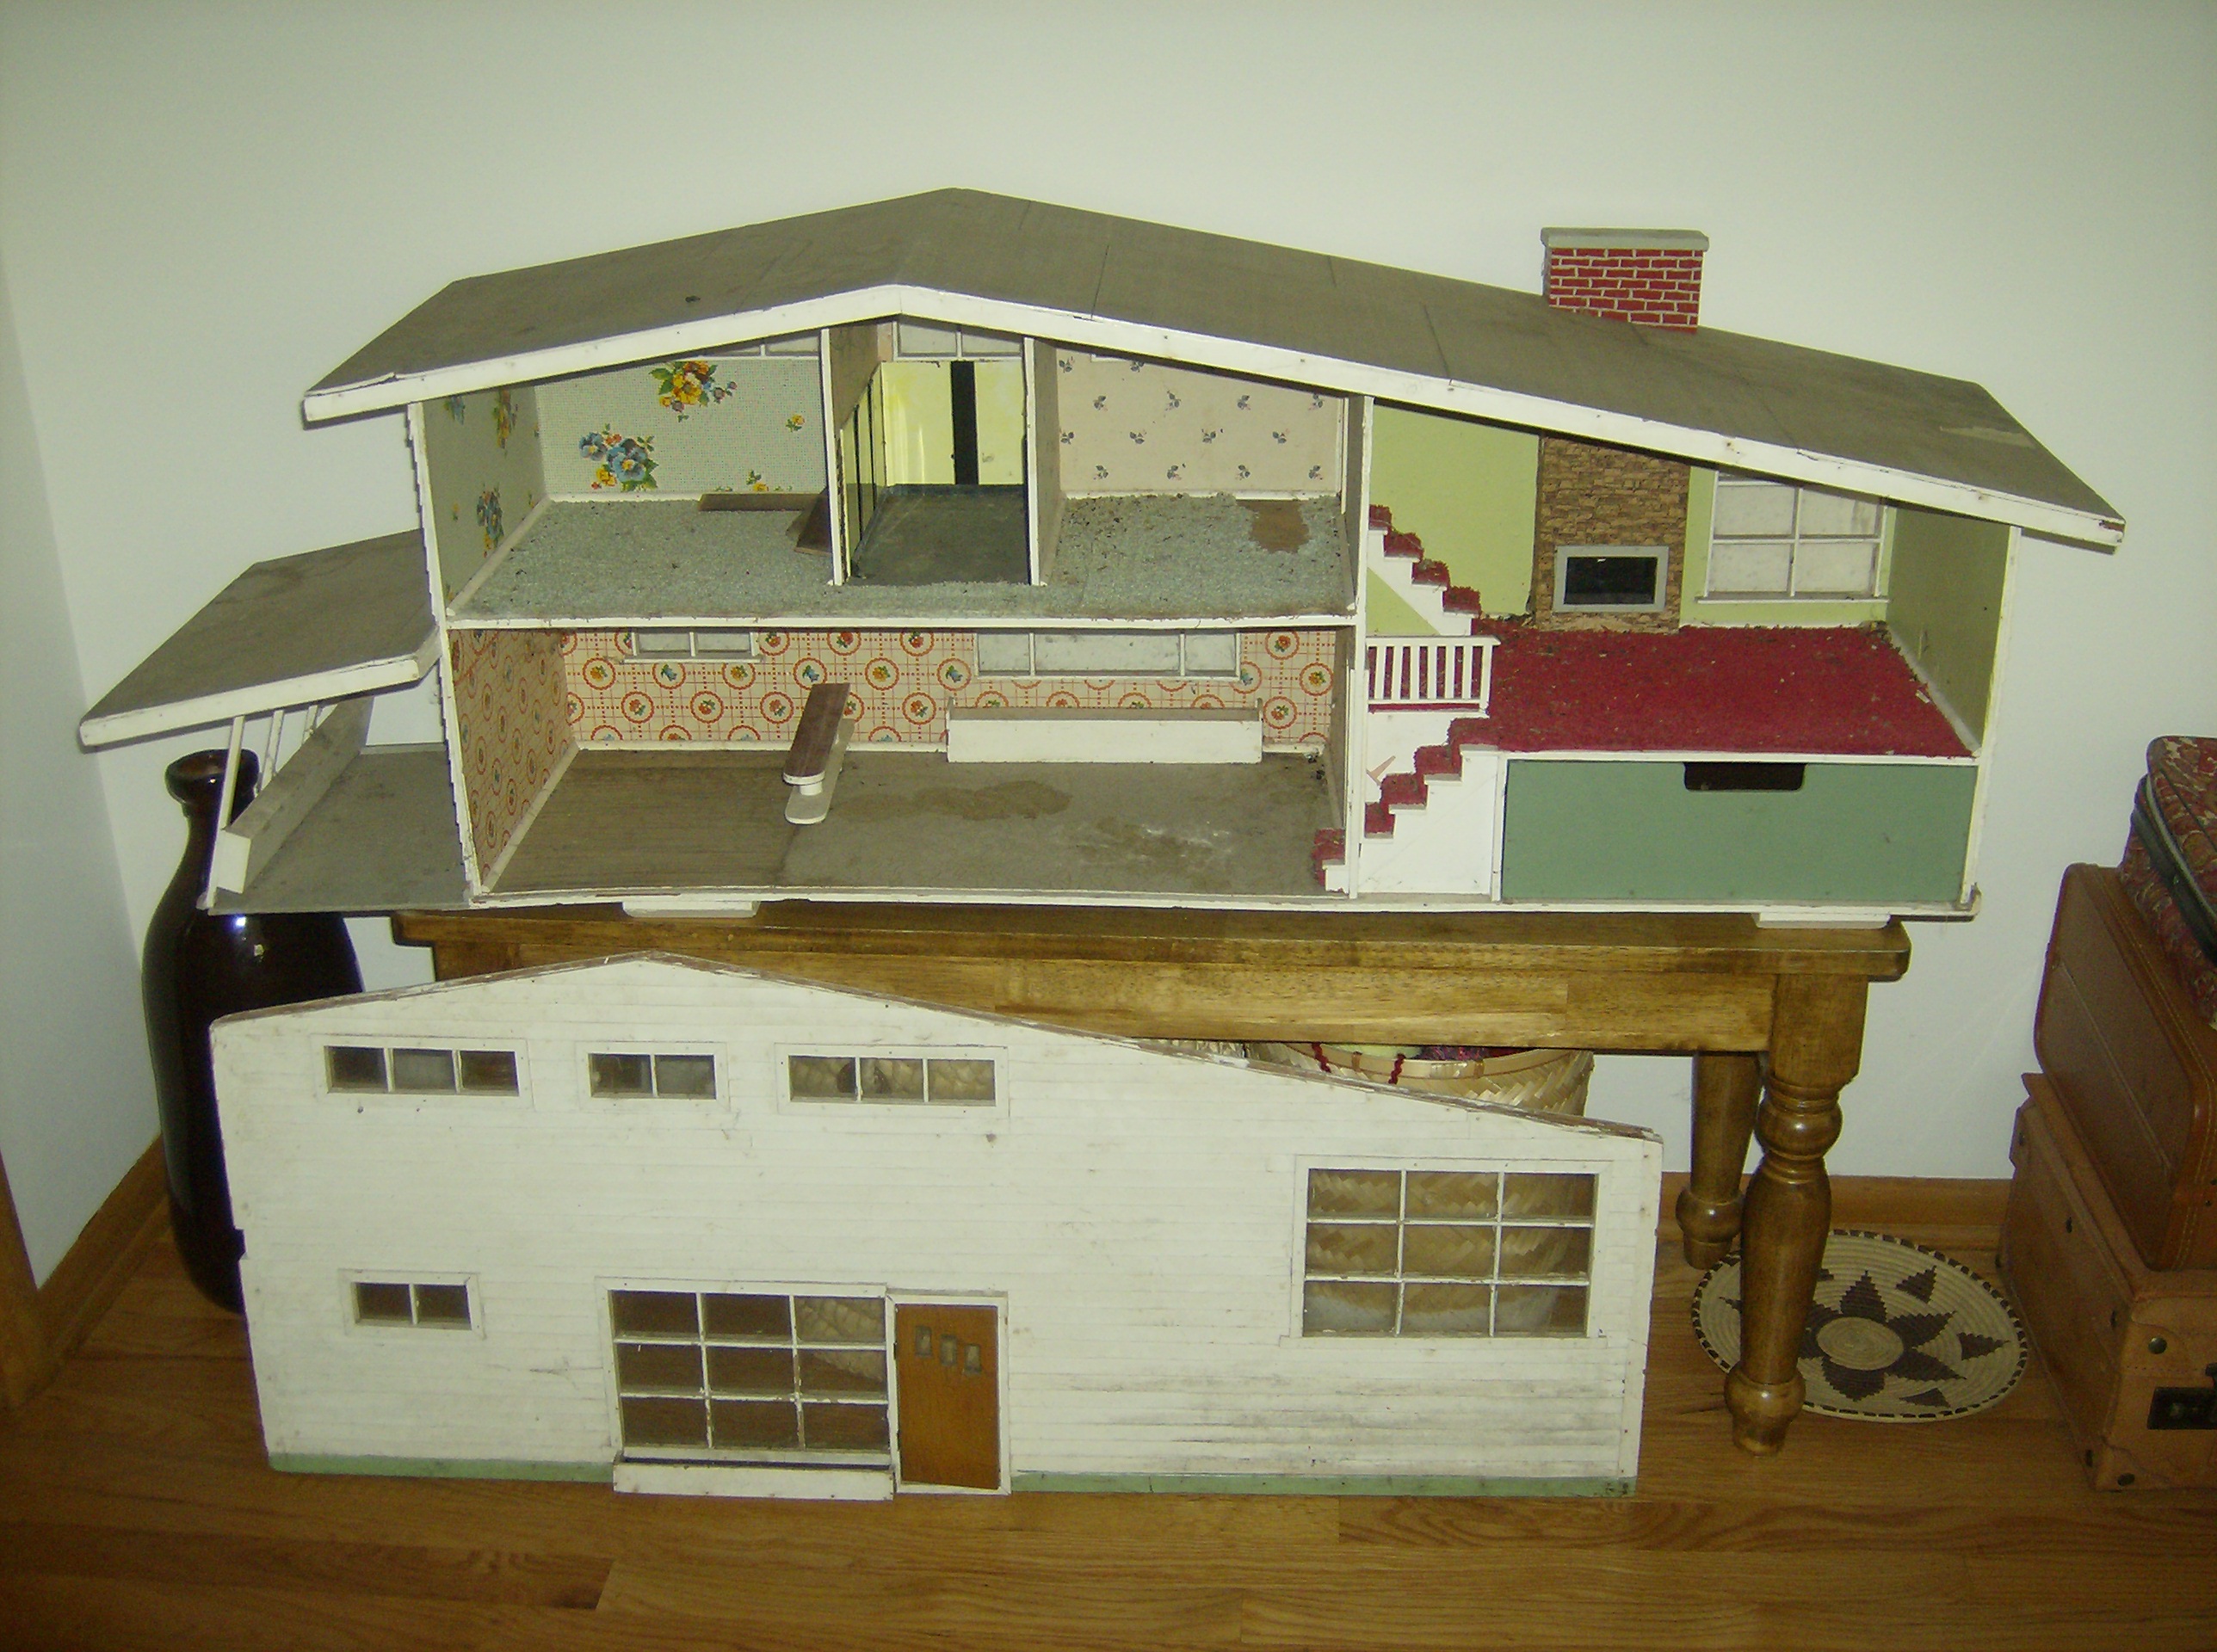
To remind you, here is the ‘before’ version of my house:

Photo by Holly Tierney-Bedord. All rights reserved.

Photo by Holly Tierney-Bedord. All rights reserved.

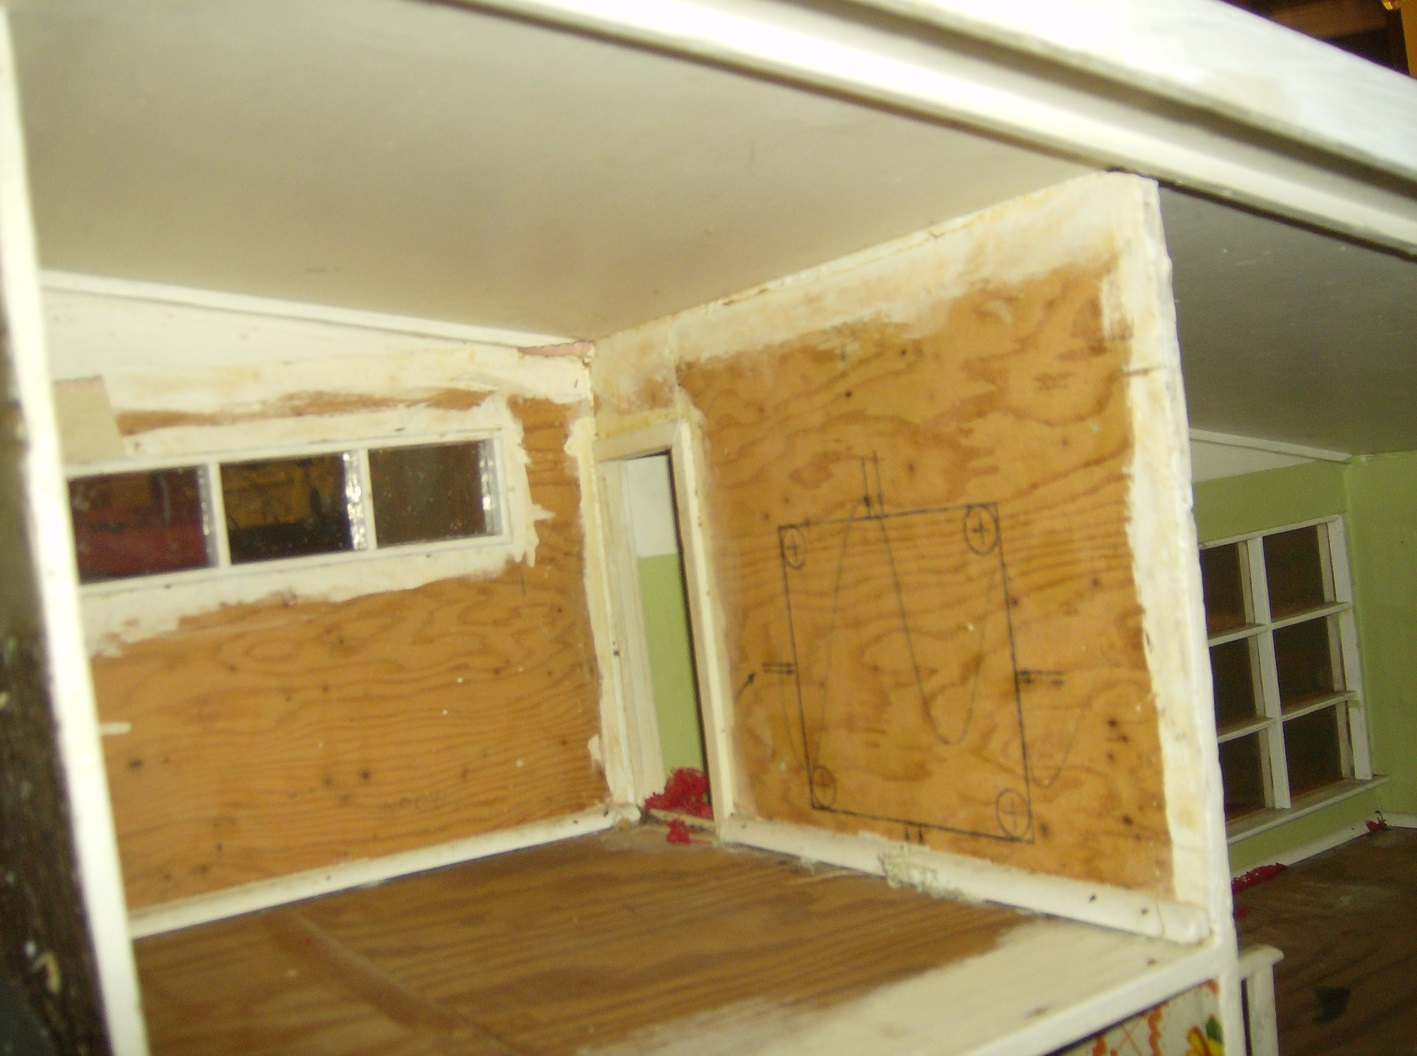
Here is a view of just the front panel of the house now:

Photo by Holly Tierney-Bedord. All rights reserved.

Photo by Holly Tierney-Bedord. All rights reserved.

When I’d gotten to the point where I barely had enough paint left to continue, and I was losing my enthusiasm (especially on the side with the carport), I got reinspired by this artwork on HGTV:

Frozen HGTV art inspiration. Photo by Holly Tierney-Bedord. All rights reserved.

Frozen HGTV art inspiration. Photo by Holly Tierney-Bedord. All rights reserved.

I realized that the wall inside what will be the office needs a little art, so I made this mural using a Sharpie marker and some of my leftover paint:

Mini mural, step one. Photo by Holly Tierney-Bedord. All rights reserved.

Mini mural, step one. Photo by Holly Tierney-Bedord. All rights reserved.


Future office. Photo by Holly Tierney-Bedord. All rights reserved.

Future office. Needs some art. Photo by Holly Tierney-Bedord. All rights reserved.


Mini mural, painted. Photo by Holly Tierney-Bedord. All rights reserved.

Mini mural, painted. Photo by Holly Tierney-Bedord. All rights reserved.

Having accent colors inside the house that match the exterior will make the finished project look much more cohesive.

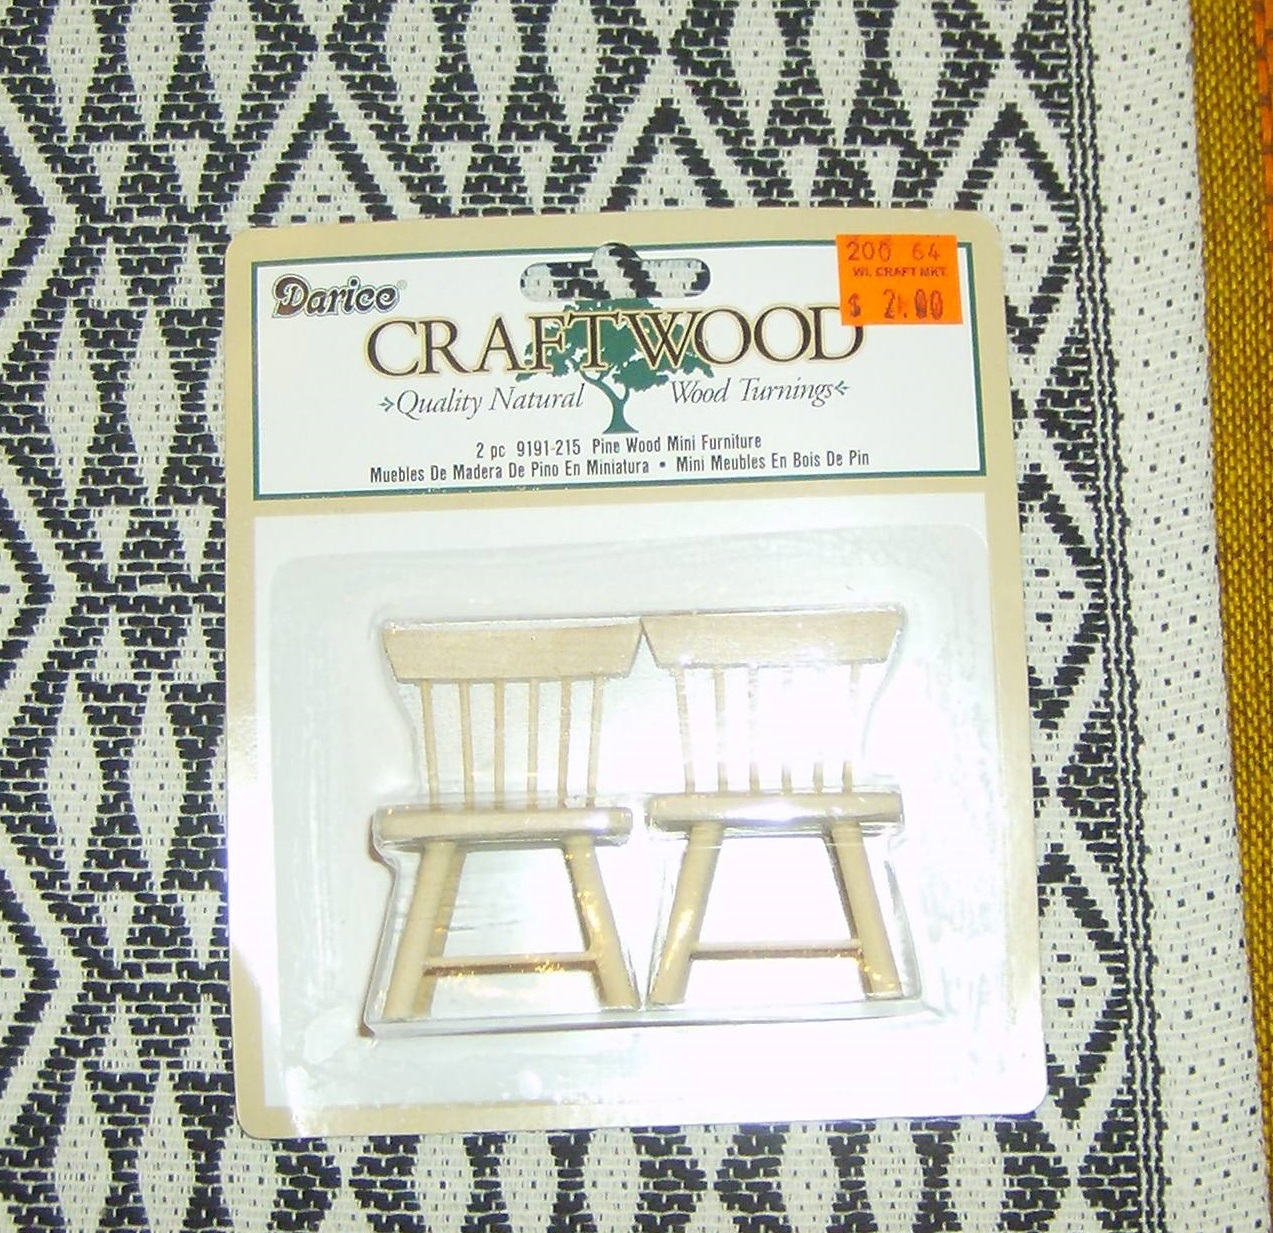
While I still had my paint and paint brush out, I painted the seats of these clearance chairs to match. I’m not even sure if I’m going to use them in the house since they aren’t much of a style match, but they might work someplace.

Mini chairs before. Photo by Holly Tierney-Bedord. All rights reserved.

Mini chairs before. Photo by Holly Tierney-Bedord. All rights reserved.

Mini chairs and mini mural. Photo by Holly Tierney-Bedord. All rights reserved.

Mini chairs and mini mural. Photo by Holly Tierney-Bedord. All rights reserved.

The mural will get cut down to fit on the wall of the office. The chairs will get sanded a little and… who knows.

Coming up soon: Another coat of paint, trim to be painted, shingles to be applied, and chimney to possibly get a facelift. It’s exciting times in Flip This Mini House land!

A tiny room divider

Handmade decor for my mini house

The bathroom in my mid century dollhouse has no door, so I knew I needed to find a way to give any miniature visitors to the space some privacy without blocking the view too much. My solution is this modern, beaded curtain, made of a rustic twig and four strands of pre-strung beading from the jewelry section of a local craft store (Sharpie shown for scale). The divider will be hung at ceiling height to fill the entire space going into the bathroom:

Boho chic room divider for my mid-century dollhouse. Photo by Holly Tierney-Bedord. All rights reserved.

Boho chic room divider for my mid-century dollhouse. Photo by Holly Tierney-Bedord. All rights reserved.

A cute little plant holder

Handmade decor for my mini house

Here is another quick, practically-free mid-century miniature project:

Tiny crocheted pot and thread macrame plant holder by Holly Tierney-Bedord. All rights reserved.

Tiny crocheted pot and thread macrame plant holder by Holly Tierney-Bedord. All rights reserved.

I am on the hunt for a leafy little plant to put inside. I think this will likely end up in the bedroom, since it matches the little comforter I made for the bed.

An inexpensive, artistic way to personalize a mini house

Handmade decor for my mini house

This small wooden easel and stretched canvas were found (both unpainted) at a local craft store. They were about $2 each. I painted the easel a sunny shade of yellow, and painted an orange sailboat scene on the canvas. I had a little trouble getting a shot of it without a glare, but you get the idea. It’s a quick, simple project that will personalize my dollhouse. It would also be cute displayed on a bookshelf or end table in a human-scale house.

Tiny painting by Holly Tierney-Bedord. All rights reserved.

Tiny painting by Holly Tierney-Bedord. All rights reserved.

The easiest way to make small-scale weavings

Handmade decor for my mini house

Almost every kid owned this potholder loom at some time. They’re still available for just a few bucks at many craft and toy stores. I picked one up the other day and since then I’ve created a small rug for my mid century marvel, and now I’m working on another:

Simple weaving projects using a plastic potholder loom. Photos by Holly Tierney-Bedord. All rights reserved.

Simple weaving projects using a plastic potholder loom. Photos by Holly Tierney-Bedord. All rights reserved.

The top one was created with a regular 90 degree by 90 degree pattern. For the one in progress, I’ve incorporated 90 degrees x 90 degrees x 45 degrees, just to see how it looks. This one will also end up being a rug, most likely. I plan to create another weaving using a lightweight thread next, so I can have a table runner for my mini kitchen.

Here is another picture of the completed rug, when it was in progress:

Dollhouse rug, in progress. Photo by Holly Tierney-Bedord. All rights reserved.

Dollhouse rug, in progress. Photo by Holly Tierney-Bedord. All rights reserved.

The advantage to using a 90 degree by 90 degree process is that you can easily squish the lines of thread together to make the appearance as tight as you’d like. With the one I’m working on now, the threads running at a 45 degree angle prevent me from having that option. I’m going to have to keep filling in the gaps with more thread, instead of being able to just smoosh them together.

This loom is great because it’s cheap, light, and small. You could use it (in your human-scale life) to make small wallhangings for your home, coasters, little weavings to set a potted plant on, etc.

Are you feeling creative and artistic, but on a small scale?

Blogs and websites that inspire

If you’d like to flip your own mini house, here is a contest you might be interested in:

The 21st Annual Creatin’ Contest from miniatures.com*

Everyone must use the Starting Point Garage Kit as their structure, and the entry deadline is December 16, 2014. Click the link above for more information.

If you need some inspiration, check out the 2014 Undersized Urbanite dollhouse contest website, showing results from this year’s (already completed) challenge.

*I’m not affiliated with this contest. Please direct all inquiries to the people at miniatures.com