As you may recall, I made this mural for my mini house’s office…
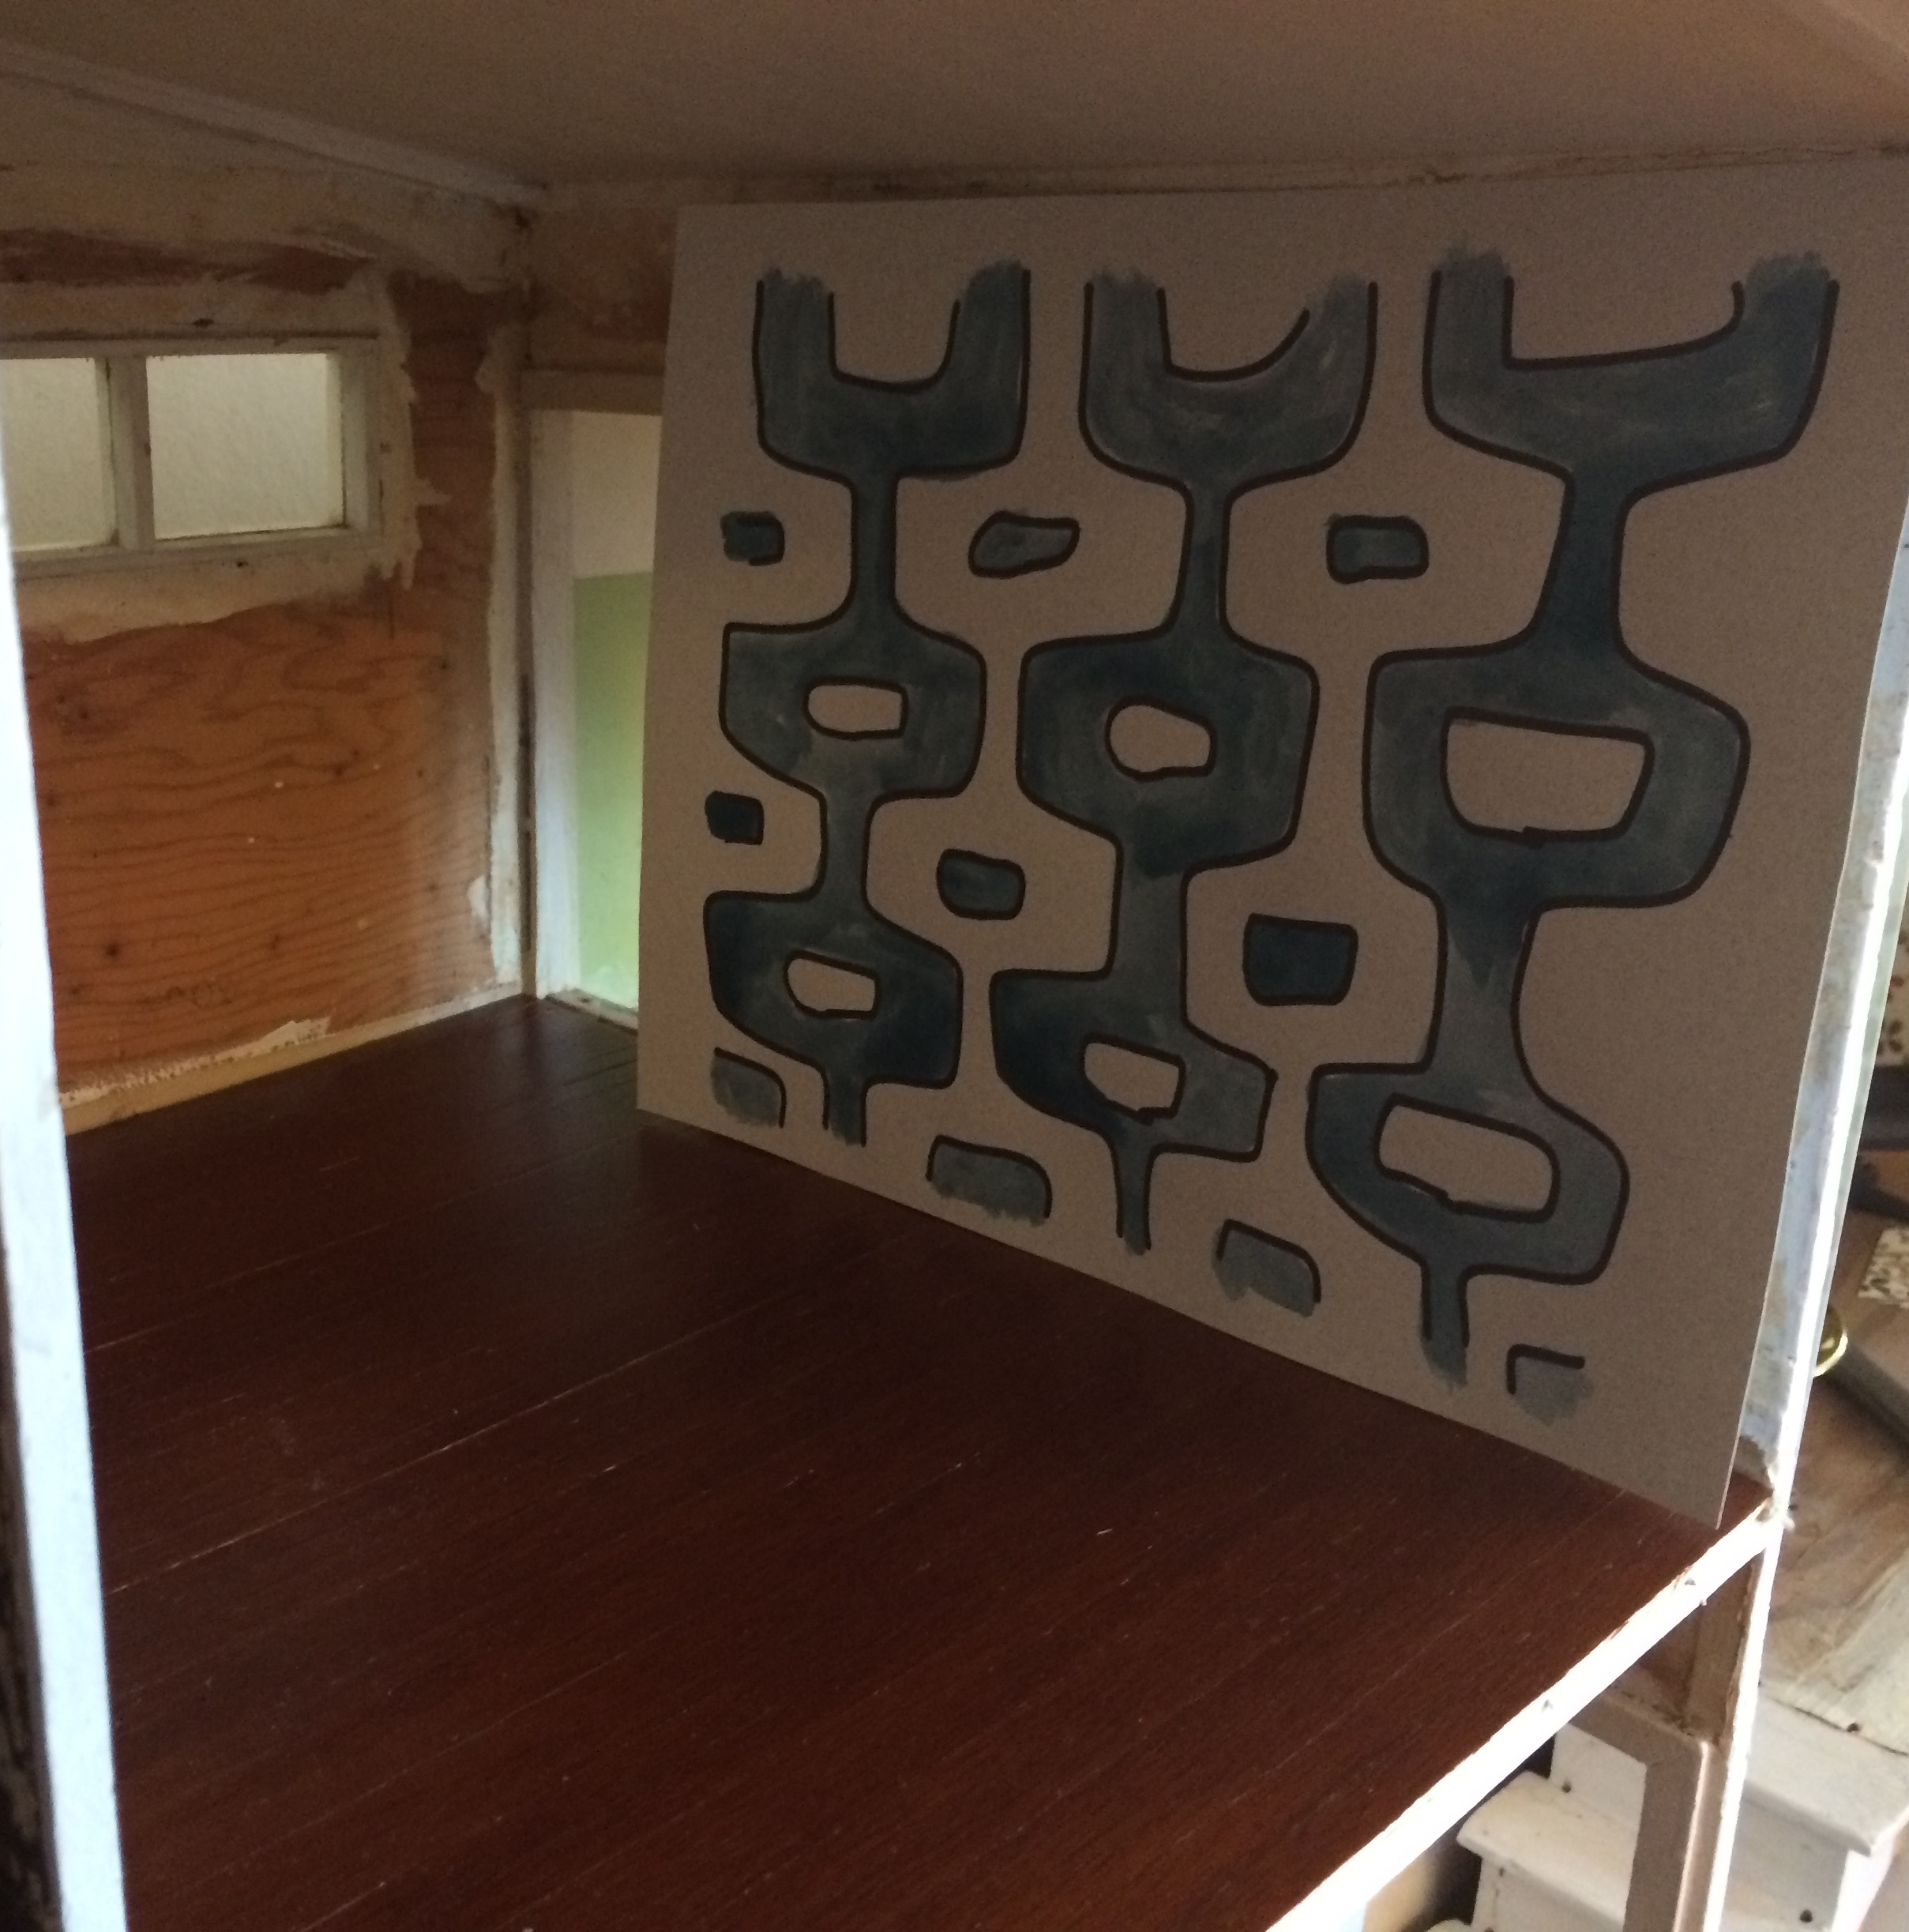
Mid-century mural for the office. Photo by Holly Tierney-Bedord. All rights reserved.
but have since eliminated teal/blue from my house’s color palette.
Also, I realized after creating it that it would have clashed with whatever wallpaper I ended up choosing for that room.
I liked the design of it so much, however, that I decided to create a small painted canvas with a similar design.
I started with a tiny canvas from the local craft store. These sell for about $1.99 each. I drew the pattern on with pen.

Tiny canvas. Photo by Holly Tierney-Bedord. All rights reserved.
Then I filled in the borders using a fine tip brush and the colors I plan to have throughout the house. I painted the edges of the canvas black.
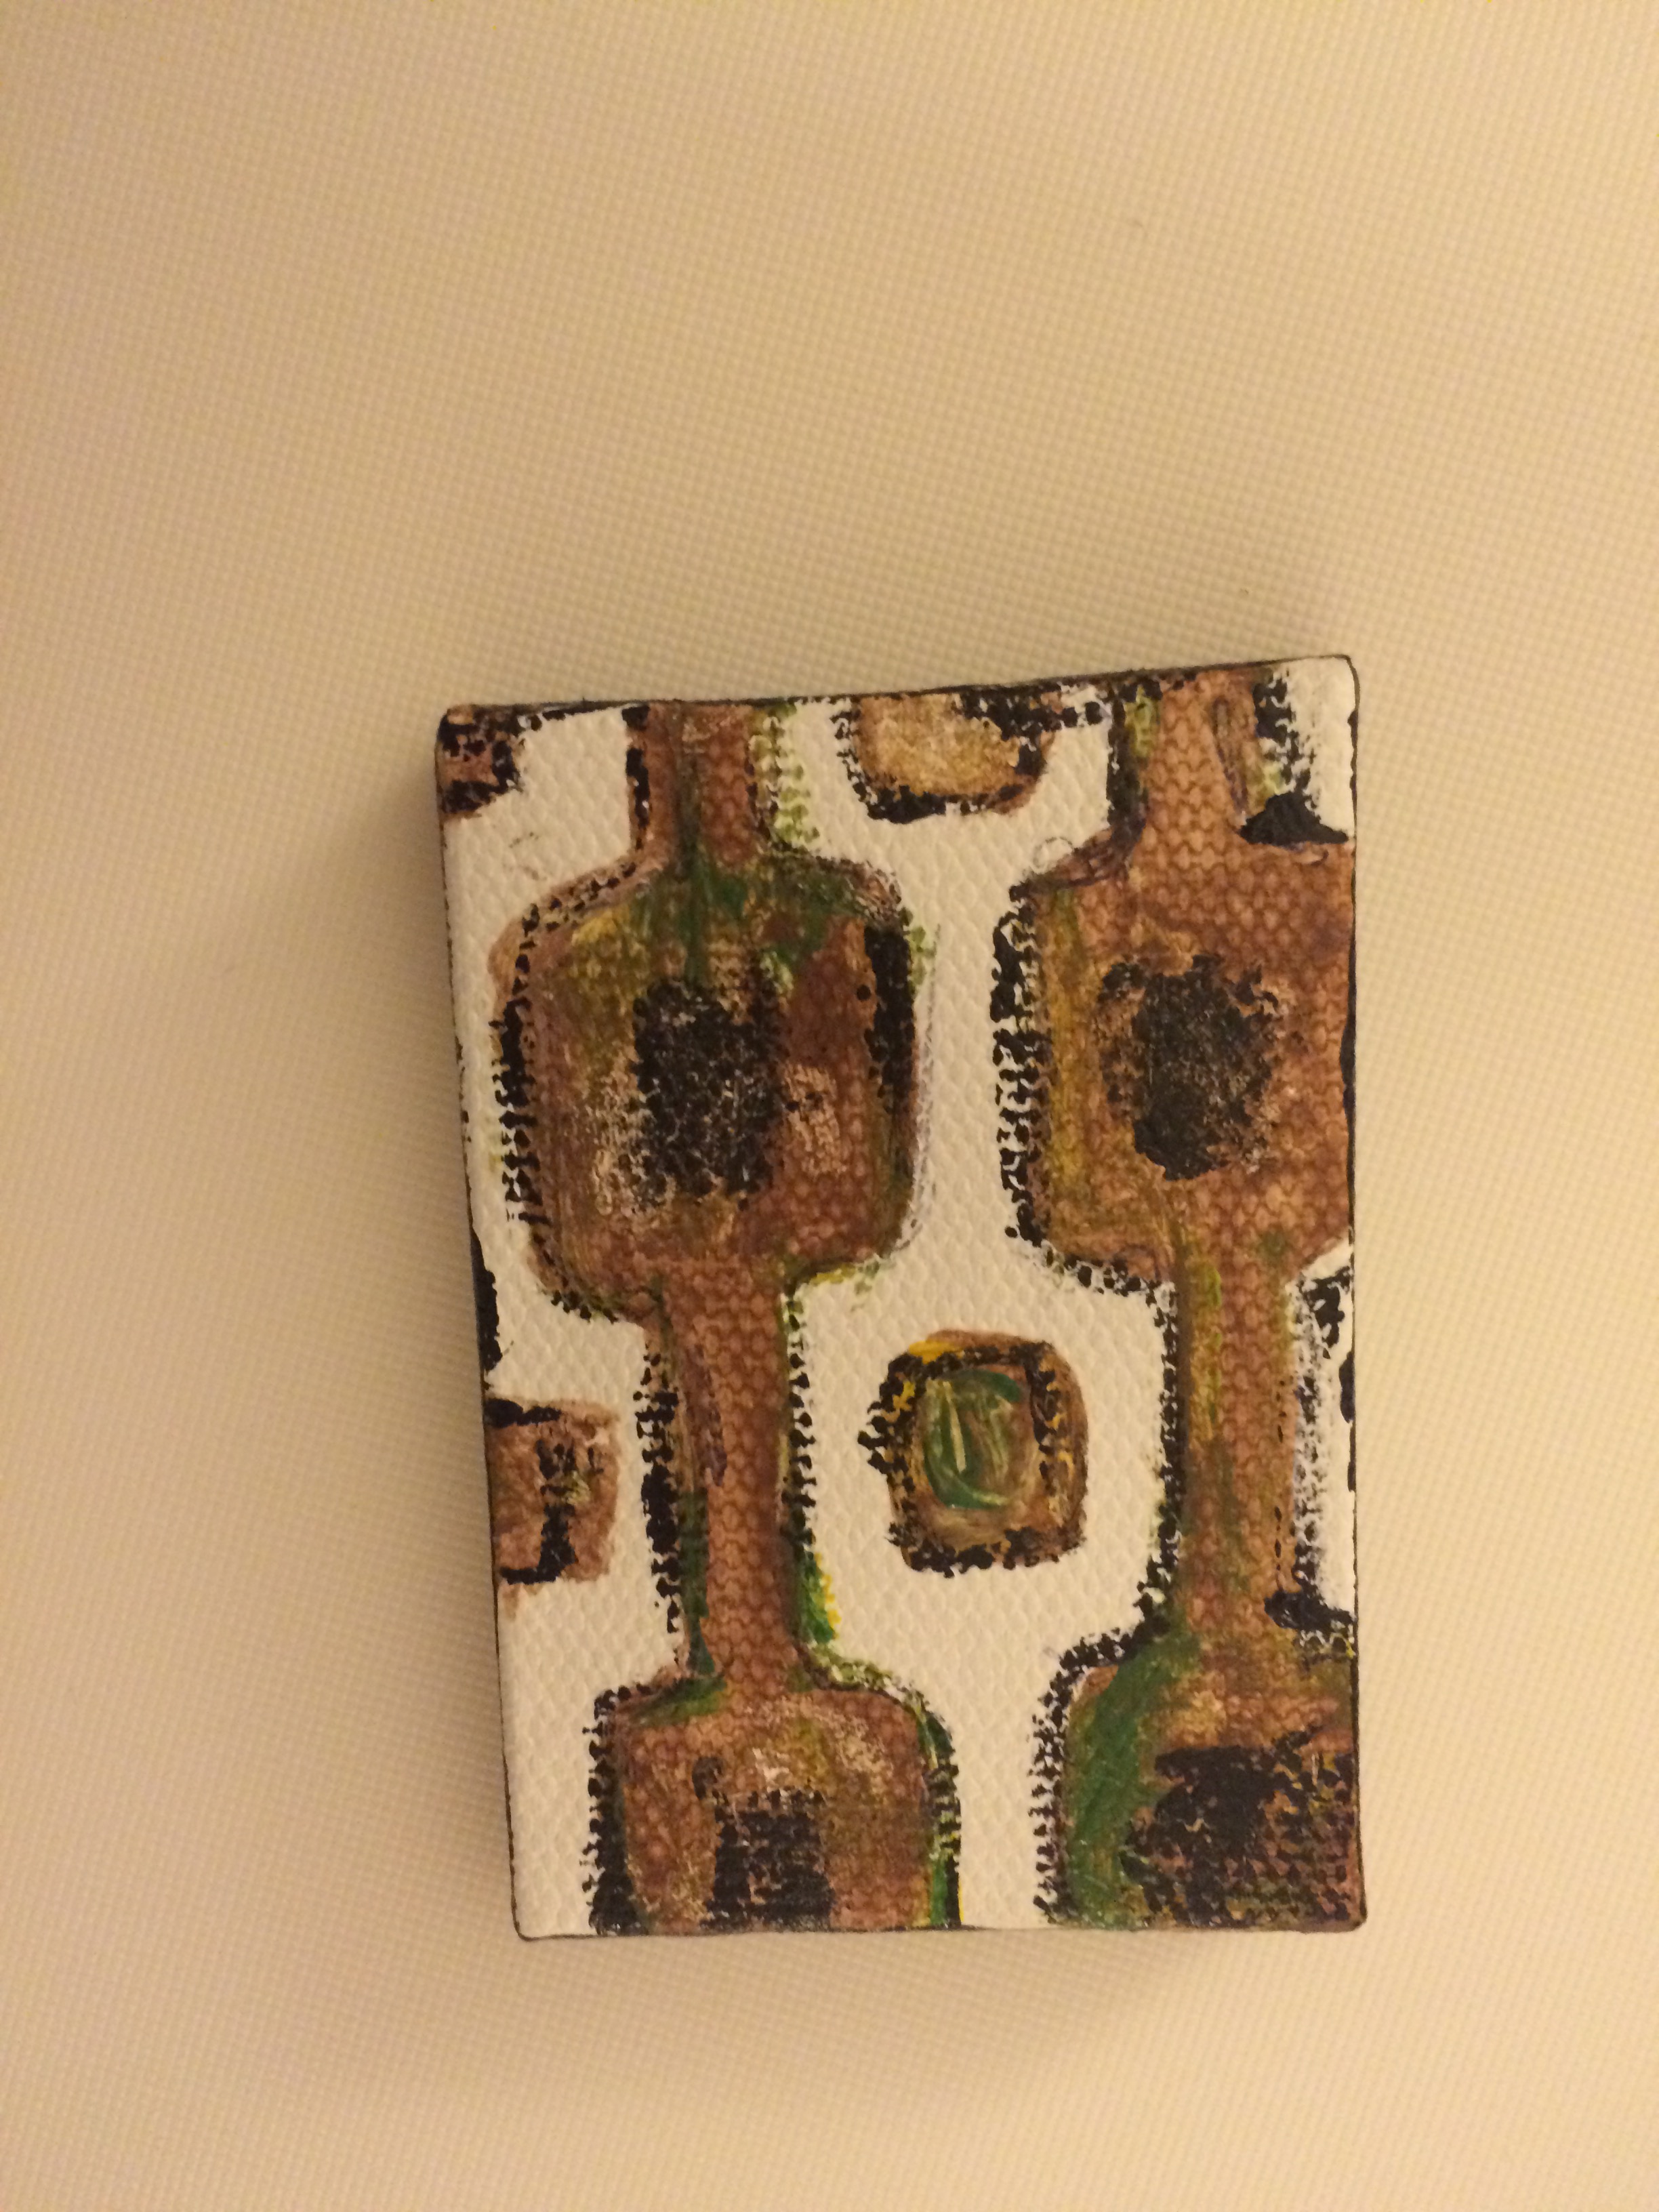
Tiny painting. Photo by Holly Tierney-Bedord. All rights reserved.
This is a quick, simple, inexpensive project anyone can do. The secret is to use a very fine tipped brush so you have control over applying paint to such a tiny space. I can’t wait to hang it in the office!