In yesterday’s post I was showing off my newest purchases, including a cute coffee table and some mini playing cards.
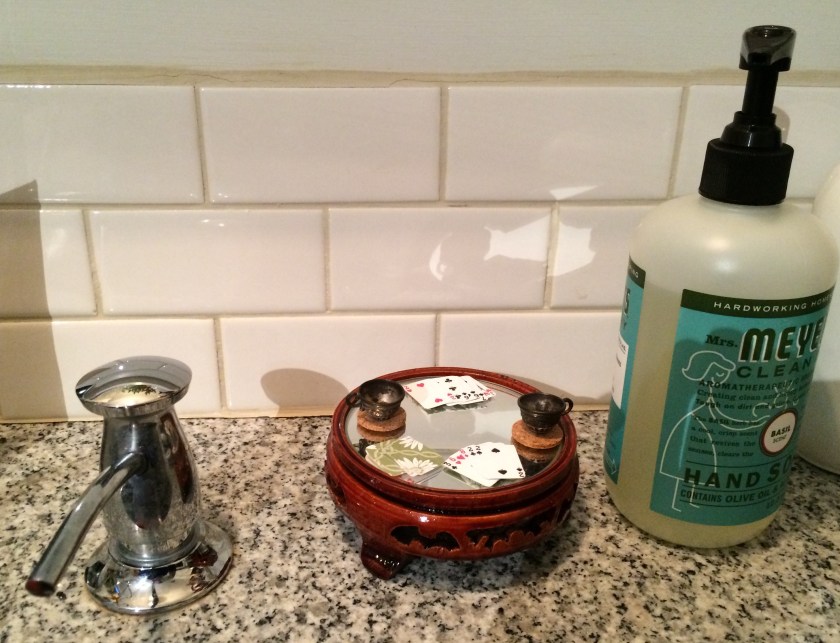
Cards and a cup o’grog. Photo by Holly Tierney-Bedord. All rights reserved.
Here are details about the playing cards. They are downloadable and printable, for free online, here at jfitz.com. According to this website (which is not affiliated with Flip This Mini House or myself in any way): “Feel free to use for personal or professional purposes…” (followed by additional information. Visit the page to see more information.)
To make a mini set for myself, I saved the image of the cards and then pasted it into a word doc so I could easily locate the image of all the cards within the margins of the page and print it at the scale I wanted.
Start with some good quality scrap booking paper that has a repeating pattern on the back. The smaller the image, the better. One side of the page needs to be white.
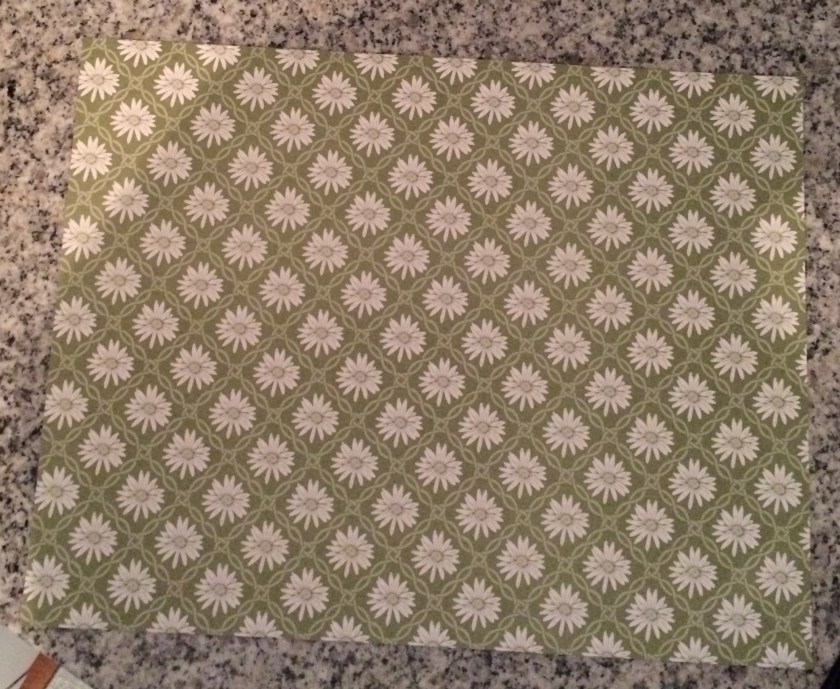
Scrapbooking paper. Photo by Holly Tierney-Bedord. All rights reserved.
Now print your cards on the white side and carefully cut them out.

Tiny playing cards. Photo by Holly Tierney-Bedord. All rights reserved.
Since they’re grouped in a tight bunch, you can cut them into four strips, lay the strips on top of one another, and slice off four cards at a time. Then trim them and round the corners. It actually all goes very quickly.
The result is an adorable set of cards, for the cost of a sheet of paper. Here they are again:
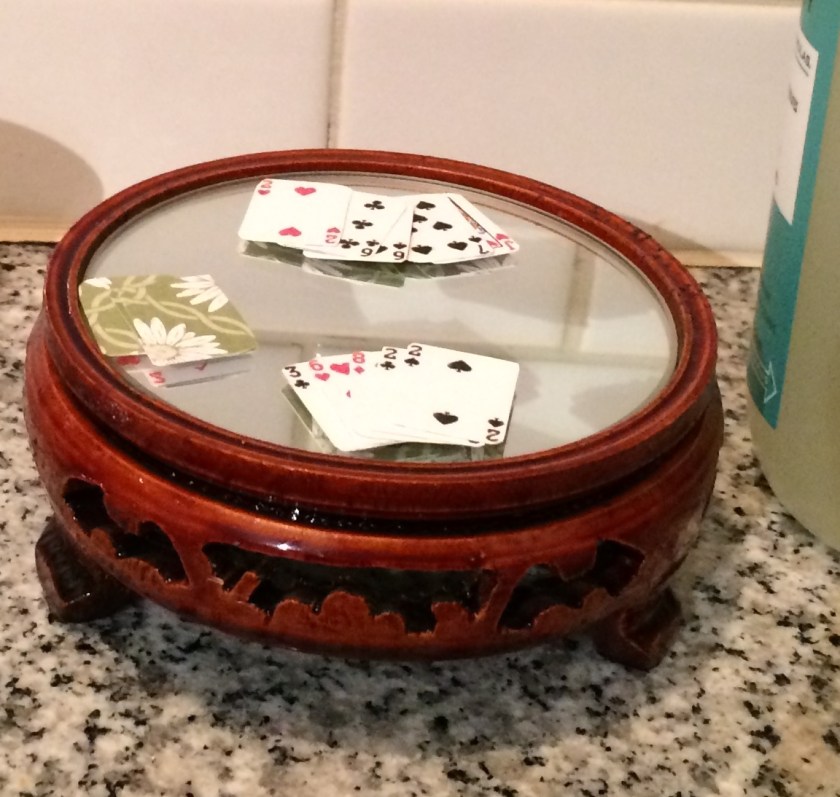
Cards on a cute coffee table. Just $.69 from St. Vinny’s for the coffee table and just $.69 for the paper the cards are printed on. Photo by Holly Tierney-Bedord. All rights reserved.
The little coasters are adhesive cork dots from the craft store. I stuck them on some cotton fabric and peeled them off several times, to lessen the stickiness of the bottoms. They make perfect coasters or little cork pads to go beneath potted plants.
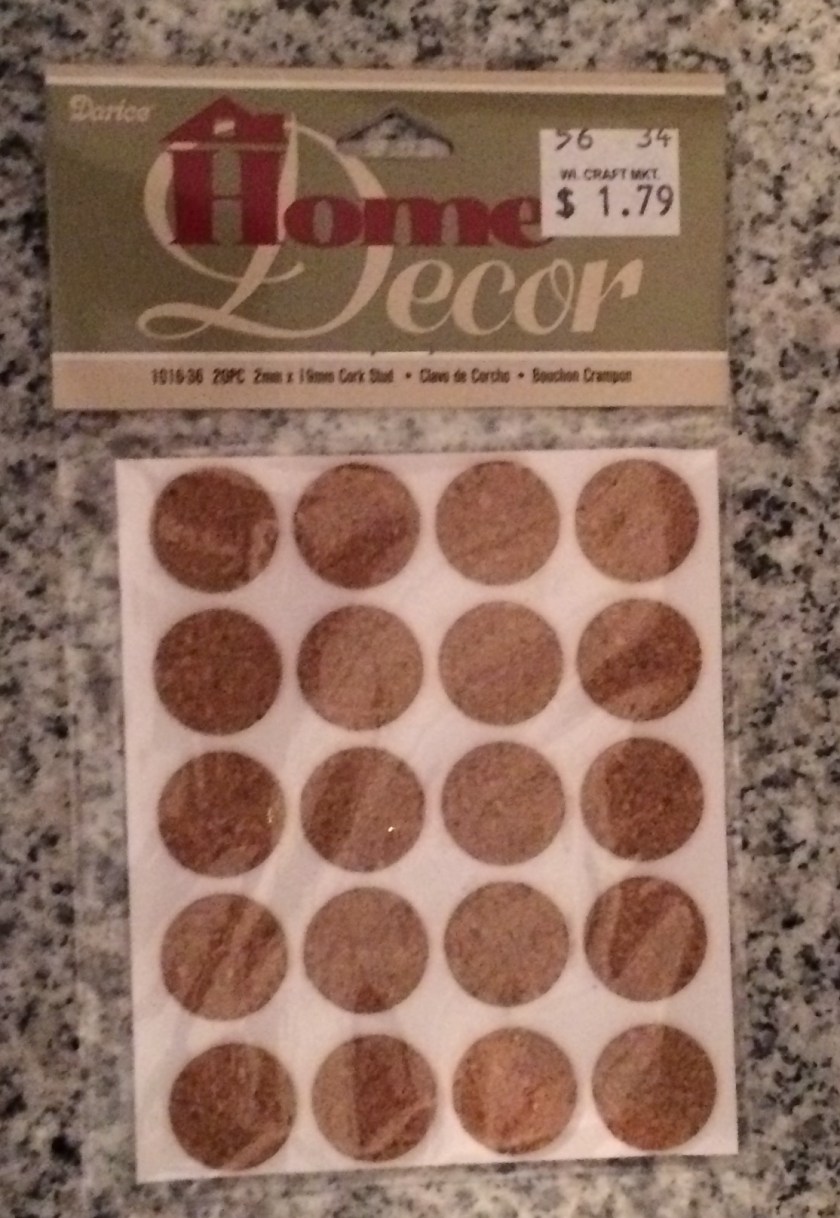
Tiny cork dots. Photo by Holly Tierney-Bedord. All rights reserved.
The dots that remain will go into the mini office eventually, as a bulletin board.
The tiny grog cups shown are going to get cleaned up later today with some silver jewelry cleaner. If it doesn’t eat right through them I’ll post results soon.