My kitchen floor grouting is complete and my dining room floor has been installed! Here’s a behind-the-scenes look at the unglamorous process, with some books, chip clips, and wedged-in tools all doing their part to make sure the floor stays nice and smooth!
crafts
Woven blinds for your mini home
Handmade decor for my mini houseYou may not be a big fan of the woven yarn and wood slat blinds like the ones featured here in this kitchen that used to adorn homes in the 1970’s. I happen to like them, and feel that they’re perfect for the early 1960’s – late 1970’s vibe that my house embodies.
To make some for your own mini house, all you need are some skewers or similar narrow sticks, some yarn, and a small loom (As I’ve mentioned on here before, a potholder loom works great for dollhouse weavings. You can pick one up at your local craft store for usually under $5.00).
Once you have a the window covering part taken care of, you can make another piece from cardboard to top it off with. This also gives you a way to hide the knots you’ll tie on one side of the weaving, and gives you a place to install a small pull cord (not installed yet on mine).

Score your cardboard with an exacto knife or scissor edge and it will easily fold like you need it to. The score should be on the outside, not the inside.
Simply wrap your cardboard in yarn, adding in some skewers (break or cut them if needed) to complete the look. You can use tape or a dab of a hot glue gun to hold down your yard, since the back of the cardboard won’t be seen. Finally, finish it off with a small pull cord that has a tiny knot or bead at the end (still to come on mine). I think I may add some black yarn to mine to make the top and bottom a better match.
Kitchen floor update
Flipping my mini houseMy kitchen floor is almost done!
First, here’s a look at my house’s kitchen/dining area when I first got it:
I removed the wallpaper, minibar (which I’ve saved, in case I’d like to reinstall it), and the flooring (if you’ve followed previous posts, you know that part wasn’t easy). I’ve now installed ceramic tiles into the kitchen, borrowing some space from the dining area so my kitchen will be a little bigger than it was before. Here are the steps:


Kitchen tiles and wallpaper
Flipping my mini houseI think I’ve finally chosen a look for the kitchen.
It hasn’t been easy! Kitchens are so important. I really wanted a mainly white kitchen with orange or yellow Orly Kiely-esque wallpaper. Finally I decided it wasn’t realistically going to happen, no matter how many times I sifted through the scrapbook paper at my local craft store. So this is what I came up with:
I’m not sure about the multicolored tiles. I’ll have to put some in place and see what I think. Stay tuned!
Installing wallpaper in the living room
Flipping my mini houseI’ve installed wallpaper in the living room! Here are some photos of it, along with one showing the stencil I created (much like the kind I created when installing floors) for the area by the stairs.
Creating a stencil for floors
Flipping my mini houseTo make your floors fit, create a pattern or stencil using paper, the way clothing designers create patterns before putting scissors to their fancy fabric. This works for wallpaper too. Here are the steps I took to install my living room floor.
First I cleared out my living room. Next I began constructing my stencil, basing it off the shape of the far wall. See (below) how it fits like a puzzle piece against the wall? This required a fair amount of adding and subtracting to get it right. I’d slice a little bit off here, tape in a little extra there, until I had it just right.

Create a stencil to lay on top of your flooring. Photo by Holly Tierney-Bedord. All rights reserved.
Next I added another portion for the section of flooring that is by the railing. Then I put the stencil on top of my flooring and taped it into place.
Next I carefully cut out my floors. I ended up with this:
Now came the moment of truth. Would this amorphous shape fit just right into my mini living room?
Yay! It fits! And since the floor is actually made of individual slats of wood affixed to a paper backing, it’s flexible enough to maneuver into place.
Below, if you look to the left of the stairs going up to the bedrooms, you can see one small piece going the wrong way, where I stuck in an extra piece since the flooring was just a bit smaller than the length of the room. Once I install wallpaper, white baseboard trim, and put furniture in place, this will be practically unnoticeable. Chip clips are handy for holding the flooring in place as adhesive dries.
Finally, I’ll pile some books on top to help ensure it stays flat.
Living room wallpaper is going in soon! I can’t wait to show you the results!
Creating a miniature medicine cabinet and bathroom accessories
Handmade decor for my mini houseI decided to create a medicine cabinet for my mini bathroom. I fashioned it using a mirror from an old eyeshadow compact and a plastic box that once held pins in a sewing kit. Here are the original components in their natural state:

Plastic container that originally held needles and pins. This will the interior and door of my medicine cabinet. Photo by Holly Tierney-Bedord. All rights reserved.
I was able to snap the mirror off the eye shadow without breaking it, which was great. I glued it to the lid of the box and used regular clear tape as a hinge. I painted it with white paint (unfortunately, plastic hates to be painted). I lined the interior of the cabinet with paper and inserted a little shelf that is actually the same floorboard material I’m using for trim (also plastic-y, also hates to be painted).

Medicine cabinet interior, shown with tape so you can better imagine the scale. Photo by Holly Tierney-Bedord. All rights reserved.
Next I needed some little bathroom accessories, like glass jars of cotton balls and fancy little soaps wrapped in tissue paper. For cotton balls I used the kind of mini pompoms you can buy at almost any craft store. Here’s a look:

Big jar of mini pompoms beside mini jar of mini pompoms. Photo by Holly Tierney-Bedord. All rights reserved.
To create soap, I used a real bar and cut off little chunks. A couple got wrapped in white tissue paper, and one was set into a tiny ceramic bowl that will make a great soap dish.

Mini bars of soap made from a regular bar of soap. Photo by Holly Tierney-Bedord. All rights reserved.
Are you ready to see the finished product?

Bathroom with handmade medicine cabinet, partially opened. Photo by Holly Tierney-Bedord. All rights reserved.
As you can see, the paint continues to scrape off, especially when I open and close the cabinet door. I’ll need to touch it up again and then leave it alone. Despite its imperfections, I think it’s pretty cute!
I’ve been getting lots of work done!
Flipping my mini houseMy mini bathroom is really coming along! The tile floor has been grouted, trim has been installed, the sparkly chevron wallpaper has gone up, and the mini blinds I made from a coaster are now on the wall. Here’s a look at all the progress:
As a reminder, here are some before photos:
For information on making your own mini coaster blinds, take a look back at this post from a few weeks ago.
Progress in the blizzard
Handmade decor for my mini houseI’ve made some progress on my house (and the creation of accessories for it) in the last couple of days, thanks in large part to the blizzard that has kept me stranded at home. Here are some updates for you.
Here’s a look at this little blanket, in progress, with some scissors in the photo so you can get a better idea of scale:
I also installed some tile floors in my bathroom:
I was going to go with tealish blue stone, but as I shared in a recent post, I changed my mind and decided to cut blue from my house’s interior color palette. These yellow tiles were purchased at the start of the project, and once again seemed like the best choice, so I went for it and installed them.
Here’s are some photos of the “before”:
and “during”:
I’ll grout them soon, and install some wall paper. This horrible little room will be bright and cheery before you know it!
I also made a little rug/throw, using the pot holder loom I’ve mentioned in previous posts (every kid had one of these at some point, and they’re great for making mini weavings!)
Here’s a peek at the finished result:
Also, some of you may recall me making a thread-wrapped lampshade for my (real, human-scale) home, in my blog Holly Recommends. Well, I decided to make a little thread-wrapped lampshade for my mini house as well. Here it is:
Choosing a color palette
Flipping my mini houseAs I began choosing decor for my mini home, I had the idea that I wanted to go with mainly mid-century oranges, yellows, and greens, but with fresh metallics thrown in, and some teal (the color of the exterior) here and there, to tie the outside of the house and the interior together. In a human scale house, this combination wouldn’t be very overwhelming. I quickly discovered, however, that in such a small space it wasn’t working to combine so many colors.
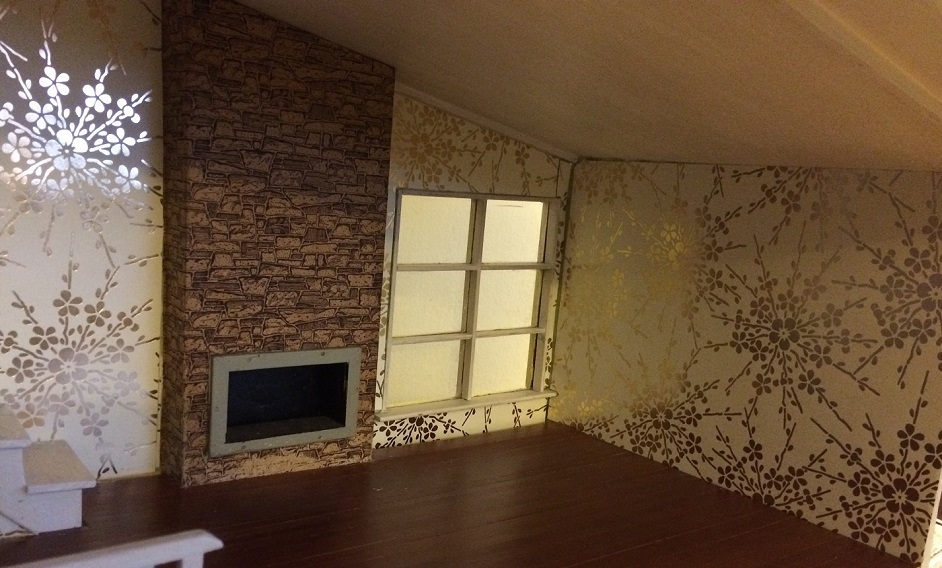
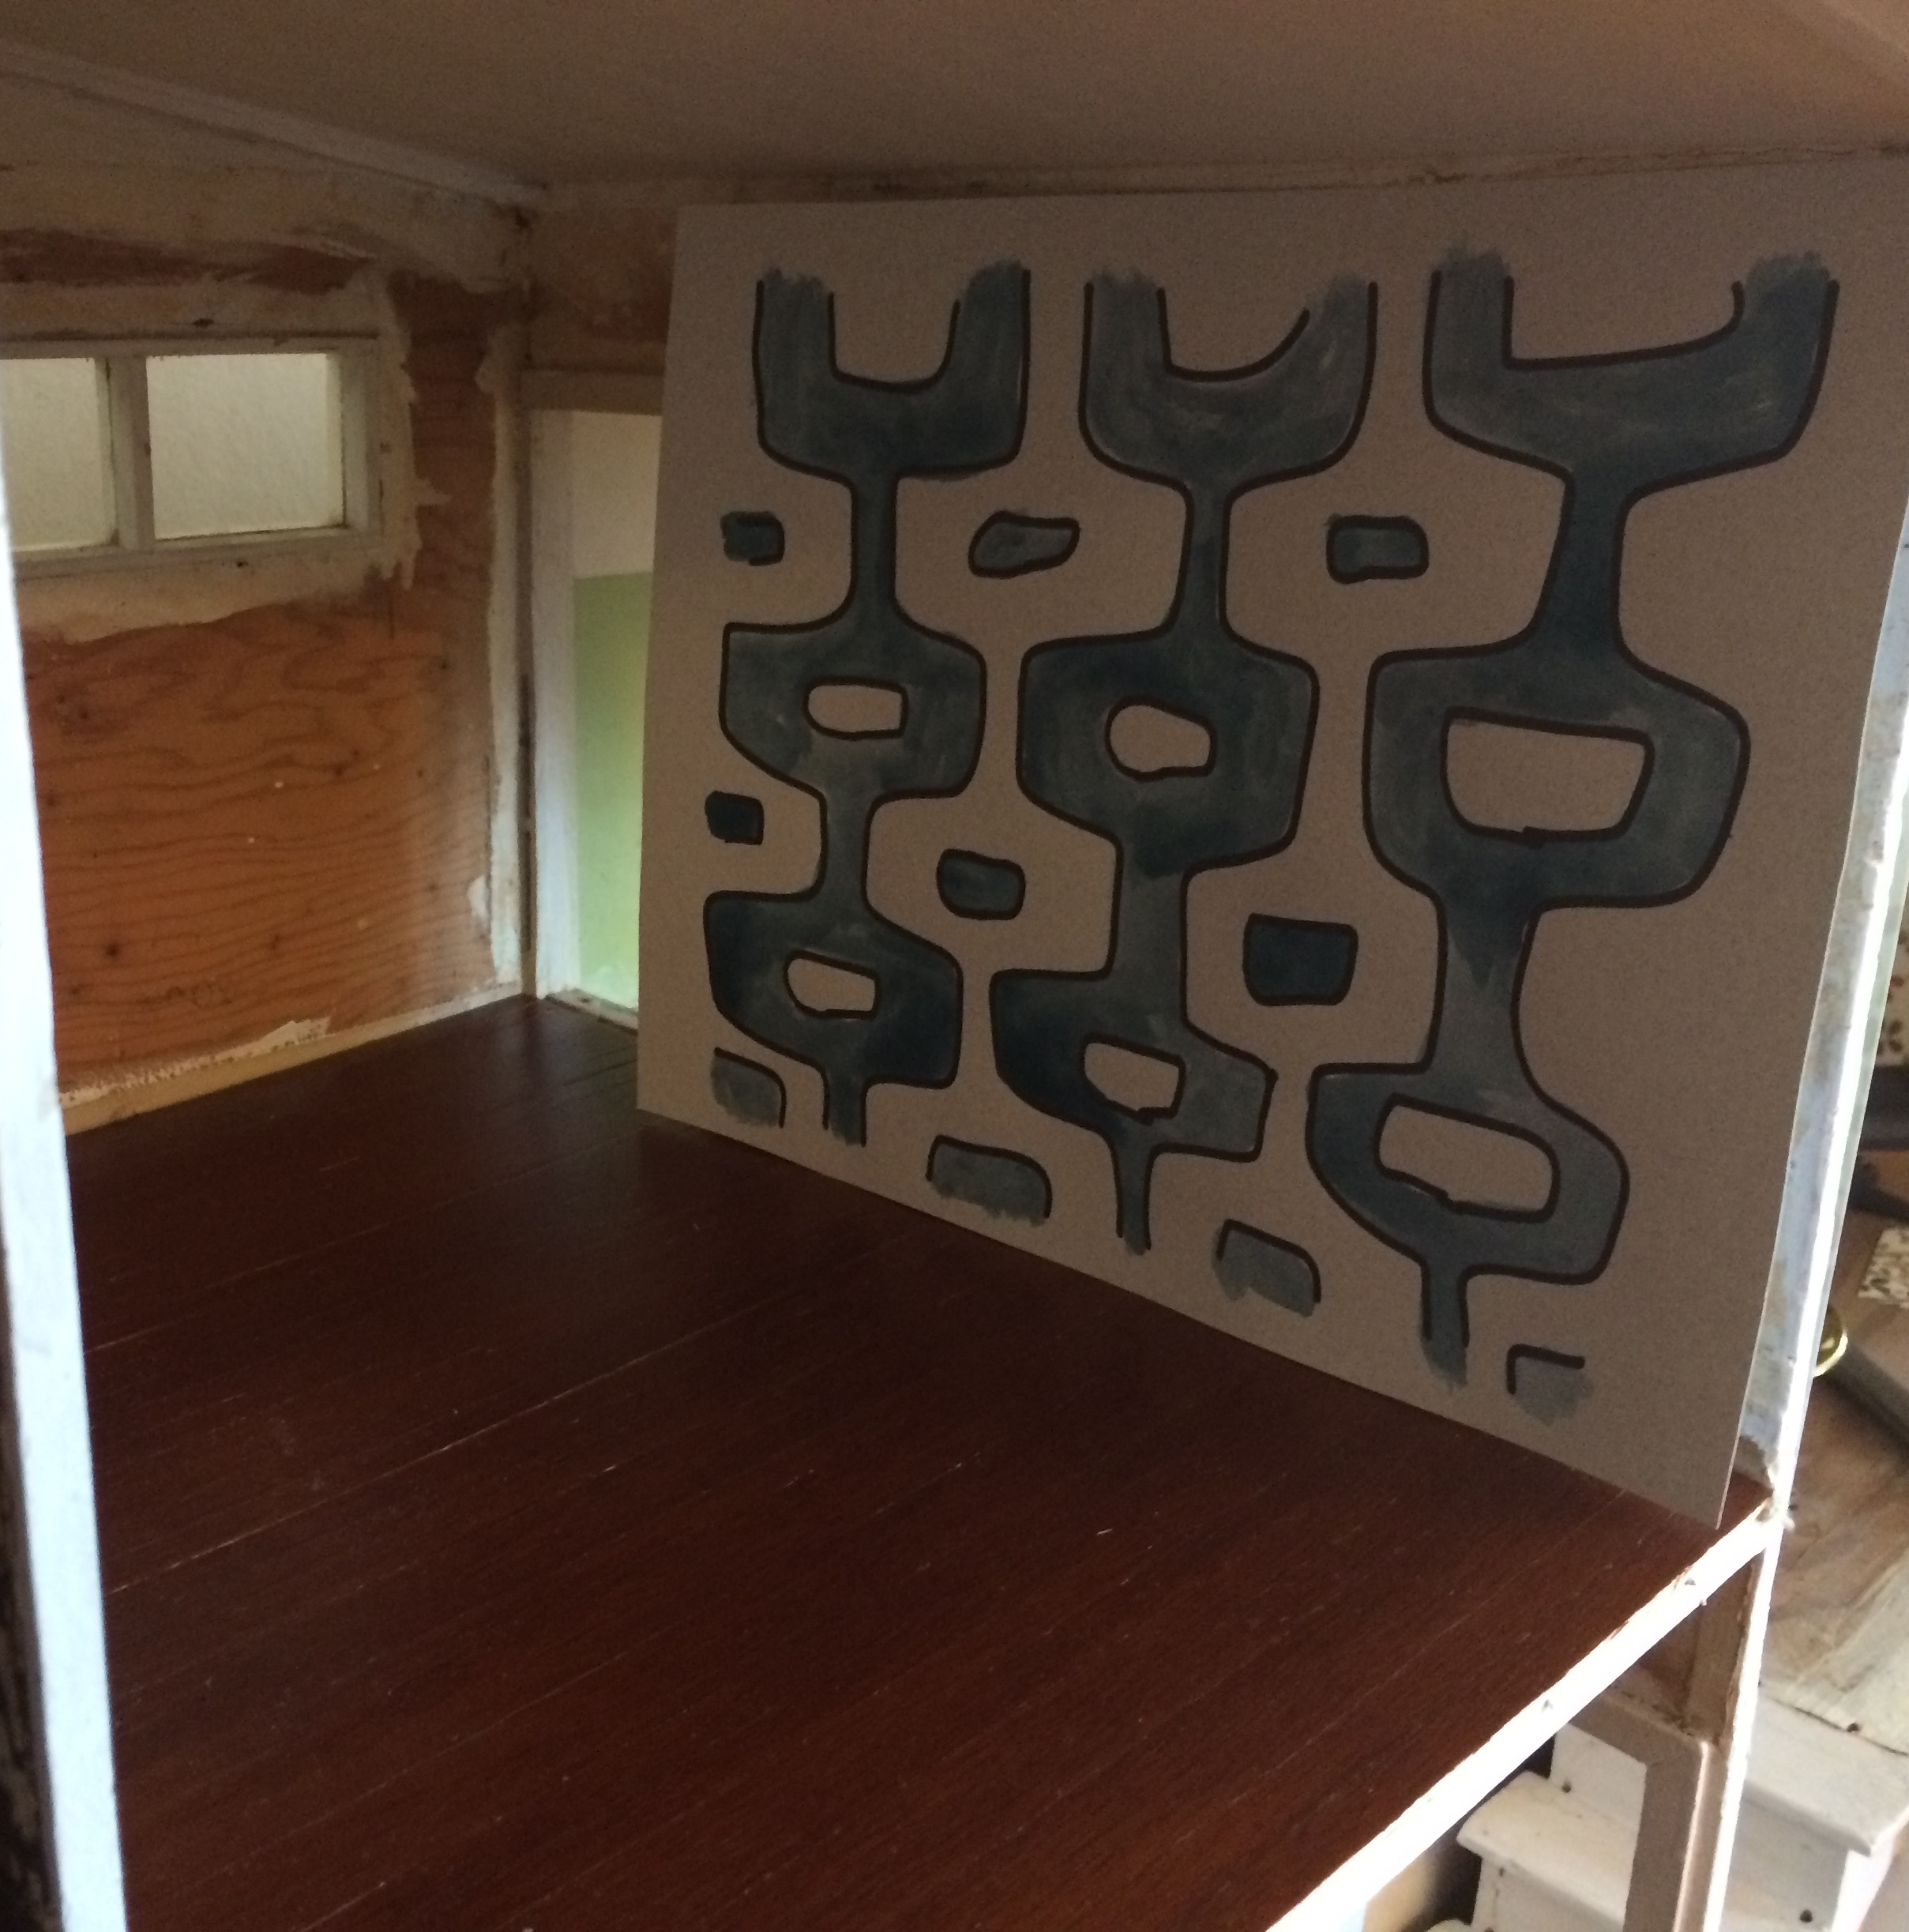
I created this mid-century inspired mural several months ago, for one of the walls in the office.
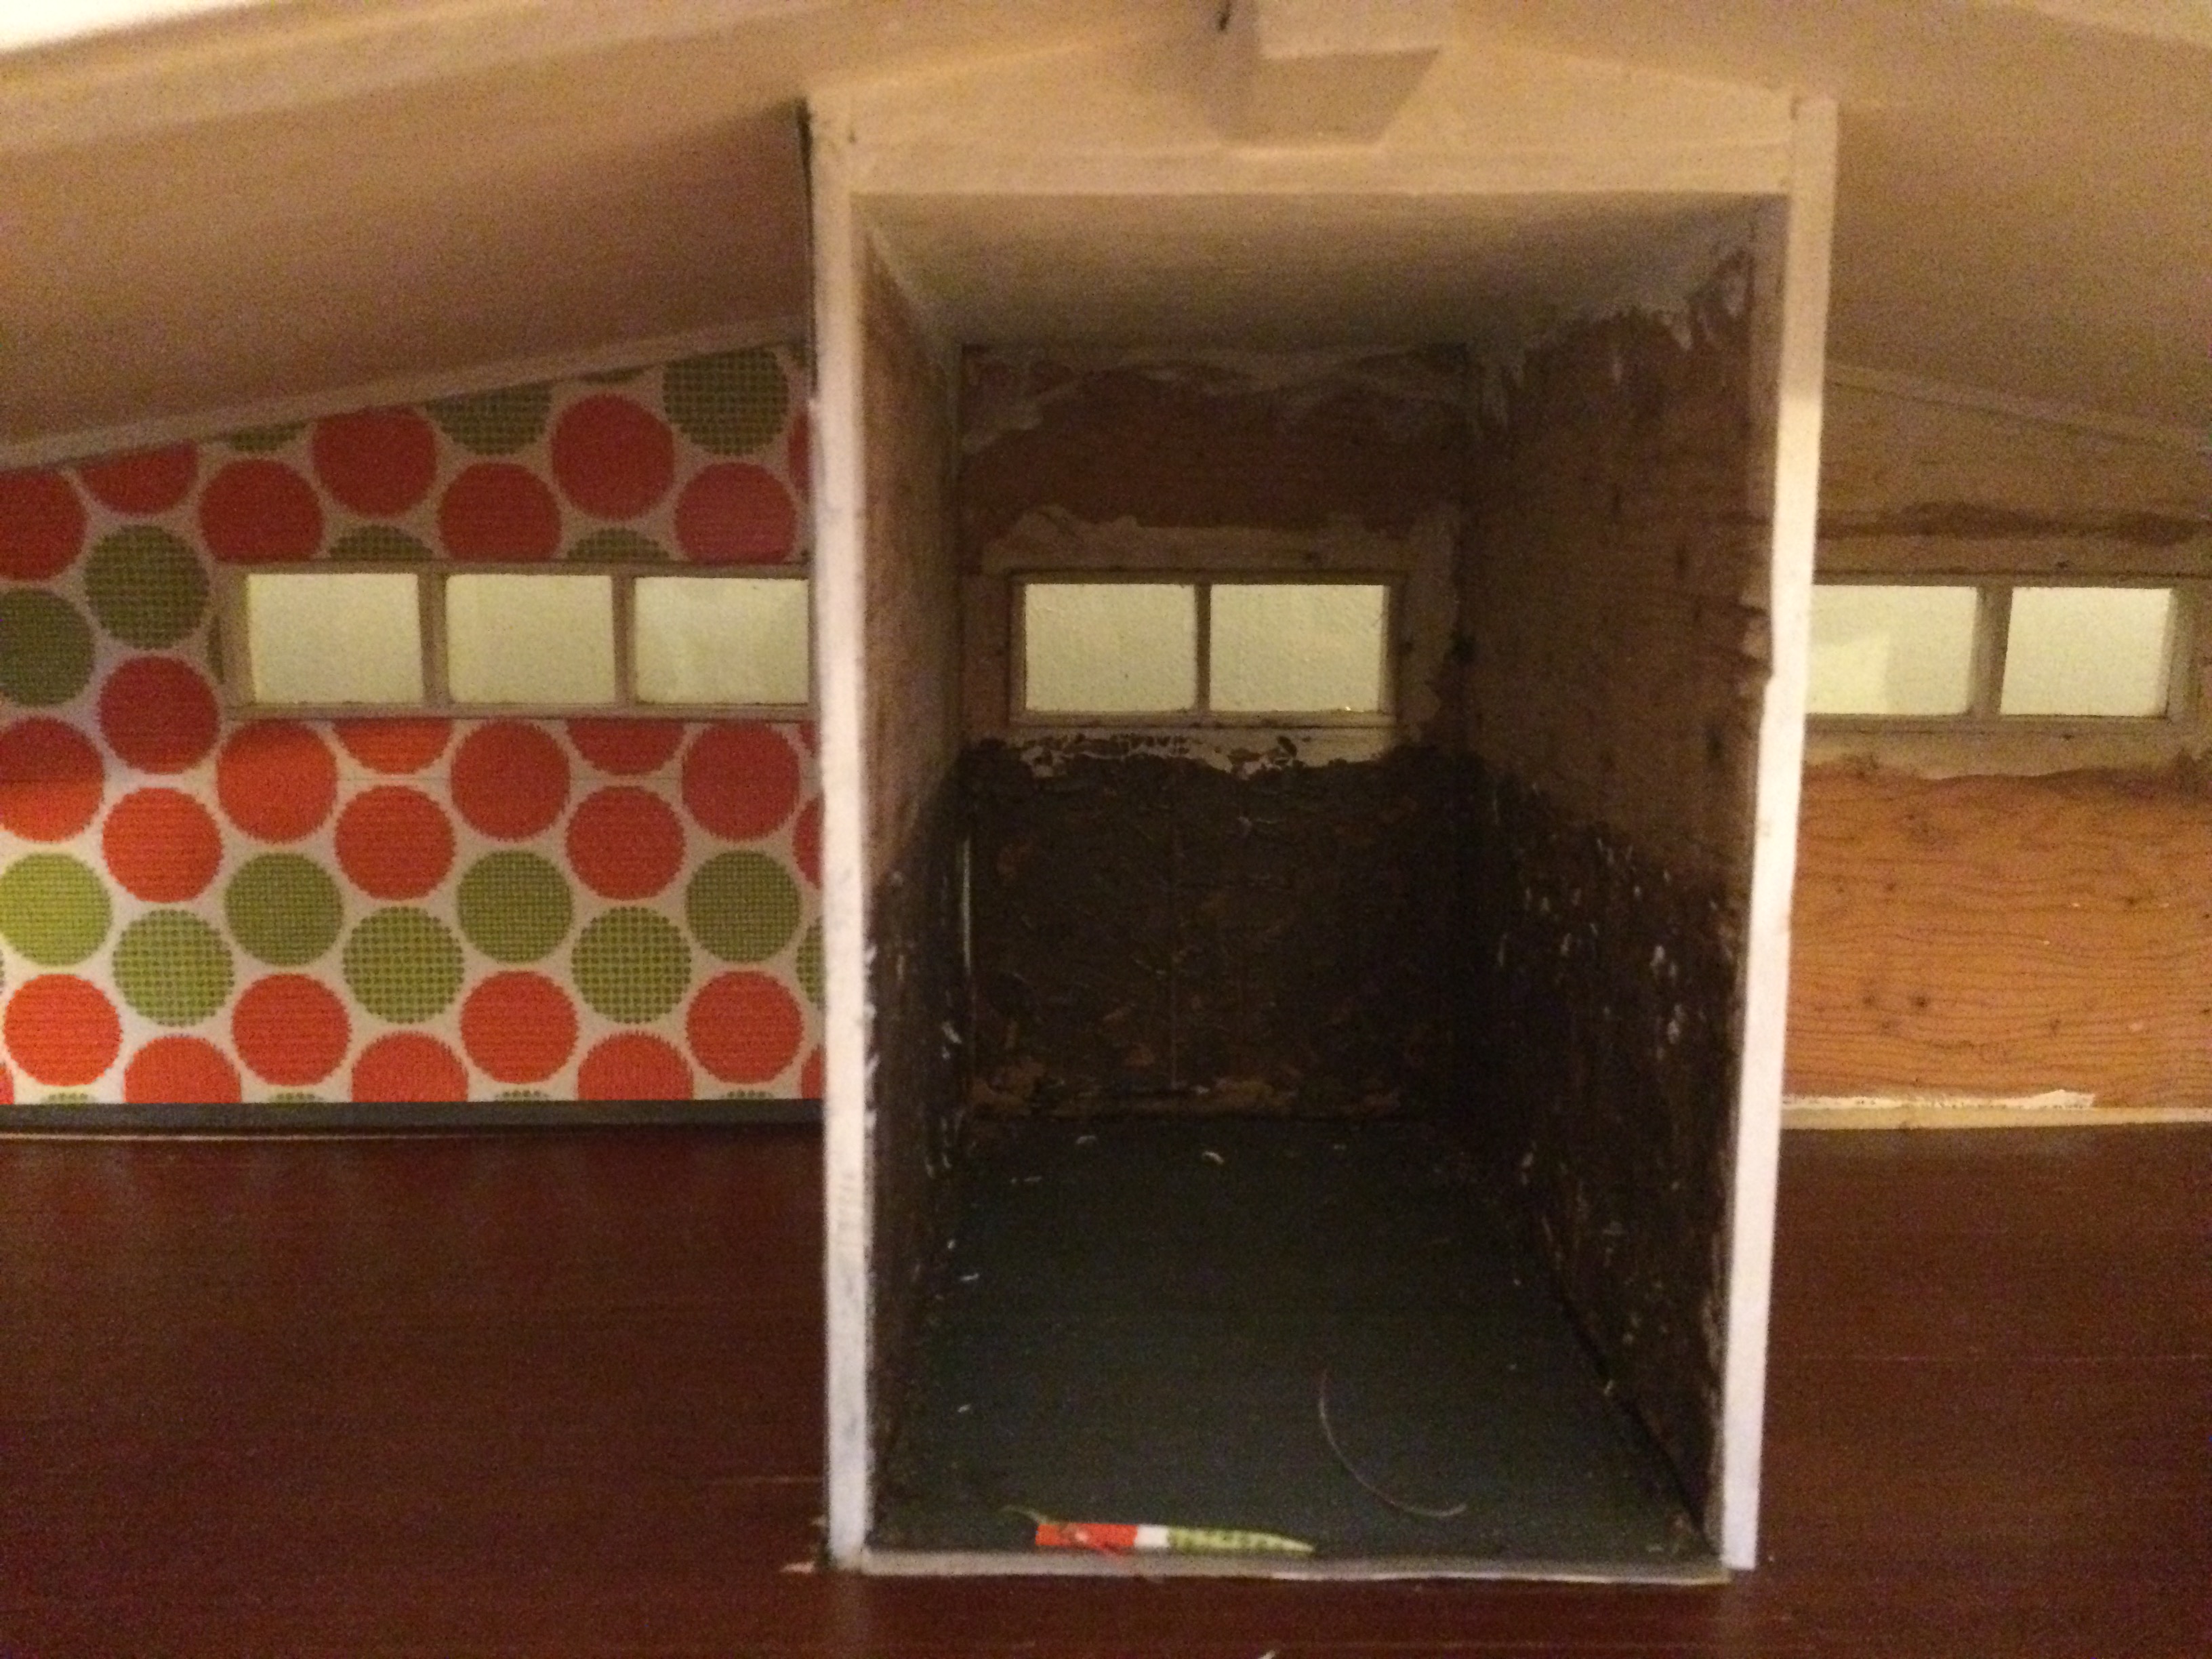
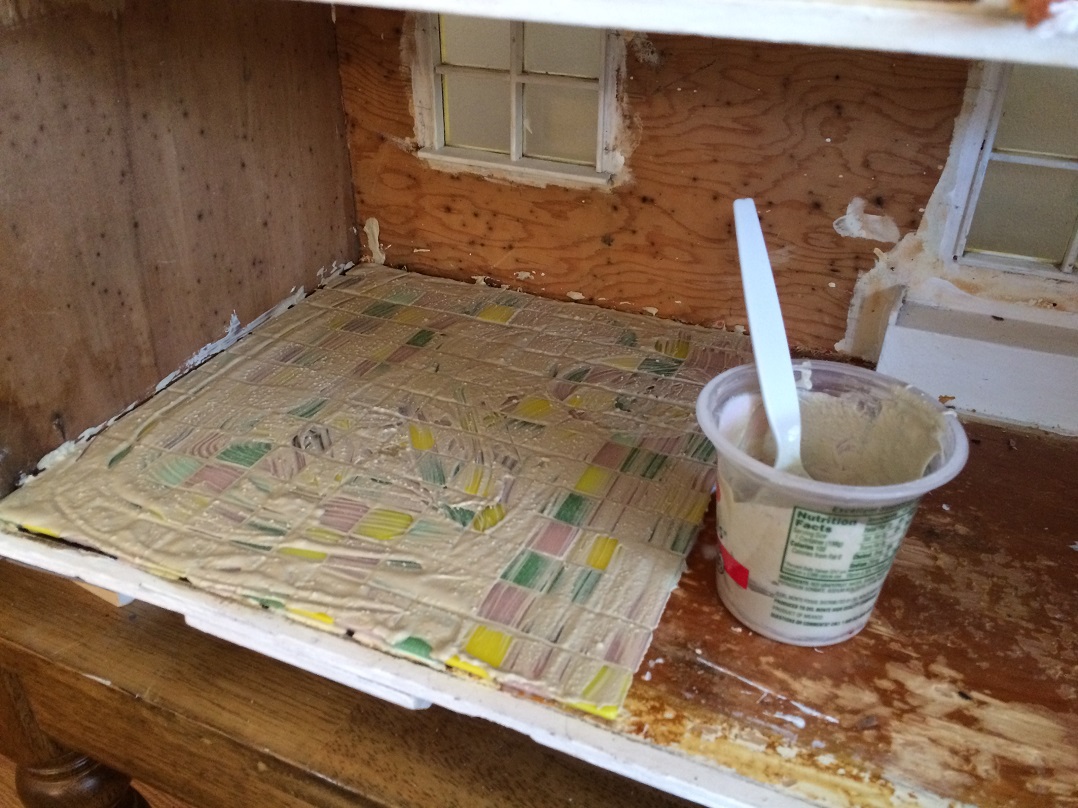
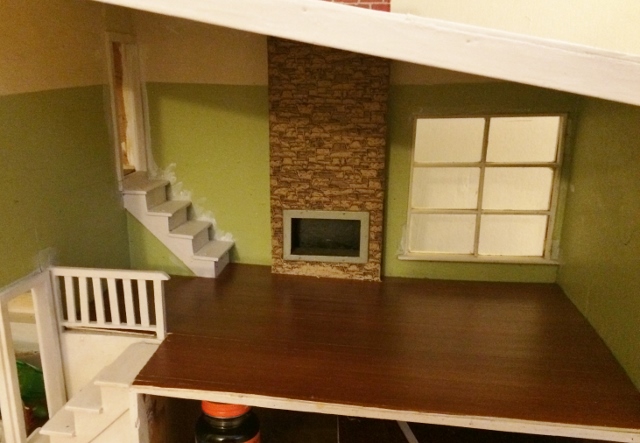
Until yesterday, I never wavered on my devotion to it. However, once I put it in place and began evaluating how it was going to fit in with other wall coverings and materials, I saw that it clashed. The room on its own looked cute, but a dollhouse is literally a house with one whole side of it torn off, and every room needs to work together cohesively.
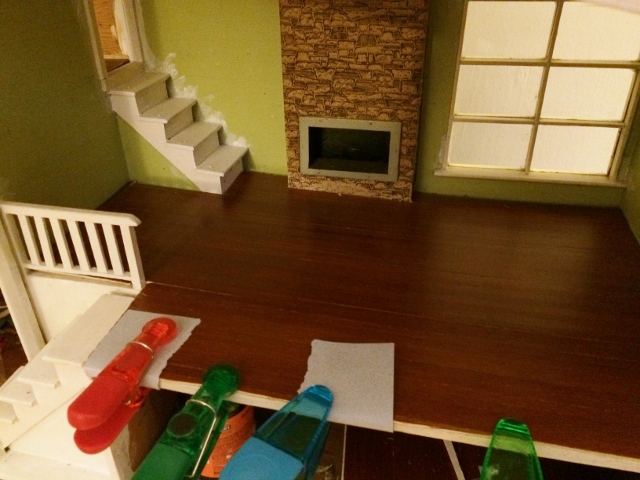
Editing can be difficult. To better convince myself, I laid out several likely wallpaper choices together to see if I was happy with the overall effect.
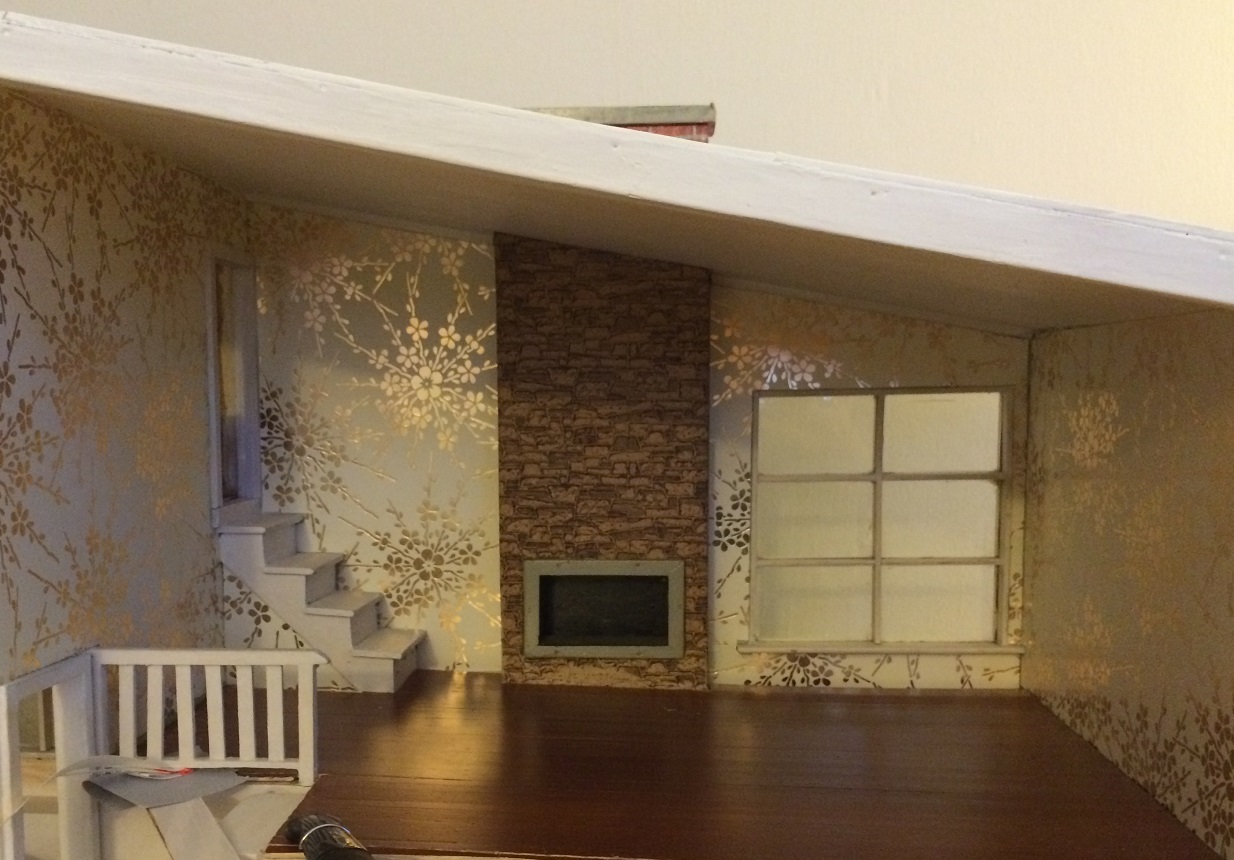
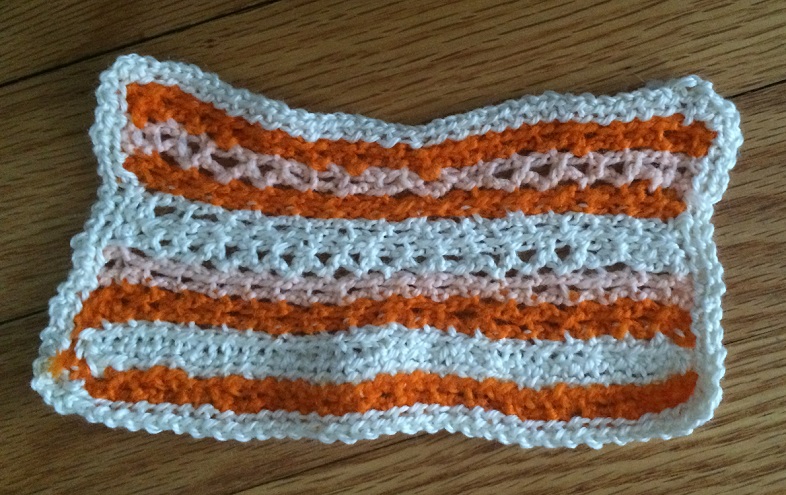
To me, these work well together.
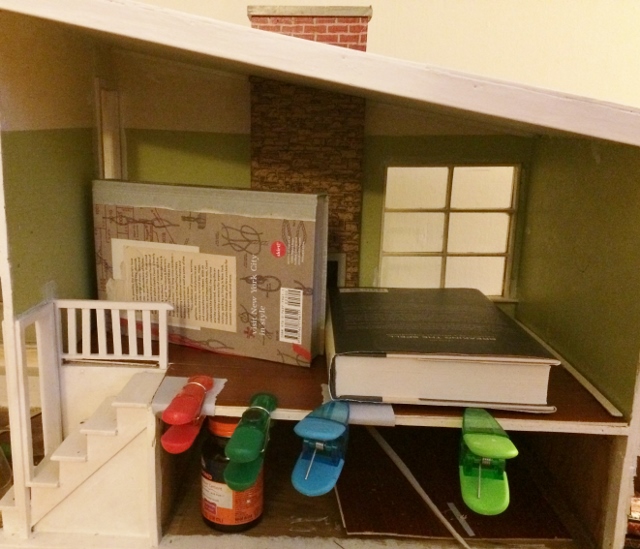
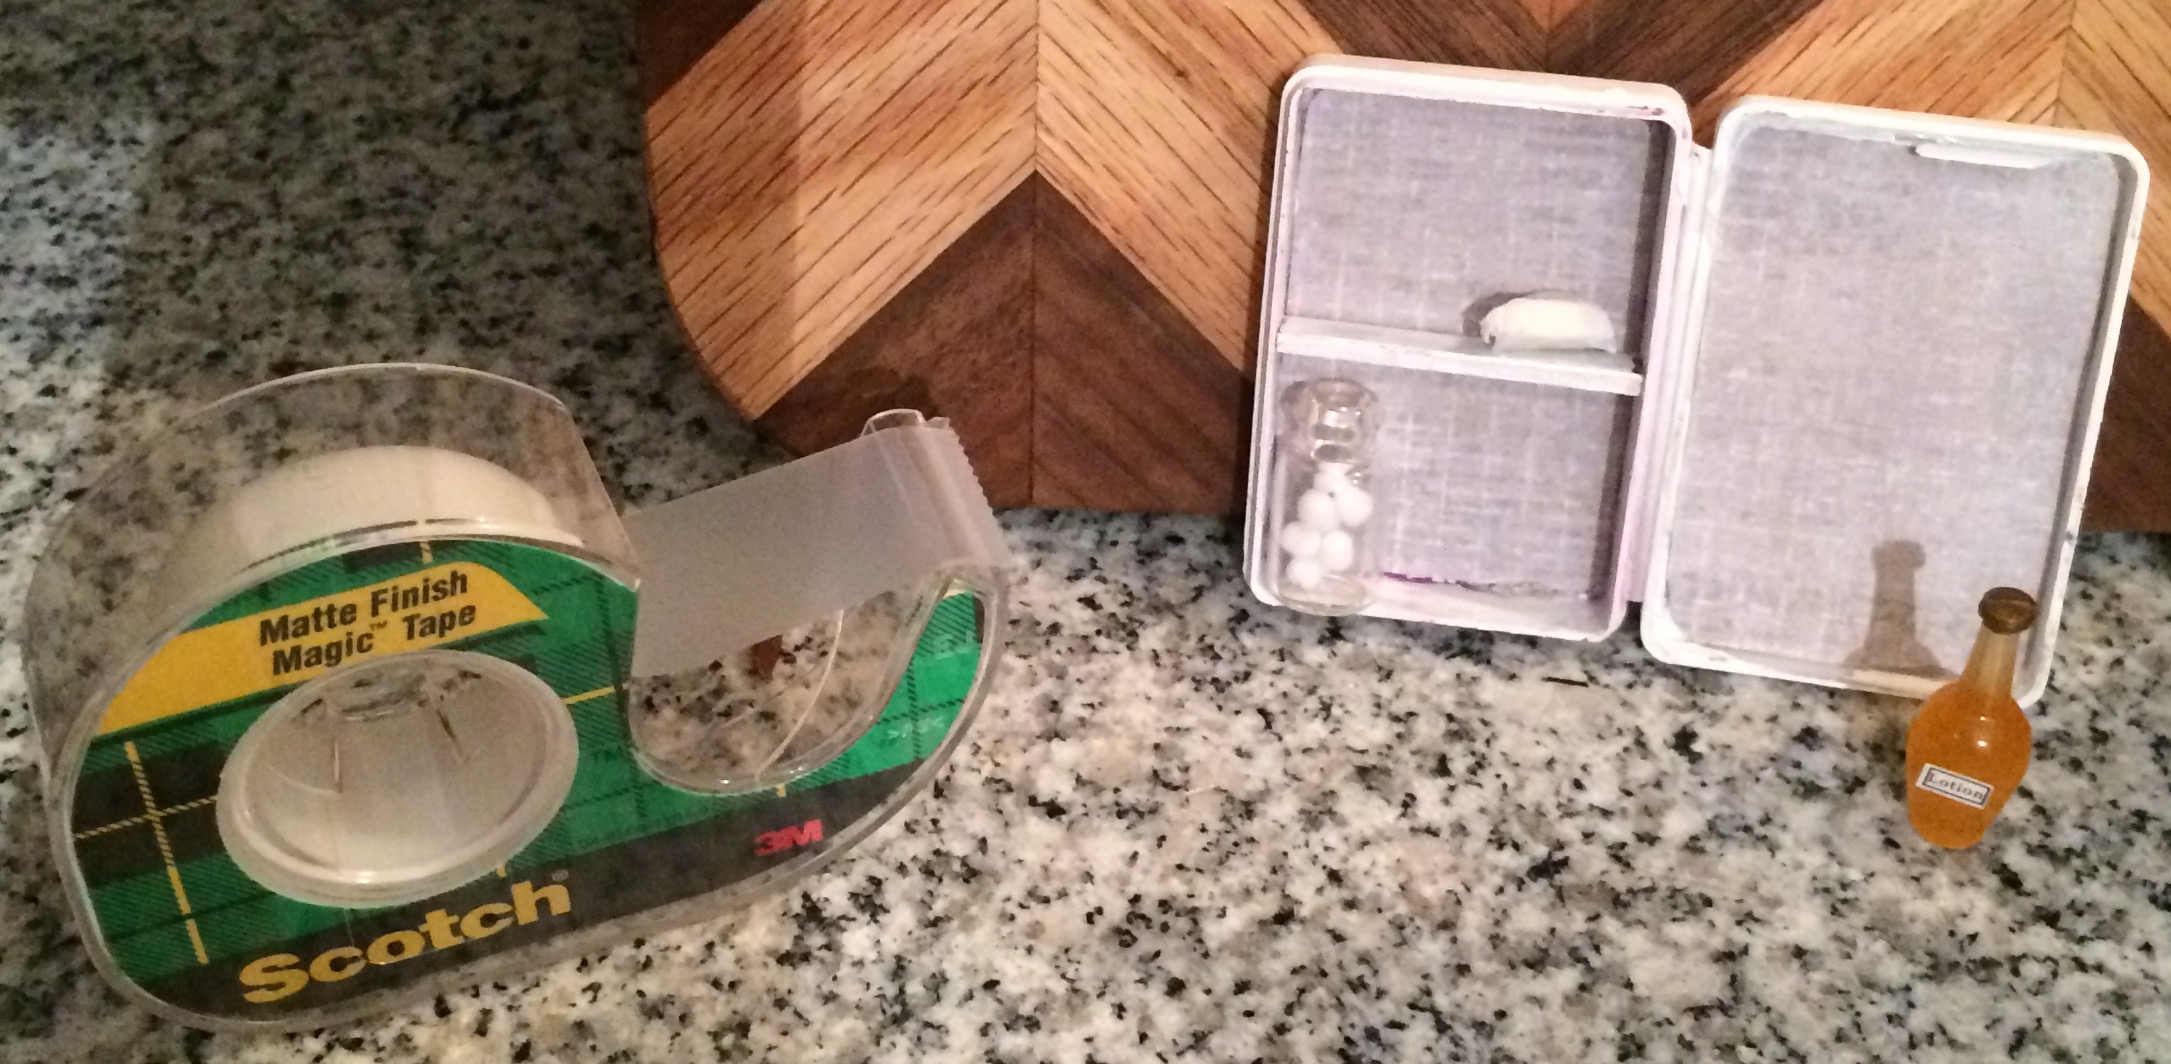
I added in some of the furniture and accessories that will be going into my mini house.
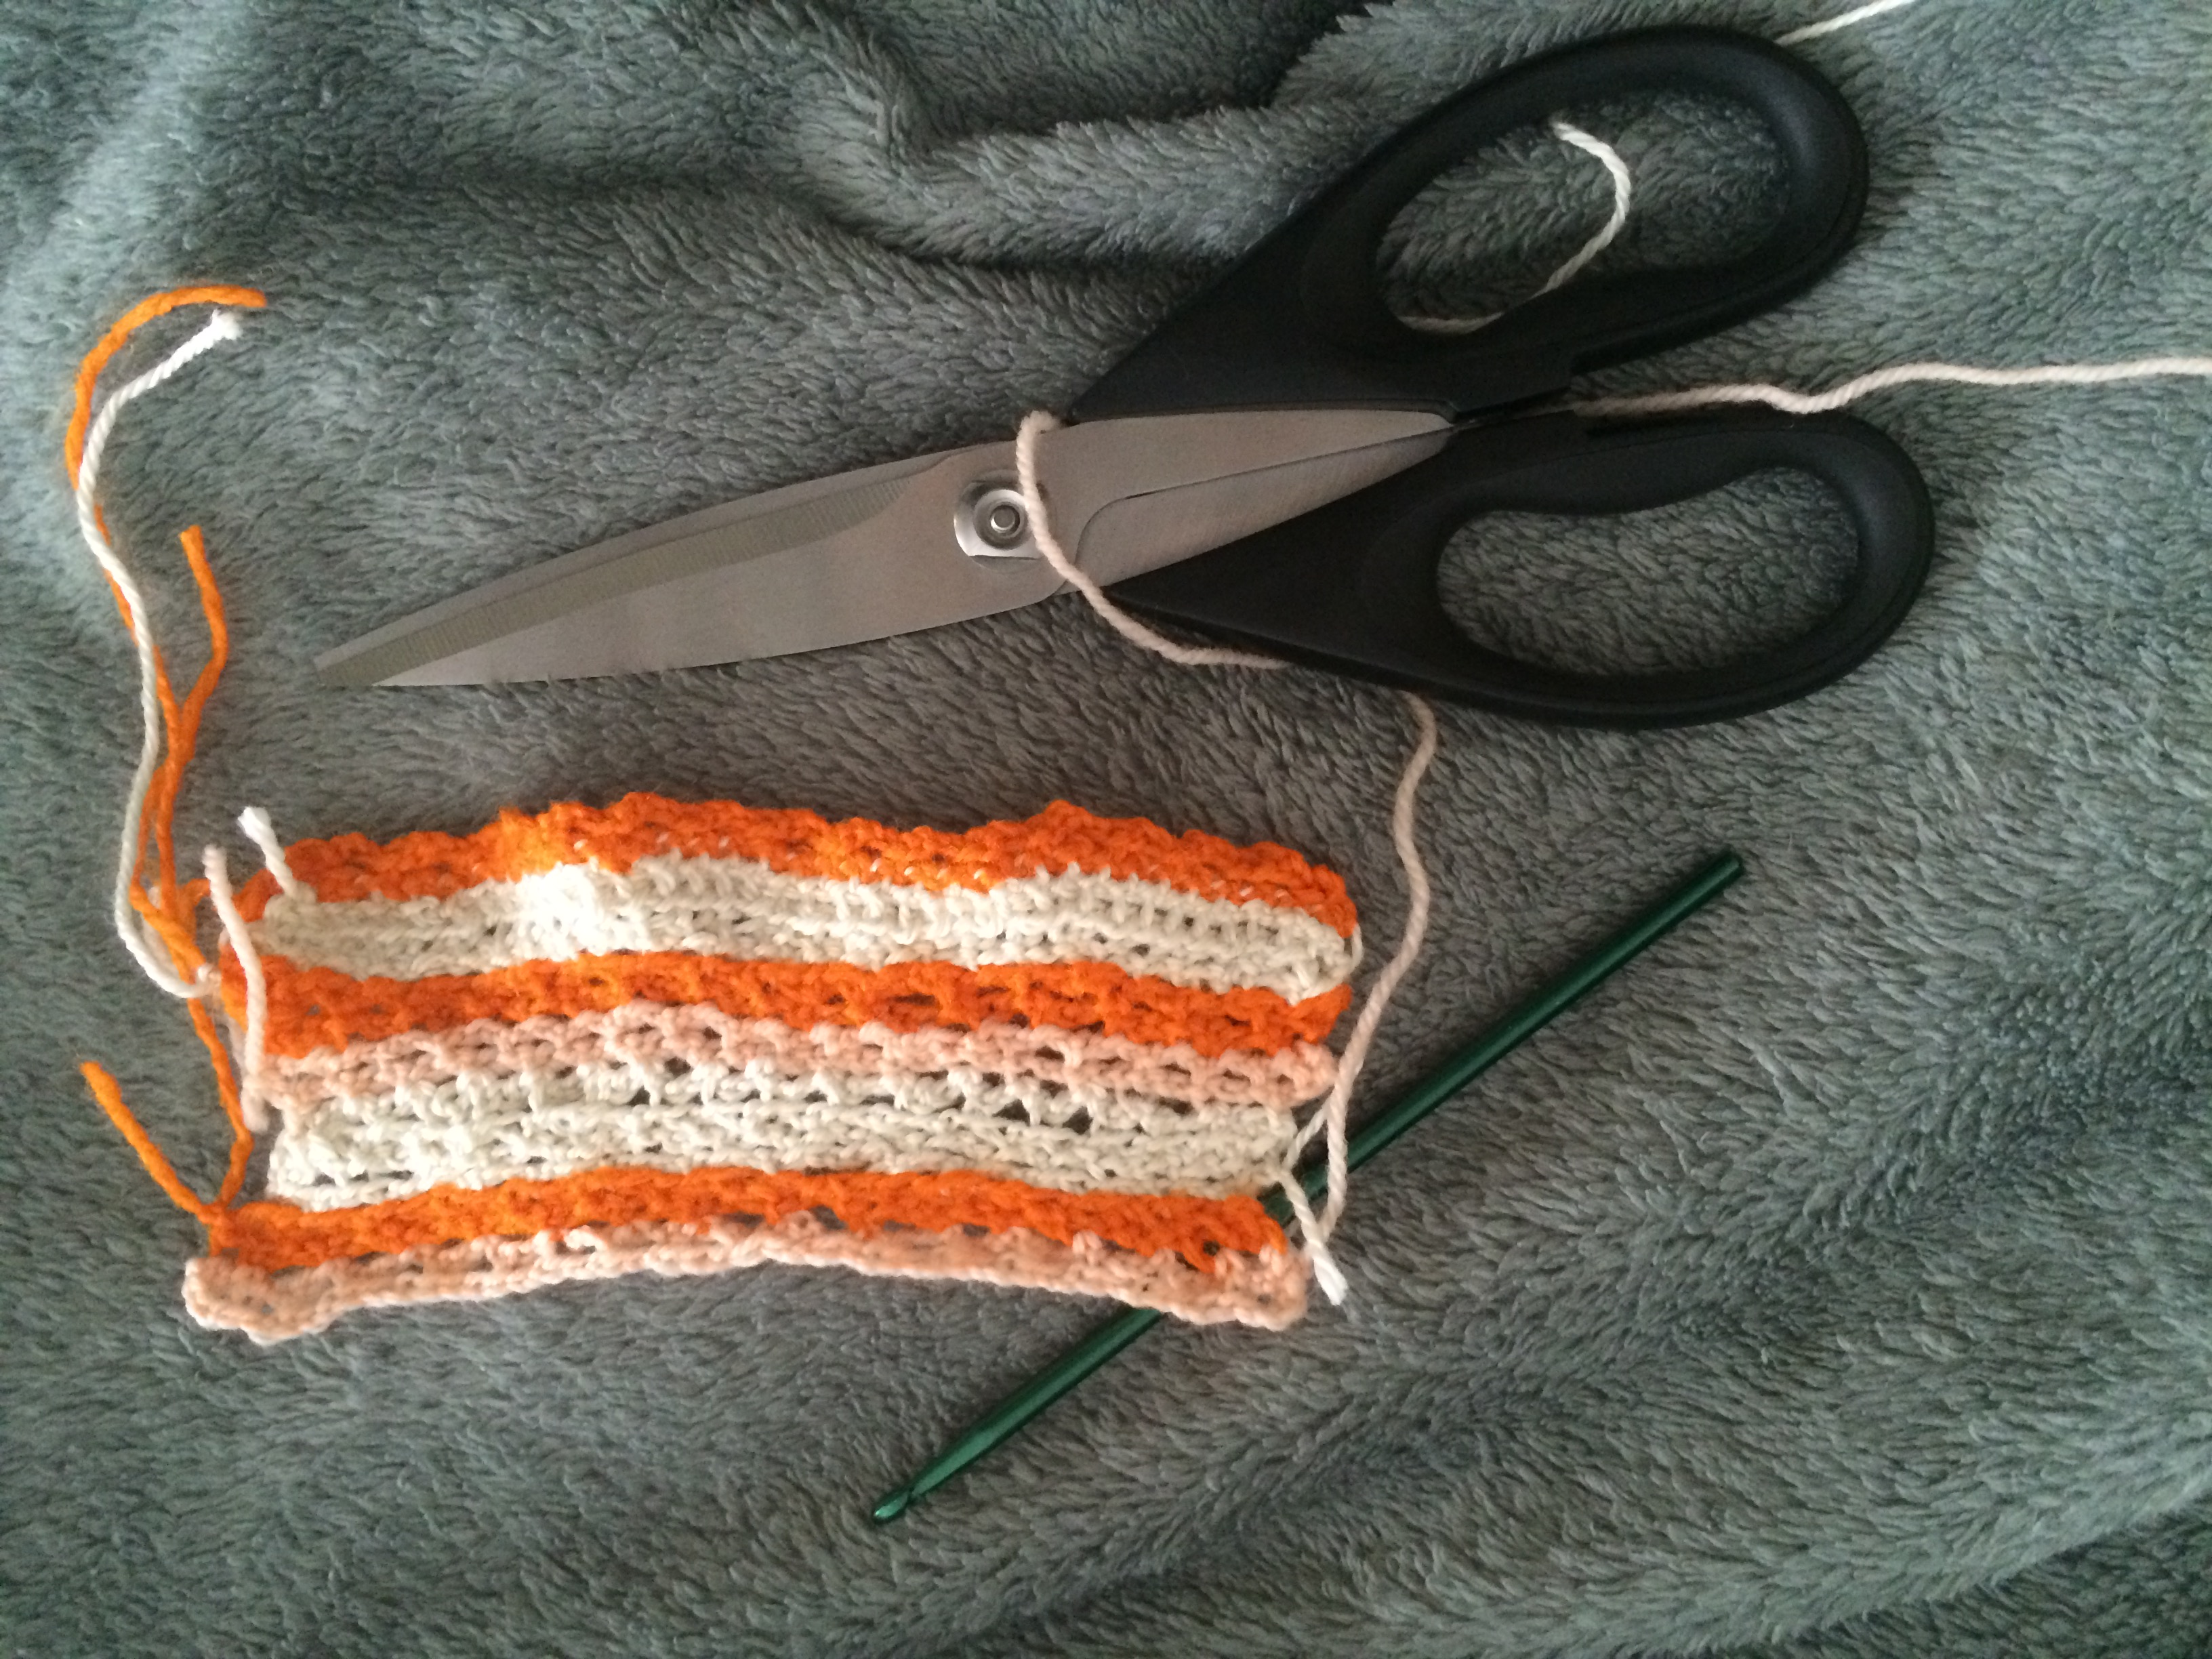
I’m still feeling good about it.
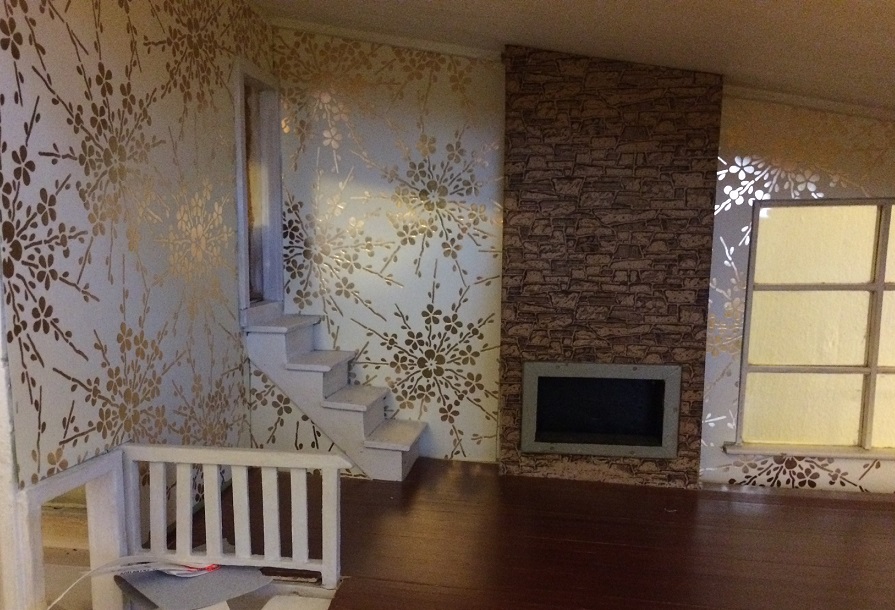
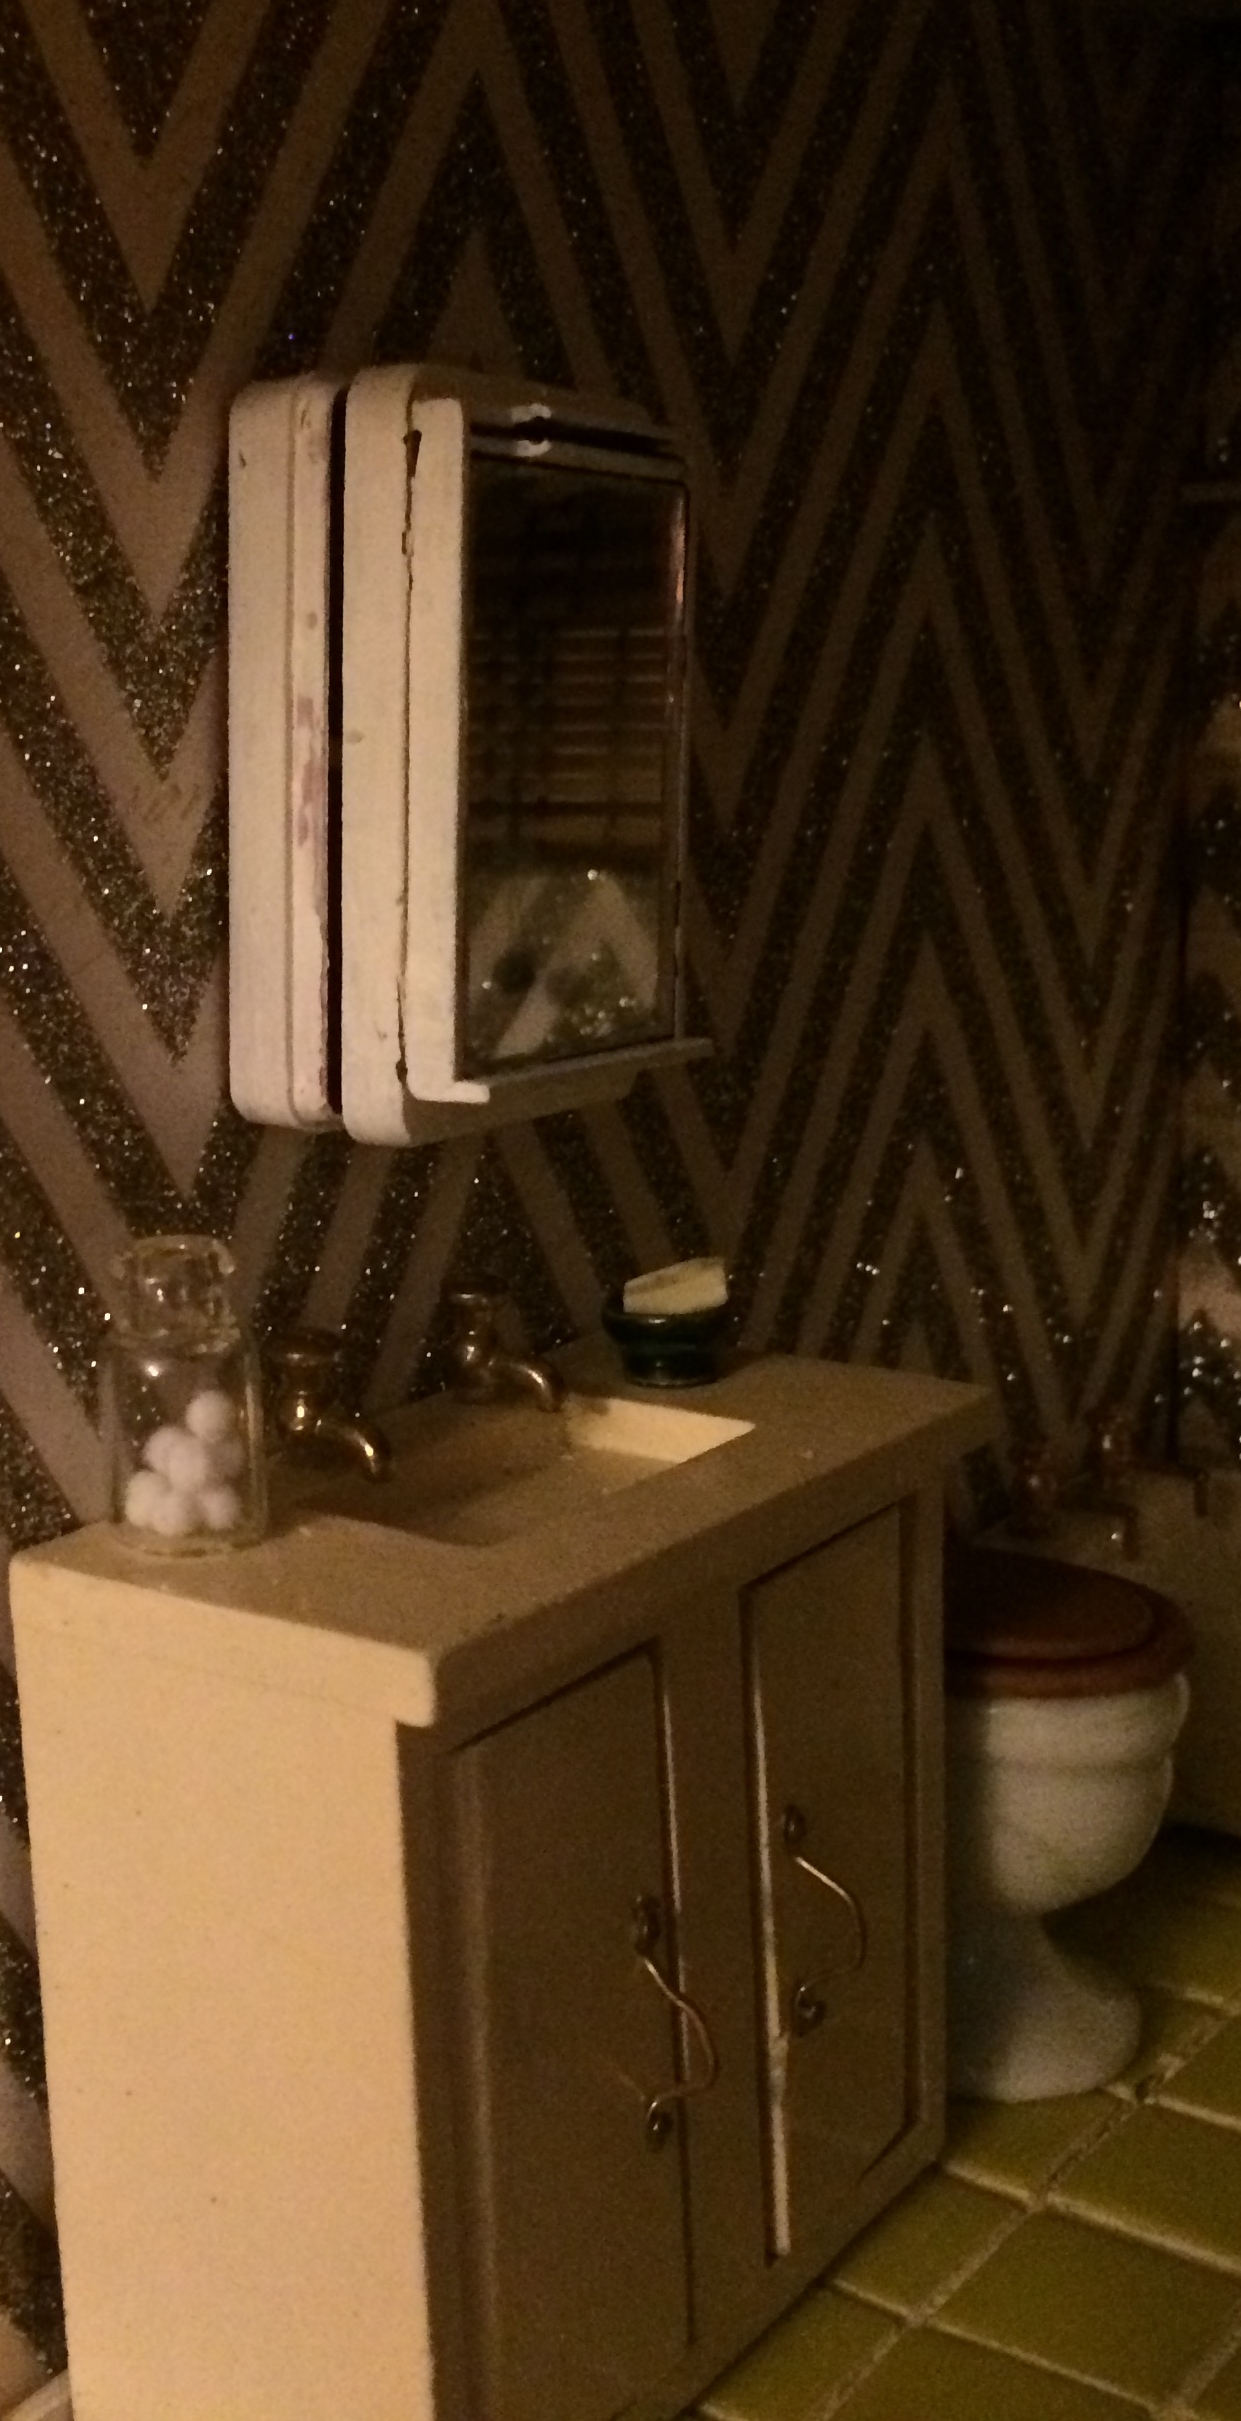
Now here’s the part where I add in some of the teal accents, throwing in a few extras not really intended for this space, like the stool, just to see how the colors work together.
At this point, it starts to look a little off to me. Between the gold accents, wallpaper throughout, strong black and white elements, and other details (Macrame owl, anyone?), I can safely say the teal has to go. I think I’ll paint a new mural for the office, similar to this one, but in shades of taupe, brown, and black.


