Here’s a look at my nearly finished roof! As you can also see, the chimney will be covered in blue stones to match the exterior paint. Once I add grout it will look better. This part of the project has taken as long as the rest of it combined!
dollhouses
Roof update
Flipping my mini houseI didn’t want to bore you, but when my friend Katie assured me that an update about the progress of my mini house’s roof would “fascinate” her, I couldn’t say no. Here are a few photos of its current state.
Mini house updates
Furniture and decor I've purchasedRecent updates to the mini house include some great new eBay furniture purchases and steady process on the shingles. All I can say is, this house has a lot of roof.
Here are a few looks at some inexpensive eBay finds I picked up recently.
Making progress on the roof
Flipping my mini houseHere’s a look at how my shingle installation is going.
Step one: Paint a bunch of shingles, let them dry.
Start your installation at a bottom corner, as shown.
Some of these are fishscale shingles, more appropriate for a Victorian style house. You can use them with the rounded part buried under other layers, as I’m doing. I actually prefer them to the rectangular kind because the scalloped edge seemed to keep them from curling a little.
When you start your next layer, stagger these shingles. This means you’ll break a shingle in half, and start your row with it, so your seams do not line up, the way real shingles are layered.
If you have a variety of colors going on, like I do, be sure to mix them up.
If a couple of your shingles seem to be glued into place too low, you can carefully trim off a bit to even them up.
Drawing lines on your roof ahead of time as a guide would probably make the job easier.
Here’s where I’m at right now. I’m almost done with the carport. I have a lot of roofing ahead of me. Too bad I don’t have a cooler full of tiny beers.
Imagination capturing scenes from Wright Guide Miniatures
MiniaturistsI have plenty more photos from the Chicago show to share! These little shops from Wright Guide Miniatures amazed my mom and me! I especially loved the little autobody shop, with its tiny fan belts and cans of oil. All photos link to the Wright Guide Minis website.

Imagination capturing scenes from Wright Guide Miniatures. Photos by Holly Tierney-Bedord. All rights reserved.

Trying out paint colors on shingles
Flipping my mini houseI’m trying out paint colors on shingles. I’ve decided to go with a mix of yellows and browns. You may be tempted to shingle your house and paint it later, since this is much faster than painting shingles individually. I think it’s worth the extra time to paint them individually, varying the color a bit from shingle to shingle, so your finished product looks more realistic.
I will show you where to start applying your shingles soon!

More shingles. The fishscale style are fine for my house — I’ll just keep the round part hidden beneath other layers.
It takes a long time, but this is what television is for. So you can watch it, guilt-free, while accomplishing mindless projects like painting 8 zillion mini shingles.
Have I mentioned how excited I am that the Real Housewives of New York are back? I love them all!!!!! Even Ramona has carved a small place in my heart.
My mini cutting board collection is complete!
Furniture and decor I've purchasedIn my real (human scale) home, I have a collection of cutting boards, so naturally my mini house needed one as well. At the miniature show in Chicago, I found three new mini cutting boards, all from seller Dragonfly International. I already have a couple other mini cutting boards, so now my collection is complete. Also, check out the adorable pots and yardstick, also from Dragonfly International!
Follow me on Pinterest!
Blogs and websites that inspireYou can find me on Twitter and Tumblr now!
UncategorizedFlipThis(Mini)House is now on Twitter and Tumblr! Follow me at
https://twitter.com/MiniHouseFlip
and
Sometimes perfect is the last thing you want to be
Tweaking store-bought dollhouse furniture
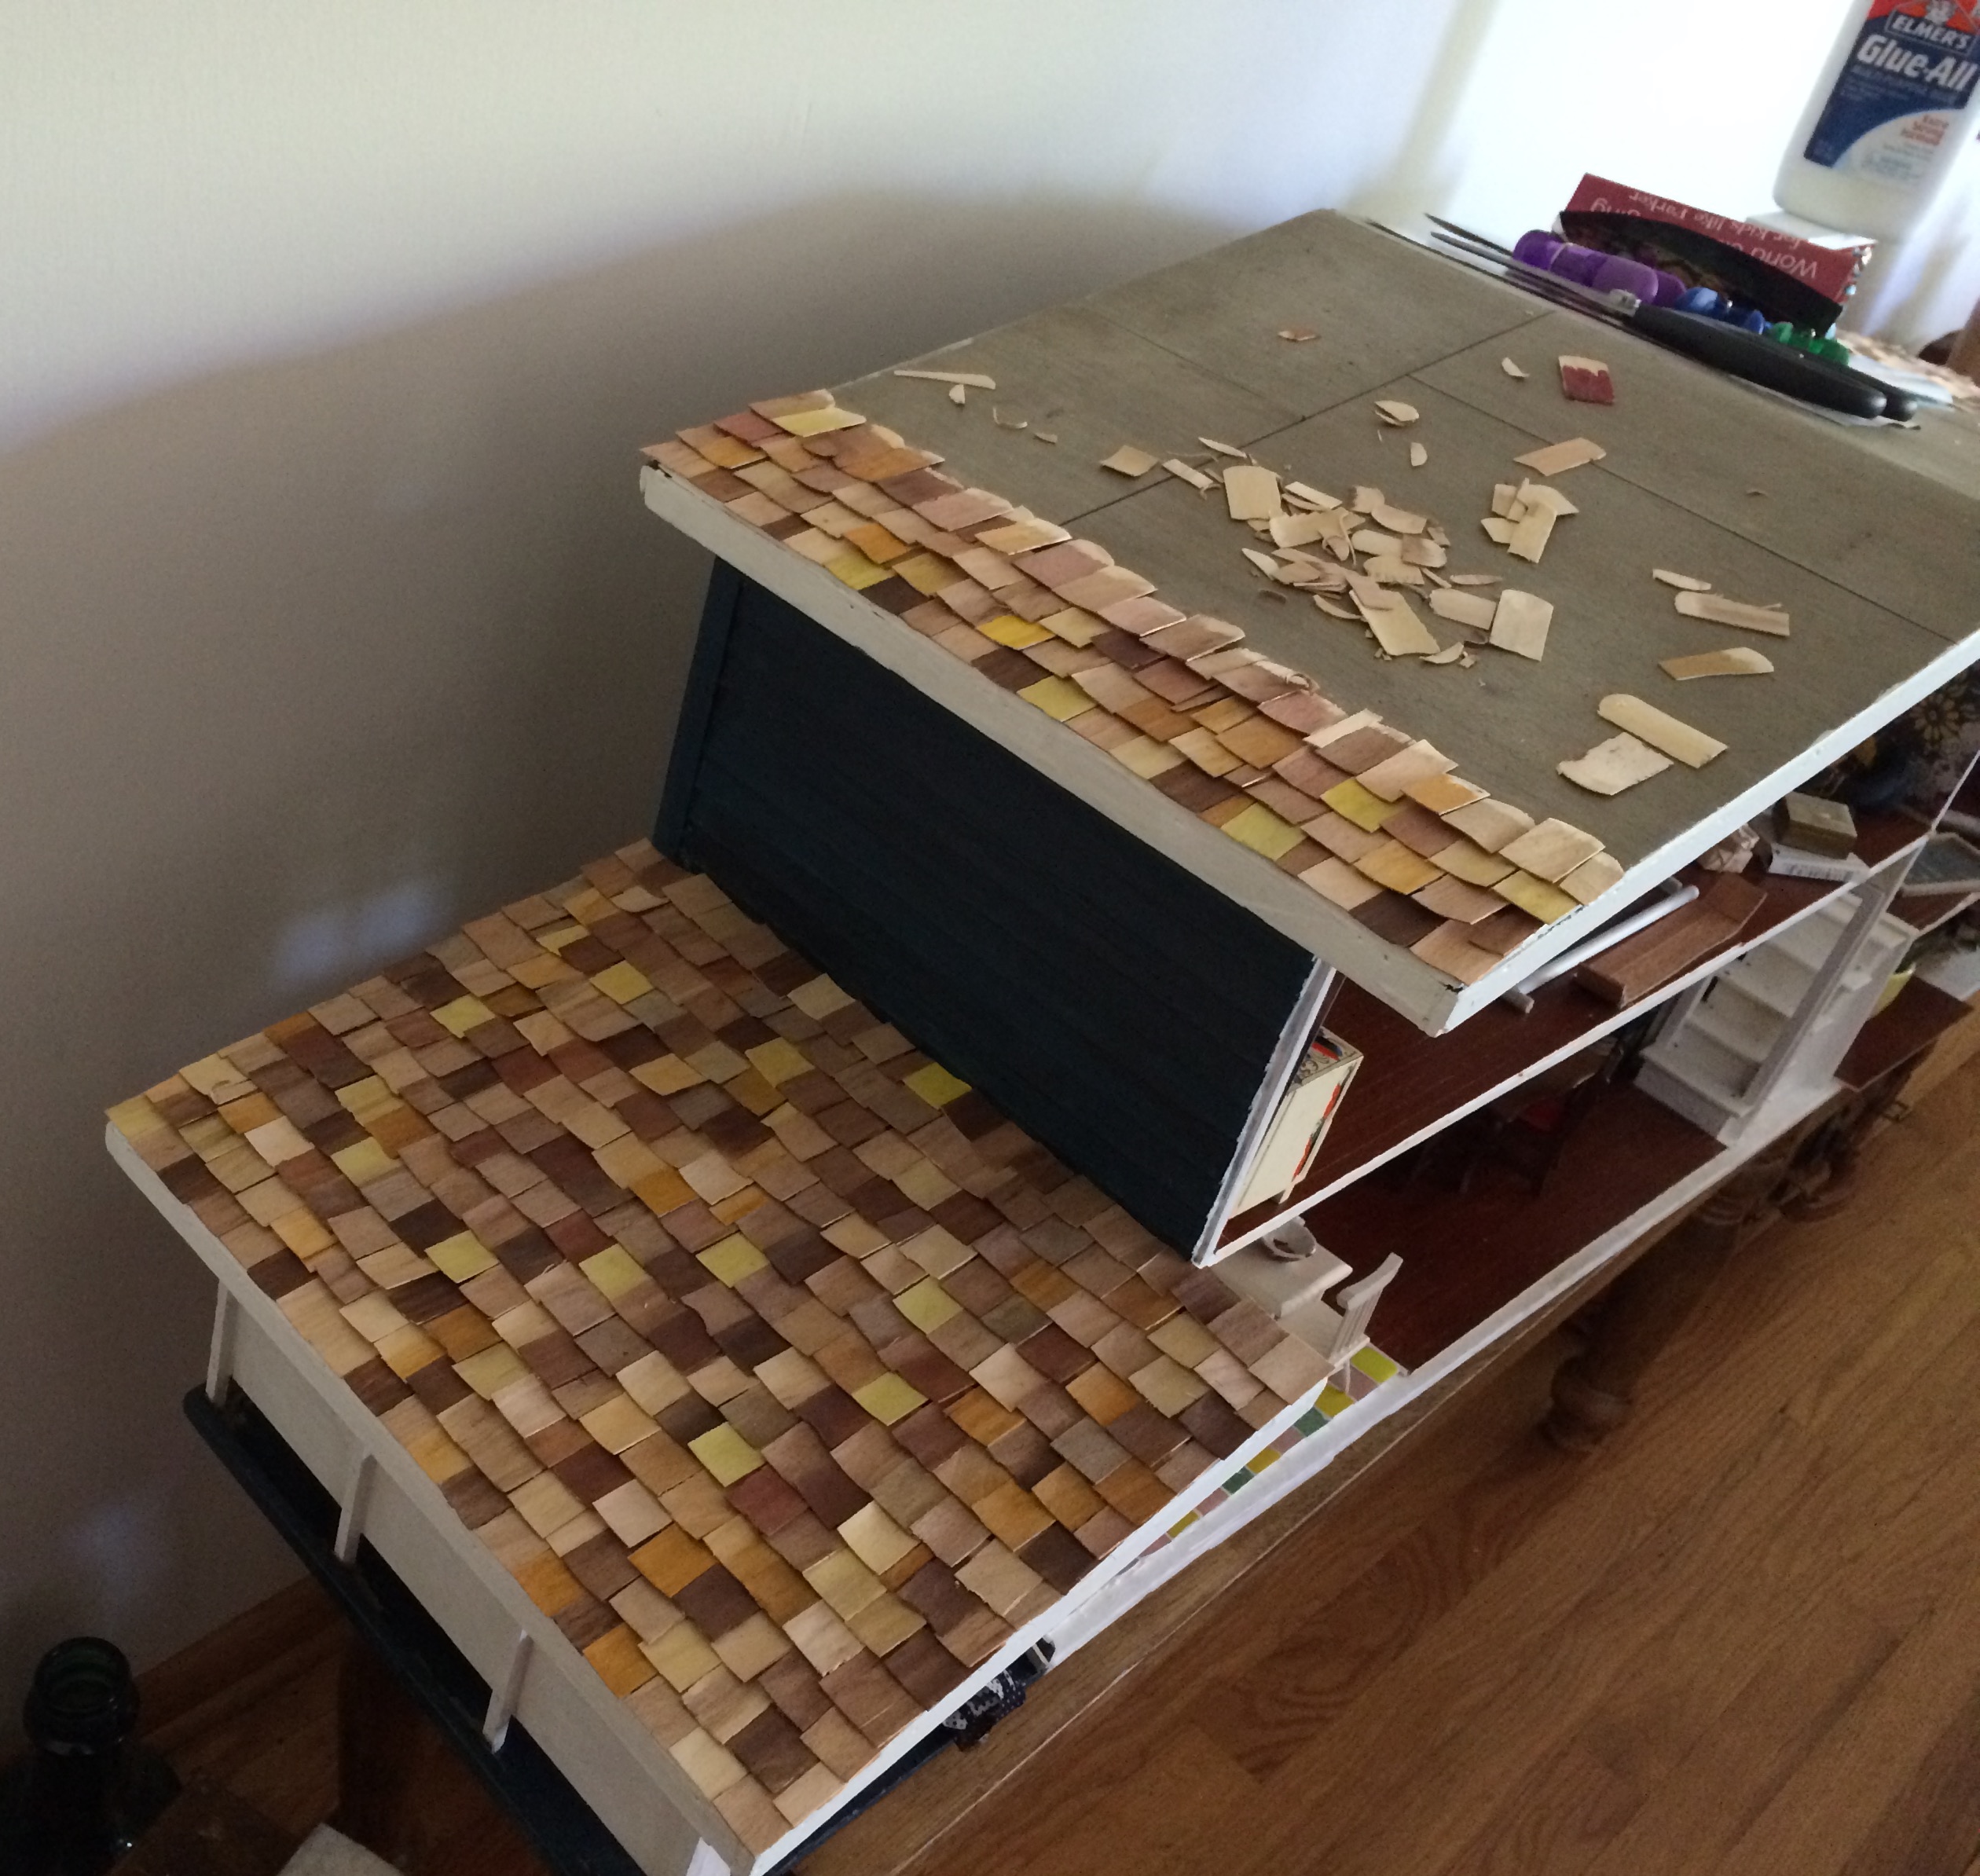
As I mentioned in my previous post, my mom picked up some adorable white cupboards for my kitchen. Here they are in place, in my semi-completed kitchen:
They’re a little taller than the window, which is unfortunate but not a huge deal.
I added the refrigerator into the mix, even though it needs some more coats of paint, but left out the stove since the paint was still really wet. It looks very cute, but not exactly mid century, not exactly modern, and not exactly personality-filled like I want my house to be.
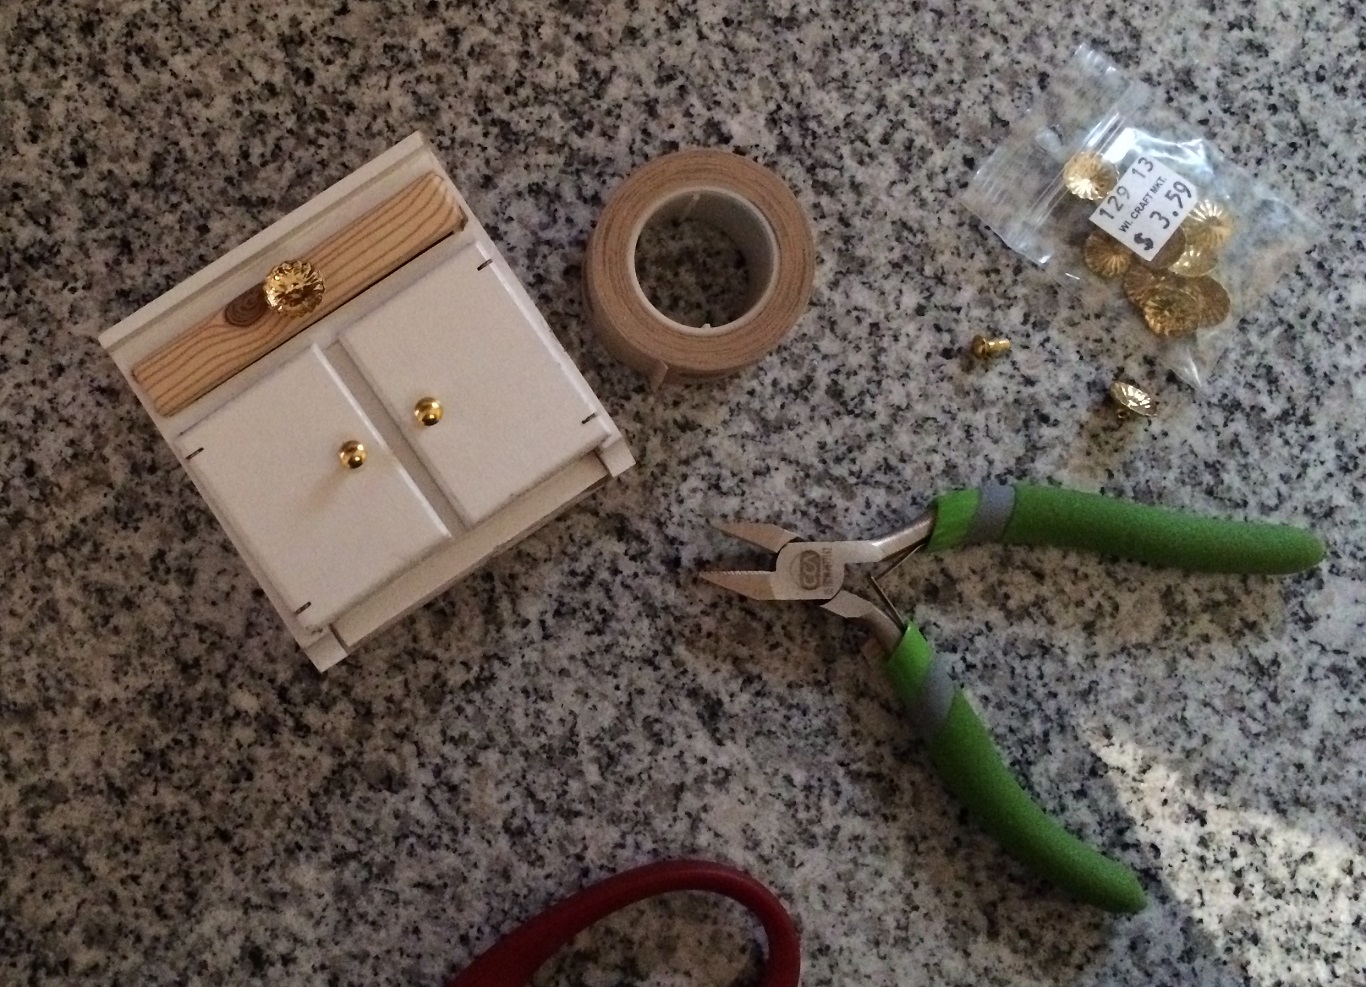
I decided to make some small changes. I purchased some cool little gold buttons:
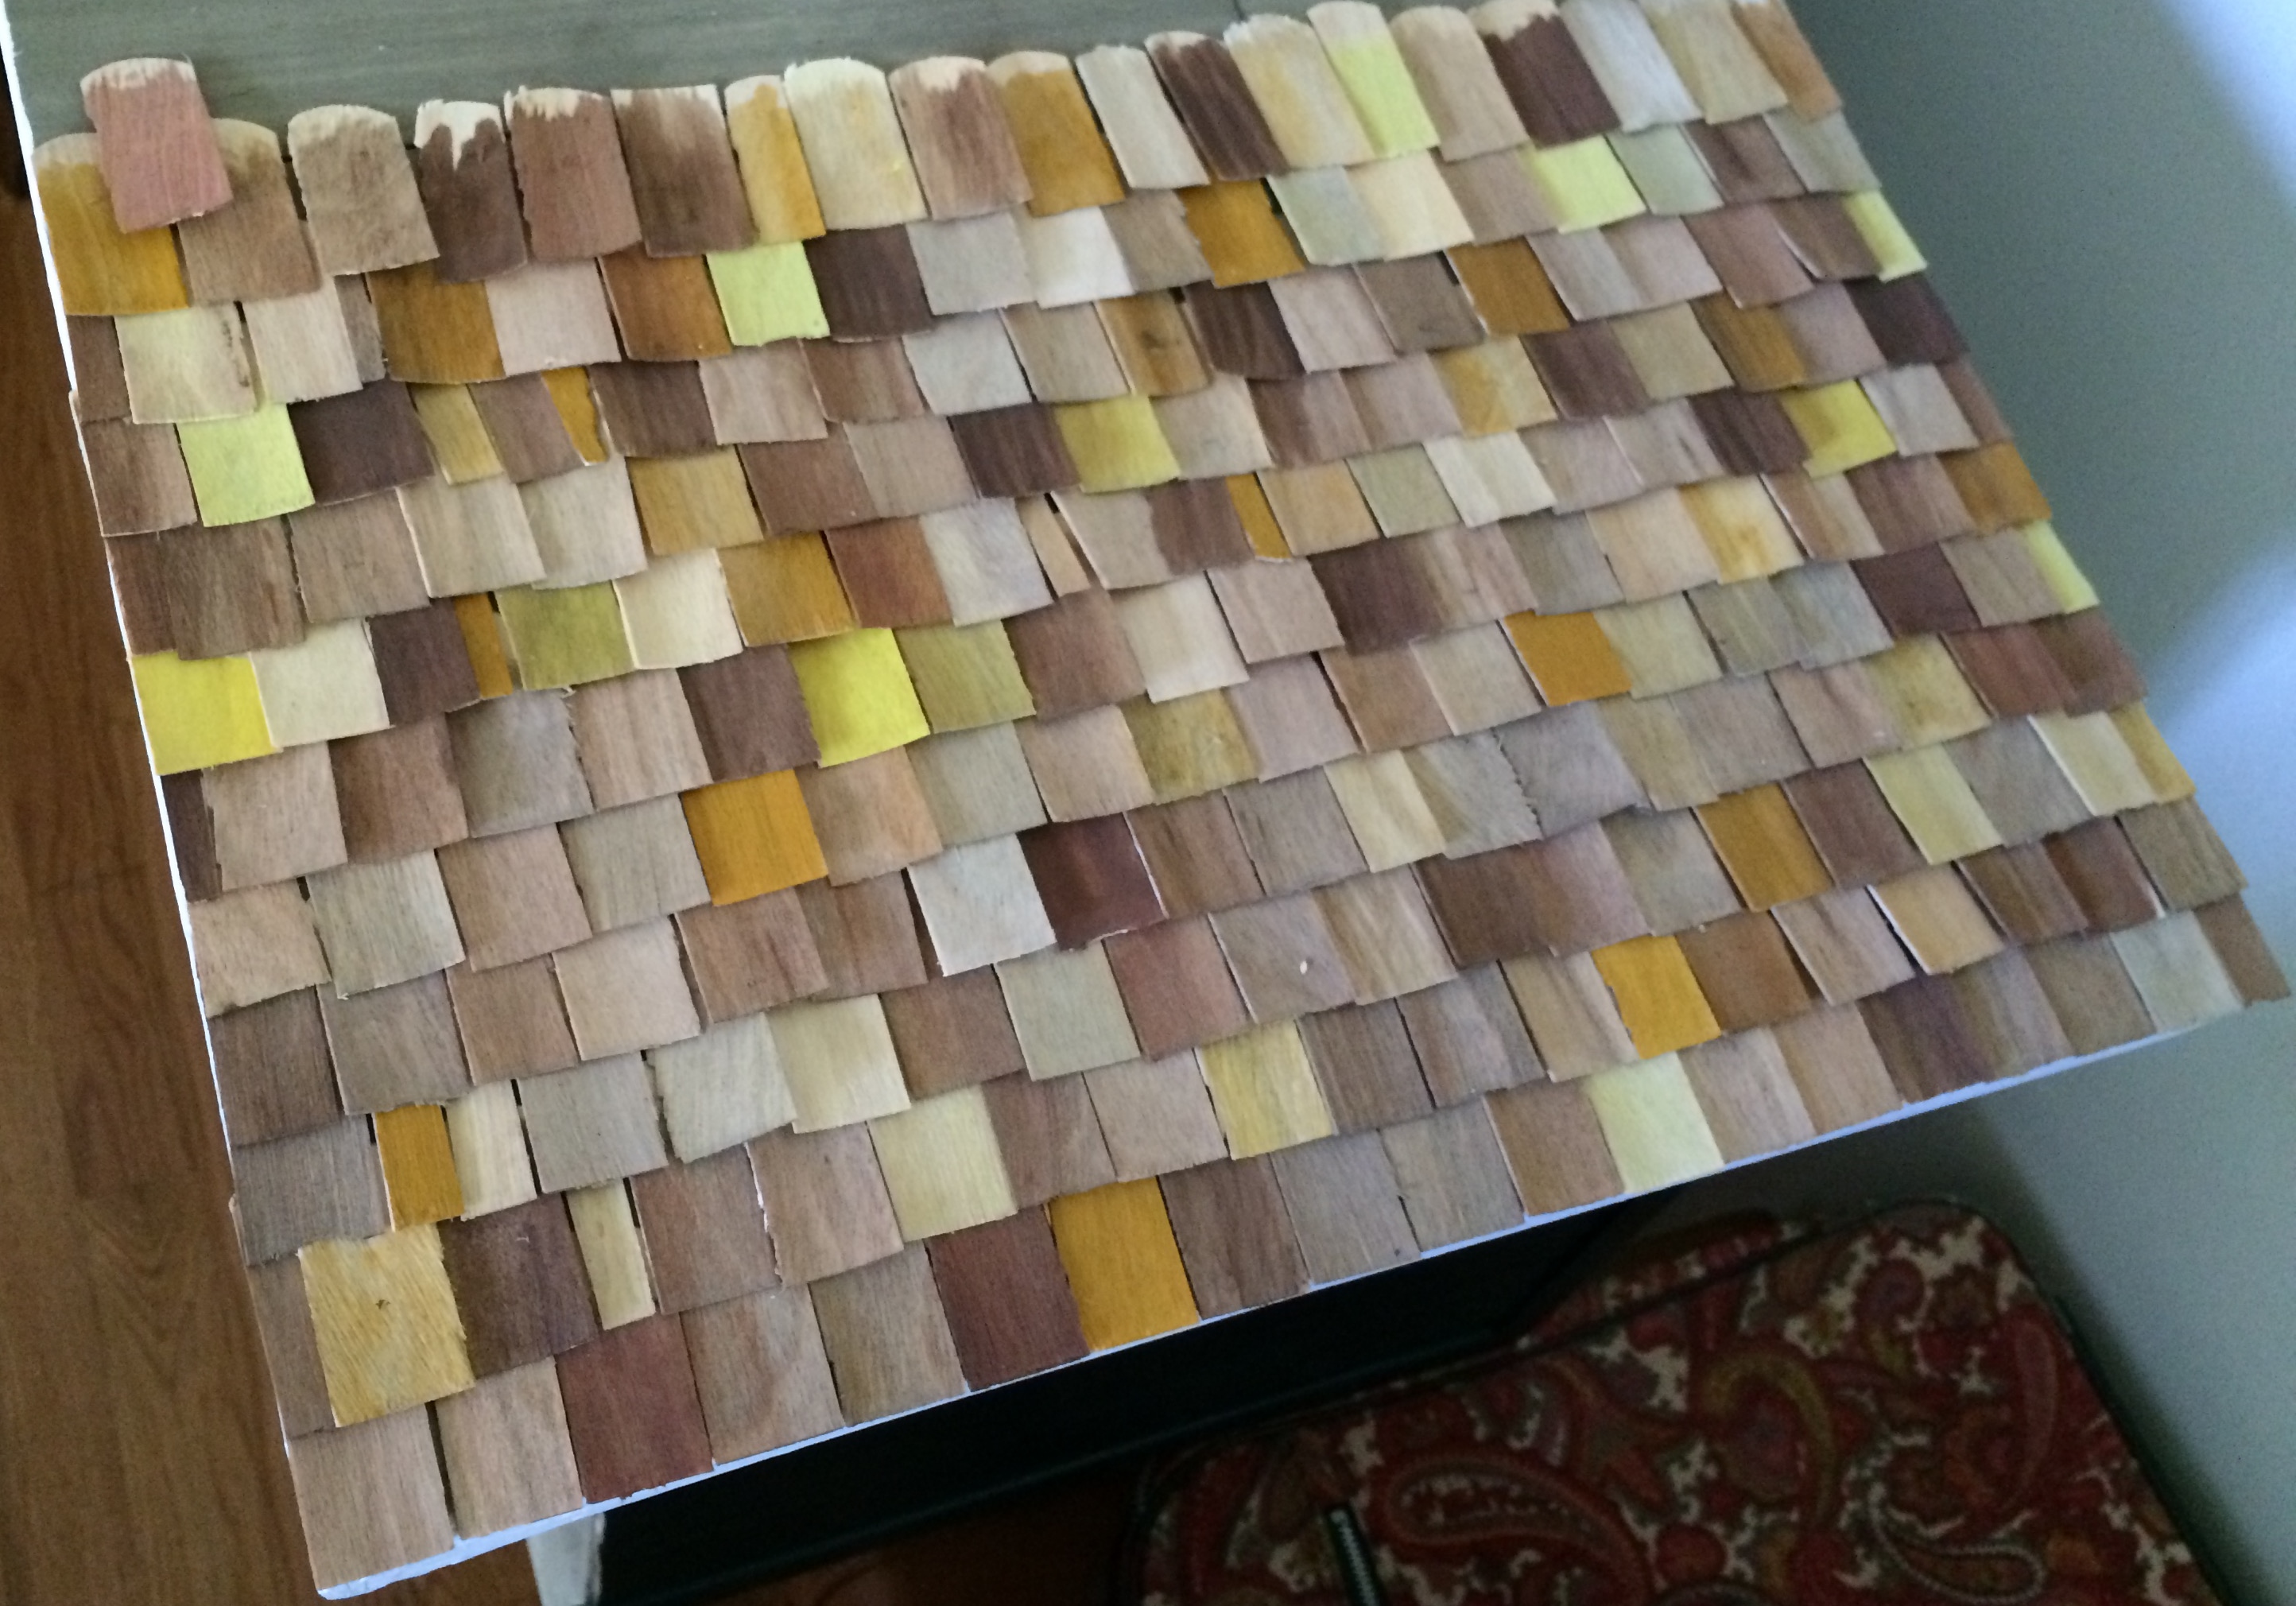
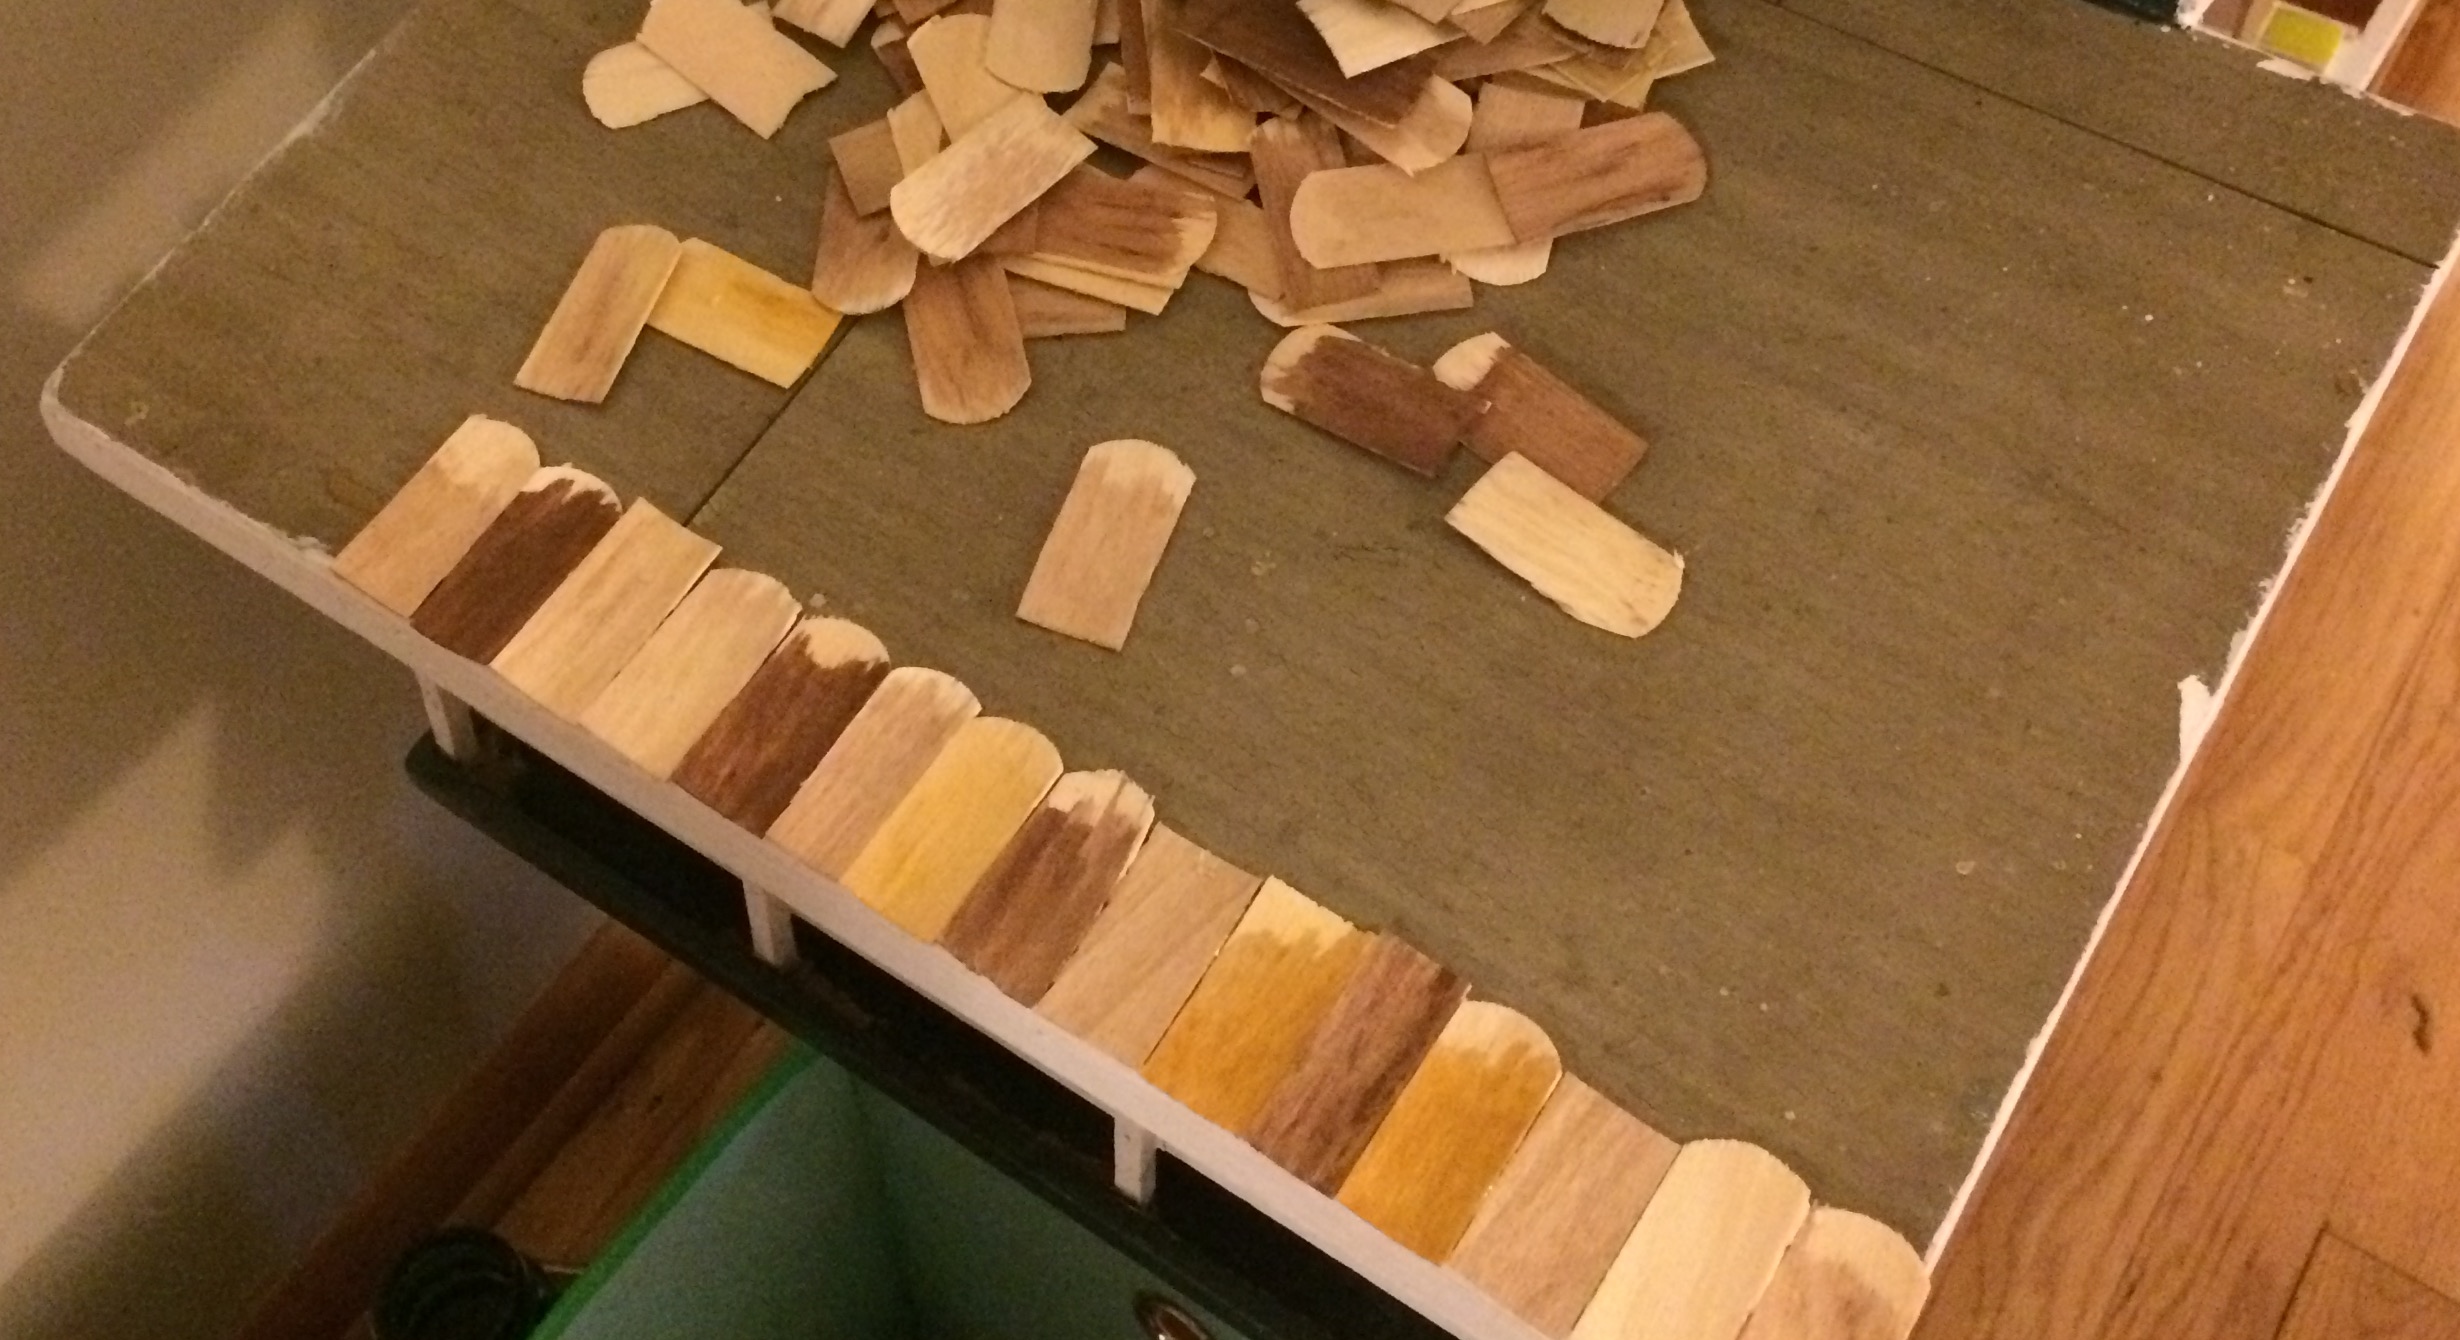
…and some woodgrain decorative tape, and gave the drawers and doors a makeover. Here’s a look at the “during” portion of the makeover:
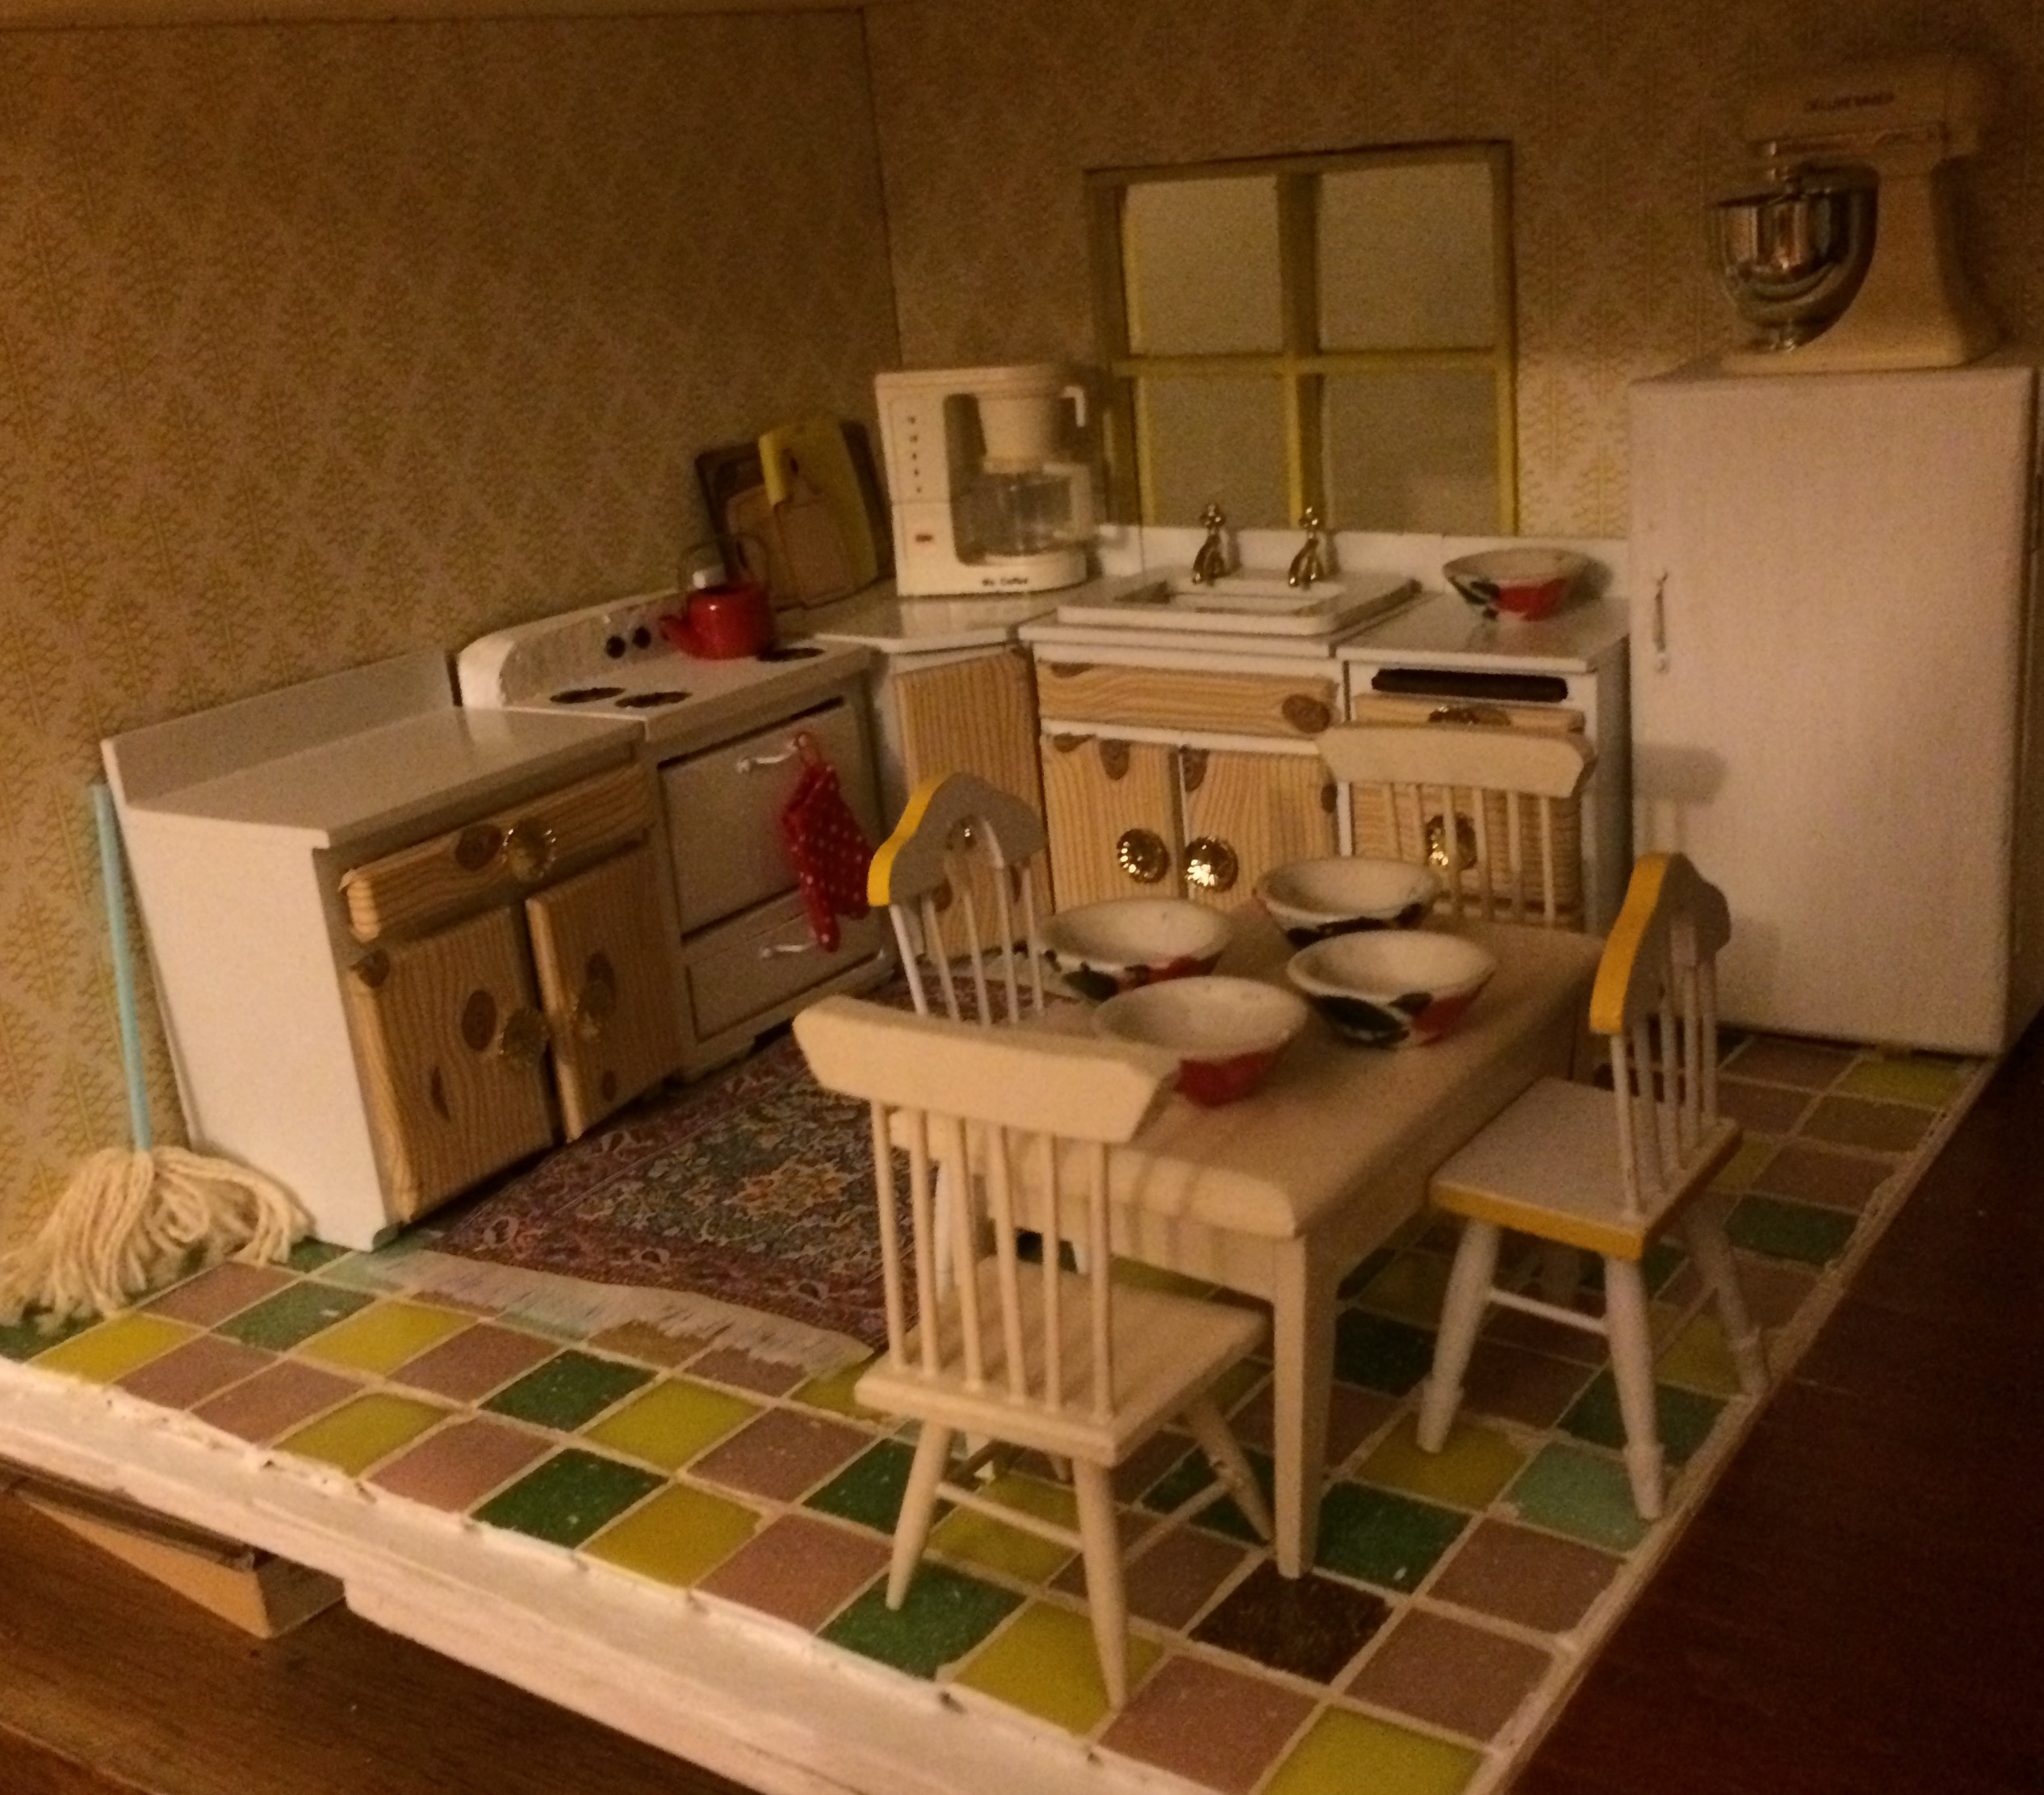
The great thing about this makeover is that the tape can easily be removed without taking an paint off, and the original brass knobs can be stuck back in place. However, I decided I liked it and felt it was a better fit with the rest of the decor in the house, so I updated everything. Here’s a look at the “after” version:
As you can see, there are plenty of details still needing to be fixed, from paint on the window that needs to be removed, to trim that still needs to be installed. It will all come together soon though. If this new look seems a little weird to you, just wait. When you see the finished product, it will all make sense!


