Here are some more photos from the Chicago Miniature show I attended last weekend. I’m a huge fan of Atomic Miniature artist Michael Yurkovic’s work.
All photos link to the Atomic Miniature Facebook page.
Here are some more photos from the Chicago Miniature show I attended last weekend. I’m a huge fan of Atomic Miniature artist Michael Yurkovic’s work.
All photos link to the Atomic Miniature Facebook page.
It’s time for shingles to get glued into place and the world’s ugliest mini chimney to get a facelift. Stay tuned!
Debating between small teal shells to match the exterior paint color, or tumbled river rocks…
Which did I choose? I’ll tell you soon!
I have plenty more photos from the Chicago show to share! These little shops from Wright Guide Miniatures amazed my mom and me! I especially loved the little autobody shop, with its tiny fan belts and cans of oil. All photos link to the Wright Guide Minis website.

Imagination capturing scenes from Wright Guide Miniatures. Photos by Holly Tierney-Bedord. All rights reserved.

I was at my local craft store the other day, taking a look around since I was running early for an appointment. I came across a glass ornament (I have no idea what it was doing out in April — maybe it was meant to be used for a little spring/Easter scene?) that looked like a perfect mid century modern bubble chair. I decided I’d hang it from the ceiling in the corner of the living room. Ten minutes later, wondering down an aisle I’d never before set foot in, I discovered an assortment of plate and cup holders. One of the cup holders was a perfect match for my ornament/chair, turning it into an actual free-standing bubble chair. Here they are:
FlipThis(Mini)House is now on Twitter and Tumblr! Follow me at
https://twitter.com/MiniHouseFlip
and
I’ve always loved dollhouses. Last summer (July, I think) my friend and her husband spotted a mid century dollhouse at a flea market and sent me a text, asking if they should buy it for me. It was just $35, appeared to be pretty solid looking, and had an awesome, unique split level layout.
“Sure!” I said.
A few hours later they were delivering it to me. Here’s how it looked on the day I got it:
Since then I’ve been hard at work creating furniture and accessories from scratch, tweaking store-bought furniture and accessories, and making over everything inside. Here are a few of the accessories and pieces of furniture I created from things like coasters, handles, and yarn that I wove on a potholder loom:

Tiny love seat made from two wooden handles, a mid century cloth napkin, and some small wooden balls. The tiny newspaper rests in a metal doodad from Habitat for Humanity Re-Store.
It took me months just to get all the wallpaper and flooring removed!
Here’s a look at some of the rooms in progress:
And now here’s a look at some of the rooms today:
For all the details, and to see the final unveiling which will hopefully happen in the later spring/summer, follow me here on WordPress or on the Flip This Mini House Facebook page.
The refrigerator and stove I plan to use in my house were a little too small and an icky shade of yellowish beige. After several unsuccessful looks at eBay and other online miniature shopping sites, I decided to do what I could to improve the appearance of them.
I didn’t mind so much that they were a little small — to me, it gave the refrigerator a bit of a Smeg feel to it, and the stove reminded me of a cute little 1960’s gas stove I had in an apartment long ago (my favorite apartment ever). But the stove in particular was just too small to work with the cute little set of cupboards my mom picked up for me, which I am firmly committed to using, so I decided to do what I could to make the stove a little bigger.
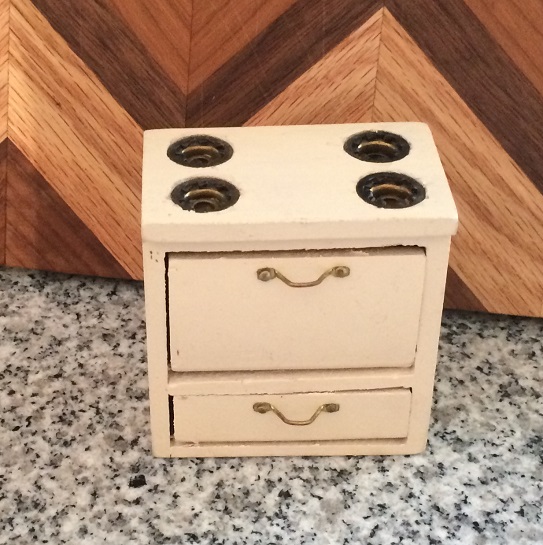
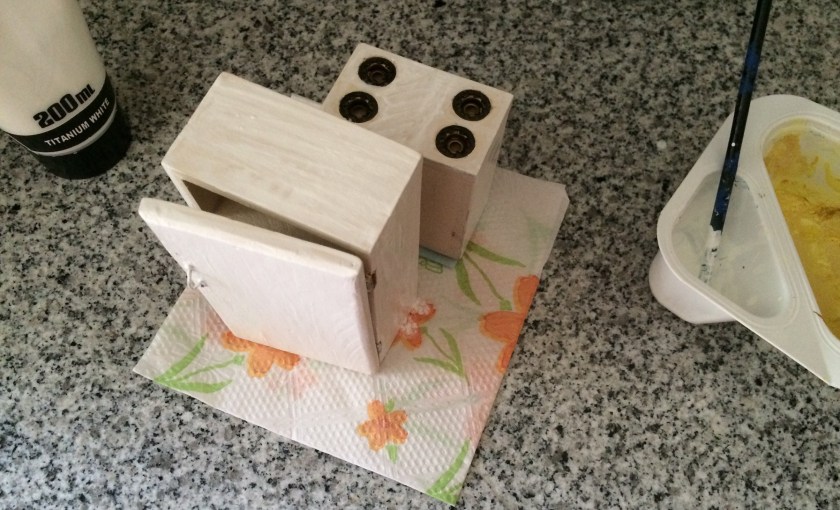
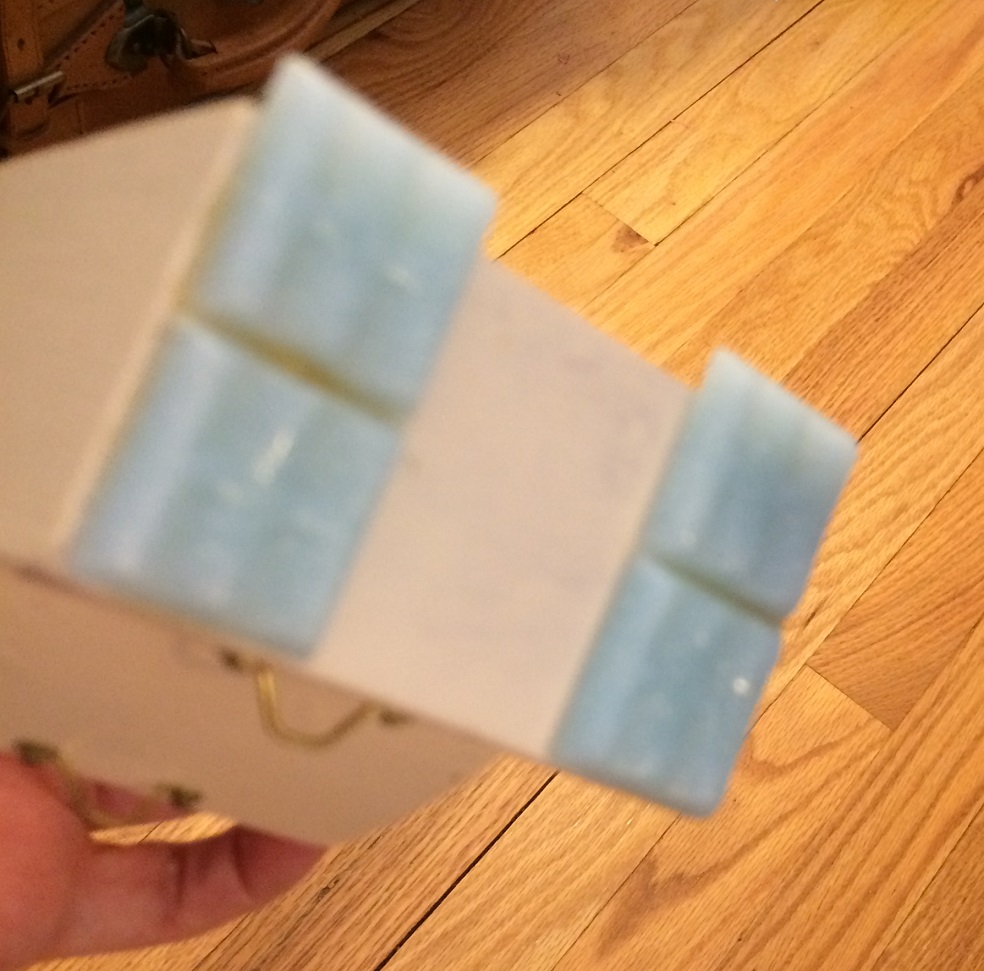
After putting a couple of coats of paint on each, I added some feet to the stove (tiles, actually).
The tiles/feet overhang the back of the stove, because I’m going to build up the back of it with some cork coasters. These little feet bring it up to the same height as my countertops.
These coasters not only give the stove a top portion for knobs, but they also make it so the stove is the same approximate depth of my counter tops.
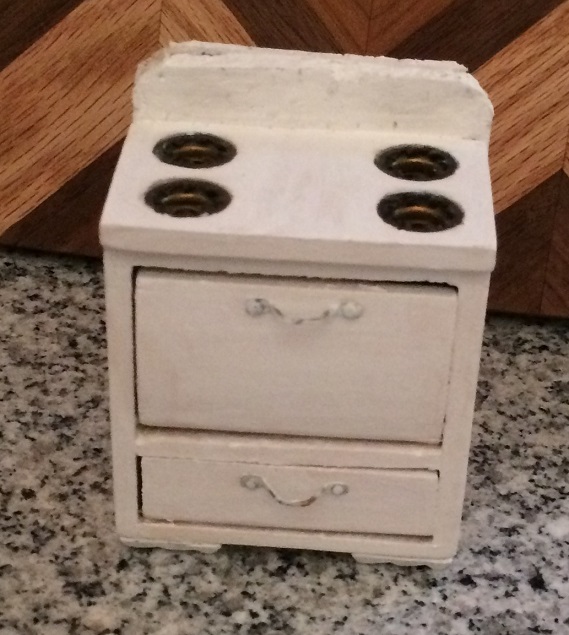
I added some tape to round off the border of the stove, some more coats of paint, and some black brads as tiny control knobs.
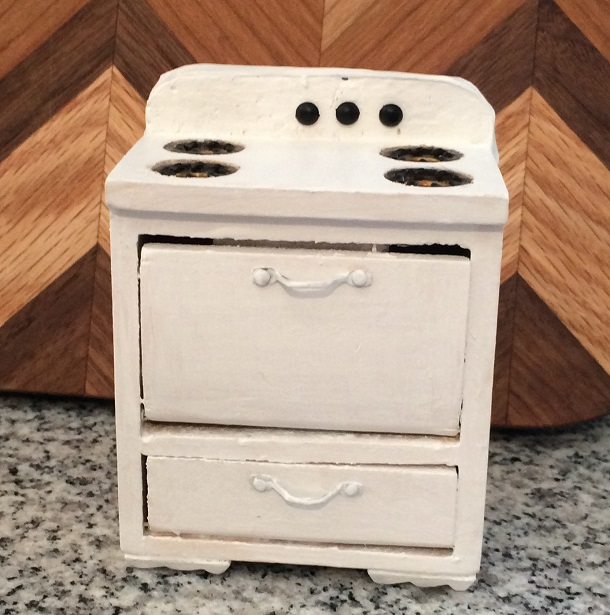
My stove is almost done! It needs another coat of paint and some of the details worked out, but I’m much happier with the color, size, and general appearance. Photos of it in the kitchen coming soon!
I think I’ve finally chosen a look for the kitchen.
It hasn’t been easy! Kitchens are so important. I really wanted a mainly white kitchen with orange or yellow Orly Kiely-esque wallpaper. Finally I decided it wasn’t realistically going to happen, no matter how many times I sifted through the scrapbook paper at my local craft store. So this is what I came up with:
I’m not sure about the multicolored tiles. I’ll have to put some in place and see what I think. Stay tuned!